
Sweet Crochet Little Duck Amigurumi Free Pattern for Plush Toys
Find a soft and adorable Crochet Little Duck that brightens your space and offers a handmade touch perfect for gifts or charming home decor.
A small and soft toy made from yarn is fun to hold and play with. This is called a Crochet Little Duck amigurumi. It looks like a little duck that fits in your hand. It is usually bright yellow, but you can also make it in white, orange, or pink. You can make it big or small, depending on what you like. Some little ducks are tiny to carry around, and some are bigger to hug.
Lovely Crochet Little Duck Amigurumi Free Pattern for Handmade Gifts
To make the duck, people use a special stitch called the single crochet stitch. This stitch is easy to learn and helps the duck keep its shape. The toy feels smooth and soft because of this stitch.
These little ducks are not only cute but also useful. Kids like to play with them because they are soft. You can also use them in many ways:
- As a toy for little children
- As a decoration on shelves or desks
- As a gift for friends and family
- As a keychain or bag charm (if made small)
- As a fun beginner crochet project.
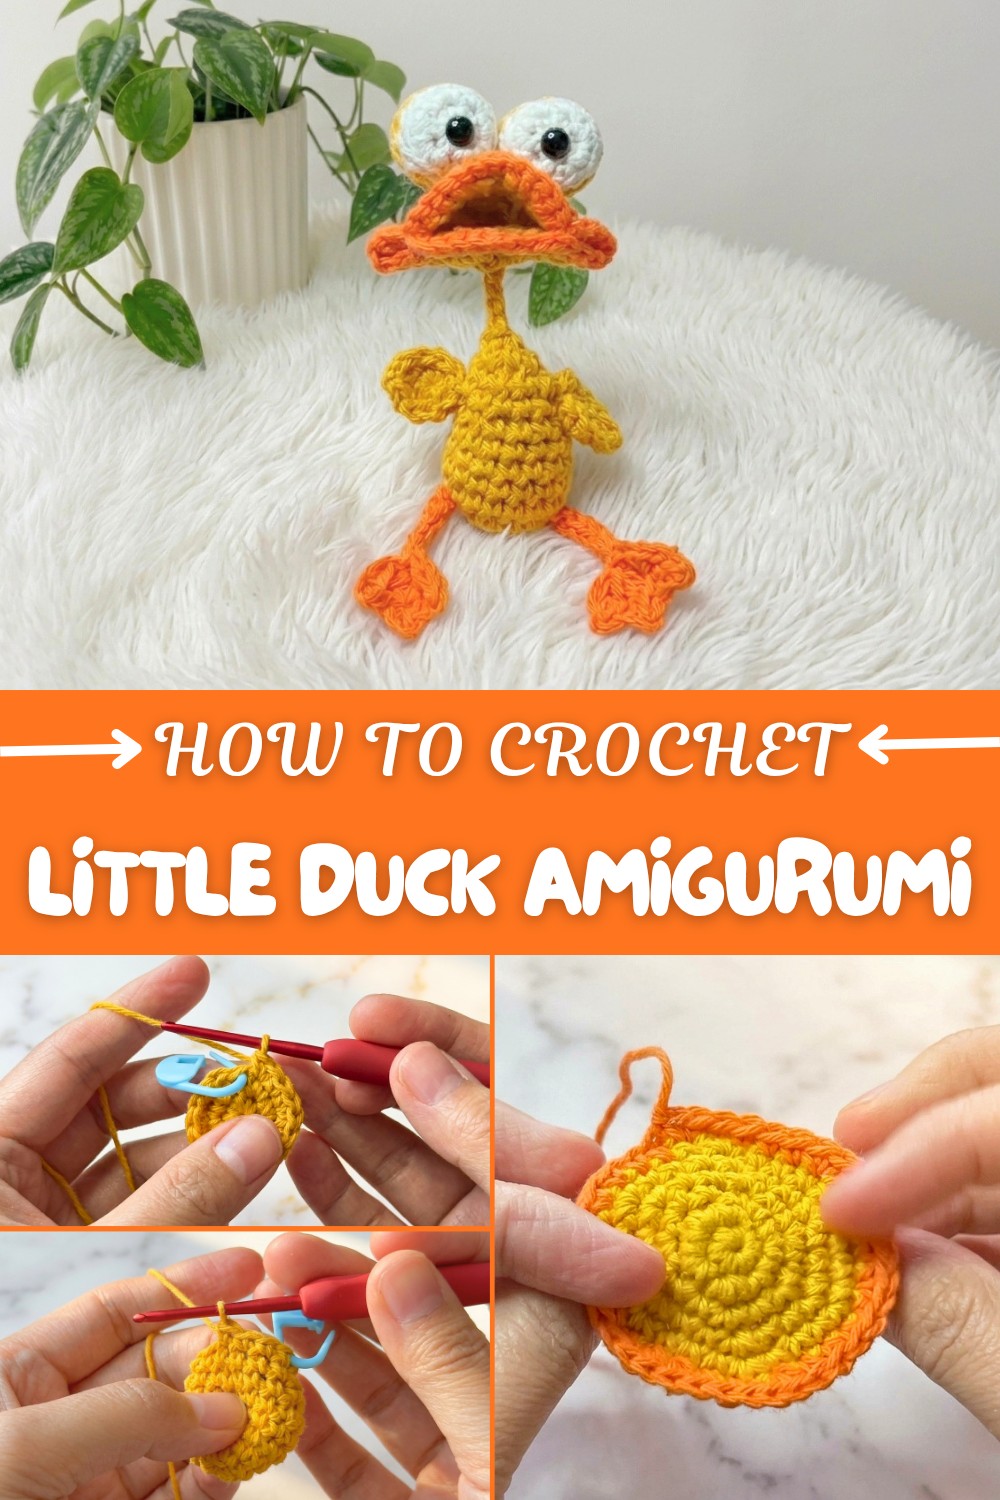
The size of the duck can change by using different yarn and hook sizes. Thin yarn and a small hook make a tiny duck. Thick yarn and a big hook make a bigger duck. This means you can choose how small or big your duck will be.
In short, the Crochet Little Duck amigurumi is a fun and easy project. It makes a lovely toy or decoration that can bring smiles to everyone.
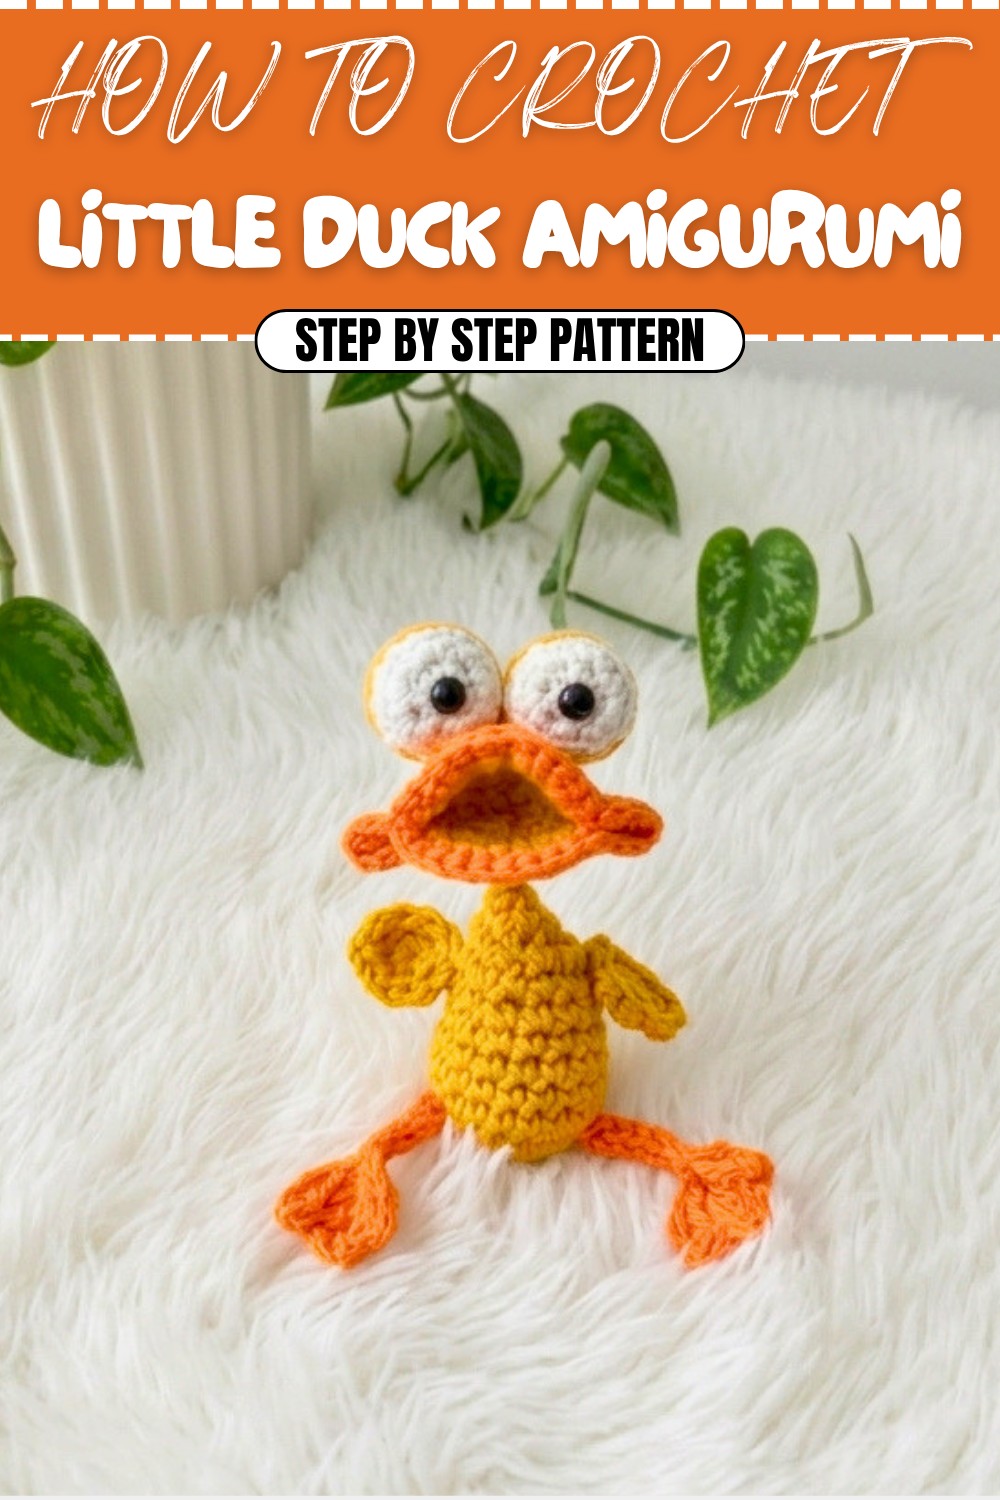
Tiny Duck Amigurumi – Step-by-Step Crochet Pattern
In this tutorial, you’ll learn how to crochet a cute little duck—perfect as a miniature toy, desk ornament, or keychain charm. With its simple shapes and clear instructions, this project is great for beginners and seasoned crafters alike. Follow every step and create your own adorable duck in no time!
Quick Overview Of Pattern
- The duck’s body and head are worked separately in continuous spiral rounds.
- Wings, feet, and eyes are crocheted separately and sewn on.
- Minimal stuffing is needed, and cotton yarn keeps the shape nicely.
- The finished size makes it ideal for use as a charm or keychain.
Notes
- Worked in the round (spiral); do not join rounds.
- Use a stitch marker or contrasting yarn for the first stitch of each round.
- Tight stitches help the shape hold and keep stuffing from showing.
- Stuff as you go, especially before closing tight spaces.
- All steps use US crochet terminology.
Skill Level
Beginner – Advanced Beginner:
Great for those familiar with magic rings, single crochet, basic shaping (increases/decreases), and simple assembly/sewing.
Materials
- Yarn: Cotton, sport or DK weight
- Main color (yellow)
- Orange (beak and feet)
- White (eye whites)
- Hook: 2.5 mm crochet hook
- Stuffing: Polyester fiberfill or scrap yarn
- Other: Safety eyes (optional), yarn/tapestry needle, scissors, stitch marker
Measurements / Sizing
- Finished duck: approx. 5–6 cm (2–2.5 in) tall
Gauge
Gauge is not critical; stitches should be tight enough so stuffing does not show through. Adjust hook size as needed.
Stitch Abbreviations
| Abbr. | Meaning |
|---|---|
| MR | Magic ring |
| sc | Single crochet |
| inc | Increase (2 sc in same stitch) |
| dec | Decrease (single crochet decrease) |
| sl st | Slip stitch |
| ch | Chain |
| hdc | Half double crochet |
| dc | Double crochet |
Special Stitches
Invisible Decrease (dec)
Insert hook into front loop of next st, then into front loop of following stitch, yarn over, pull through 2 loops, yarn over, pull through last 2 loops.
The Crochet Pattern
BODY
Rnd 1:
- MR, 6 sc. (6)
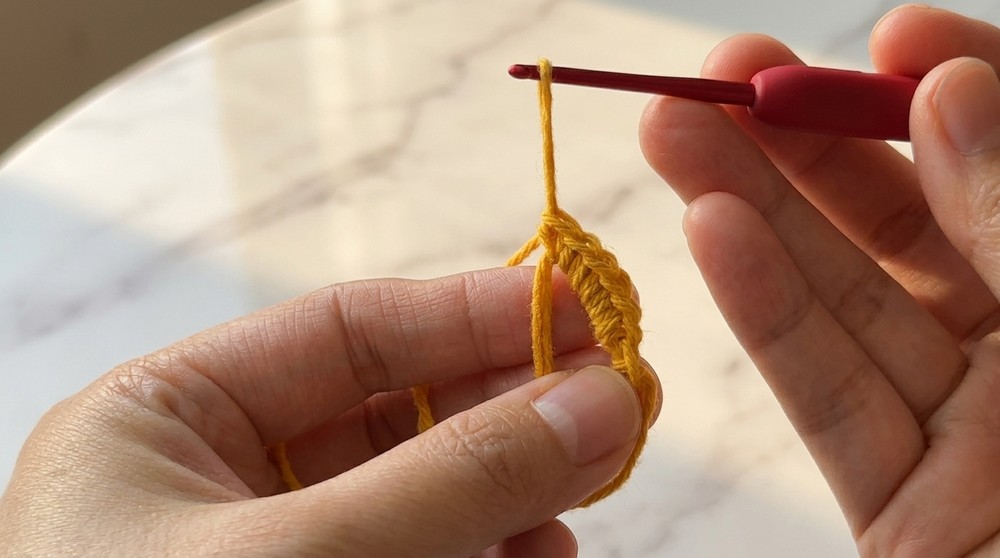
Rnd 2:
- inc in each stitch around. (12)
Rnd 3:
- (sc, inc) × 6. (18)
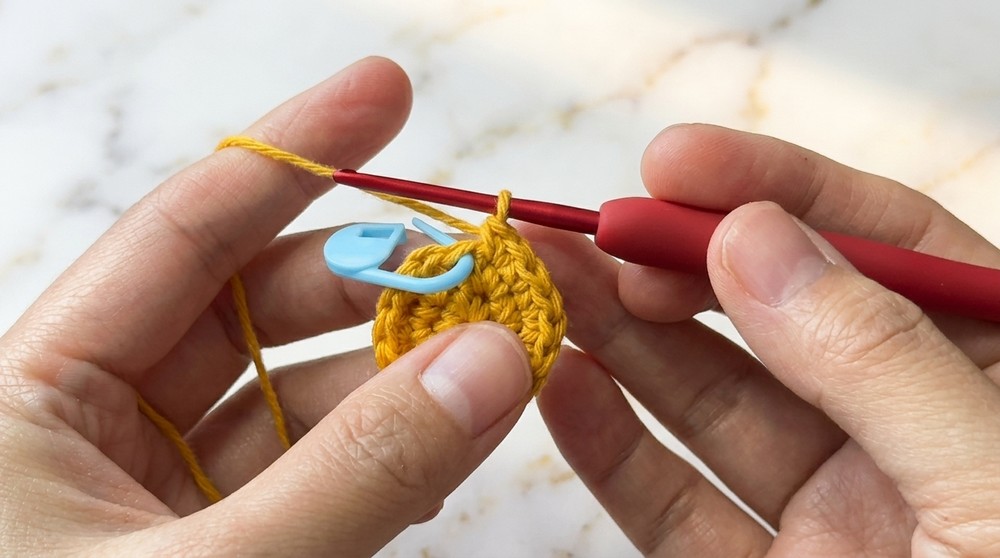
Rnd 4–5:
- sc in each st. (18 per round)
Rnd 6:
- (sc 4, dec) × 3. (15)
Rnd 7:
- sc in each st. (15)
Rnd 8:
- (sc 3, dec) × 3. (12)
Rnd 9:
- sc in each st. (12)
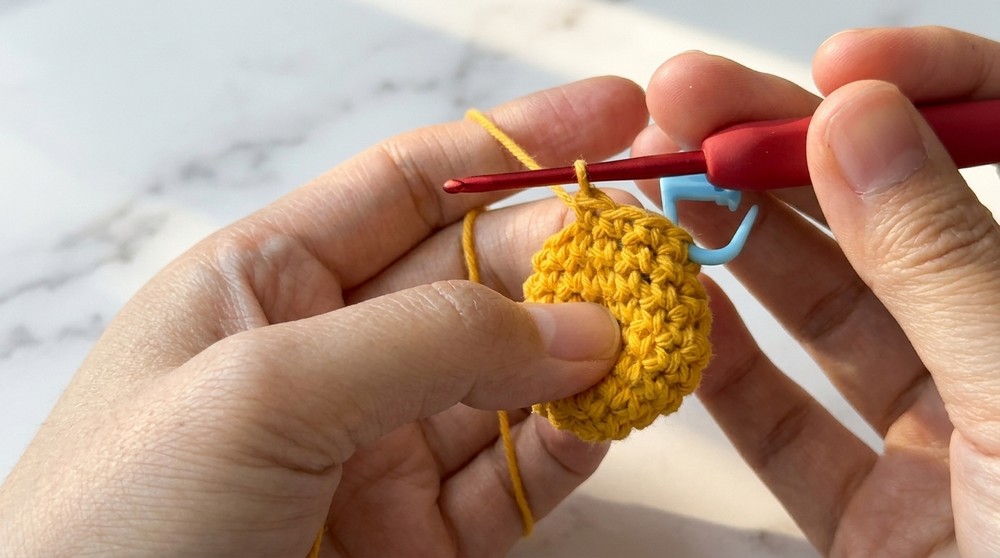
Rnd 10:
- (sc 2, dec) × 3. (9)
Rnd 11:
- (sc, dec) × 3. (6)
- Finish stuffing body if needed.
- Use needle to weave through outer loops of remaining 6 sts; pull to close.
- (Optional: Chain a few stitches to create a short "neck." Fasten off.)
HEAD
Rnd 1:
- MR, 6 sc. (6)
Rnd 2:
- inc in each st around. (12)
Rnd 3:
- (sc, inc) × 6. (18)
Rnd 4:
- (sc 2, inc) × 6. (24)
Rnd 5:
- (sc 3, inc) × 6. (30)
Rnd 6:
- [Switch to orange] (sc 4, inc) × 6. (36)
- Make color change before last st of previous round: insert hook, pull up yellow, then yarn over with orange to finish stitch.
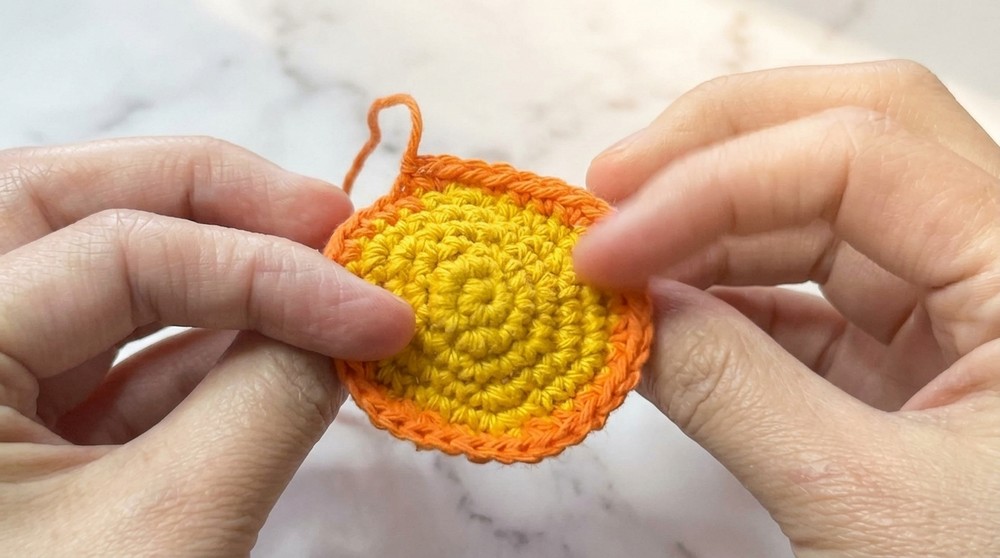
Sl st in first st to close round. Cut yarn, leaving long tail for sewing. Fold slightly, sew edges together to shape the beak, and secure yarn tail inside head.
EYES
Yellow Part:
Rnd 1:
- MR, 6 sc. (6)
Rnd 2:
- inc in each st around. (12)
Rnd 3:
- sc in each st. (12)
- White Part:
Rnd 1: MR, 6 sc. (6)
Rnd 2: inc in each st around. (12) - Fasten off, leaving long tail for sewing.
Place a safety eye or black thread in the middle of the white eye piece. Place yellow piece behind the white part. Sew white and yellow together, stuffing lightly to create a domed shape. Leave a long tail for attaching eyes to head.
WINGS (make 2)
Rnd 1: MR, 5 sc. (5)
Pull ring tight.
Rnd 2: 2 sc in first st, 1 sc in next st, hdc in third st, ch 2, sl st in 2nd ch from hook, (back to same st) 1 sc, sc in next st, 2 sc in last st. (Total: 8 or 9 sts, depending on where the repeats happen.)
Sl st to the first stitch. Fasten off, leaving long tail for sewing.
FEET (make 2, in orange)
- Ch 8.
- Skip first two chains, dc in 3rd chain from hook.
- [To make a toe:] Ch 2, sl st in second ch from hook; dc in same ch as the toe just made.
- Repeat for a total of 3 toes.
- After last toe, sl st into the foundation chain, then sl st along remaining chains to the end.
- Fasten off, leaving tail for sewing.
Assembly & Finished Size
- Sew Eyes: Position and sew assembled eyes to the head, about midway or as preferred.
- Attach Wings: Fold slightly and sew to the sides of the body.
- Sew Feet: Sew feet to the lower sides of the body, evenly placed.
- Join Head to Body: Stitch around to attach, adjusting the angle to achieve your preferred look.
- Add Keychain (Optional): Attach a loop through the head if making a charm.
- Weave in and hide all yarn ends securely inside.
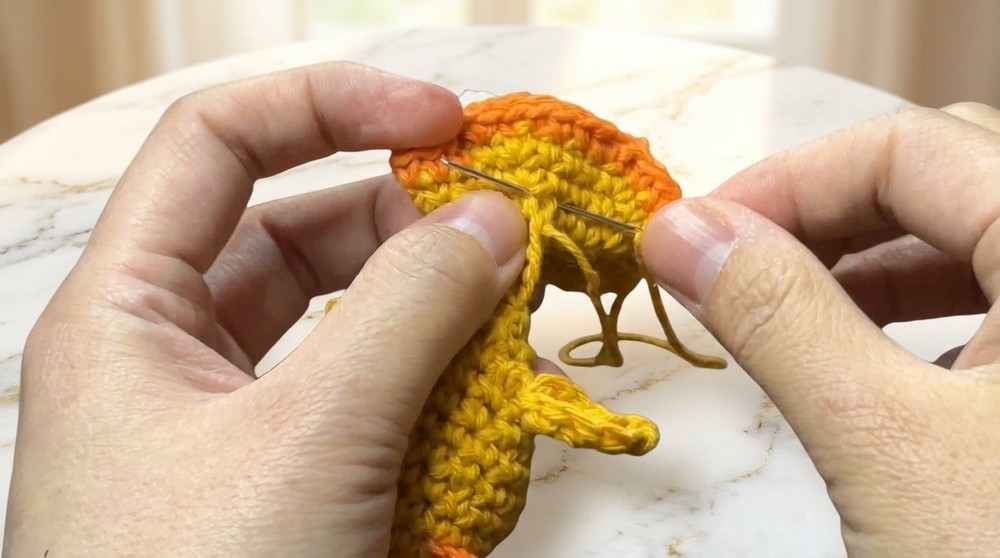
Finished Size: About 5–6 cm tall; ideal for a charm or tiny friend.
Conclusion and Ending Words
Your tiny duck is now complete! This quick and easy pattern yields an adorable duck with a sweet expression and whimsical details. Perfect as a toy, keychain, or gift, your duck will bring joy to anyone who sees it. Continue practicing your amigurumi skills, share your creations, and most of all—enjoy the process. Thank you for crafting with Tiny Elephant!