
Beginners Crochet Butterfly Keychain Pattern Everyone Will Love
Personalize your everyday look fast with a free crochet butterfly keychain pattern, bringing color and charm to your essentials.
Yarn has a magical way of transforming simple loops into charming little wonders, and this butterfly keychain is proof of that magic. Turning a few basic stitches into something that flutters with personality and adds a splash of handmade charm to your everyday items. What makes this pattern truly delightful is how it blends easy techniques with a shape that feels lively and cute. This pattern carefully combines slip stitches and yarn overs to build up its layered wings, adding texture and dimension that stand out beautifully. The two butterfly halves are made separately, stuffed lightly to create a soft, plump effect, then sewn together, making your keychain both sturdy and cuddly.
Learn the Easiest Crochet Butterfly Keychain Pattern Step by Step
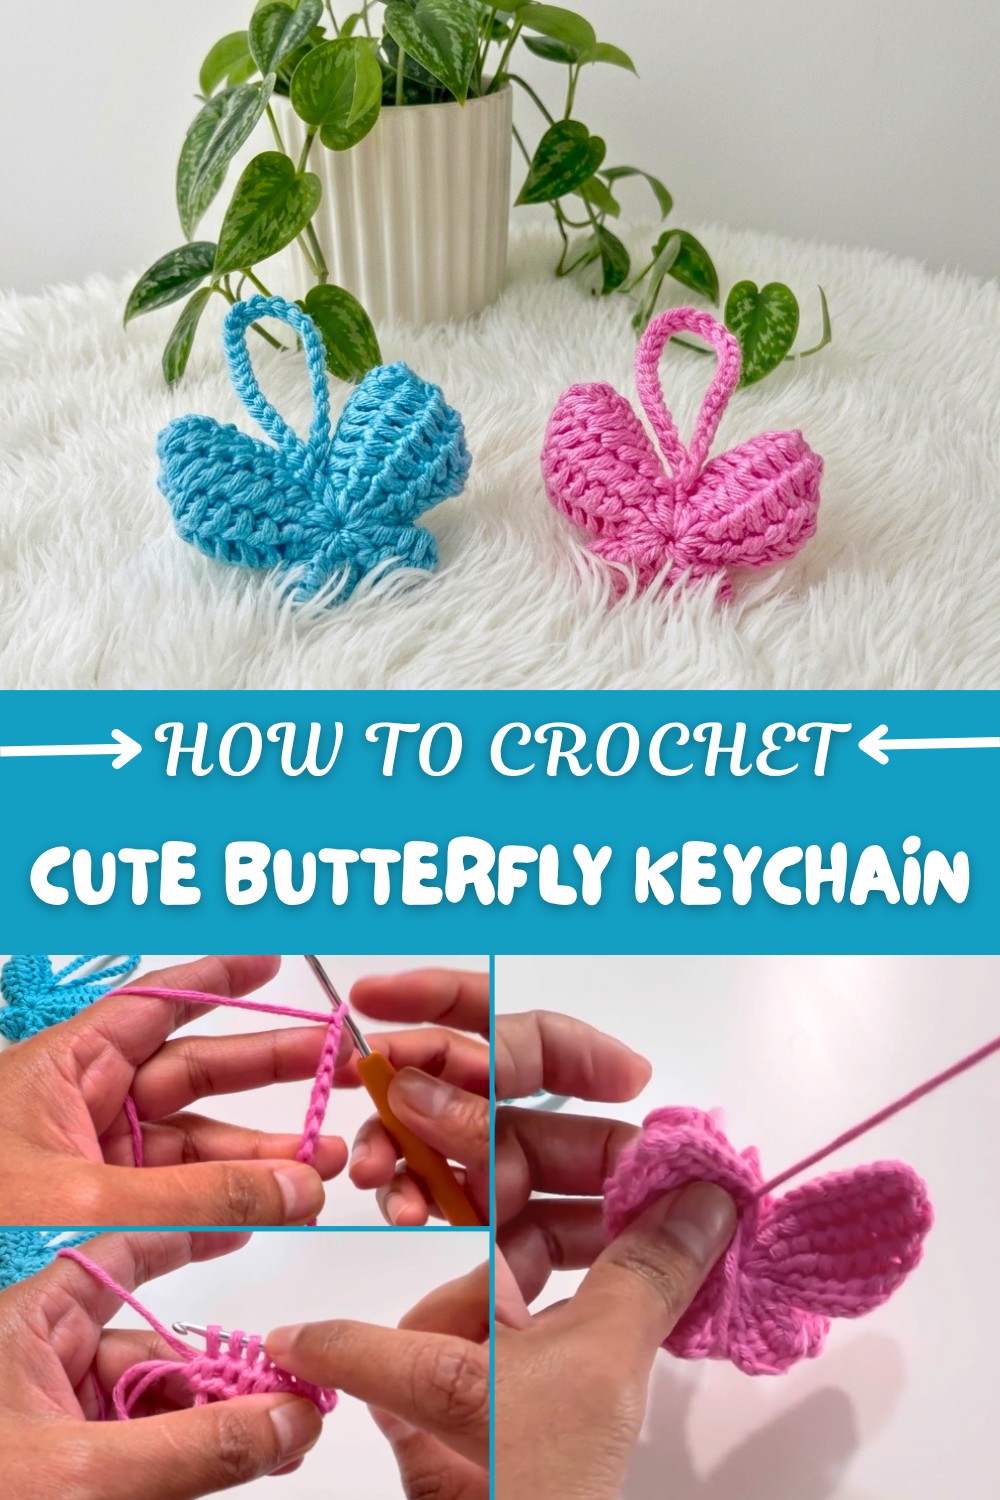
These stitches create a rhythm that’s easy to follow, making the project accessible even for beginners or young crocheters learning crochet for the first time. The best part is the sense of accomplishment you get after seeing your little butterfly come to life with just a hook and some yarn. It’s a quick, satisfying project that adds a personal touch to your keys, backpack, or gift wrapping. Plus, the pattern encourages creativity and practice with foundational crochet skills in a fun, engaging way.
Endless Possibilities with This Butterfly Stitch Pattern
The techniques used here don’t have to stop at keychains. Experiment with making butterfly appliques for blankets or hats, create delicate butterfly brooches, or string several together to craft a whimsical garland. The layers and textures of these stitches also lend themselves beautifully to earrings, bookmarks, and even cozy cushions, making this pattern a gateway to a fluttering world of crochet creativity.
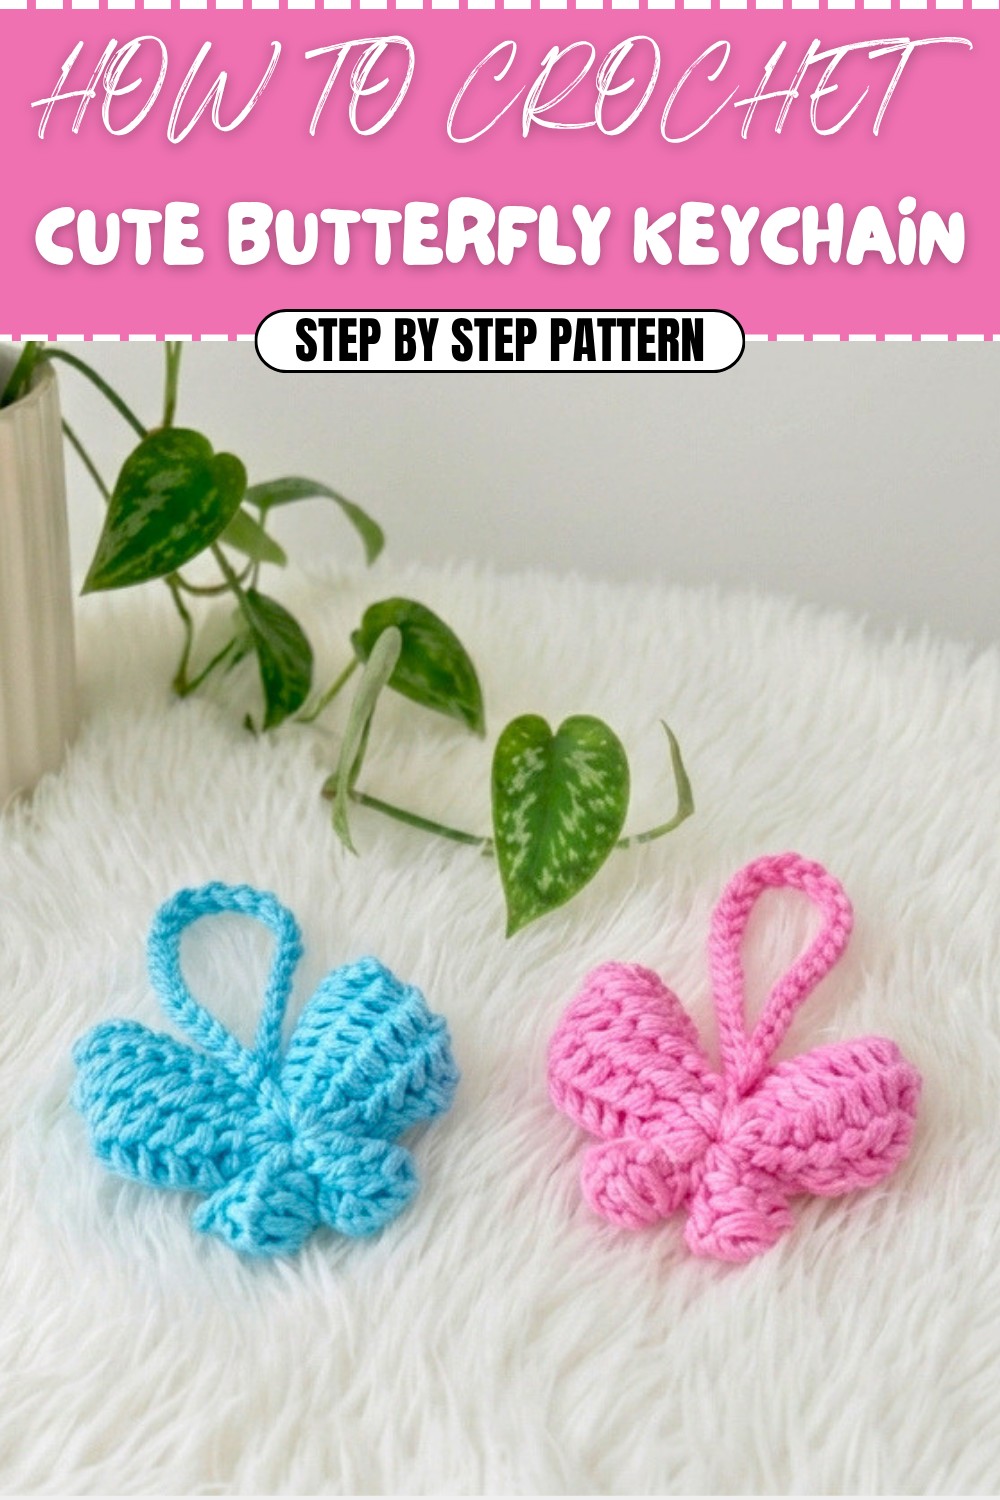
Crochet Pattern: Butterfly Keychain or Keyring
Create a beautiful butterfly keychain or keyring to add a touch of elegance and creativity to your daily accessories! This project is quick, fun, and perfect for beginners aiming to hone their crochet skills. The 3D texture of this pattern makes the butterfly look realistic and playful. You’ll also get to incorporate stuffing to shape your piece into a charming, soft design.
This step-by-step pattern will walk you through creating the butterfly body, assembling two halves together, and providing it with a puffed, three-dimensional structure. Whether gifting this project to loved ones or keeping it for personal use, this keychain is a perfect blend of creativity and functionality.
What You'll Learn from This Pattern
- How to work a magic circle and use it as a base for symmetrical designs.
- Techniques for yarn overs and creating multi-row wing layers.
- Building dimension into crochet patterns with stuffing.
- Combining two halves for a three-dimensional object with clean finishing.
Skill Level & Terminology
- Skill Level: Beginner
- Terminology: US Crochet Terms
This pattern uses foundational techniques such as magic circles, slip stitches, and yarn overs. It’s an accessible project for crocheters with basic knowledge, letting them practice creating intricate shapes with repetitive actions.
Materials & Tools
- Yarn: 100% cotton yarn (any two colors, e.g., vibrant colors for the butterfly and subtle shades for the connecting chain/loops).
- Hook Size: 3 mm crochet hook.
- Other Tools:
- Tapestry needle (for weaving ends and assembling parts).
- Scissors.
- Polyfill stuffing or cotton (for shaping).
Gauge
Gauge is not essential for this project. Using a 3 mm hook with cotton yarn will ensure tight stitches, holding the stuffing securely inside the butterfly.
Abbreviations List
| Abbreviation | Meaning |
|---|---|
| ch | Chain |
| st | Stitch |
| sl st | Slip Stitch |
| YO | Yarn Over |
Special Stitch Instructions
- Magic Circle: This method creates a tight adjustable ring as the base for the butterfly. Wrap the yarn around your fingers to form an "X," then work as instructed to start your rounds.
- Slip Stitch (sl st): Insert the hook into the stitch, yarn over, and pull through both loops on the hook.
Finished Size
The butterfly keychain measures approximately 2.5–3 inches wide (when stuffed), with a chain loop for attaching the keyring.
What Stitches Are Used in This Pattern?
This pattern primarily focuses on creating shapes with slip stitches (sl st) and yarn overs (YO), combined with rows of loops to form the butterfly's wings with dimension and structure. You’ll use these techniques to craft, shape, and assemble the final piece.
The Pattern Itself
Step 1: Butterfly’s First Half (Wings and Body)
- Begin by creating a magic circle:
- Wrap the yarn around your fingers, forming an "X."
- Insert the hook under the first loop of the "X," grab the other loop and pull through. Twist the hook to lock the yarn in place.
This forms the adjustable base of the butterfly, allowing you to work multiple stitches from a single point.
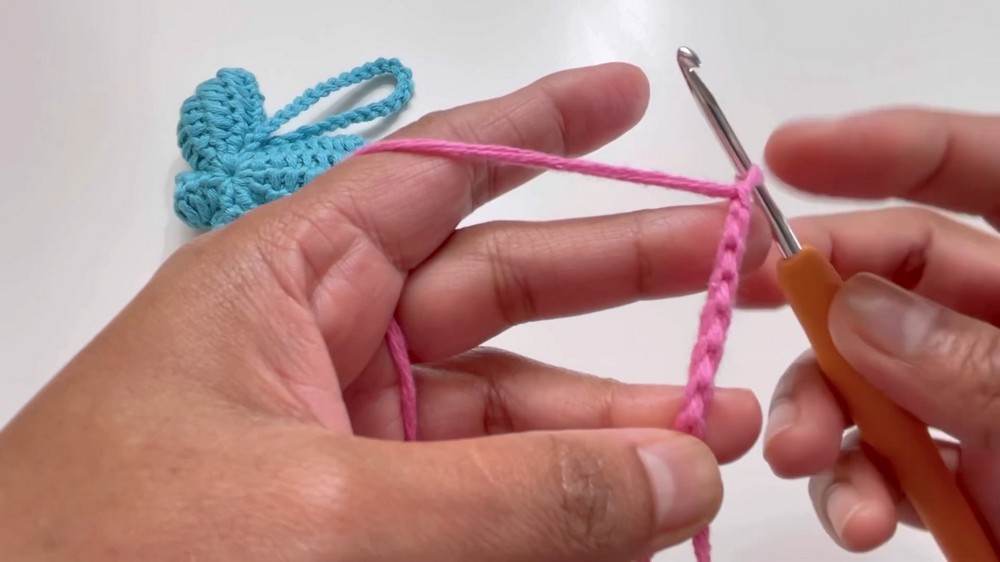
- Work chain 8 into the magic circle.
- Turn your work to begin working on the underside of the chains.
- Work into the back loops of each chain as follows:
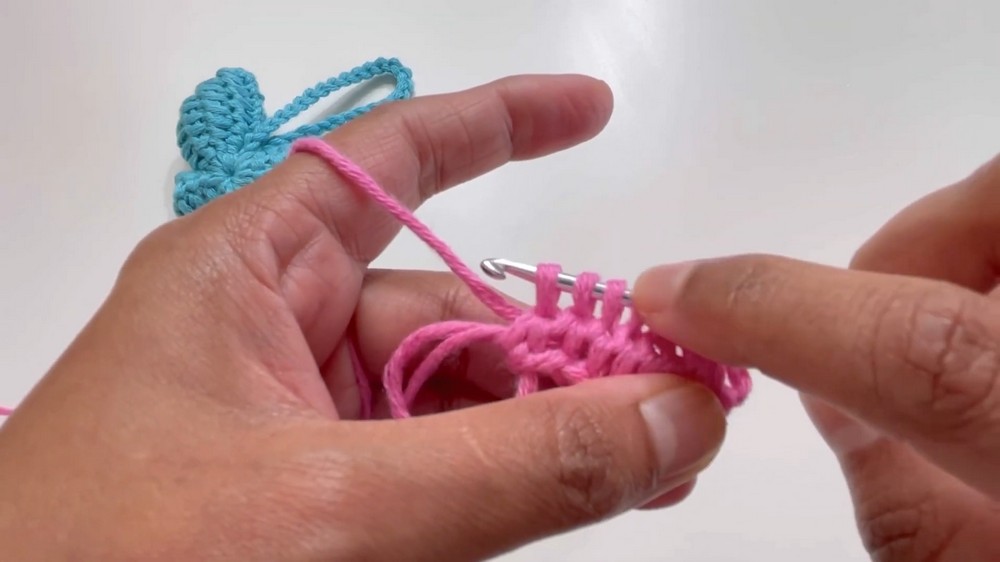
- Insert the hook into the first chain, YO, and leave the loop on the hook.
- Repeat for the remaining 7 chains, so you have 9 loops on your hook.
- Insert the hook into the magic circle, YO, and pull through, creating 10 loops on your hook.
- YO for a total of 9 times, pulling through 2 loops at a time until you’re left with 1 loop on your hook.
This forms the first layer of a wing structure, providing depth while consolidating rows into a single point.
Step 2: Repeating Rows for Wing Layers
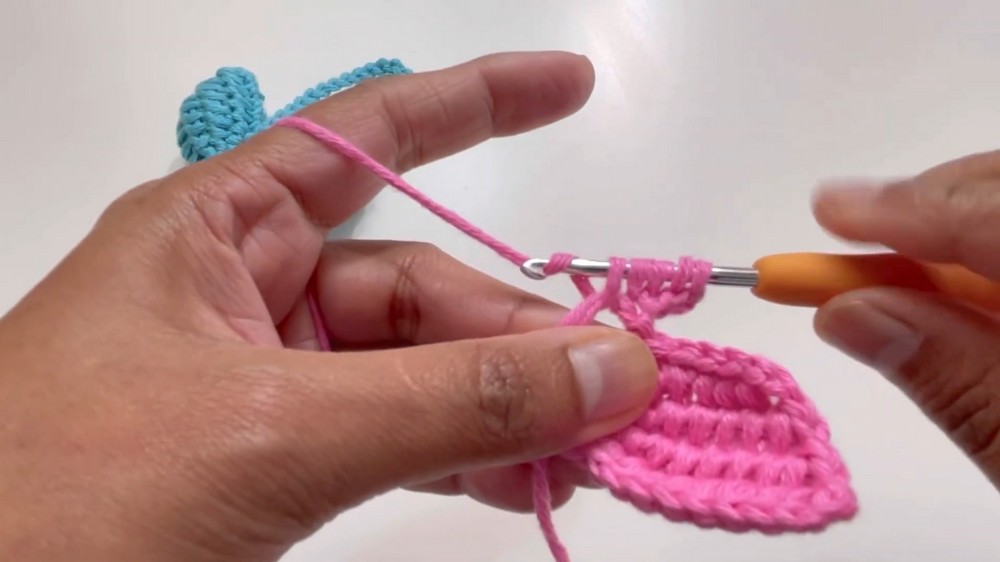
- Row 2:
- Insert the hook into the first YO loop from the previous row and work 1 sl st.
- Insert the hook into all remaining YO loops, grabbing the yarn (8 loops now on hook).
- Insert the hook into the magic circle and pull up a loop, creating 9 loops.
- YO for 8 times, pulling through 2 loops at a time.
The second wing layer adds more dimension to the butterfly while retaining a structured and symmetrical look.
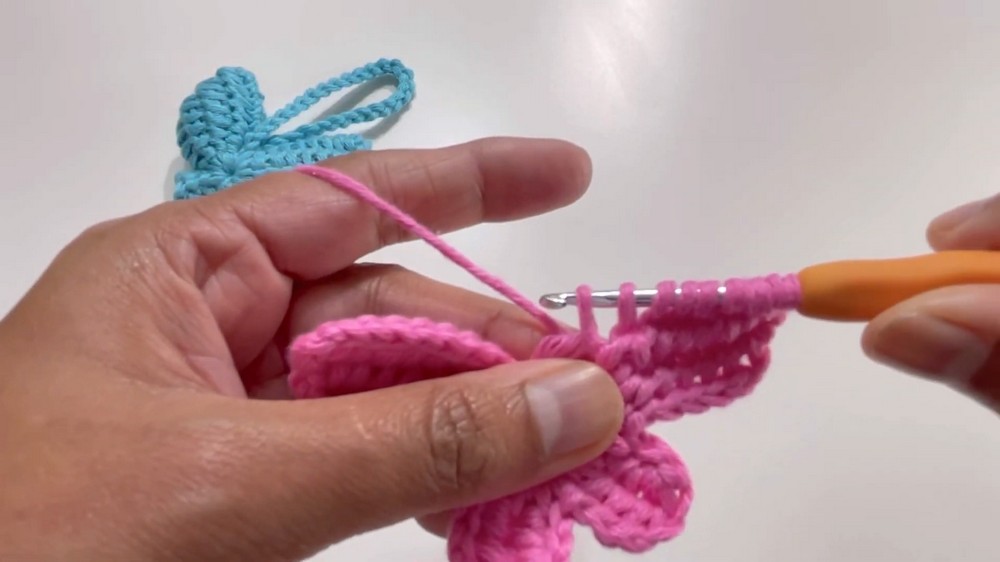
- Row 3:
- Insert the hook into the first YO loop and work 1 sl st.
- Insert the hook into all remaining YO loops (7 loops on hook).
- Work into the magic circle, creating 8 loops.
- YO for 7 times, pulling through 2 loops each time.
Repeat the same process for additional rows to form the full butterfly wing layers, reducing 1 loop per row until you’re left with 1 loop.
Step 3: Second Half of the Butterfly’s Wings
- Repeat Steps 1 and 2 to create the second half of the butterfly, working into the other side of the magic circle. This creates perfect symmetry for the wings.
Ensure each side is worked identically. Once complete, both parts will align seamlessly when sewn together.
Step 4: Creating the Chain for the Keyring
- Ch 30:
- Attach this chain to the tip of one butterfly (one side only) by slip-stitching it to the magic circle at the base.
- Finish by fastening off the yarn, leaving a long tail for assembly.
Step 5: Assemble the Butterfly
- Create a second butterfly without the keyring chain. Both halves should look identical except for the missing chain.
- Lay the two pieces on top of each other, aligning their edges.
- Use a tapestry needle and leftover yarn to sew the two butterfly pieces together around the edges. Ensure they are evenly aligned and securely stitched together. Leave a small opening to insert stuffing.
It’s important to leave a gap before sewing the entire edge to allow for the stuffing material.
- Stuff the butterfly gently using polyfill or cotton. Ensure an even distribution for a soft and puffy texture.
- After stuffing, sew the remaining portion shut with neat stitches, ensuring the stuffing is securely contained.
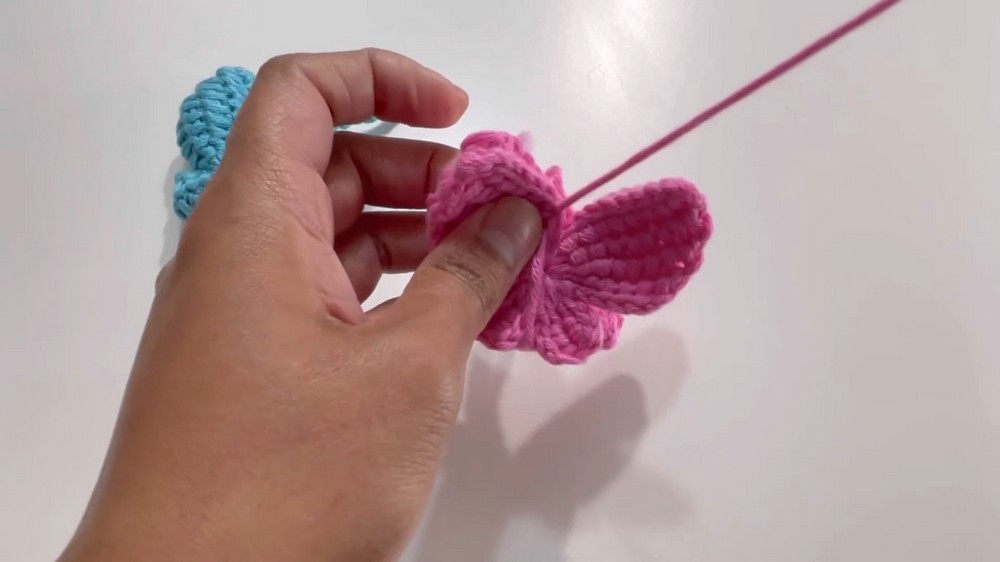
Once you’ve secured the edges, the butterfly will have a charming, 3D look, with its stuffing giving it volume.
Assembly & Finishing
- Use the leftover yarn tail to weave in all ends and tighten the magic circle loop securely for a finished look.
- Your butterfly is now complete! Attach it to a keyring or loop for a functional and decorative touch.
Why I Love This Pattern
This butterfly keychain is both functional and adorable, with its plush shape and vibrant colors adding a pop of personality! I love how versatile it is—you can choose your favorite shades to create a unique design, and you can turn it into a brooch, ornament, or even an appliqué. Beginners can pick up valuable skills like working with magic circles and layered rows, while experienced crocheters will love this quick and rewarding project.