
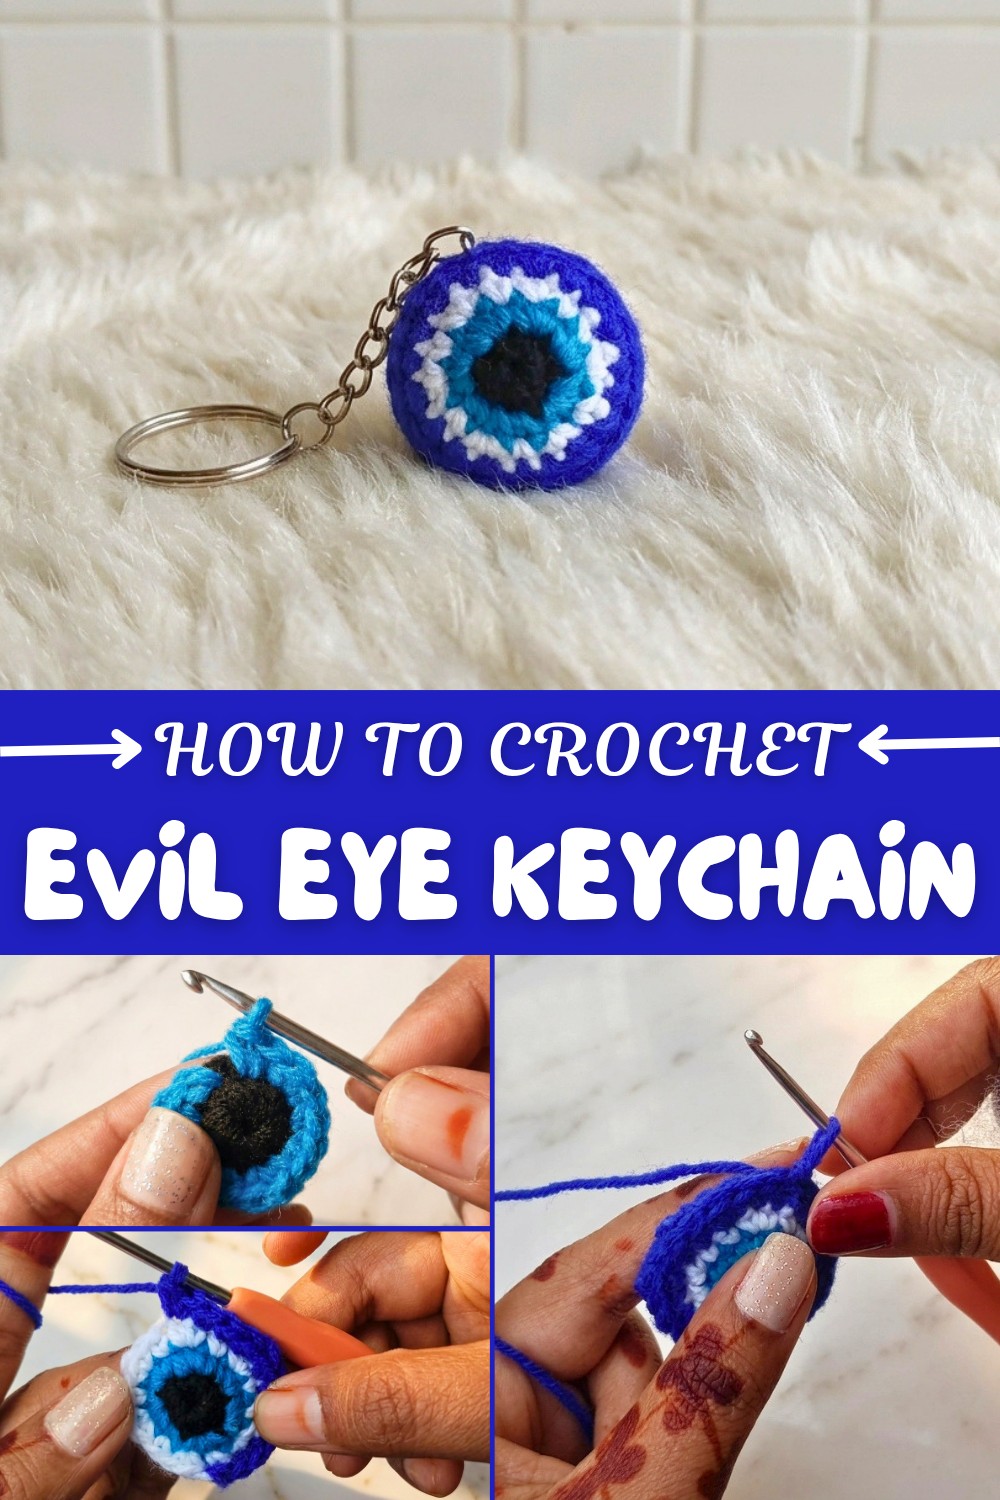
Trendy Crochet Evil Eye Keychain Free Pattern
A colorful Evil Eye keychain made from yarn brings a pop of tradition, style, and positivity to your everyday essentials. This free crochet pattern teaches you how to make a striking symbol believed to protect against negativity, turning simple yarn into a charming keepsake. The beauty of the evil eye design comes alive through its bold blue, white, and black circles, making each keychain stand out with a unique handmade touch. It’s a lovely accessory for keys, bags, or as a thoughtful little gift that carries a good wish for the recipient.
Free Pattern: Crochet an Evil Eye Keychain Bag Charm
Learning this Evil Eye keychain pattern is both fun and practical, especially for those just beginning their crochet journey. By following along, you get hands-on practice with basic stitches, working in the round, and changing yarn colors. These helpful skills open the door to even more creative projects. The pattern is easy to follow and doesn’t take much time, so you’ll quickly see a finished piece ready to show off.
You’ll discover how much you can do once you’re comfortable with these steps. With a little imagination, the basic circle design can become more than just a keychain. Try making matching coasters, small bag charms, or even decorative wall hangings by adjusting the size or color palette. Each project helps build your confidence and skill, letting you enjoy the process while making something beautiful and meaningful. This is a perfect crochet project to spark creativity and share good energy with others.
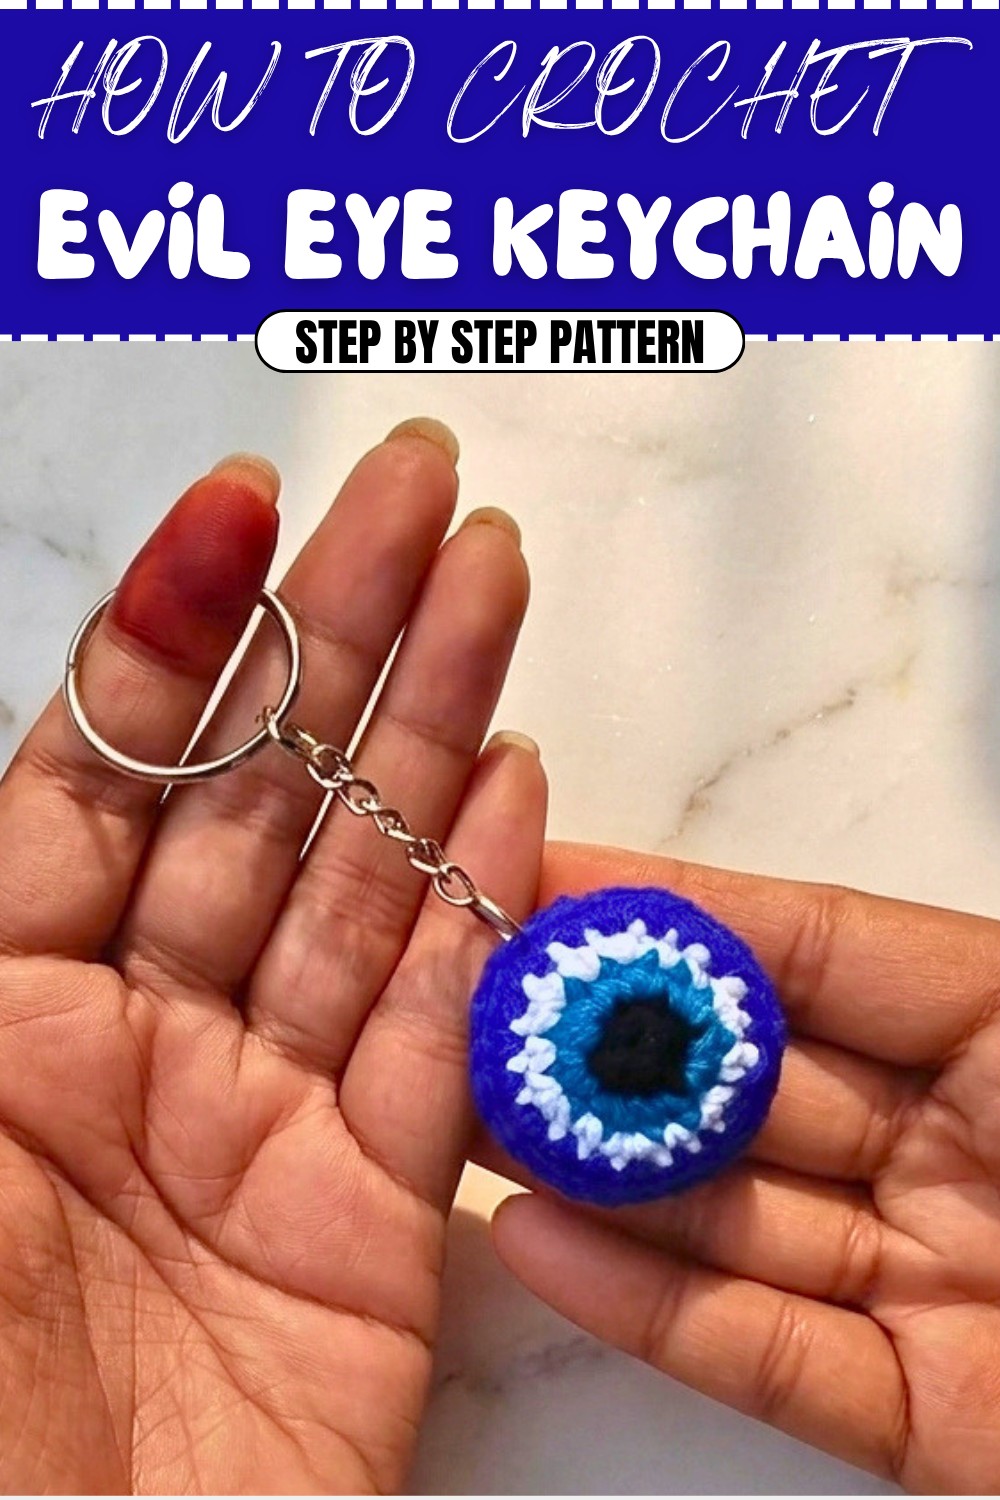
Mini Evil Eye Keychain Crochet Pattern
Welcome! Today we’ll crochet a mini evil eye keychain—a quirky, colorful charm that’s believed to protect you from bad vibes. This pattern uses basic rounds and is suitable for complete beginners. The finished piece is small enough to hang from your keys, bag, or backpack for a little pop of luck and color!
Skill Level & Terminology
Skill Level: Beginner
Terminology: US crochet terms
Materials & Tools
- Worsted weight yarn: black, sky blue, white, dark blue
- 2.5 mm crochet hook
- Yarn needle (for sewing/weaving in tails)
- Scissors
- Fiberfill/polyester stuffing (or scrap fabric)
- Keychain ring (optional)
- Lighter (optional, to carefully seal yarn ends)
Gauge
Not important for this project. Just keep stitches tight so stuffing doesn’t poke out.
Finished Size
About 1.5”–2” (4–5 cm) across, depending on yarn and hook size.
Abbreviations List
| Abbreviation | Meaning |
|---|---|
| MR | Magic Ring |
| ch | Chain |
| sc | Single Crochet |
| inc | Increase (2 sc in the same stitch) |
| slst | Slip Stitch |
Special Stitch Instructions
- Magic Ring (MR): Make a loop, insert hook, yarn over and pull up a loop, ch 1 (doesn’t count as a stitch), work stitches into ring. Pull tail to close.
- Increase (inc): Make 2 single crochet stitches into the same stitch.
- Slip Stitch (slst): Insert hook, yarn over, pull through both the stitch and loop on hook.
The Pattern
Make Two Circles (Front & Back of Keychain)
Center – Black
- Round 1: With black yarn, MR, 6 sc into ring. Pull tight to close.
- End with a slst to first sc, then fasten off black yarn.
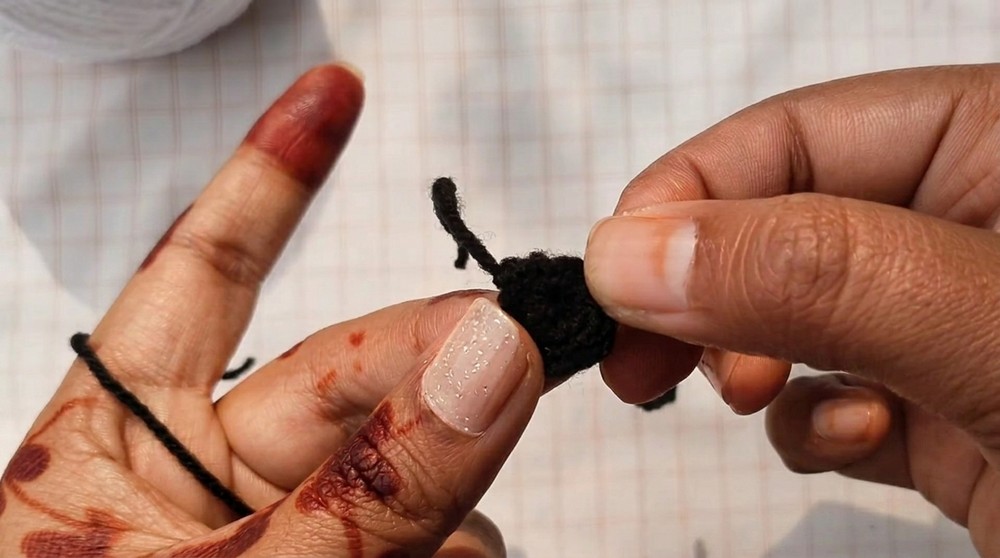
You’ve made the small black center for your evil eye. Don’t worry if it looks tiny! The next rounds will build it up. Make sure you do a slip stitch at the end to make your circle neat.
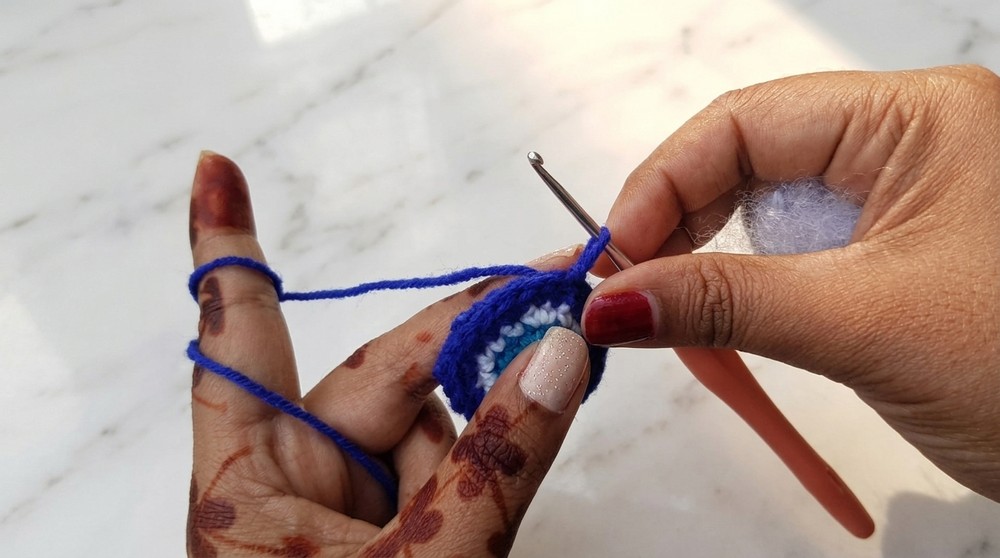
Second Round – Sky Blue
- Join sky blue yarn in any stitch.
- Ch 1
- Round 2: 2 sc in each stitch around (12 sc total).
- Slst to first sc, then fasten off sky blue.
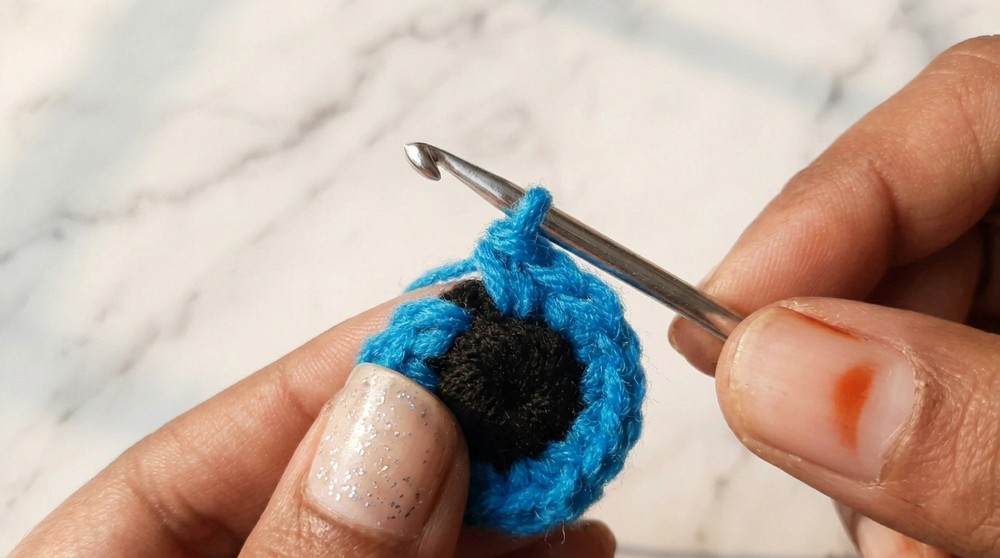
The eye is getting bigger! Now you have a blue ring around your black dot. Remember to put two single crochets in every stitch for an even increase and a neat circle.
Third Round – White
- Join white yarn in any stitch.
- Ch 1
- Round 3: Repeat this sequence: 1 sc in next stitch, 2 sc in next stitch, go all the way around (18 sc total).
- Slst to first sc, fasten off.

This white round will make your evil eye stand out. Just alternate one single stitch, then two in the same spot, and keep repeating. This keeps the circle flat and even.
Fourth Round – Dark Blue
- Join dark blue yarn in any stitch.
- Ch 1
- Round 4: Repeat this sequence: 1 sc in each of next 2 stitches, 2 sc in next stitch, go all the way around (24 sc total).
- Slst to first sc, fasten off, weave in any loose ends.
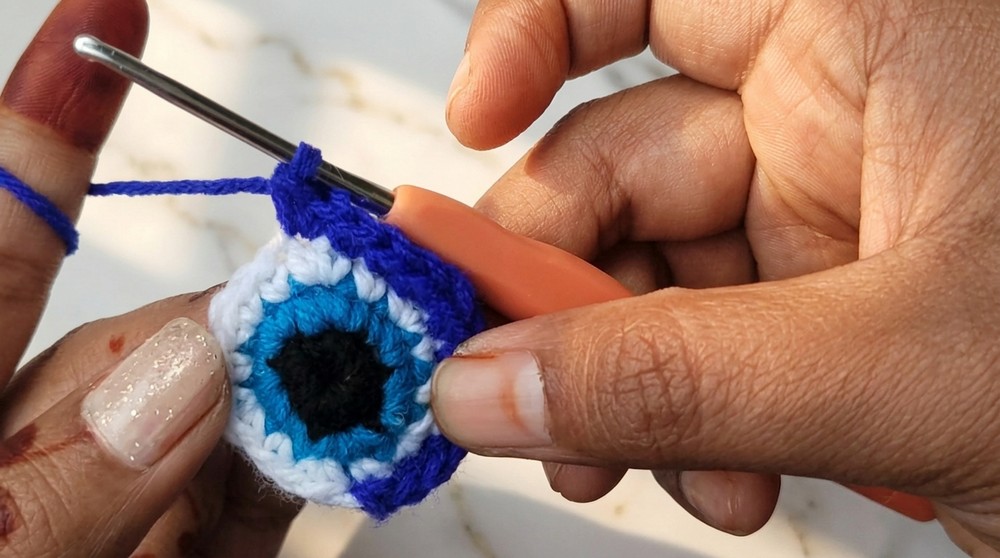
Great job! Your circle should be large and colorful now. The sequence makes the blue round wide and pretty. Now, just repeat all these steps to make a second, identical circle for the back of your keychain.
Beginner Explanation (after both circles):
You will need to make two of these circles. One will be the front, one will be the back. Each new round uses an easy repeating pattern—just count your stitches and repeat the process to get nice, flat circles.
Assembly & Finishing
- Check both circles are the same size and shape.
- If the centers are a bit loose, use the black tail to pull and close any gaps, then tie and trim or tuck inside.
- Place circles with their "front" sides facing out (wrong sides together).
- With dark blue yarn, join to the edge (through the back loops of both circles), ch 1.
- Slip stitch evenly through the edge stitches of both circles, working around until you have a small gap left.
- Lightly stuff with fiberfill or scrap fabric through the gap to make it puffy.
- Continue slip stitching to close fully, then fasten off and weave in all yarn ends with a yarn needle.
- Attach a keychain ring at the top (just insert through the stitches).
- For a neat finish, you may very carefully singe the ends with a lighter (adults only).
Beginner Explanation:
Lay your two circles together, then stitch around their edges using slip stitches, going through both circles at the same time. Pause before closing to add stuffing, then close fully. This makes it soft and neat. Finally, attach a keychain ring and hide all your yarn tails inside.
Your Mini Evil Eye Keychain is Finished!
Decorate with extra embroidery if you wish, or use as it is for a classic look. Every keychain you make will look a little different and unique.