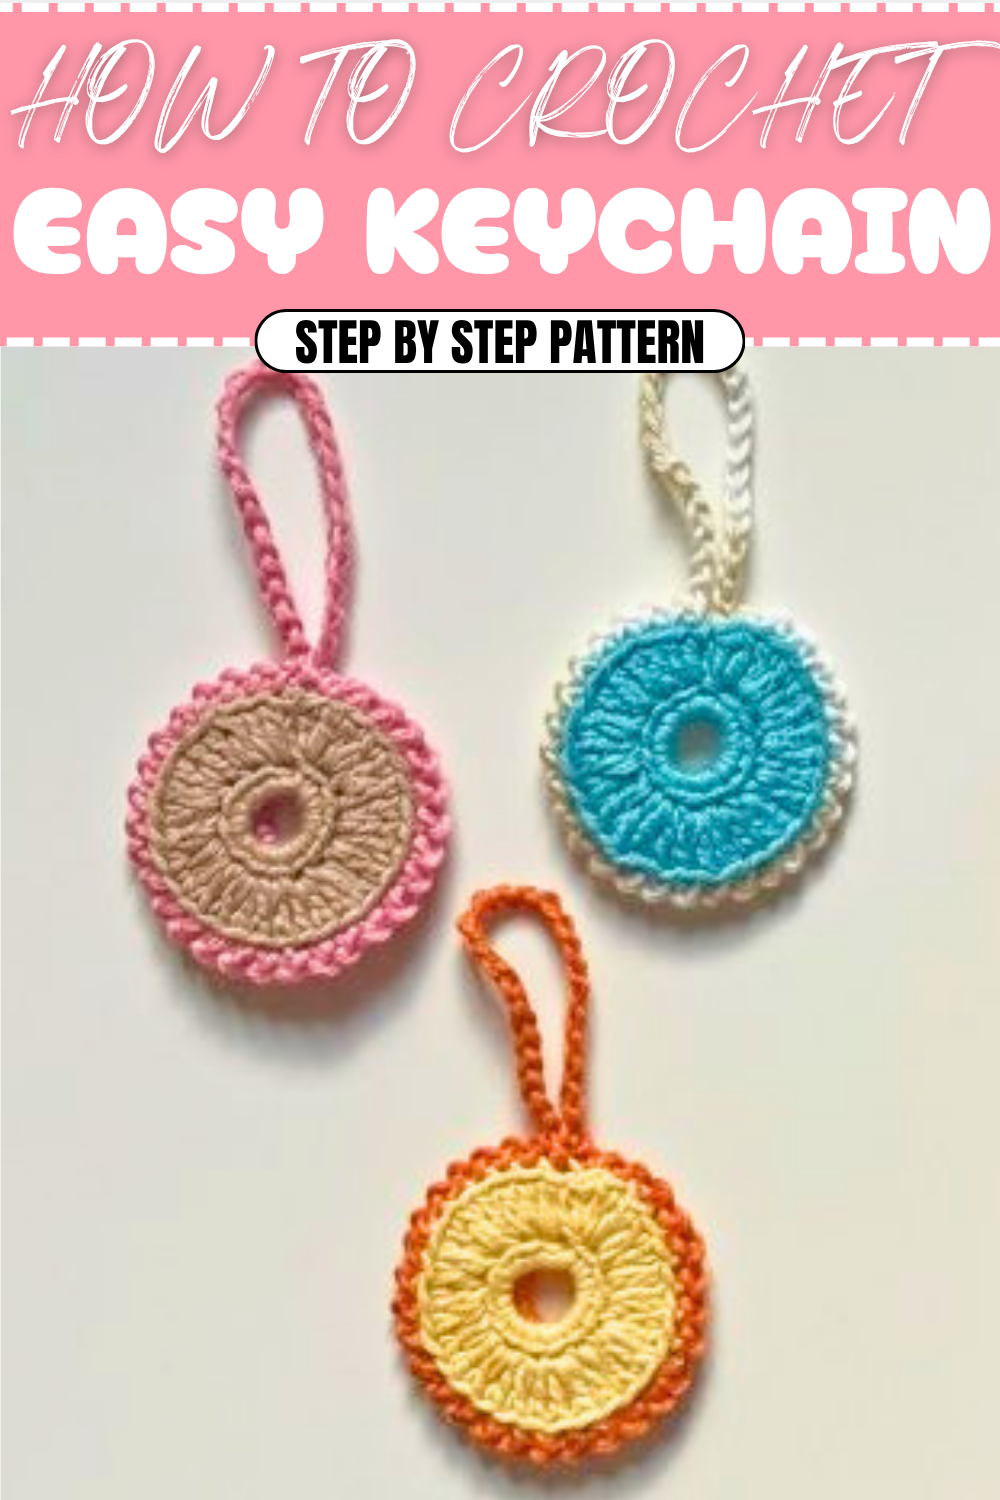
Quick and Easy Crochet Keychain Pattern for Instant Style
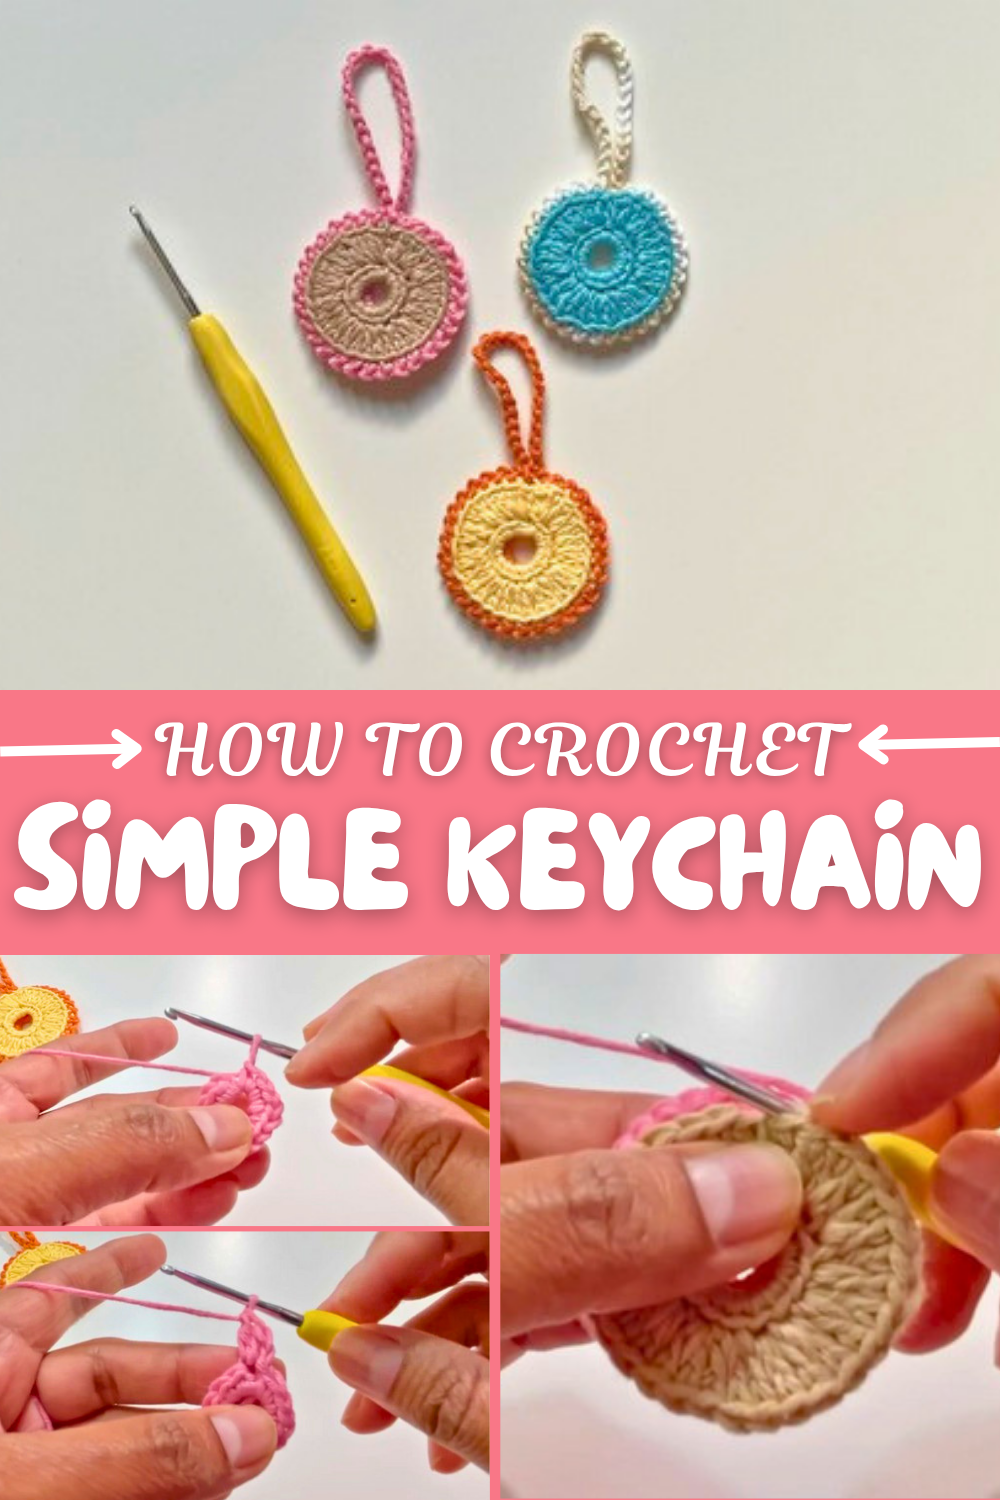
What makes this pattern particularly lovely is the use of back loop only double crochets, which create a textured ribbed effect around the keychain’s body. Starting with a magic ring helps form a neat center, and working in the round with consistent stitches builds a solid, sturdy shape perfect for everyday wear and tear. The simple joining technique and slip stitch edging add a clean finish that even beginners can successfully master. Plus, a customizable chain loop allows you to adjust the size of the key loop, making it a versatile pattern for different needs.
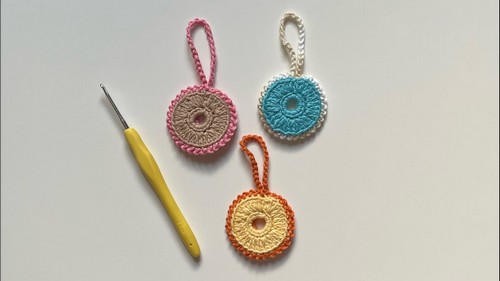
Crochet Keychain Pattern
1. About this Pattern
This crochet keychain pattern is a fun and quick project, perfect for both beginners and experienced crocheters. Its small size makes it a great stash-busting project for leftover yarn, and the resulting keychain is an elegant addition to embellish your keys, bags, or gifts. Designed with a neat and clean circular pattern, this pattern stands out and is fully customizable by the size and color of the loop you create.
What You’ll Learn
- How to work with a magic ring for seamless circular designs.
- Creating textured details with back-loop-only (BLO) stitches.
- Learning to join two pieces with neat slip stitches for a polished finish.
- Adding functional crochet loops for keychains or decorative purposes.
2. Skill Level & Terminology
- Skill Level: Beginner-Friendly
- Terminology: US Crochet Terms
This project is perfect for beginners who want to practice working with magic circles, single crochets, back-loop stitches, slip stitches, and basic loop chains.
3. Materials & Tools
Materials
- Yarn:
- 100% cotton yarn (2 mm thread weight) – Any bright or pastel colors for customization.
Tools
- Crochet Hook: 2.2 mm
- Scissors
- Darning needle: For sewing and weaving in ends.
- Stitch marker: Essential for marking your first stitch in rounds.
4. Gauge
Gauge is not critical for this project. However, tight stitches are recommended to produce a firm and dense keychain. A rough guideline is 7 single crochets in 2 inches using a 2.2 mm hook and cotton yarn.
5. Abbreviations
Here is a helpful guide to the abbreviations used:
- MR – Magic Ring
- ch – Chain
- sc – Single Crochet
- sl st – Slip Stitch
- st(s) – Stitch(es)
- dc – Double Crochet
- BLO – Back Loop Only
6. Special Stitch Instructions
Magic Ring (MR):
- Wrap the yarn around two fingers to form a loop, crossing the tail behind the working yarn.
- Insert the hook through the loop, yarn over, and pull up a loop.
- Chain 1 to secure the loop.
- Work the required number of stitches into the loop, and pull the tail tight to close the circle.
Back Loop Only (BLO):
Insert your hook under only the back loop of the stitch, leaving the front loop unworked. This technique creates a subtle ridge and adds texture to your project.
7. Finished Size
The completed keychain has a 3-inch diameter ring, and the loop adds an additional 2–3 inches depending on the number of chains.
8. The Pattern Itself
Part 1: Creating the Magic Ring Foundation
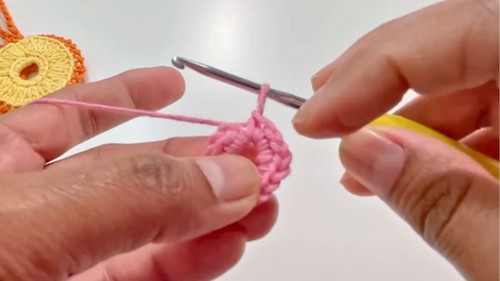
Round 1:
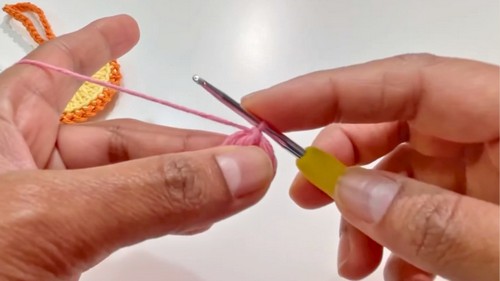
- Create a magic ring with 4–5 loops (for thickness) using your finger as a guide.
- Pro Tip: Wrapping the yarn around your finger 4–5 times ensures the keyring's foundation is sturdy!
- Chain 1 (does not count as a stitch).
- Work 14 sc into the magic ring. (14 sts)
- Pull the tail tight to close the ring.
- Place a stitch marker on the first stitch.
- Join the round by working a sl st into the BLO of the first sc.
Part 2: Expanding the Base Circle
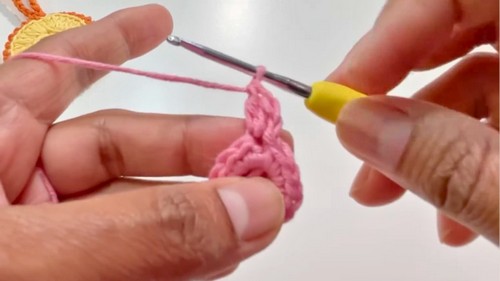
Round 2:
- Chain 1 to begin the round (does NOT count as a stitch).
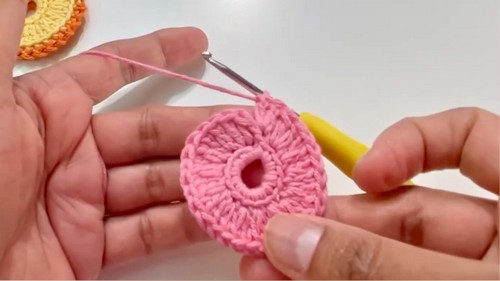
- For each stitch from the previous round, work 2 dc BLO into the stitch
- Tip: Always insert the hook into the back loop only to create a textured ridged effect around the ring.
- Once you reach the slip stitch from Round 1, work 2 dc BLO into the slip stitch for a total of 30 sts.
- Join the round by working a sl st BLO into the first dc of this round.
Part 3: Starting the Second Side
- After completing the first round portion, fasten off the yarn and hide the tail in the back.
- Repeat Part 1 and Part 2 to create the second identical circular piece.
- Tip: Place the backsides of the two circles together before starting the joining process to ensure a tidy finish.
For non-pattern readers: Create two thick circular crochet pieces by working a magic ring foundation and expanding with double crochets in the back loop. This creates texture and structure.
Part 4: Joining the Two Pieces
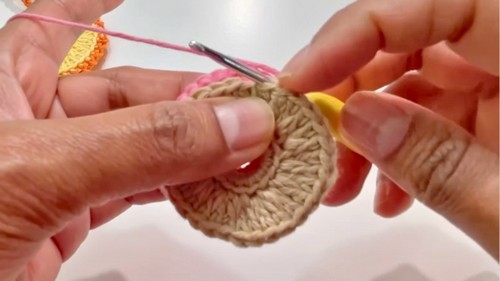
- Align the two circular pieces back to back with the right sides facing outward.
- Attach your yarn to the first stitch of both circles (using back loops) and chain 1 to secure the connection (chain 1 does not count as a stitch).
Joining Round
- Work 1 sl st + 1 ch into the BLO of each corresponding stitch on both circles, joining them together.
- Repeat for all stitches around the edge of the circles (30 sts in total).
- Pro Tip: Add a stitch marker after your first stitch and count up to ensure your joining stays even.
- When you’ve completed the round, ensure alignment of the pieces and finish by slip-stitching the final stitches together.
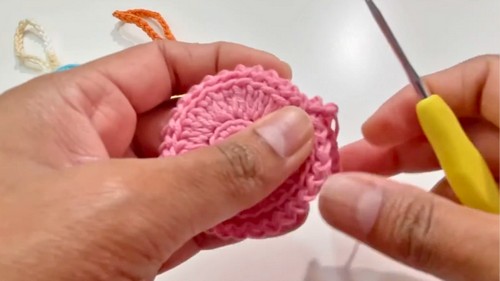
Line up the two circular pieces and crochet them together using slip stitches worked into the back loops. This creates a seamless finish.
Part 5: Creating the Keychain Loop
- After completing the joining round, work ch 25 to create the loop for the keyring hook.
- Attach the chain to the same stitch where you started, using a sl st.
- Cut the yarn, pull it tight, and fasten it securely. Hide the yarn tail by sewing it into the stitches using a darning needle.
Optional Customization: Adjust the size of the loop by increasing or decreasing the number of chains.
To finish the keychain, create a chain loop of 25 or more stitches, attach it to the base of the circle using a slip stitch, and secure your yarn.
9. Assembly & Finishing
- After completing the loop, weave in all knot tails with a darning needle to secure them neatly inside the project.
- Attach a keyring or carabiner hook to the chain loop for a finished keychain.
If you wish to customize further, you can use embroidery or beads to decorate the keychain, making it a personalized gift or decorative accessory.
10.Tutor's Suggestions
- Choose bright and contrasting colors to make your keychain stand out.
- Use a sturdy yarn to ensure durability.
- Practice the basic stitches beforehand if you are completely new to crochet.
11. Why You’ll Love This Pattern
This pattern is simple yet elegant, providing a perfect balance of practicality and aesthetics. It’s a quick project, perfect for gifting or selling at craft fairs. The use of BLO stitches gives the keychain a professional texture, while the magic ring ensures a neat circular center. With the ability to customize colors and loop sizes, this keychain pattern is highly versatile and enjoyable to work on for all levels of crochet enthusiasts.