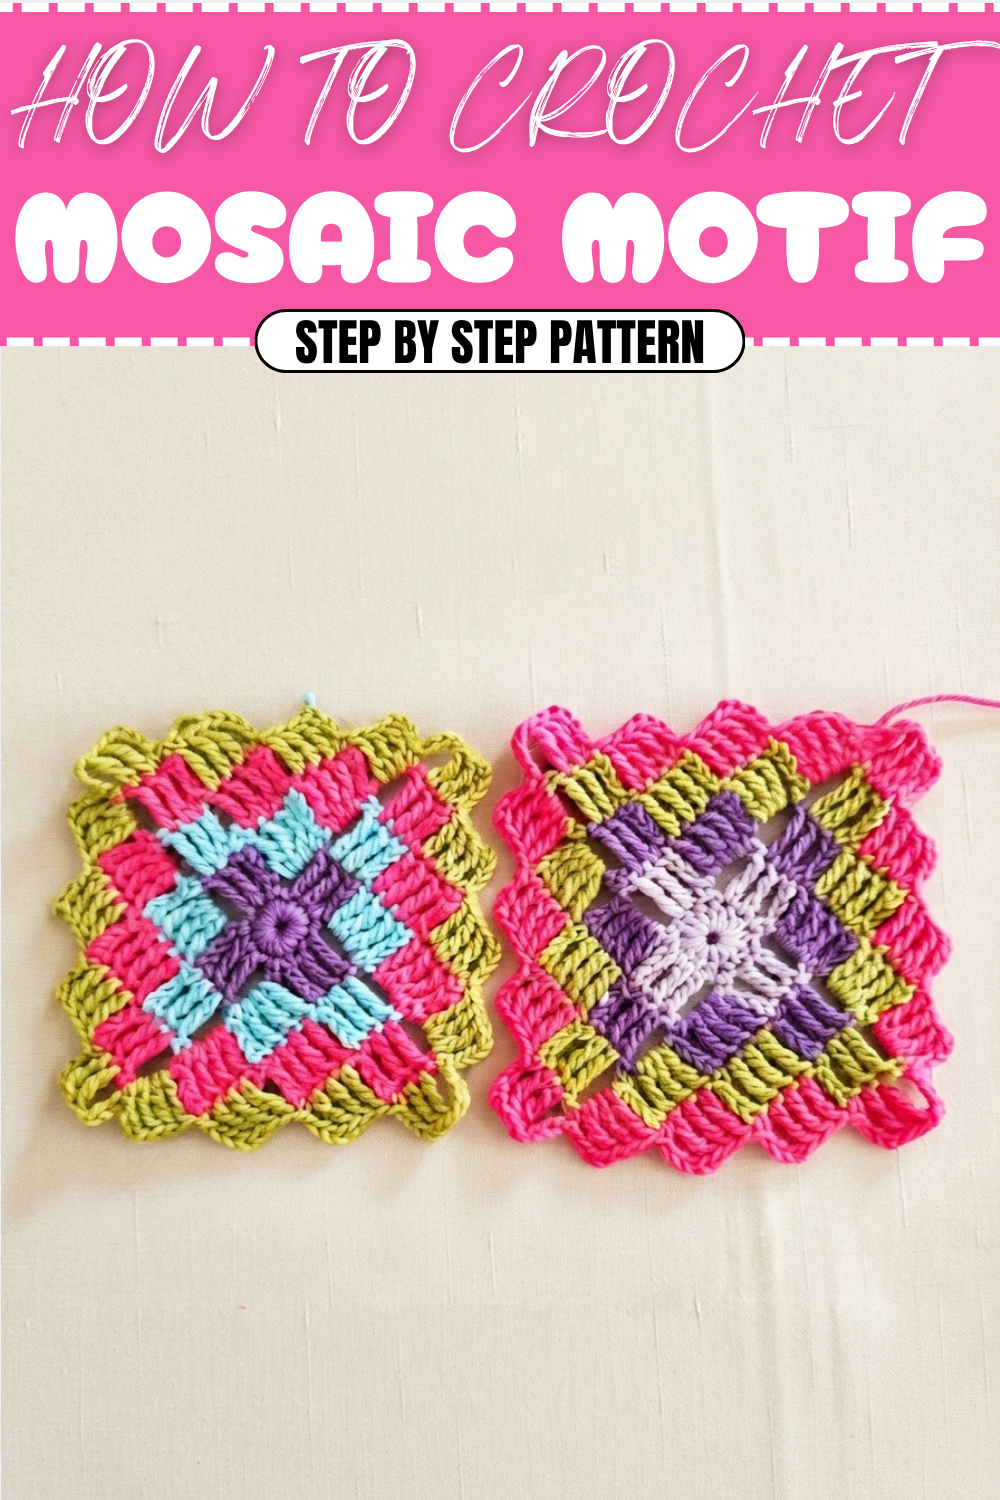
Free Crochet Mosaic Motif Pattern That Boost Your Everyday Look
Turn simple stitches into art with this Free Crochet Mosaic Motif Pattern, an inspiring project for handmade décor.
Bringing color and texture together in a rhythmic dance, this crochet mosaic pattern combines simple stitches to create stunning intertwined motifs. The magic lies in using triple treble crochet stitches paired with chains and single crochets to form a repeating geometric design that looks intricate yet is surprisingly easy to make. Working in rows of vibrant colors, the pattern builds a rich fabric that can grow as large as you want, making it perfect for projects where texture and visual interest matter. The playful interplay of stitches and colors adds a charming, handmade feel to any piece.
Creative Crochet Mosaic Motif Pattern for Gorgeous Home Accents
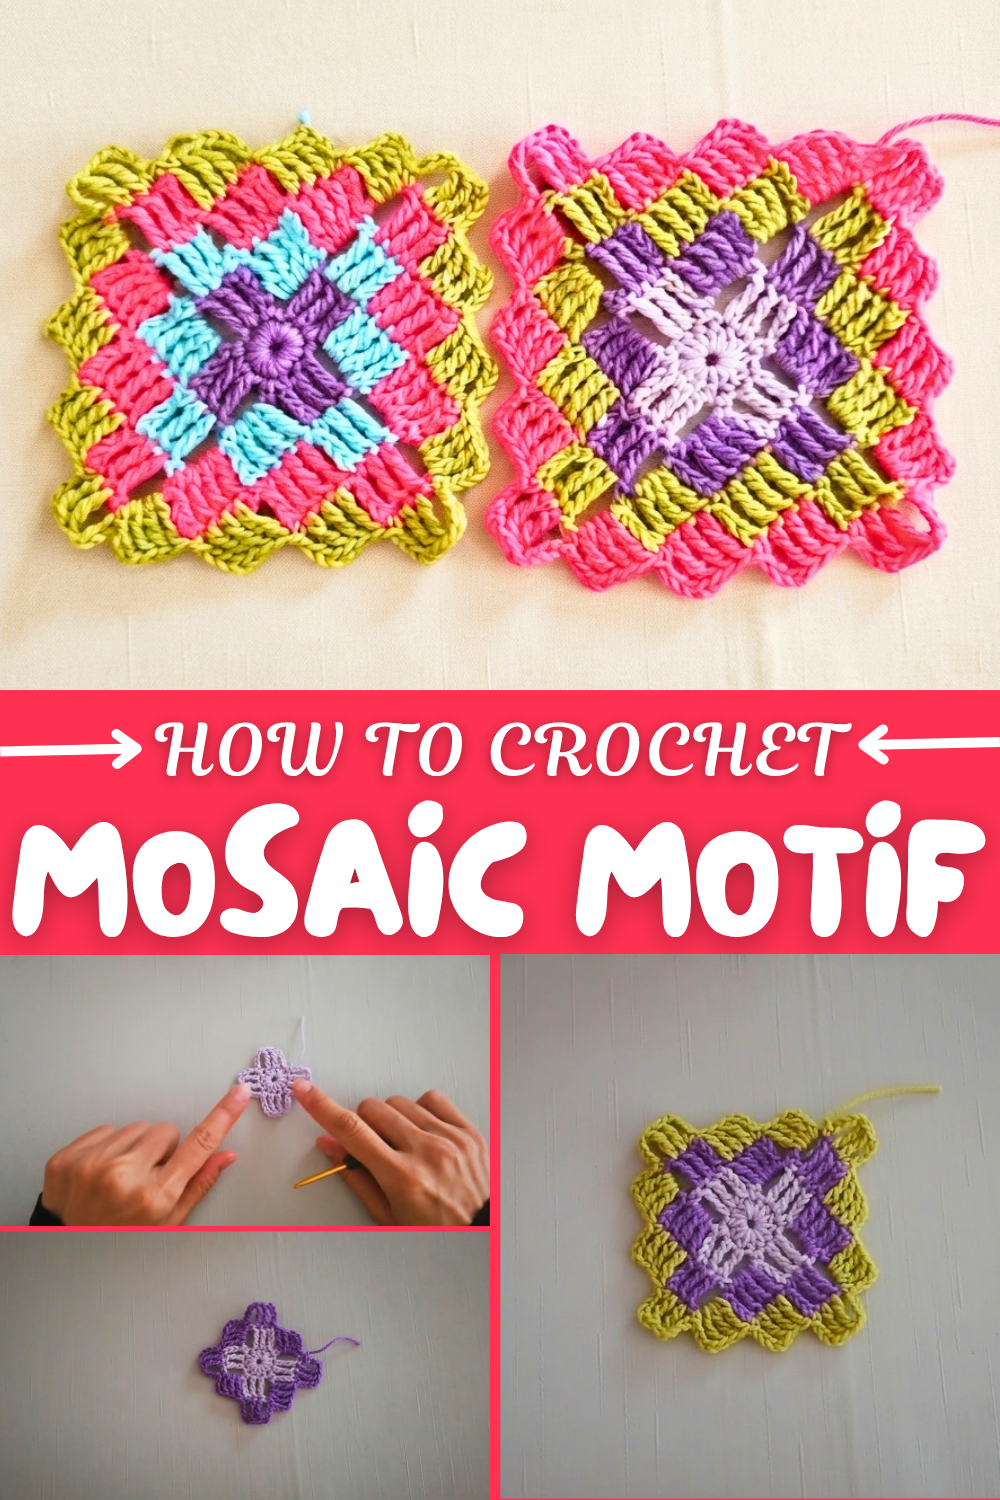
The process begins with a foundation chain and moves into rows where clusters of triple treble stitches are carefully spaced out by chains, creating a lattice-like effect. Connecting each part with single crochet stitches keeps the fabric stable while allowing the mosaic pattern to stand out. Since the stitches are worked back and forth instead of in the round, it’s easy to keep track of your progress without losing count. This method also lets you pause and resume your work comfortably, which makes it a great project for beginners wanting to challenge themselves gently.
Versatile Creations with This Pattern
This motif’s structure is ideal for more than just blankets or throws. Imagine how beautifully it could transform into cushion covers, table runners, or even stylish shawls. Because the mosaic work is solid but breathable, it also makes a cozy yet decorative wrap or scarf. Broken into smaller sections and joined, these motifs can become eye-catching bags or garment panels. Playing with color combinations and sizes offers endless ways to adapt the pattern to your style and needs, turning simple crochet stitches into memorable handmade treasures.
Crochet Mosaic Pattern – Step-by-Step Guide
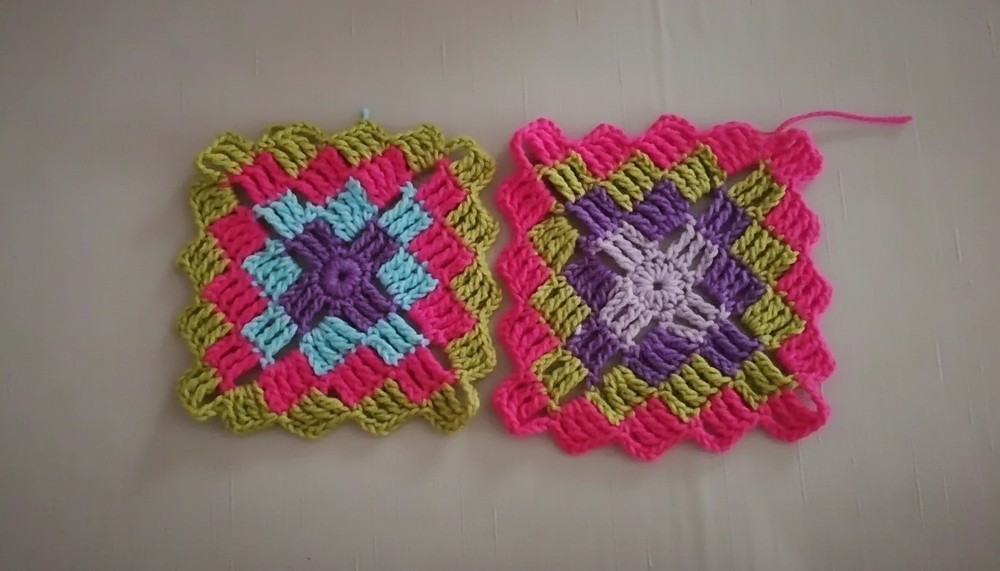
This mosaic crochet pattern features a beautiful, geometric design with layers of interwoven columns, making it both intricate and visually appealing. Perfect for blankets, cushions, bedspreads, or throws, this extensible pattern allows you to crochet projects that are as large or small as you want.
The Crochet Mosaic Pattern is unique yet simple to create. Worked in rounds, its structured, layered design makes it suitable for both colorful and monochromatic projects. You can adapt this pattern to create home décor items, large-scale blankets, or decorative covers. It’s ideal for adding a touch of elegance and depth to plain stitch work.
Skill Level
Intermediate – The pattern uses basic stitches, including chains (ch), slip stitches (sl st), single crochet (sc), and treble crochet (tr), as well as the triple treble stitch. While straightforward, the repetition and attention to structure make it a great project for those with some experience.
Terminology
Written using US crochet terms.
Materials & Tools
- Yarn: Medium-weight or cotton yarn in multiple colors (at least three for vibrant contrast).
- Hook: 3mm crochet hook for a tight and polished finish.
- Tapestry Needle: For weaving in ends after completion.
- Scissors: For cutting yarn.
Gauge
Gauge will depend on your yarn and hook. Approx. dimensions for one motif:
- Motif Size: ~5 inches (12 cm) after finishing, with a 3mm hook and medium-weight yarn.
Abbreviations List
The following abbreviations are used throughout the pattern:
- ch: Chain
- sc: Single Crochet
- sl st: Slip Stitch
- hdc: Half Double Crochet
- dc: Double Crochet
- tr: Treble Crochet
- ttr: Triple Treble Crochet (wrap the yarn three times before working the stitch)
- yo: Yarn Over
Special Stitch Instructions
- Triple Treble Crochet Stitch (ttr): Yo 3 times, insert the hook into the designated stitch, yo, pull through; yo, pull through 2 loops; repeat until only 1 loop remains.
What You’ll Learn
- How to start and work in continuous rounds to create a mosaic effect.
- Proper execution and placement of tall stitches such as ttr.
- How to incorporate multiple colors seamlessly for a vibrant look.
The Pattern
Part 1: Starting the Mosaic Pattern
- Foundation:
- Ch 6 and join with a sl st to form a ring.
- Round 1:
- Ch 4 (counts as the first ttr).
- Work 18 ttr stitches into the ring. Each ttr is created by wrapping the yarn 3 times before inserting the hook.
- Once all stitches are completed, join with a sl st to the first ch-4.
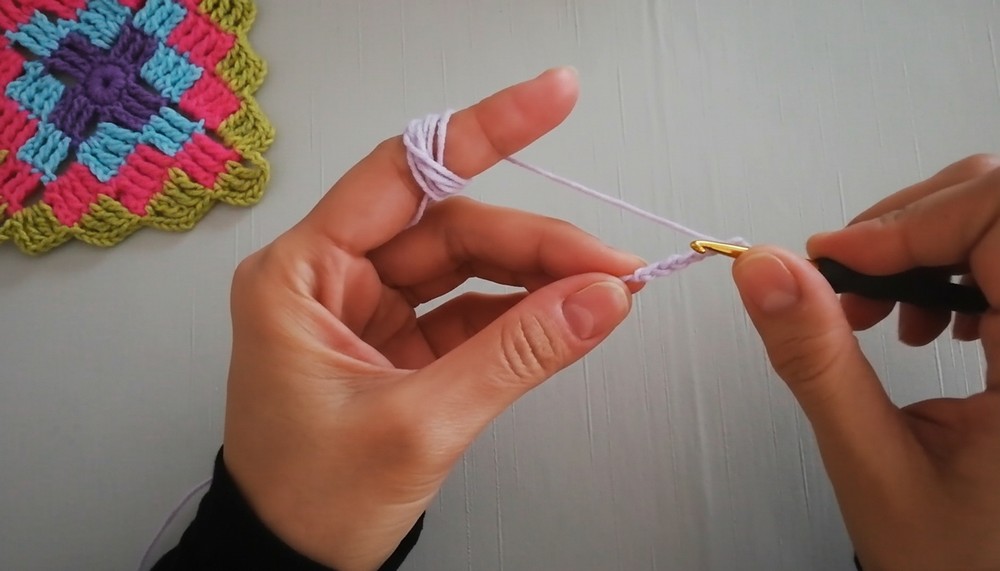
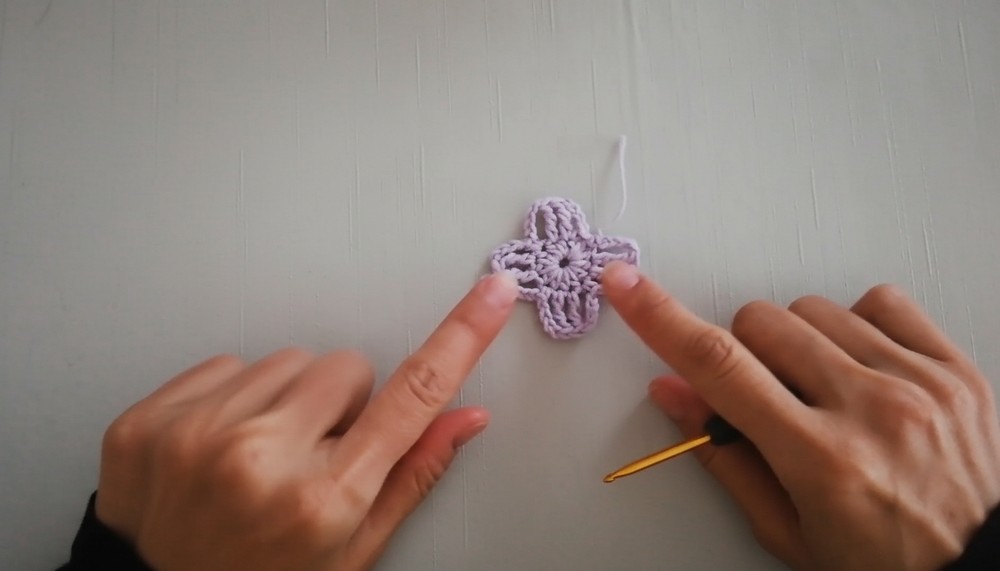
This forms the base circle of the motif, which acts as the structural starting point for the mosaic layers.
Part 2: Adding the First Layer
- Attach Color 2:
- Attach the second color to any ttr from the previous round.
- Round 2:
- Ch 4 (counts as the first ttr).
- Work 4 ttr into the next stitch, with each stitch separated by 2 chains.
- Repeat the sequence (1 ttr, ch 2) around the entire motif. Join with a sl st to the beginning.
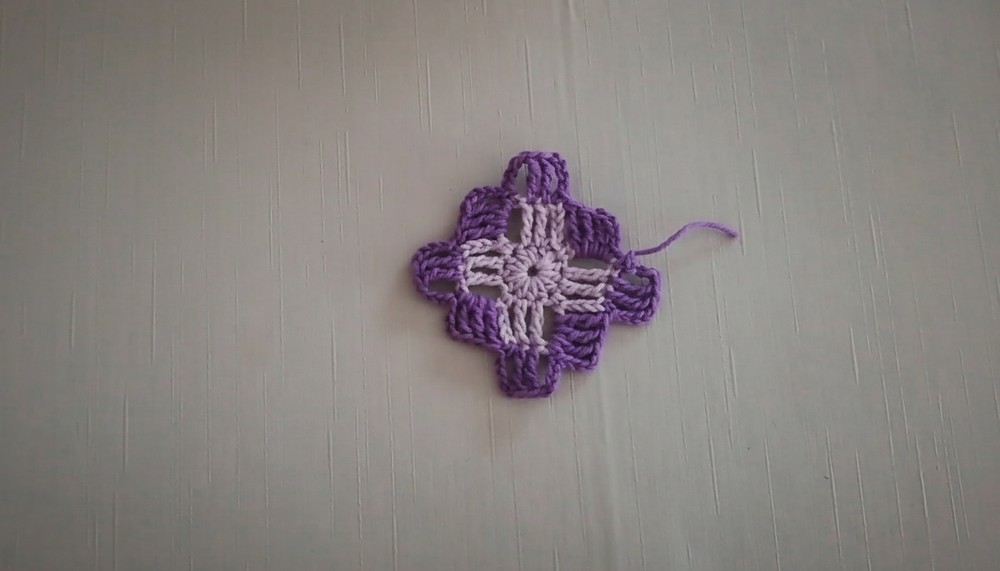
This begins the layered mosaic effect. You’ll notice small gaps (ch-2 spaces) between the tall stitches.
Part 3: Creating Horizontal Rows of Triple Trebles
- Attach Color 3:
- Attach to the first ch-2 space of Round 2.
- Round 3:
- Start with ch 4, then work 1 ttr into the next available ch-2 space.
- Between each ttr, make 3 chains to create horizontal connectivity.
- At the end of the round, join to the beginning stitch.
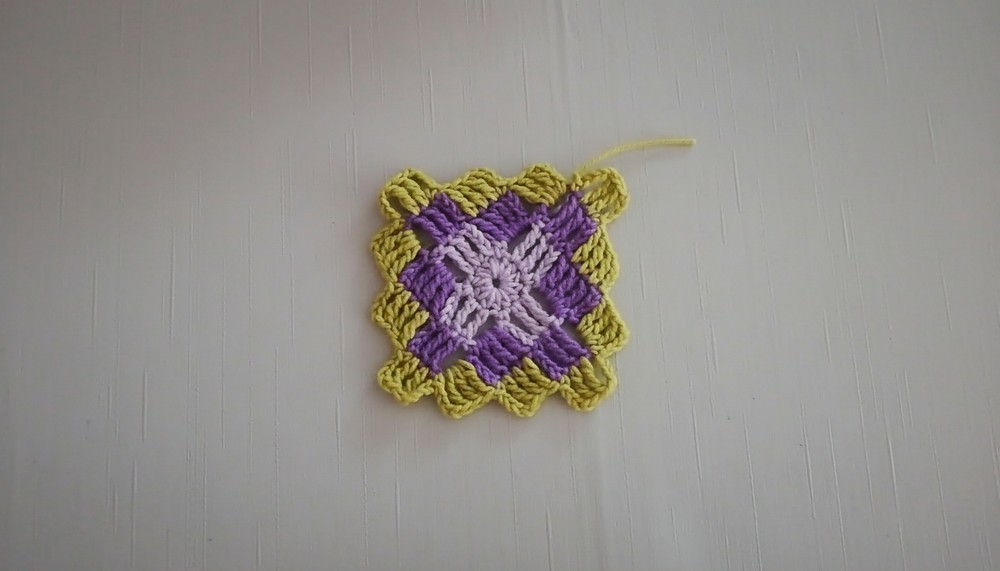
This round defines the horizontal framework of your motif. You’ll see ttr columns neatly interlinked by connecting chains.
Part 4: Vertical Weaving Details
- Attach Color 1:
- Attach back to any previous vertical stitch made in Round 2.
- Round 4:
- Ch 4, then work a ttr stitch down to the base of the previous round (in the skipped stitches of Round 1).
- Complete the round by alternating 1 ch and a ttr down to lower rows.
This round gives the characteristic mosaic effect of vertical columns weaving through horizontal stitches.
Part 5: Expanding the Motif
- Attach Color 2:
- Attach to the topmost ttr stitch of the previous round.
- Round 5 (Repeat Structure):
- For every column, place 4 ttr stitches, separated by ch 3 spaces.
- Continue to work with 3 chains between groups of new ttr blocks.
At this stage, your motif will look fuller and create interwoven layers with balanced gaps and connections.
Part 6: Finishing the Motif
- Add the Final Round (Optional):
- Use any of the colors to border your motif. Work sc or hdc evenly around, filling gaps and creating a polished edge.
- Fasten Off:
- Securely weave in all ends with the tapestry needle for a clean finish.
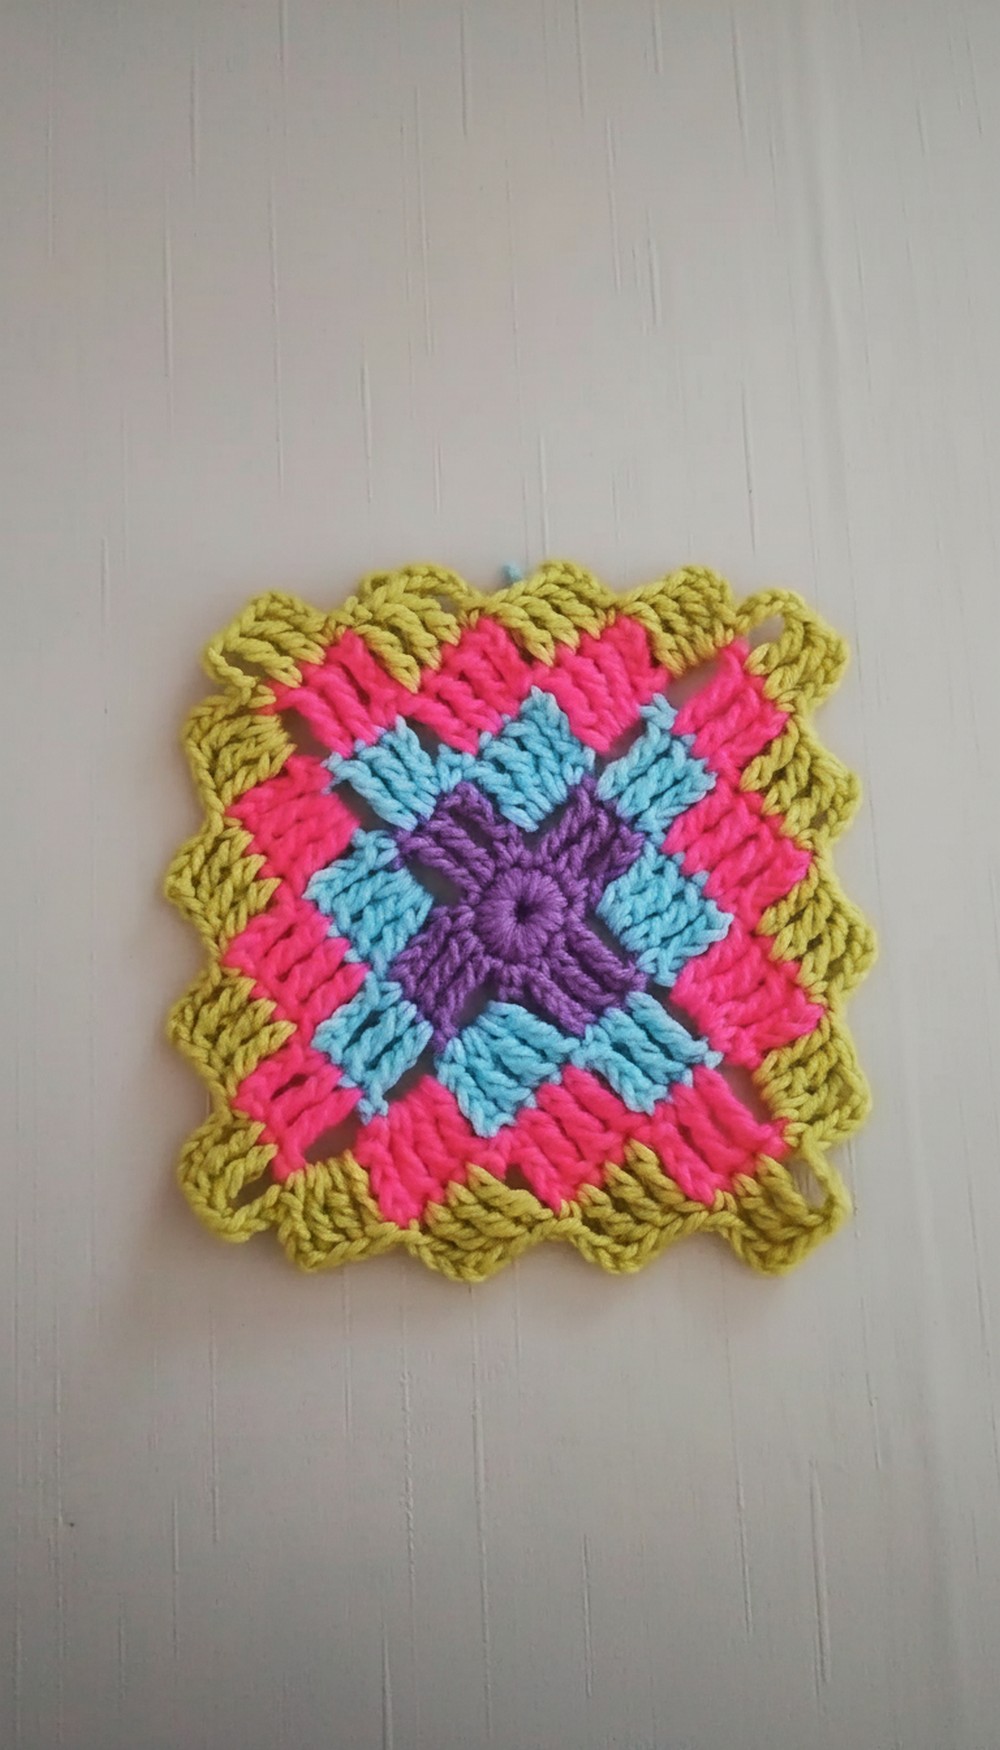
The finished motif can be used as-is, or you can join multiple motifs to create larger projects.
Assembly & Joining
- To create larger projects (like blankets or throws), make additional motifs and join using the Join-as-you-go (JAYG) method or whip stitch through the edges.
- Alternatively, work a border around each motif before joining for cleaner separation between motifs.
Finished Size
- Using the suggested yarn and hook size, the motif should measure ~5–6 inches in diameter after blocking.
Customization Options
- Adjusting Size:
- Use thicker yarn and a larger hook for a bigger motif, or thinner yarn for smaller details.
- Experiment with Colors:
- Add more colors for extra vibrancy or stick to monochrome schemes for a minimalist effect.
Why You’ll Love This Pattern
The Crochet Mosaic Pattern is a striking and versatile project that looks more complex than it is to create. By combining tall stitches like triple treble crochet with simple chain spaces, this pattern builds dimension and texture with every round.