
How to Crochet Floral Motif Pattern for Unique Decorations
Bloom your creativity with this Free Crochet Floral Motif Pattern, perfect for adding elegance and charm to your projects and home decor.
There’s a special kind of joy in bringing a leafy floral motif to life with just a hook and yarn. This pattern features layers of textured leaves and petals made with half double crochet, treble crochet, and slip stitches, giving it a lovely three-dimensional effect. Using a medium-weight cotton yarn and a small 2.75 mm hook, the stitches come together to form a delicate flower that is both soft and sturdy. Its elegant structure adds a fresh touch to blankets, cushions, or even garments, making any project feel more vibrant and unique.
Endless Charm Crochet Floral Motif Pattern for Home Beauty
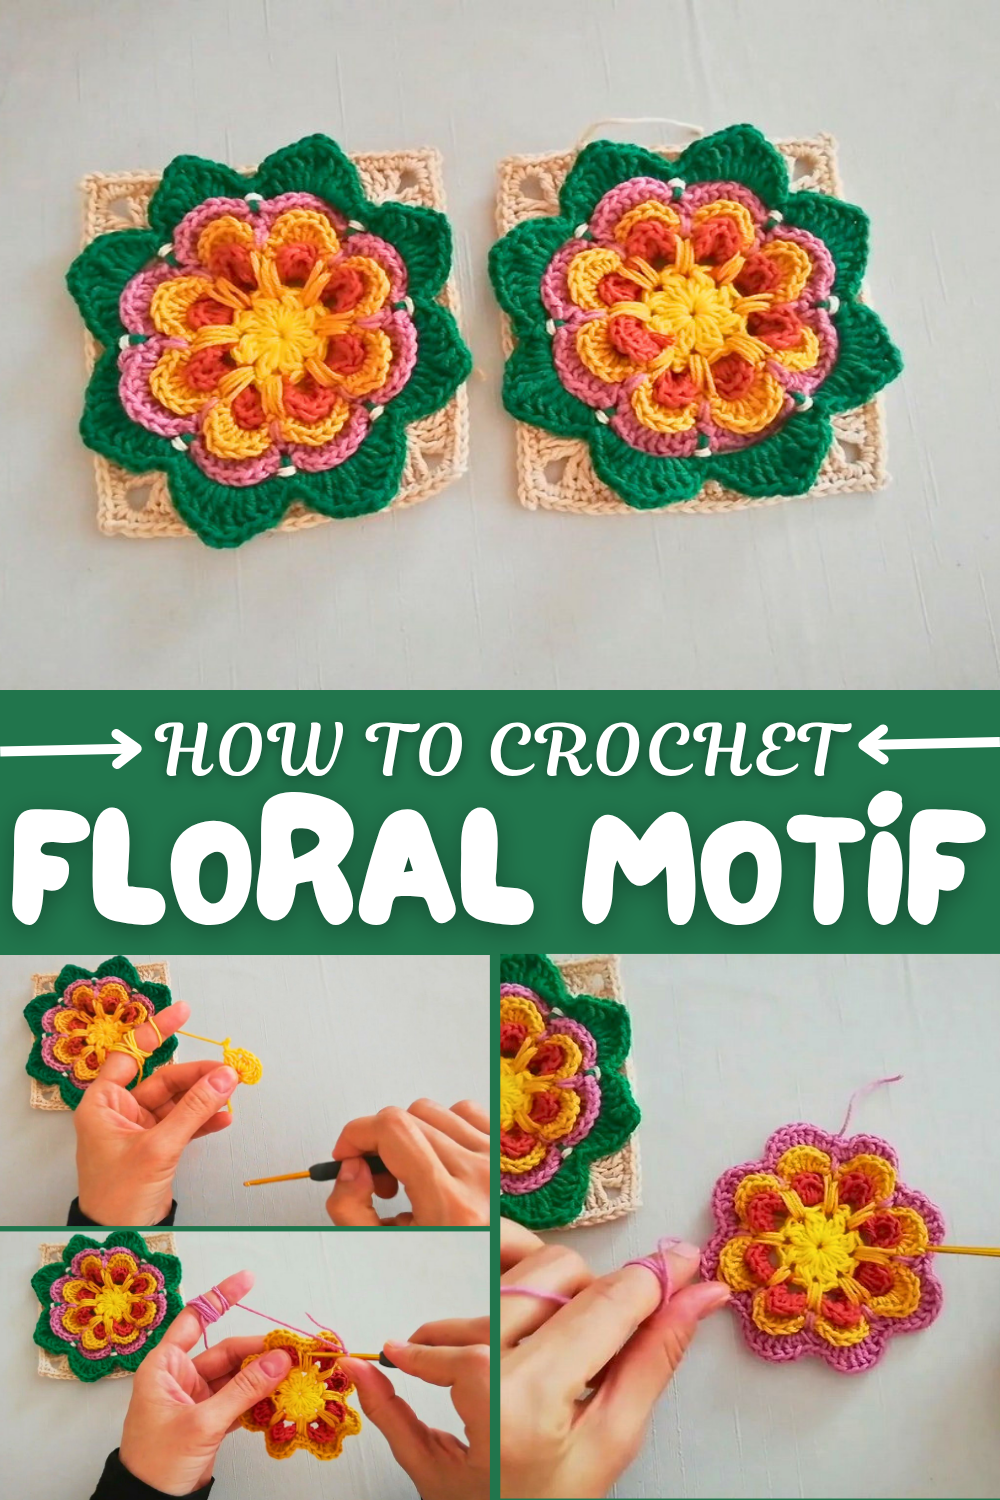
Starting with a simple ring, you build up clusters of stitches that mimic flower petals and intertwining leaves. The technique of combining chains and clusters creates light spaces, giving the motif an airy, natural feel. A sequence of slip stitches connects the parts smoothly, ensuring that each leaf stands out clearly. The pattern is approachable, with repeated stitch groups that even beginners can follow with a little patience and practice. Small details like these can turn everyday crochet projects into charming accessories with personality.
More Uses for This Motif
This floral pattern isn’t limited to standalone pieces. You can link multiple motifs to form eye-catching blankets or table runners. It also works well as an ornamental trim for shawls or scarves. Applied as appliqués, these flowers add a burst of life to handbags, hats, or simple tops. Seasonal decorations like wreaths or garlands benefit from the unique texture too, making your handmade accents truly one-of-a-kind.
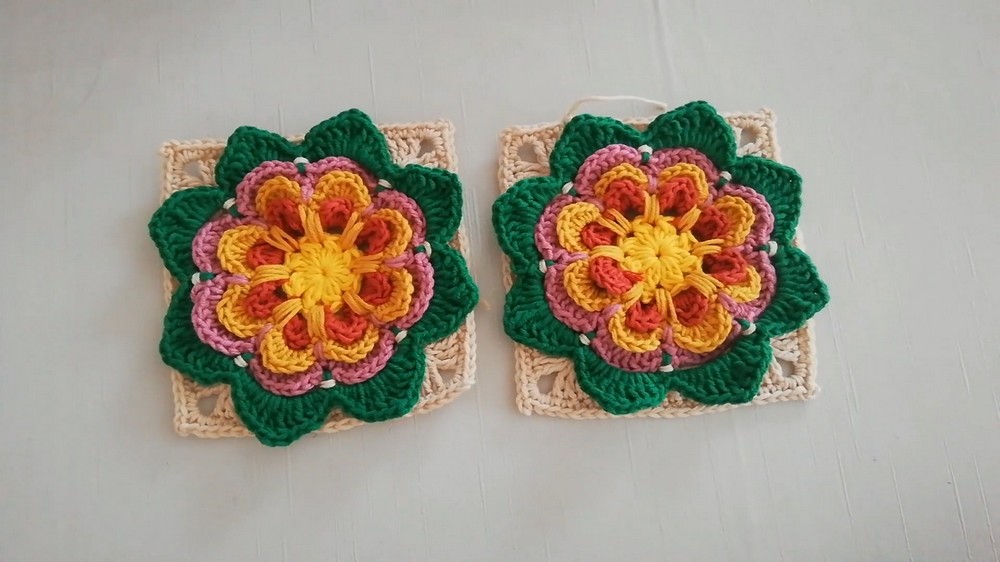
Crochet Leafy Layered Motif – Step-by-Step Pattern
This pattern is versatile and beautifully detailed, perfect for incorporating into afghan blankets, cushion covers, garments, and more. The layered structure, combined with leaves and bold edges, adds a charming character to your finished pieces.
About this Pattern
This motif is a half three-dimensional crochet design featuring leaves and layered details with smooth transitions between colors. Whether you want to embellish plain fabrics, create intricate afghans, or design vibrant crochet garments, this motif will bring sophistication to your projects. The pattern is simple yet impactful, offering stunning results with color changes and layered textures.
Skill Level
Intermediate – The pattern involves basic stitches such as single crochet (sc), double crochet (dc), treble crochet (tr), and cluster stitches. While not overly complex, attention to detail is required for layering and achieving the motif's structure.
Terminology
This pattern uses US crochet terminology.
Materials & Tools
- Yarn: Medium-weight cotton yarn, or thinner yarn for a more delicate effect. You’ll need at least three colors:
- Color A: Center and leaves.
- Color B: First layer of petals.
- Color C: Second layer and edges.
- Hook: 2.75mm crochet hook or any size suitable for your yarn.
- Tapestry Needle: For weaving in ends.
- Scissors: For cutting yarn.
Gauge
Gauge is not critical for this project. The motif’s size will vary based on yarn thickness and hook size. Approximate dimensions with a 2.75mm hook and medium-weight yarn:
- Motif Size: ~5 inches (12 cm) across after completing the final round.
Abbreviations List
Here’s the glossary of stitches used in the pattern:
- ch: Chain
- sl st: Slip Stitch
- sc: Single Crochet
- hdc: Half Double Crochet
- dc: Double Crochet
- tr: Treble Crochet
- yo: Yarn Over
Special Stitch Instructions
- Cluster Stitch:
- YO, insert hook into stitch, YO, pull up a loop, YO, pull through 2 loops on the hook. Repeat three times in the same stitch (leaving 4 loops on the hook). YO and pull through all 4 loops to complete the cluster.
What You'll Learn
- How to create a three-dimensional layered motif with flowers and leaves.
- Smooth color transitions to create depth and vibrancy.
- Adding intricate elements (edges, leaves, and stems) to complete your project.
The Pattern
Part 1: Center of the Flower
- Start with a Magic Ring or Chain Circle:
- Create a magic ring or chain 5 chains and join with a slip stitch to form a ring.
- Round 1 (Clusters in Ring):
- Ch 3 (counts as the first part of the cluster).
- Work a cluster stitch into the ring (3 dc stitches worked together as explained above).
- Ch 2 (creates a space).
- Repeat the cluster + ch 2 sequence 7 more times until you have a total of 8 clusters and 8 chain spaces.
- Join with a sl st to the top of the beginning cluster.
- Fasten off Color A.
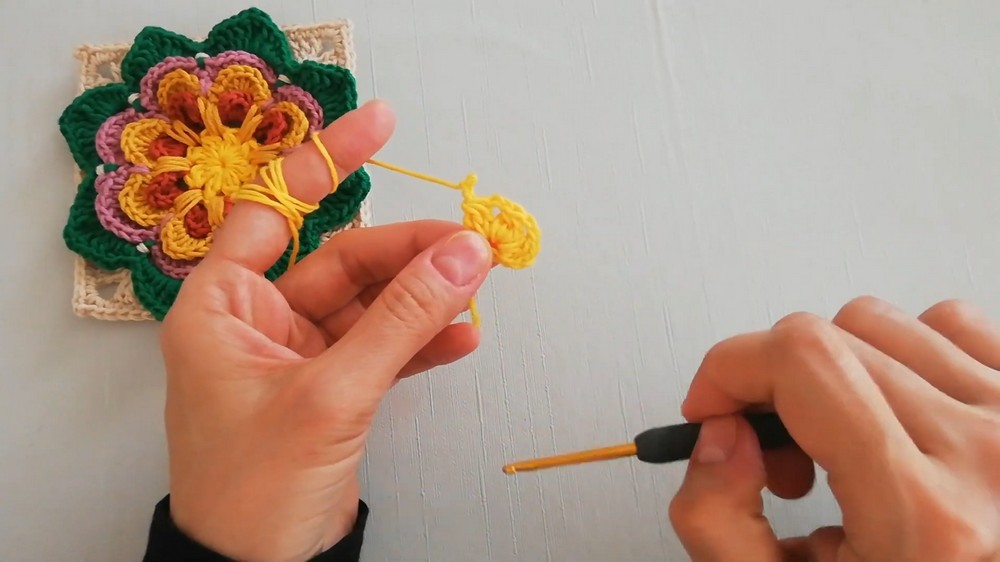
This completes the flower’s central base with 8 evenly spaced clusters forming a circular shape.
Part 2: Adding the First Petal Layer
- Attach Color B:
- Attach yarn to any ch-2 space between clusters with a sl st.
- Round 2 (Petals):
- Ch 4, work 1 tr, 2 dc, 1 tr, and ch 4 into the same ch-2 space.
- Sl st into the same ch-2 space to attach the petal.
- Continue around, creating 1 petal in each ch-2 space. Each petal consists of:
- Ch 4 → 1 tr → 2 dc → 1 tr → ch 4 → sl st.
- Complete the Layer:
- Repeat in all 8 spaces. Join with a sl st to the base of the first petal and fasten off.
At this stage, you’ll have a full layer of petals radiating outward from the central cluster base.
Part 3: Adding the Second Petal Layer
- Attach Color C in any unused space from Round 1 (between clusters at the back).
- Round 3 (Second Petal Layer):
- Ch 5, work 2 tr, 3 dc, 2 tr, ch 5, and slip stitch into the same space.
- Move to the next space using a sl st, and repeat:
- Ch 5 → 2 tr → 3 dc → 2 tr → Ch 5 → sl st.
- Finish the Layer:
- Continue around all 8 spaces to form a second, larger layer of petals behind the first.
- Join with a sl st to the base.
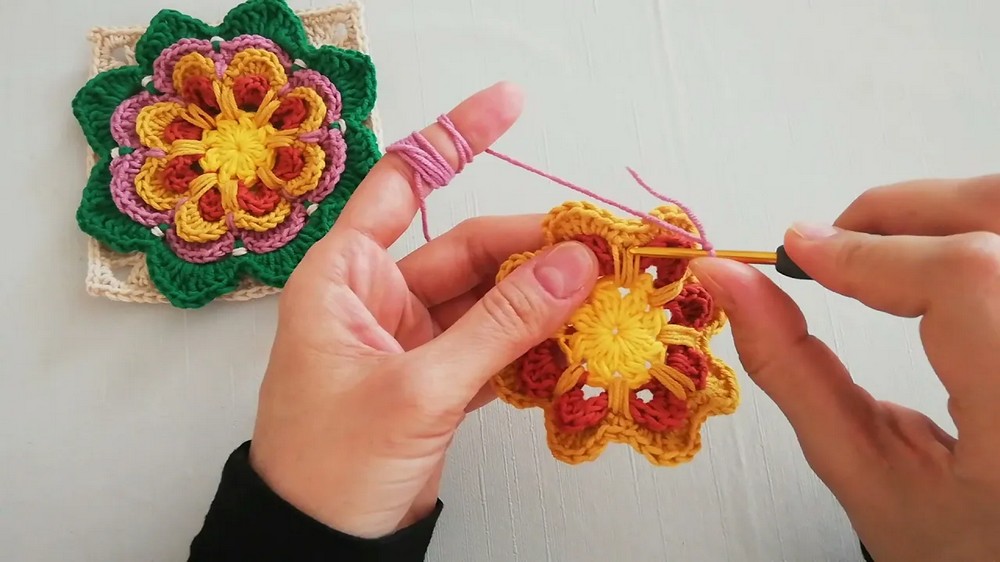
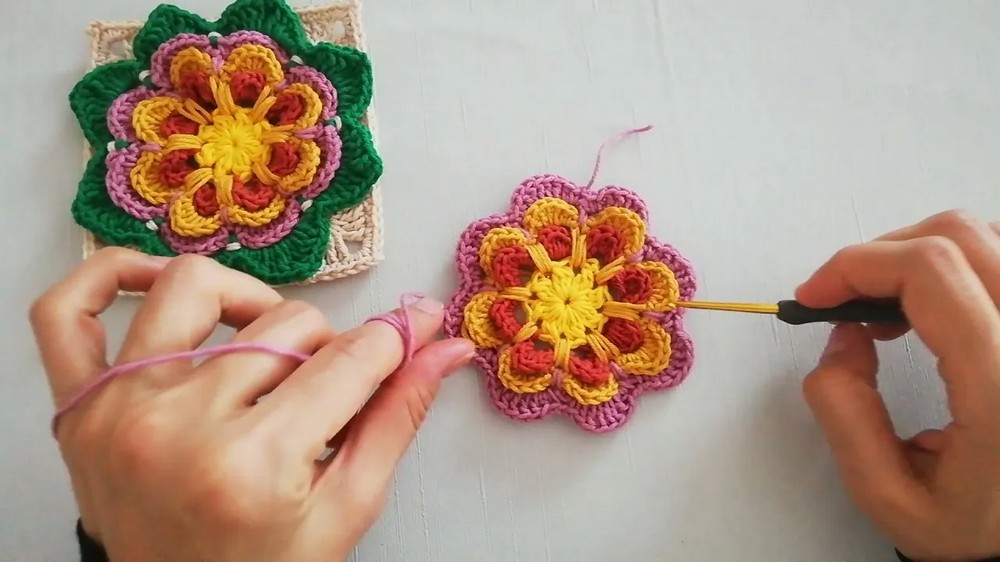
This creates the appearance of a fully layered, vibrant flower motif.
Part 4: Adding the Leaves
- Attach Color A to any space between petals in Round 3.
- Leaf Construction:
- Ch 1, sc, hdc, dc, tr, ch 1, sl st (to create the tip of the leaf). Then work down the other side of the leaf with tr → dc → hdc → sc.
- Sl st into the next space and repeat for all spaces around (total of 8 leaves).
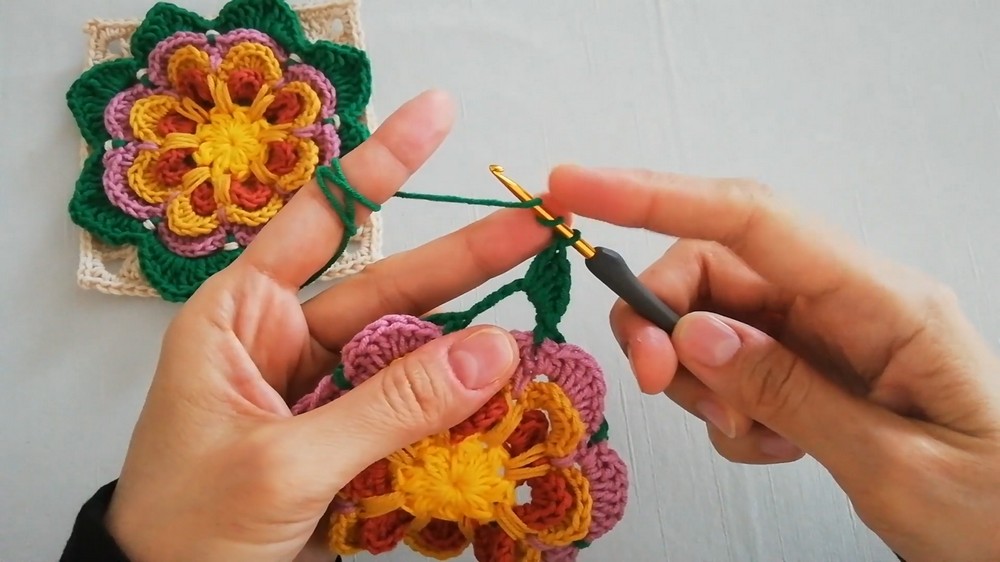
The leaves add definition and a natural touch, forming a lovely green border between the petals and edges.
Part 5: Final Edge and Base
- Attach Color C to any leaf tip or base space from the previous round.
- Create a Base or Framework:
- Ch 8 and secure to the base of the leaf using a sl st. Repeat this all the way around and join with a sl st to the starting point.
- Optional Framework Details:
- Work sc or hdc stitches into the loops to create a stable framework for stitching motifs together or attaching to other projects.
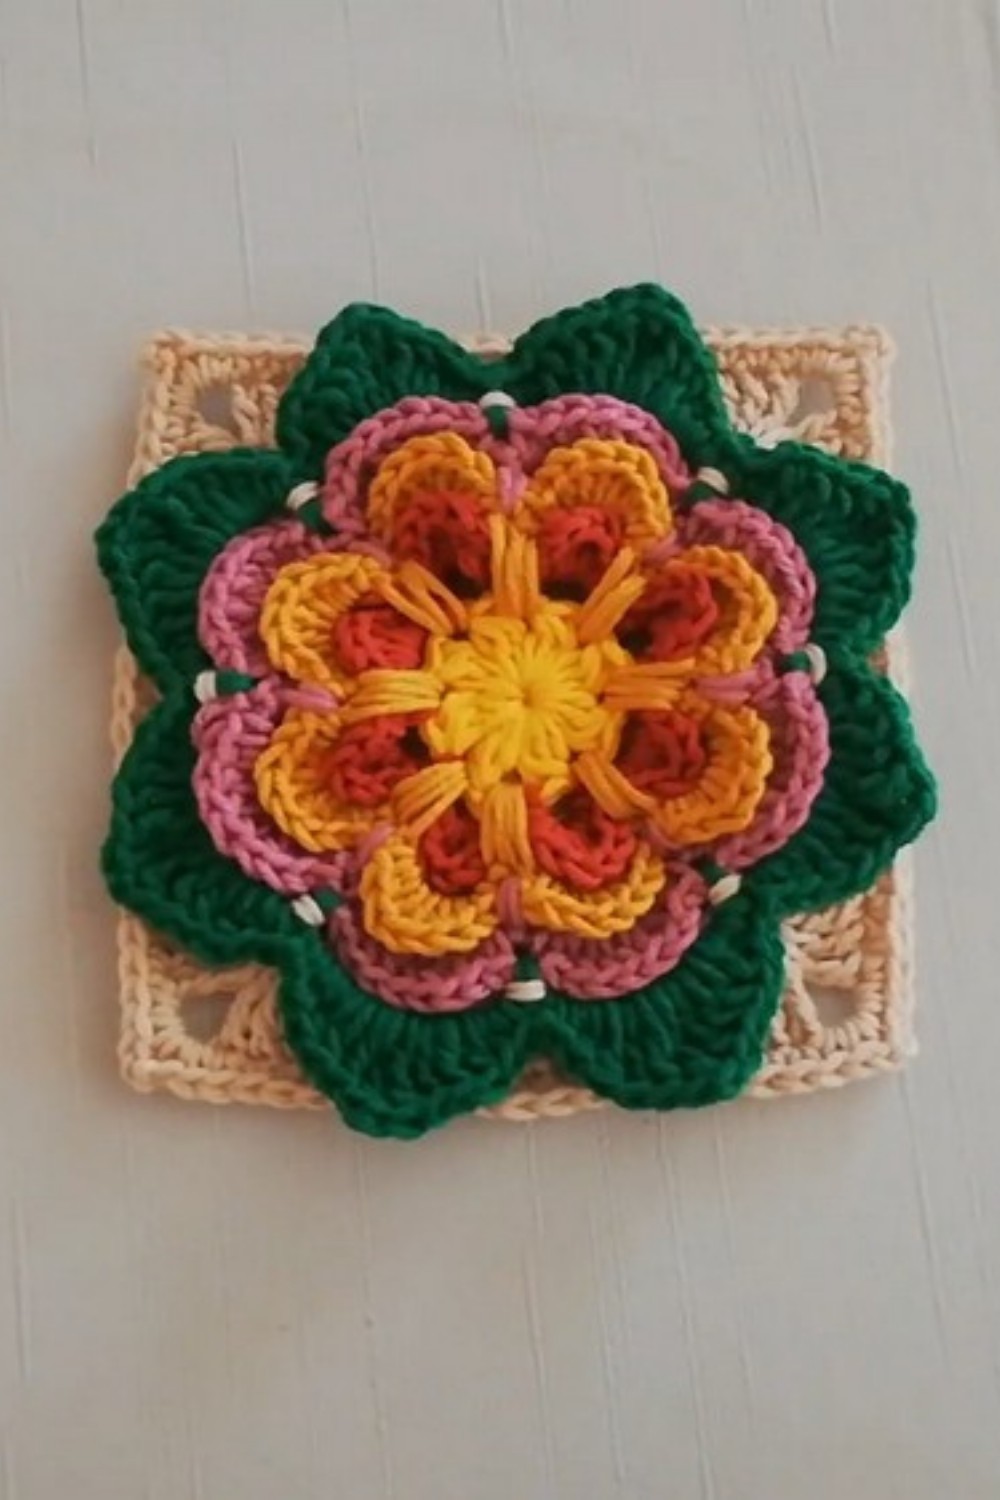
This final round creates a sturdy edge and prepares the motif to be incorporated into a greater project, such as a blanket, garment, or other accessory.
Assembly & Finishing
- Joining Motifs:
Use Color C to whip-stitch multiple motifs together through the edge loops created in the final round. - Finishing Touches:
Block the motif lightly to ensure symmetry and shape. Weave in all ends securely for a polished finish.
Tutor's Suggestions
- Yarn Choice: Experiment with different yarns to see how they affect the motif size and texture.
- Color Play: Use multiple colors to create vibrant patterns.
Why You'll Love This Pattern
This layered floral motif is a joy to create! I love this pattern for its vivid texture, naturalistic layers, and customization potential. Play with yarn colors, layer arrangements, or modify the petal and leaf shapes to craft something entirely unique.