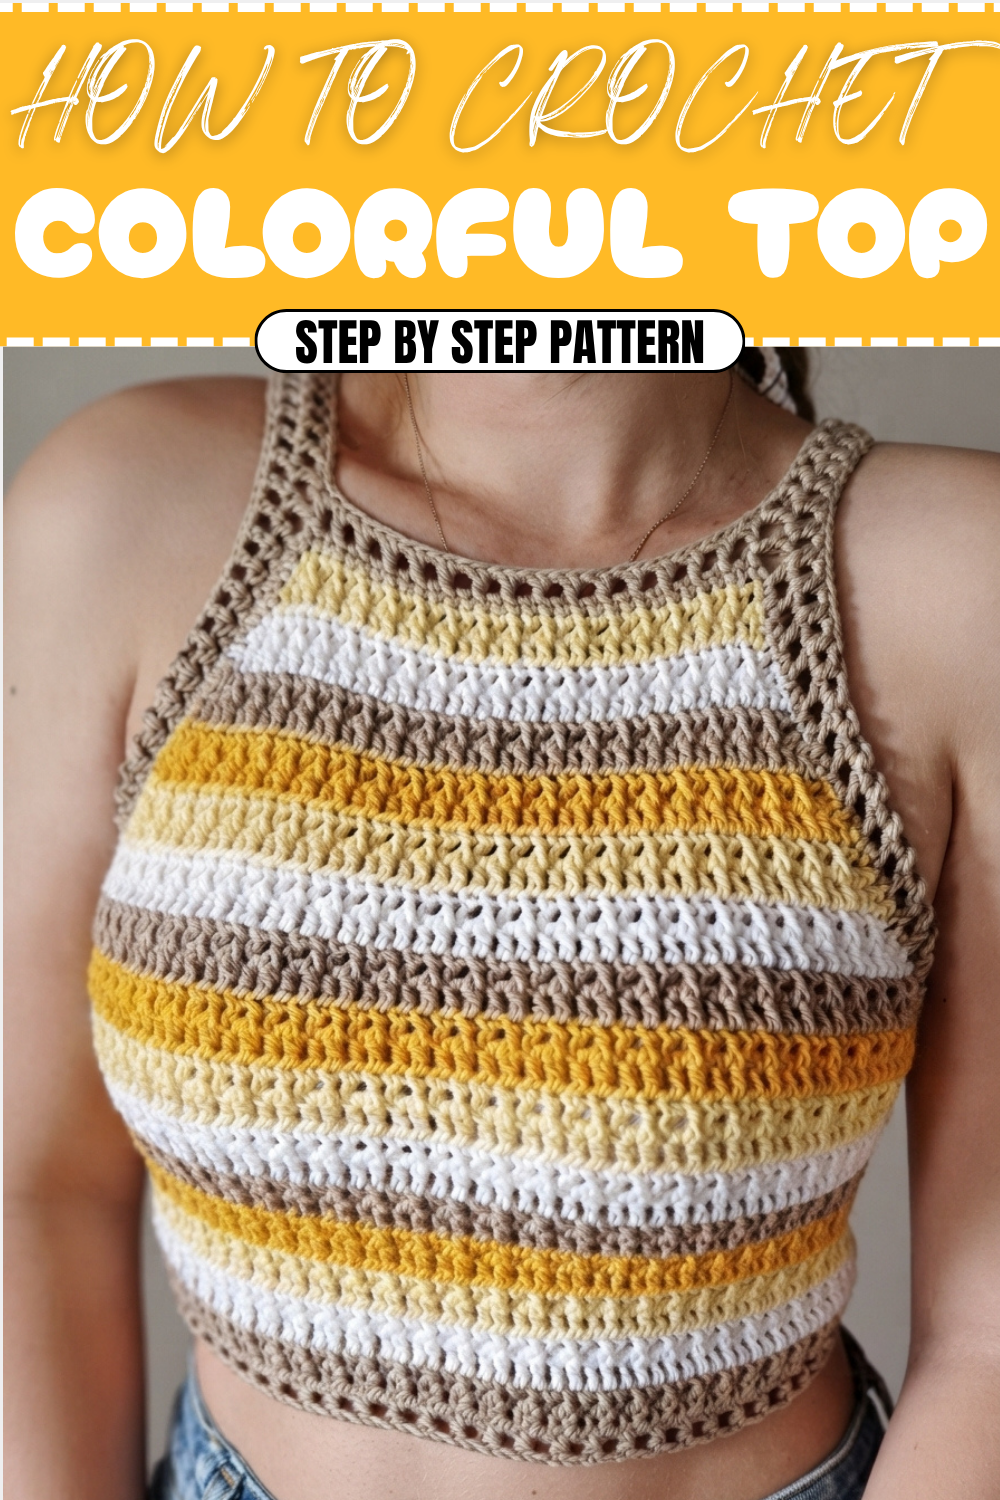
Easy-to-Follow Crochet Colorful Top Pattern for Everyday Comfort
Refresh your look effortlessly using a free crochet colorful top pattern that adds vibrant energy and chic vibes to any outfit.
Vivid colors can bring a fresh burst of energy to any outfit, and this crochet top pattern does exactly that with its playful combination of hues. Made using a clever mix of double crochet stitches with front post stitches, it creates a textured pattern that adds depth and interest to the fabric. The stitch alternation, switching between normal and front post double crochets, gives the top a unique, wavy design that stands out in every setting. Designed to be light and breathable, this pattern is perfect for warm days and layering under jackets when it gets cooler.
More Projects Inspired by This Stitch Pattern
This textured stitch combination can be adapted beyond tops. Imagine lightweight scarves that show off the color interplay or cozy blankets with eye-catching waves. With variations in yarn weight and hook size, you could also crochet trendy bags or decorative pillow covers. The pattern's rhythm and color changes make each project visually captivating, providing endless opportunities to play with hues and shapes for your unique handmade creations.
Budget-Friendly Crochet Colorful Top Pattern for Good Looks
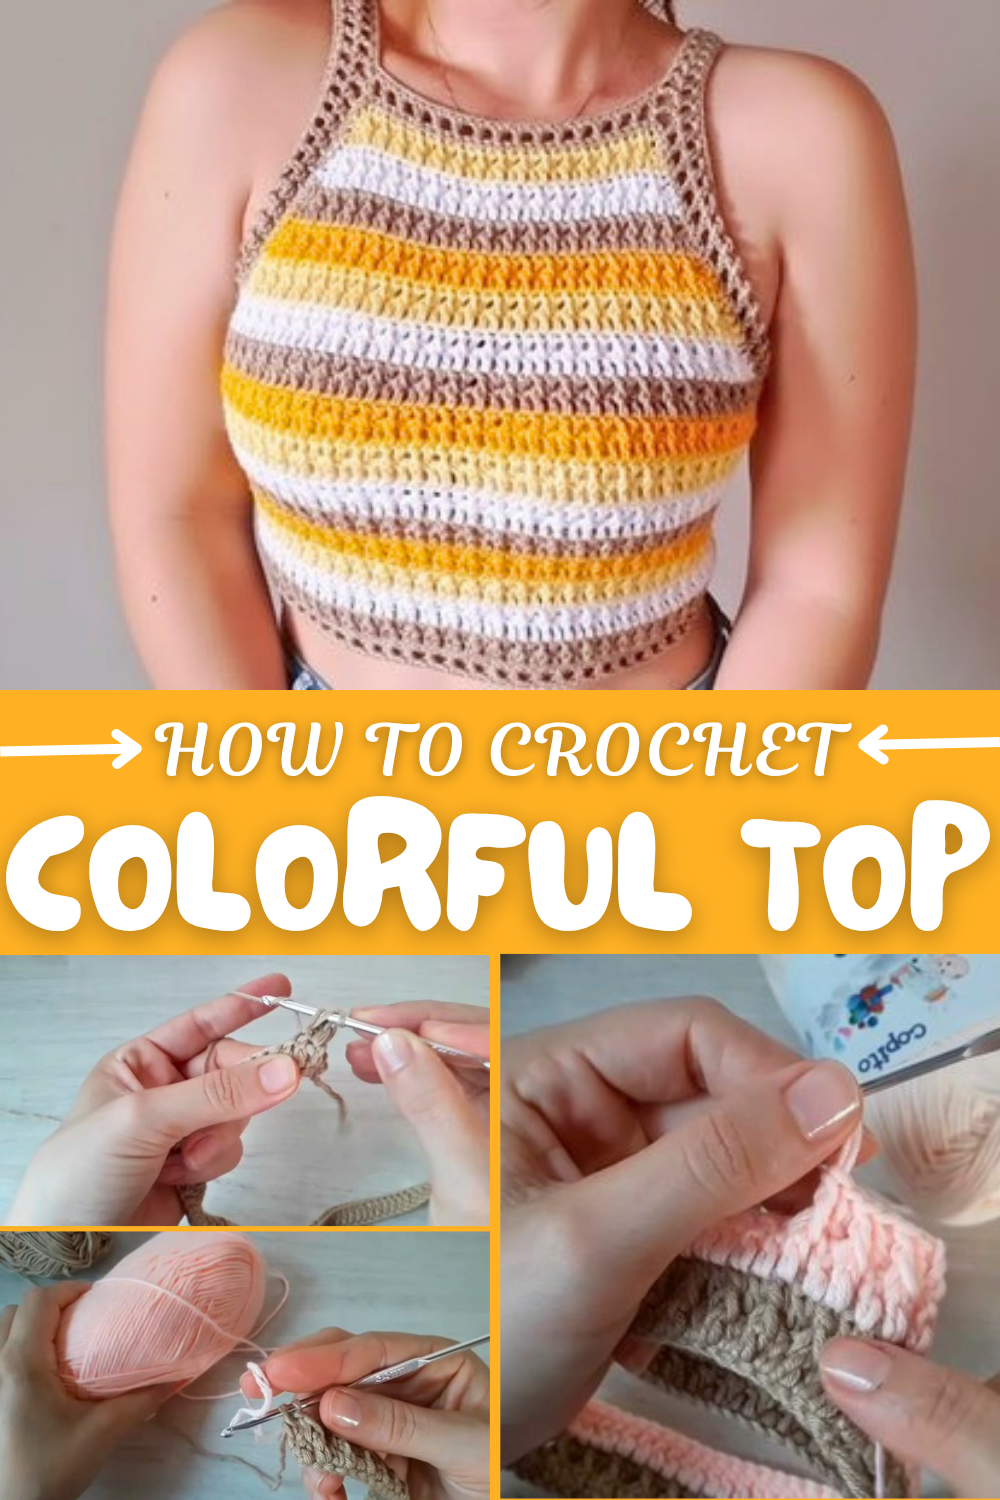
Starting from a long foundation chain, the top grows row by row with alternating colors, creating stripes that brighten up the garment. The use of color changes every few rows keeps the project fun and allows for personalization with any yarn palette. To shape the bust area and armholes, simple decreases and stitch markers guide the process, making it accessible even for beginners. The finishing touches include easy-to-make straps crocheted with airy openwork, plus neat edges created with rows of single crochet that ensure a clean and professional look.
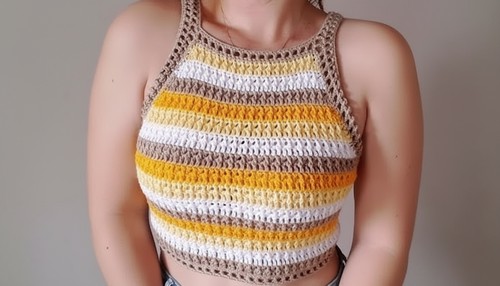
Beautiful Crochet Top Pattern – Step-by-Step Guide
This pattern is perfect for making a versatile and stylish crochet top that is as comfortable as it is beautiful. With its striped color design, this lightweight top is an ideal piece for warm weather. Simple stitches are combined to provide texture and stretch, making it suitable for various body sizes.
Introduction
This crochet top pattern works as a fantastic addition to your wardrobe or as a thoughtful handmade gift. It has a flattering shape and a slight flare due to the combination of double crochets and alternating front-post stitches, giving the fabric a textured and playful look. With instructions for easy size adjustments, it’s beginner-friendly while also offering enough room for creativity through color combinations.
Skill Level and Terminology
Skill Level: Beginner-Intermediate
This crochet top pattern uses basic stitches (chains, single crochets, slip stitches, and double crochets), making it accessible to beginners. Additional techniques such as post-stitches and color changes are also introduced.
Terminology: US Crochet Terms
Materials & Tools
- Yarn: Four different colors of medium-weight (size 4) yarn. Colors used:
- Brown
- Cream
- Pink
- White
- Hook: 3.5 mm crochet hook.
- Scissors: For cutting yarn ends.
- Tapestry Needle: For weaving ends and assembling parts.
- Optional: Stitch markers for marking key points.
Gauge
- Gauge: 10 double crochets × 6 rows = 4x4 inch (10x10 cm) square.
Check gauge by crocheting a swatch before starting your project to ensure proper sizing.
Abbreviations
| Abbreviation | Meaning |
|---|---|
| ch | Chain |
| sl st | Slip Stitch |
| sc | Single Crochet |
| dc | Double Crochet |
| fpdc | Front Post Double Crochet |
| yo | Yarn Over |
What You’ll Learn
- How to work evenly spaced stripes using color changes.
- Post-stitch techniques (front post double crochet) for texture.
- Simple shaping techniques using decreases for a tailored fit.
- Crocheting straps and adding borders for a polished look.
Finished Size
This guide produces a size M crochet top. You can adjust the number of initial chains or rows to fit XS – XL. Refer to the size customization section within the pattern for specific adjustments.
The Pattern: Core Instructions
Step 1: Foundation Chain and First Row
- Create the Base Chains:
- Start with a slip knot, then ch 125 (or adjust for other sizes – see size adjustments below).
- For size XS/S: ch 105 | For size L: ch 135 | For size XL: ch 145.
- Row 1:
- Ch 2 (does not count as a dc). Work 1 dc in the 3rd ch from the hook.
- Work 1 dc in each ch across.
- At the end of the row, turn the work.
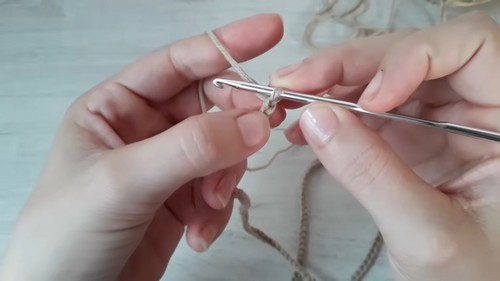
You’ve now established the base row of the top that determines its width. Ensure the chain count corresponds to your size to get the right fit.
Step 2: Adding Texture with Front Post Double Crochet
- Row 2:
- Ch 2 (does not count as a dc), then work 1 dc in the first stitch.
- Alternate between:
- 1 fpdc (front post double crochet) in the next stitch.
- 1 dc in the following stitch.
- Continue alternating between these two stitches until the row is complete.
- Turn your work.
- Row 3:
- Ch 2, work 1 dc in each stitch across the row.
- Turn your work.
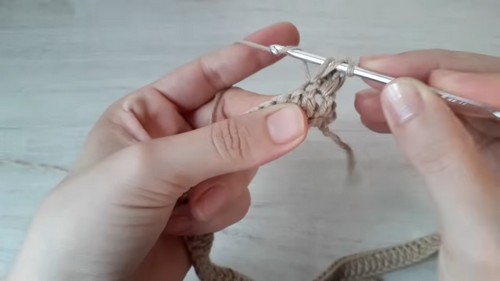
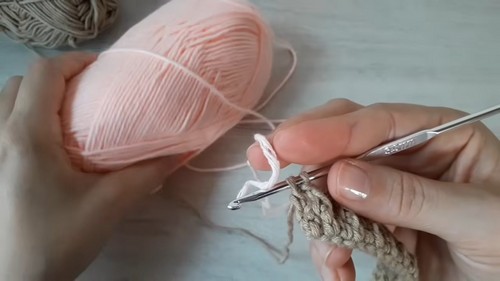
Rows 2 and 3 form the main pattern of this design, alternating between textured stripes and simple rows of double crochet. This creates a visually appealing stripe effect!
Step 3: Color Changes and Stripes
- Switch Colors Every 2 Rows:
- At the end of every 2 rows, change to the next color before turning your work.
- The color sequence for this top is:
- Brown → Pink → Beige → White (repeat).
- Cut yarn ends when switching colors and secure them by knotting and weaving into the stitches.
- Work 16 Rows in Total:
- Repeat Rows 2 and 3, maintaining the color-switching scheme. This creates the bottom section of the top.
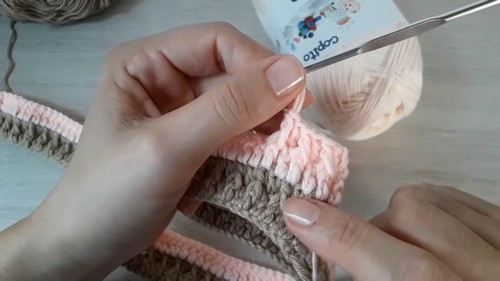
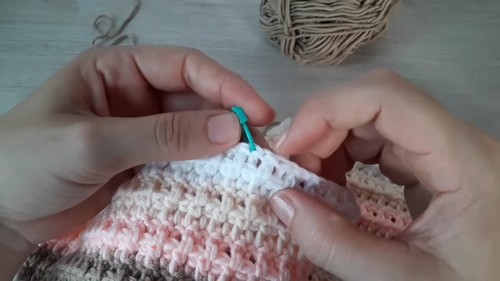
The length of the top is determined by the number of rounds. Add or reduce the rows in this section to customize the final length of your top.
Step 4: Shaping the Top Section (Bust Area)
- Mark Armholes:
- Use stitch markers to designate the armhole areas:
- For size XS/S: Leave 30 sts on both sides.
- For size M: Leave 32 sts on both sides.
- For size L/XL: Leave 34–36 sts on both sides.
- These markers will determine where to work next for the bust area.
- Use stitch markers to designate the armhole areas:
- Shape the Bust (Rows 17–30):
- Attach brown yarn to the first unmarked stitch.
- Row Decrease:
- Ch 2 (counts as first dc), and work a dc2tog decrease across the first 2 sts.
- Work 1 dc in each stitch and finish with a dc2tog in the last 2 stitches of the row. Turn.
- Continue working one decrease at the start and end of each row. Follow the pattern of alternating regular dc rows and textured rows (dc + fpdc).
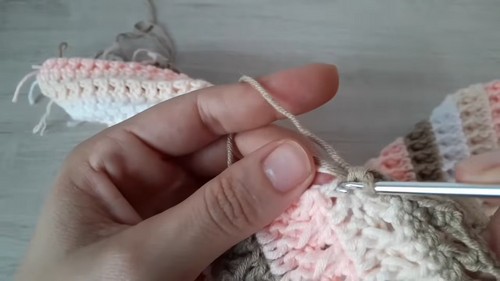
This section shapes the bust for a contoured fit. Decrease evenly across 14 rows while alternating colors every 2 rows.
Step 5: Edging the Top and Creating the Back Cord Channel
- Work an Armhole Border:
- Attach yarn to the armhole edge.
- Work single crochets evenly around the armhole.
- Repeat for the other armhole.
- Create a Cord Channel:
- Work 1 row of sc along the top back opening.
- Then, work a row of dc with ch-1 skips to create openings for the cord. Example:
- Ch 2, 1 dc in the first stitch, ch 1, skip 1, 1 dc in the next stitch.
- Complete the row, fasten off, and weave in ends.
Step 6: Add Decorative Straps and Finish the Top
- Create the Straps:
- Attach yarn to one shoulder edge, ch 50 for the strap.
- Work back along the chain with sl st or by alternating sc and dc for texture.
- Attach the strap to the back shoulder edge using sl st or sc.
- Make the Cord:
- Ch 300 and sl st back across each chain for a sturdy cord.
- Thread the cord through the back channel created earlier.
- Final Edge:
- Work a round of sc around the neckline, bottom edge, and armholes to give a polished finish.
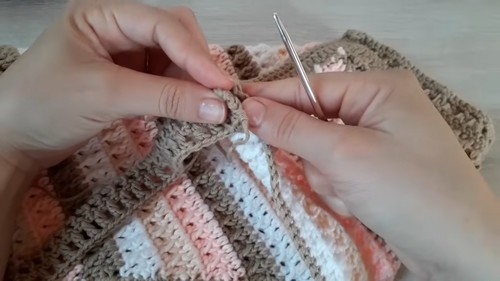
Assembly & Finishing
After weaving in loose ends, use your tapestry needle to secure any remaining strands. Try on the top, adjust the straps if needed, and position the cord neatly in the back.
Tutor’s Suggestions
- Keep your tension consistent to avoid uneven stitches.
- Swap colors neatly by fastening off the previous yarn to avoid tangling.
- Use stitch markers as needed to maintain accurate row counts and section divisions.
Why You’ll Love This Pattern
This project combines texture, color, and shaping into a timeless crocheted piece. The alternating colors and post-stitch texture deliver a designer-inspired aesthetic. The pattern offers endless possibilities for customization, from size adjustments to playful color combinations. It's the perfect summer top that’s lightweight, breathable, and versatile.