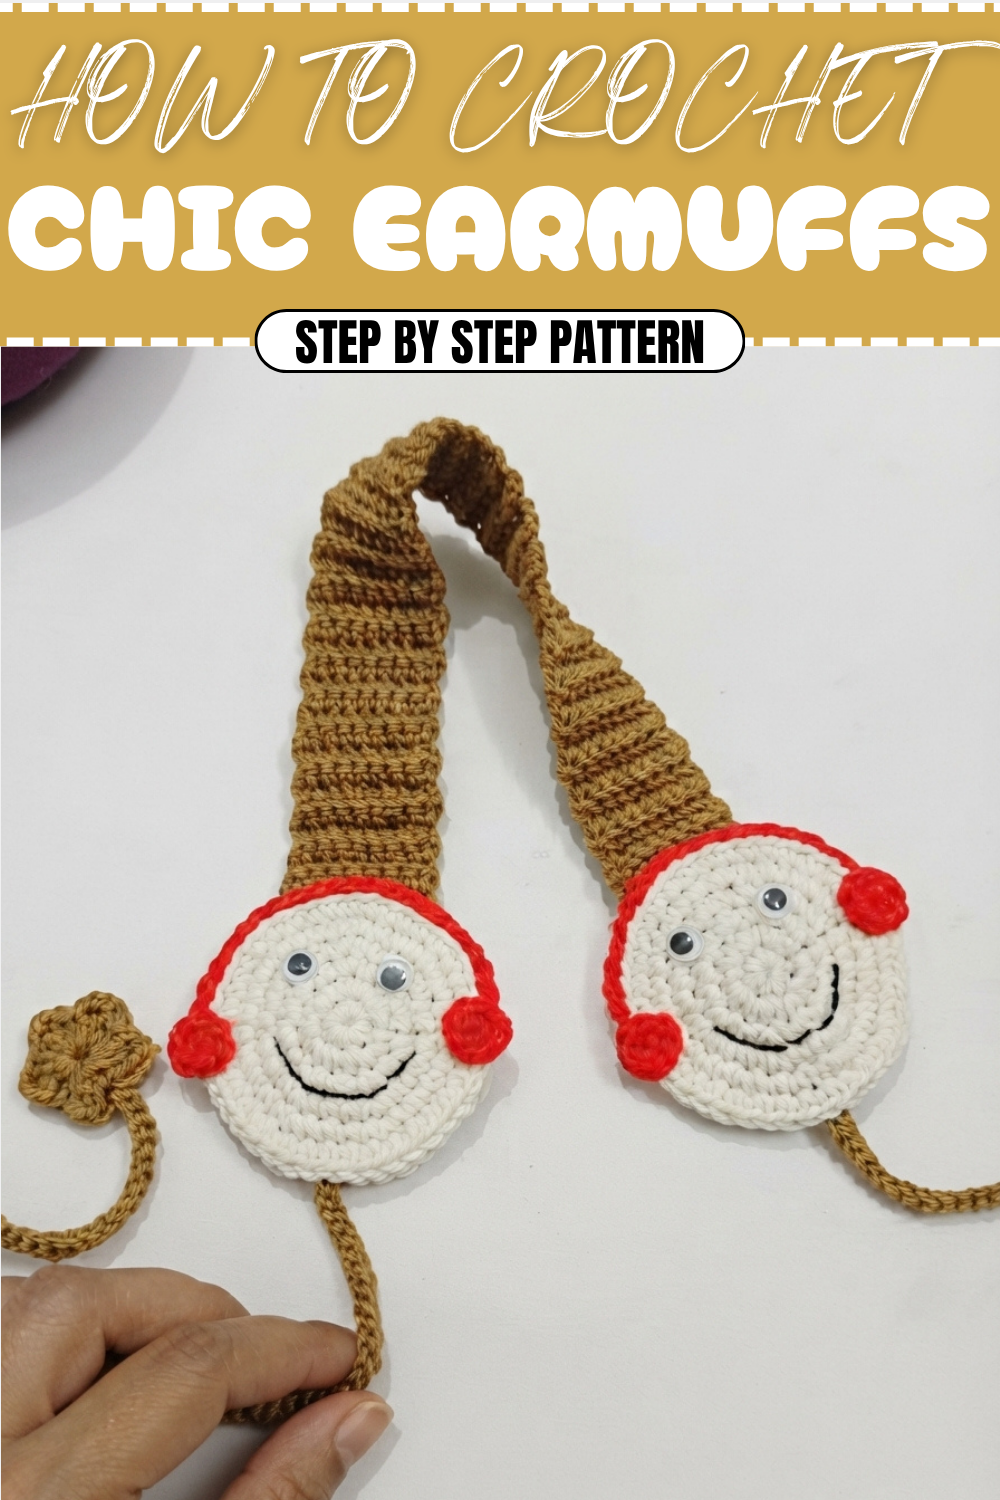
How to Soft Crochet Earmuffs Pattern For Chilly Evenings
Use a free crochet earmuffs pattern for comfy and colorful ear warmers that brighten up cold mornings and fit perfectly every time.
Winter days are made cozier when you wear something handmade that wraps warmth and love around you. Imagine soft, colorful earmuffs that not only protect little ears from the chill but also look absolutely adorable. This crochet earmuffs pattern is a wonderful project that uses simple single crochet stitches and working in rounds to create a stretchable, comfy band with cute, fluffy cushions on each side. It’s perfect for kids who may not like bulky hats but still need some protection against cold winds.
Learn The Art Of Crochet Earmuffs Pattern For Handmade Gifts
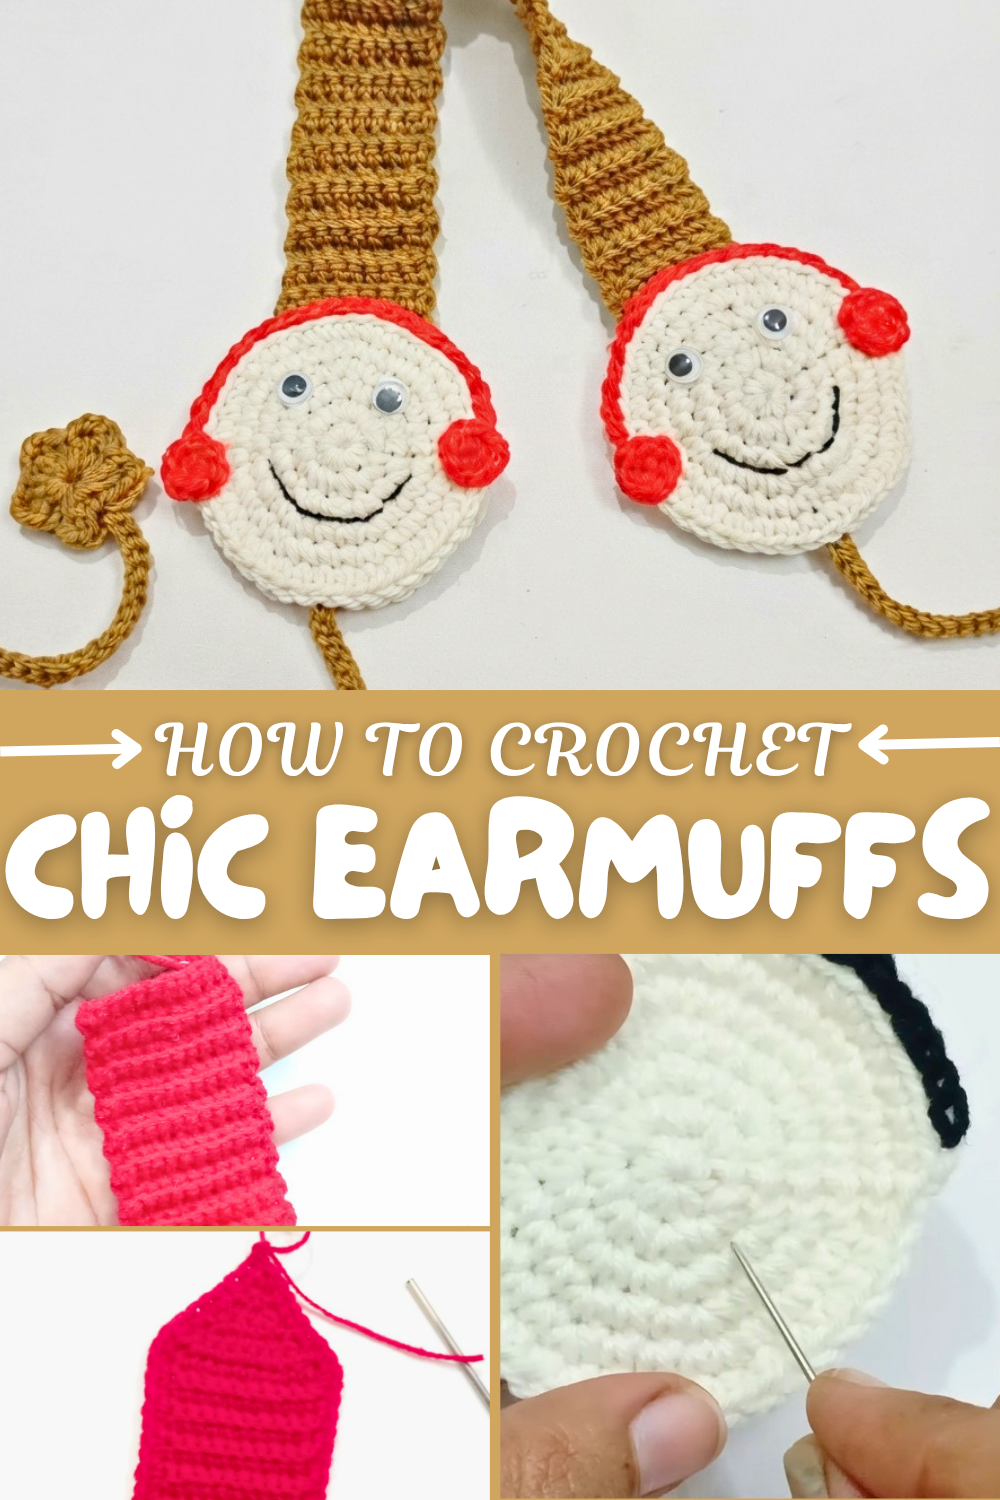
Starting with a chain that fits comfortably from ear to ear, the pattern grows as you work in rounds picking up the back loop to create a neat, flexible band. The earmuffs are decorated with charming cartoon faces made from small crocheted shapes, felt, or beads, adding personality and fun to the design. Using minimal yarn, often leftovers, makes this project economical and ideal for those colorful scraps you have sitting around. The finishing touches, like hiding threads and gluing on features, give it a polished look that's easy to personalize. Whether worn as a headband or around the neck, these earmuffs are a delightful winter accessory that kids will love to wear.
More Creative Projects from This Pattern
The techniques you learn with this earmuffs pattern can be expanded to other playful accessories. You might create matching scarves with characters, cozy neck warmers, or even fun arm bands. The simple stitches and working in rounds also lend themselves well to making small toys or decorative items like flowers and stars. With a bit of imagination, your crochet skills will blossom into a collection of charming, handmade creations perfect for gifts or keeping warm in style.
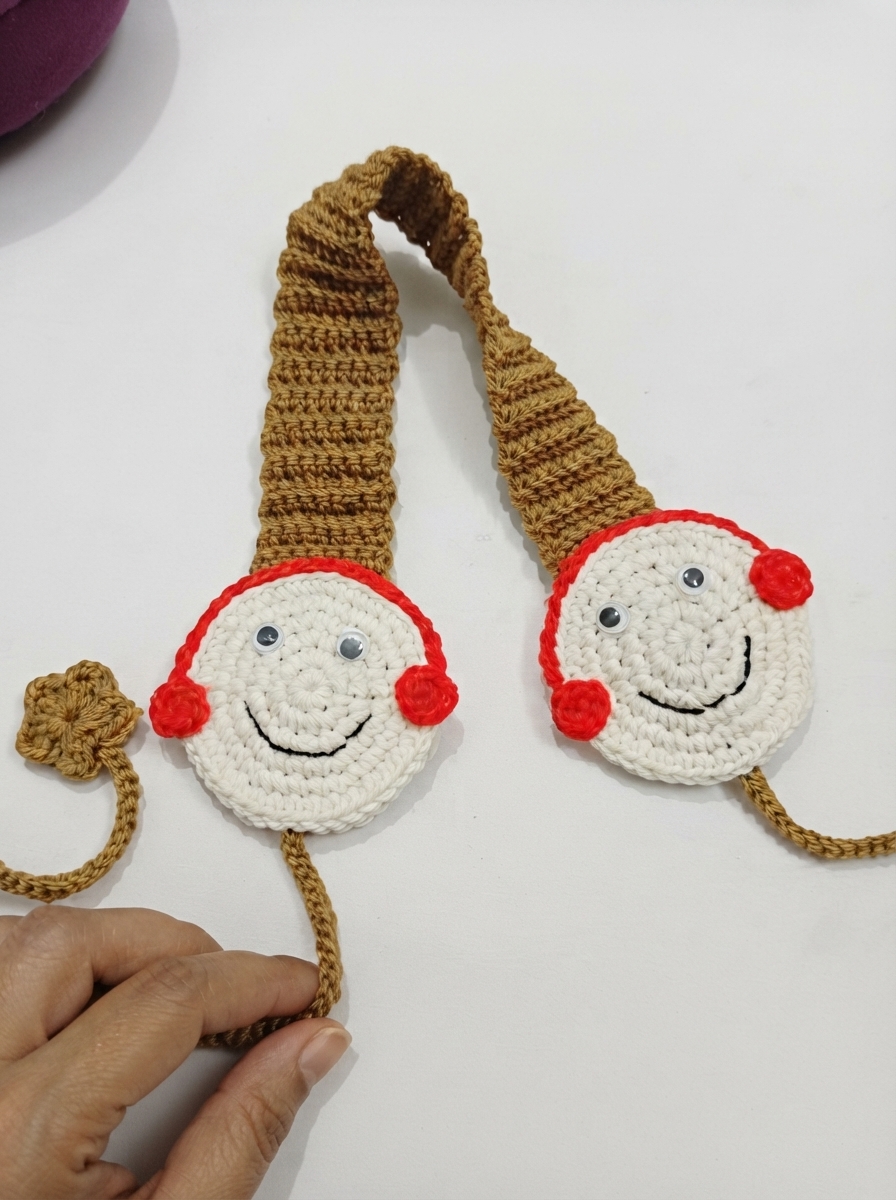
Children's Crochet Hairband Pattern
This adorable and customizable crochet hairband is perfect for kids who prefer lightweight accessories instead of full winter caps. The pattern is versatile, allowing you to create a thin or thick band, and even add fun embellishments like cartoon faces, stars, or flowers. It's ideal for using up leftover yarn, quick to make, and suitable for boys or girls.
Skill Level & Terminology
Skill Level: Beginner
Terminology: Using US crochet terms
This pattern uses basic crochet stitches like chains (ch) and single crochet (sc), along with simple techniques for shaping and embellishing. Perfect for beginners looking for a quick and fun project!
Materials & Tools
- Yarn:
- Primary color for the hairband (e.g., red, camel or any preferred color).
- Optional colors for embellishments and border.
- Crochet Hook: 3 mm (US size 11) crochet hook.
- Black Fine Thread: For creating facial details like smiles.
- Decorative Eyes or Beads: For embellishments like cartoon faces.
- Optional: Black pearls if decorative eyes are unavailable.
- Glue Gun or Glue Stick: For attaching decorative pieces securely.
- Tapestry Needle: For sewing loose threads and assembling parts.
- Scissors: For cleanly cutting yarn.
Gauge
Gauge is not critical for this pattern. However, for the basic belt portion:
- 12 chains = 2 inches in width
- The belt is stretchable, so you can make adjustments based on head measurements.
Abbreviations List
- ch: Chain
- sc: Single Crochet
- sl st: Slip Stitch
- MR: Magic Ring
Special Stitch Instructions
- Single Crochet (sc): Insert hook into the stitch, yarn over (YO), pull through (2 loops on hook), YO again, and pull through both loops.
- Magic Ring (MR): Wrap working yarn around two fingers, form a loop, insert hook under the loop, YO, pull through, and secure with one ch. Work stitches into the loop. Pull the tail to close.
- Working in the Back Loop Only: Pick up only the back loop of each stitch to create a ribbed texture.
Finished Size
The finished hairband measures approximately 14 inches in length (fully stretched) and 2 inches in width. However, the length and width can be adjusted to fit any head size.
What You'll Learn
- How to crochet a ribbed hairband using basic stitches.
- How to make and attach embellishments like cartoon faces or stars for extra decoration.
- Simple techniques for neat color changes and finishing touches.
The Pattern
Hairband
Step 1: Begin the Foundation
- Ch 12:
- This will create a 2-inch wide band. You can adjust the width by increasing or decreasing the initial chain count.
- Row 1:
- Sc in the second ch from the hook and in each ch across. (11 sc).
- Turn your work.
Tip: The base row forms the foundation of the hairband. If you're adjusting the width, ensure each chain is consistent to keep the texture even.
Step 2: Create the Ribbed Texture
- Row 2:
- Ch 1, sc in the back loop of each st across the row (11 sc).
- Turn your work.
- Repeat Row 2 until the band reaches your desired length (approximately 60 rows or adjust according to head size).
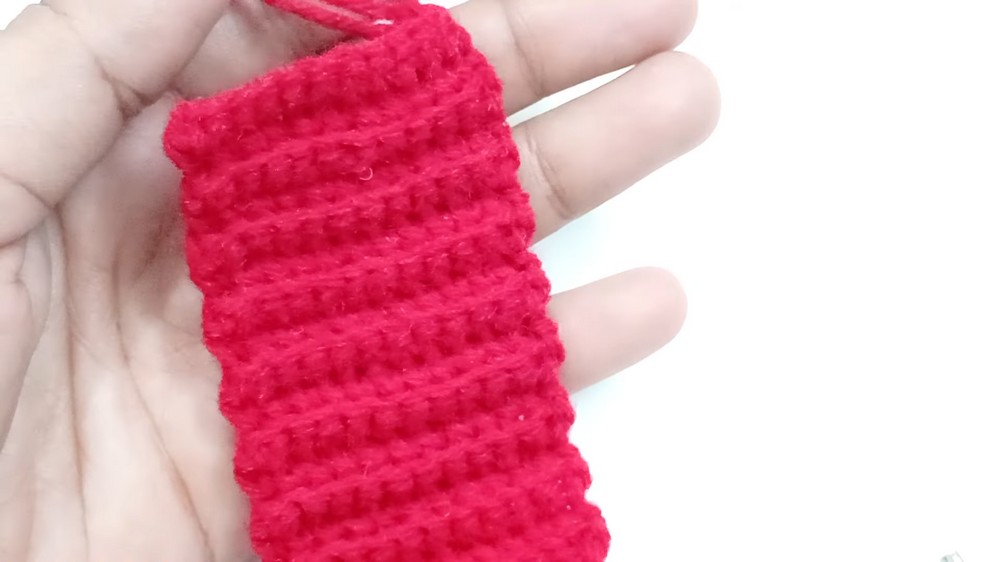
Pro Tip: To measure the hairband's length accurately, stretch it slightly and measure it from ear to ear over a child’s head. Add 1-2 inches for a comfortable fit.
Step 3: Taper and Finish the Ends
- Tapering the ends:
- To gradually taper the band, work the following:
- Start each row with a dec in the first two stitches, then continue with sc across until two stitches remain. Work a dec over the last two stitches.
- To gradually taper the band, work the following:
- Continue until 1 stitch remains, then fasten off.
Explanation: Tapering gives the band a snug, polished look by making the ends narrower. Ensure both sides match by tapering in the same way at each end.
Optional Border
- To add a border:
- Attach a contrasting color or same yarn to the edge of the completed band.
- Work sc evenly along each edge, ensuring consistent spacing for a neat border. Join with a sl st to the first sc and fasten off.
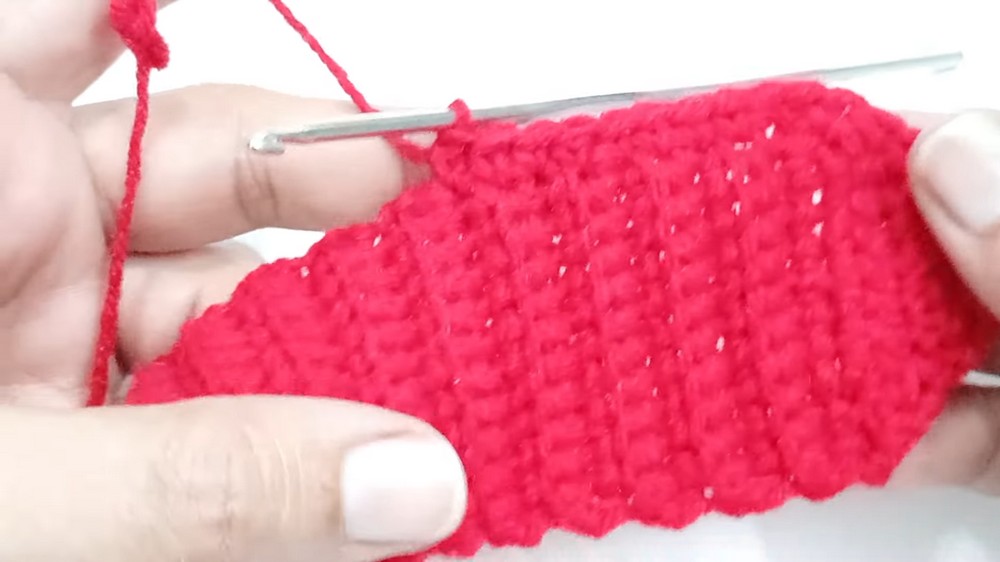

Note: Adding a border is optional but enhances the overall look, especially when using a complementary color.
Cord
- Hold two strands of yarn together, make a slipknot, and pull a generous length of yarn.
- Create a chain of 100 stitches (or adjust based on your preference and head size).
- Fasten off, leaving a long tail.
Tip: The cord can be any length, but ensure it’s long enough to tie comfortably under the chin.
Cartoon Face Embellishment
Step 1: Create the Base Circles
- Circle Base (White Yarn):
- MR, ch 1, 7 sc into the ring. Sl st to the first sc.
- Round 2: Work 2 sc in each st around for 14 sc.
- Round 3: Work (1 sc in next st, 2 sc in the next st) around to 21 sc.
- Round 4: Work (1 sc in next 2 st, 2 sc in next st) around to 28 sc.
- Fasten off and weave in the ends.
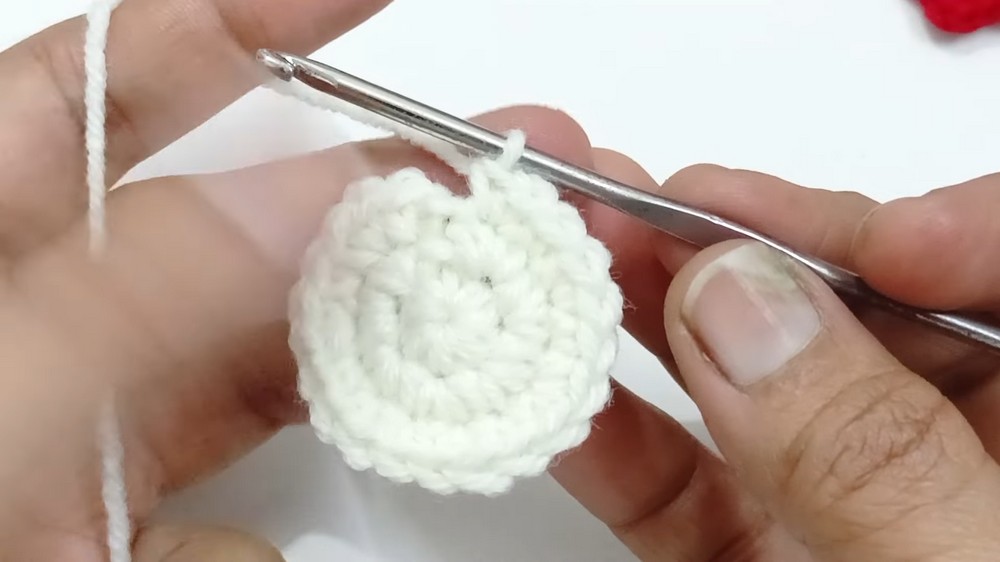

Step 2: Black Circles (Optional)
- Work the same as above, but stop at Round 2 (14 sc total). Use these for ears or other face embellishments.
Step 3: Add Details
- Eyes: Attach crochet eyes or small black beads in position. Secure with glue or sew them in place.
- Mouth: Using black thread, embroider a simple smile or any other desired expression.

Tip: Personalize the embellishments to match a child’s favorite character! You may also explore adding stars, flowers, or animal faces for variety.
Assembly
Step 1: Sew or Glue the Cartoon Face
- Use a glue gun or a needle to attach the cartoon face or embellishment to the front of the hairband.
- If using glue, ensure to press firmly and allow it to dry completely.
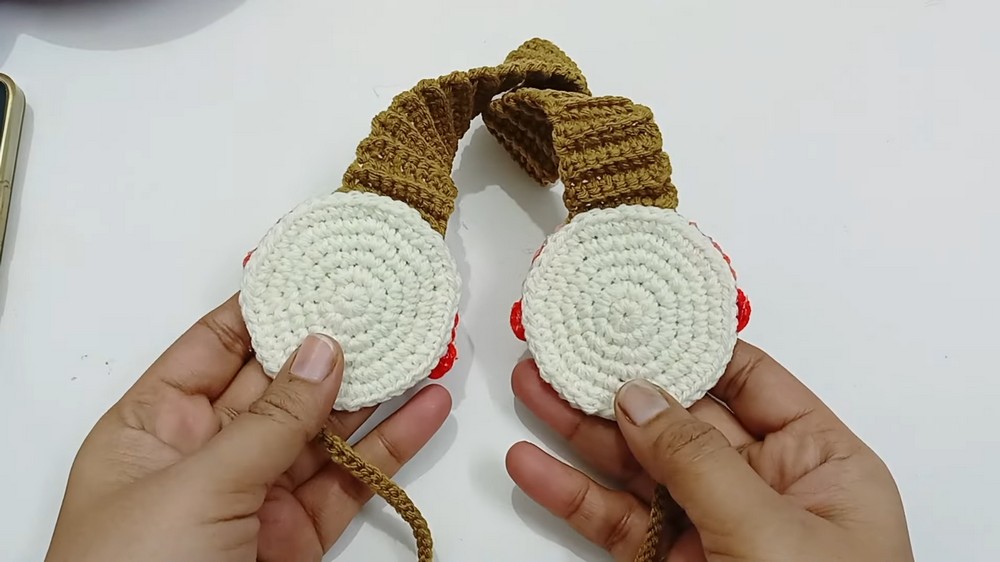
Step 2: Attach Cord
- Using a crochet hook, thread each end of the cord through the sides of the band.
- Secure the cord on each side with a knot or loop, leaving it long enough to tie under the chin.
Pro Tip: Ensure the cord is firmly attached for durability. Adjust the length to suit the wearer.
Why I Love This Pattern
This winter special hairband is a delightful and practical accessory for kids, offering comfort without fully covering their heads. It’s also extremely versatile—you can customize the size, color combinations, and cartoon faces in countless ways to suit every child. Plus, it’s a great opportunity to use those leftover yarns!