
Free Crochet Daisy Granny Pouch Pattern With Sweet Style
Sweeten up your crochet time with the Free Crochet Daisy Granny Pouch Pattern and follow easy steps to create a cheerful design you will love to use.
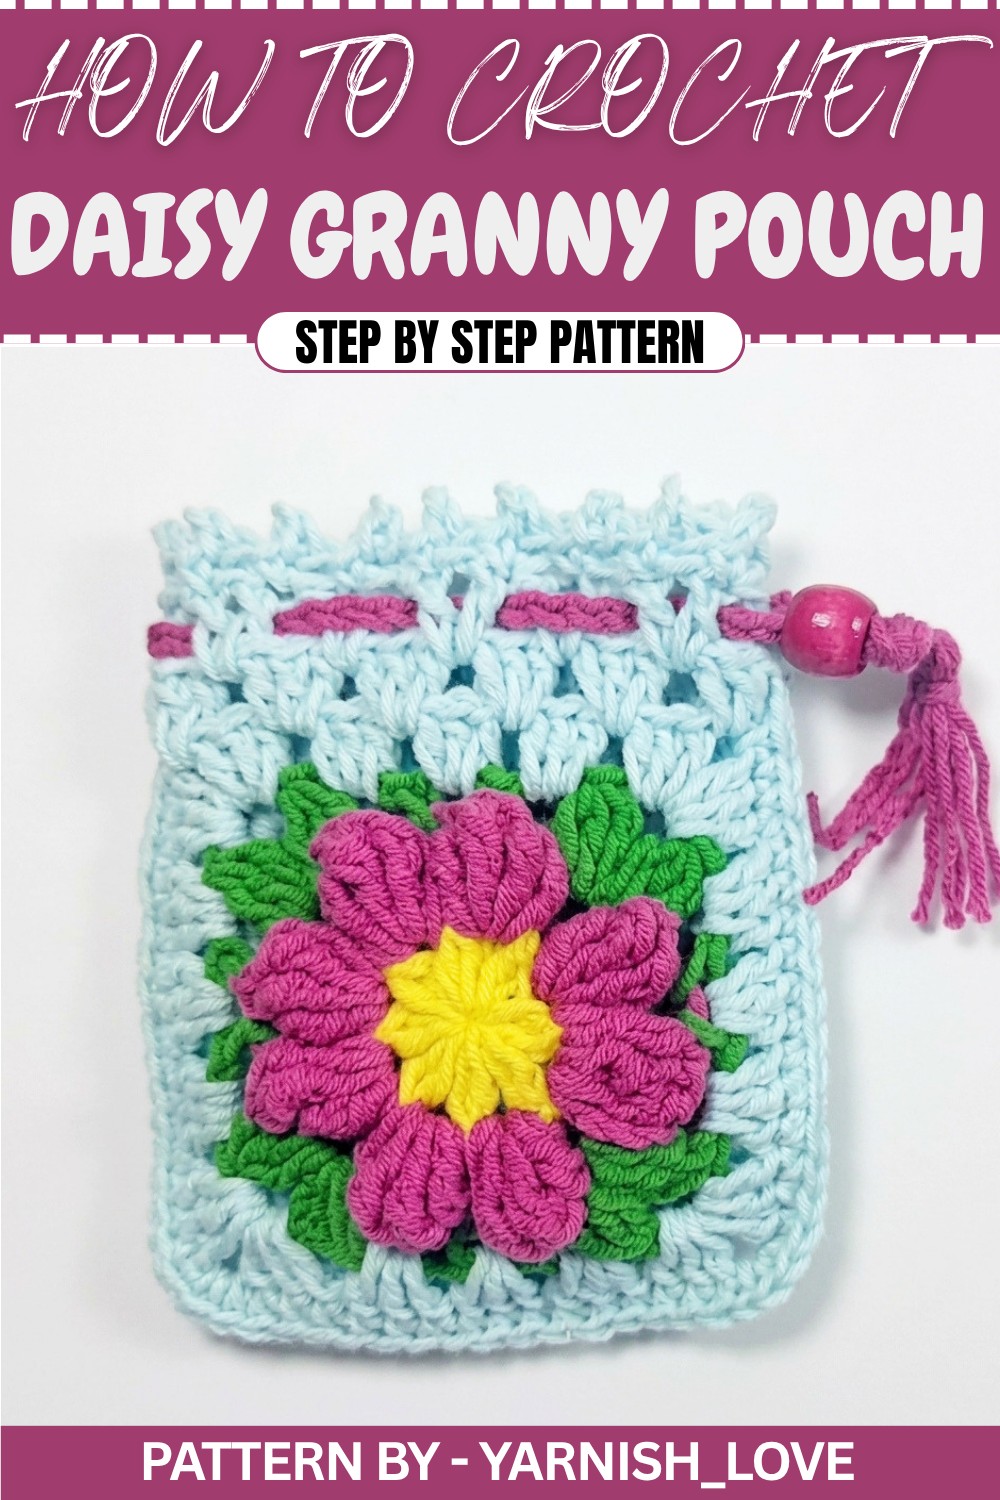
Think about a pouch that’s not only practical but also so lovely with its daisy flower inspired look. This crochet daisy granny pouch is made by combining two squares featuring the daisy design, bringing a cheerful and handmade touch to a simple accessory. It’s both useful for holding small items like earbuds or keys and pretty enough to brighten any corner of a bag or workspace.
Featured By yarnish_love
The pouch is made using basic crochet stitches like chains, single crochets, and double crochets, with the daisy stitch adding the special floral texture. Once the squares are complete, they’re connected together with single crochet, making it easy to assemble. The project can also teach basic joining techniques, which are helpful for other projects like small bags, coasters, or even placemats.
Free Crochet Daisy Granny Pouch Pattern That Feels Special
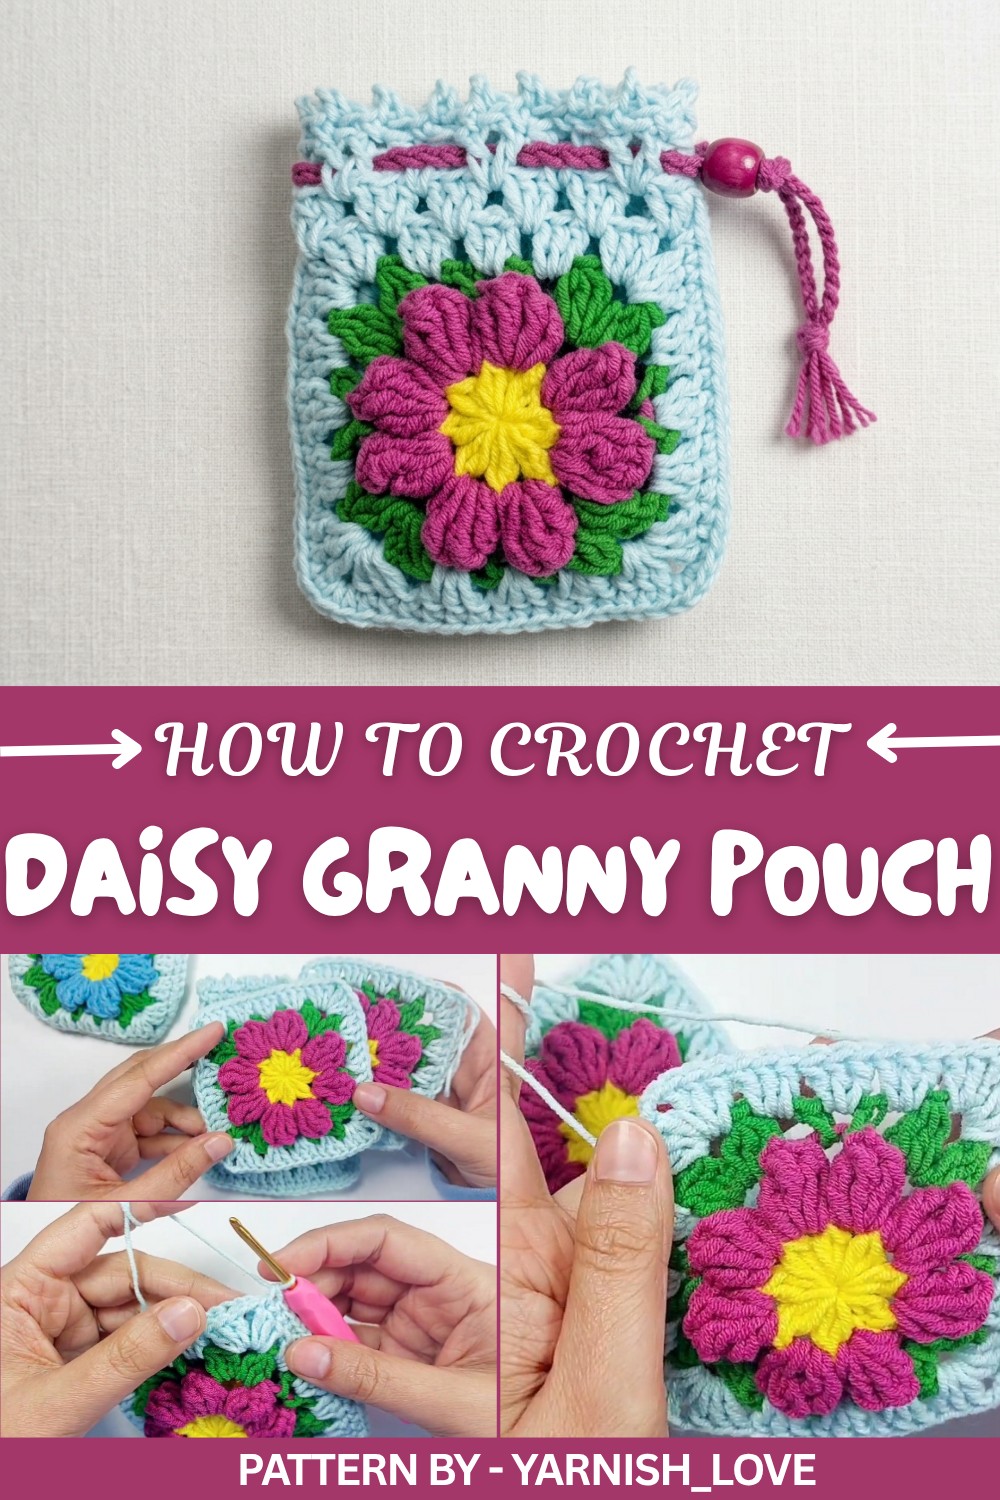
Using colorful yarns brings this pouch to life, and it’s easy to personalize the color combinations to suit your style or to make a thoughtful gift for someone else. Its small size makes it a quick project while still being satisfying to work on. Those new to crochet will enjoy learning a unique flower stitch, while experienced crocheters will find it a fun project for relaxation.
A handmade pouch like this is more than just an accessory. It carries a little piece of effort, joy, and creativity. Whether you’re making it for yourself or someone you care for, this pouch will add a touch of warmth and beauty wherever it goes.
Crochet Daisy Pouch Pattern
This pattern will help you create a stylish Daisy Flower Pouch using two daisy granny squares. Follow this step by step guide to achieve a clean and professional finish.
Materials
- Yarn: Alize Cotton Gold yarn (or any DK weight yarn in desired colors).
- Hook: 3 mm crochet hook.
- Tools: Scissors and a yarn needle.
Abbreviations
- ch: chain
- sc: single crochet
- dc: double crochet
- sl st: slip stitch
- st(s): stitch(es)
- sp: space
Special Techniques
- Single Crochet Joining: Using single crochet to join two squares along their edges.
- V-Stitch: Create texture using a pattern of (1 dc, ch 1, 1 dc).
- Picot-Styled Edge: A decorative edge that consists of small chain loops (ch 3 + sl st).
Pattern Construction
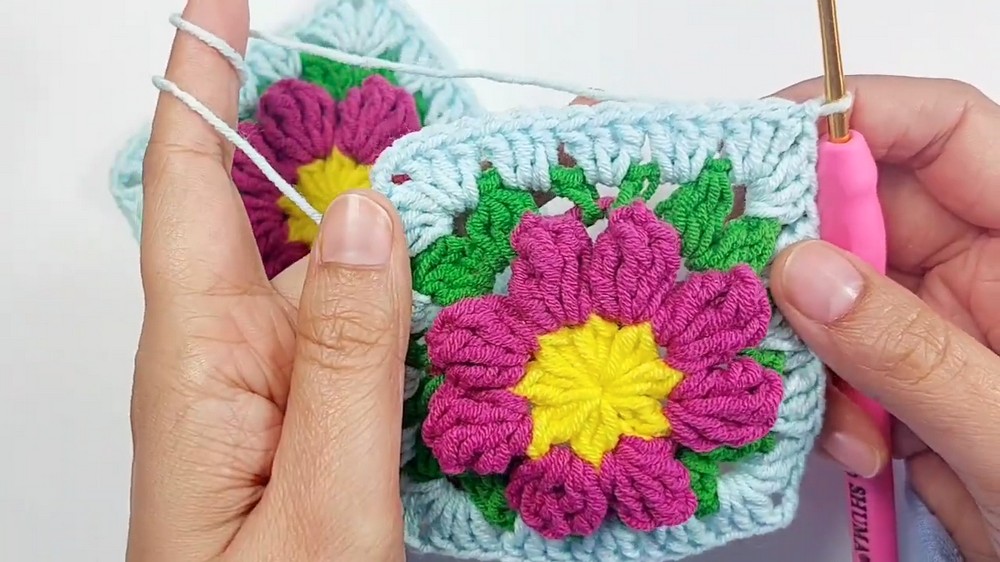
Step 1: Joining the Squares
Preparation:
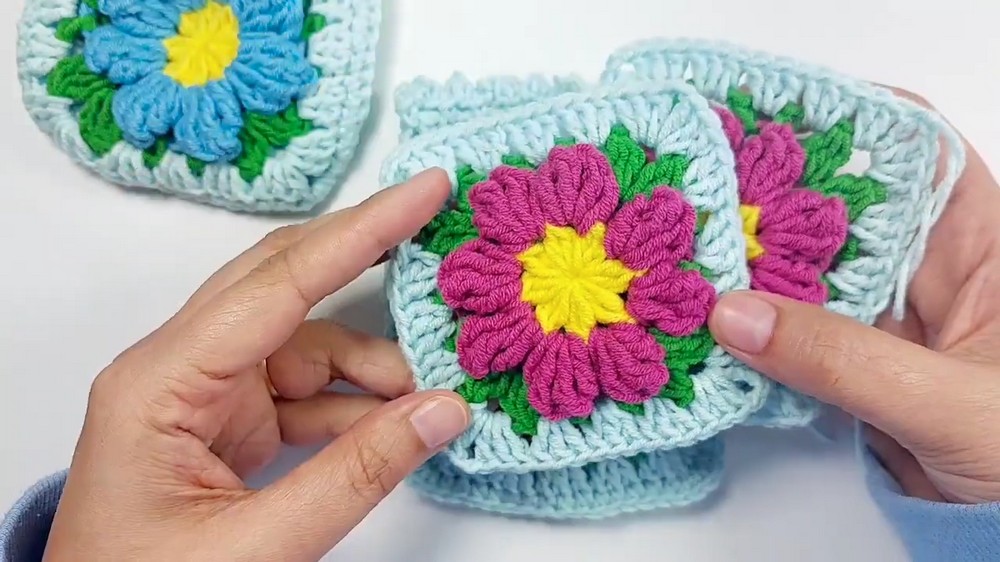
- Place the two daisy granny squares together with their back sides touching.
- Ensure the decorative flower sides are facing out.
Joining the Squares:
- With the yarn still attached to the second square:
- Chain (ch) 1.
- Insert your hook into the chain 2 corner space of both squares.
- Create a single crochet (sc) to join the squares at the corner.
- Continue along the first side:
- Insert your hook into the first stitch of the front square and the first stitch of the back square.
- Yarn over and pull through both stitches to create a sc.
- Repeat Step 4 across the side, working sc through corresponding stitches on each square.
- In the chain 2 corner spaces, work the following:
- 3 sc to smoothly turn the corner.
- Repeat the process on the following two sides:
- sc into each corresponding stitch between squares, and 3 sc in each corner.
- Stop after joining three sides.
- Do not join the fourth side as this is the pouch’s opening.
Step 2: Crocheting the Pouch Body
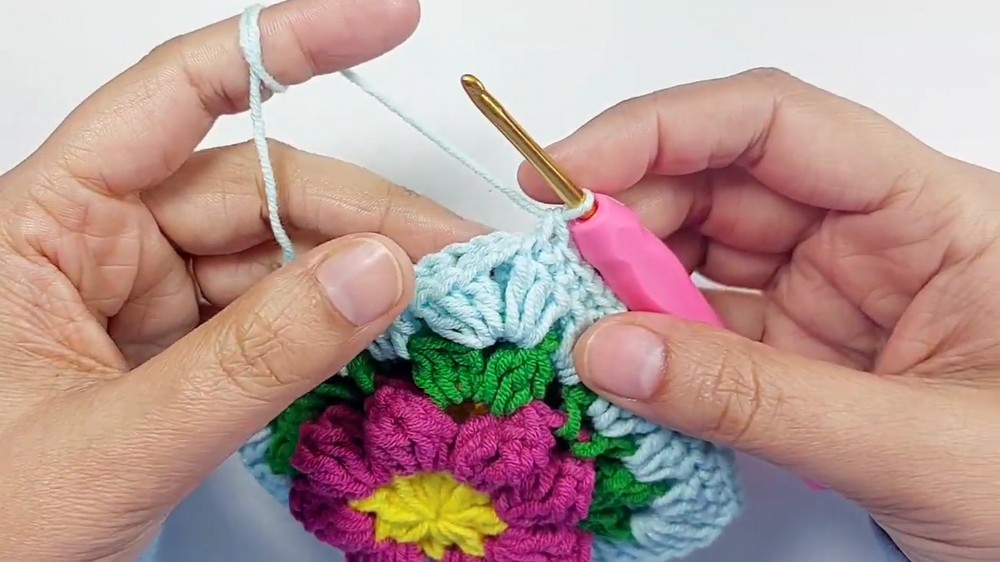
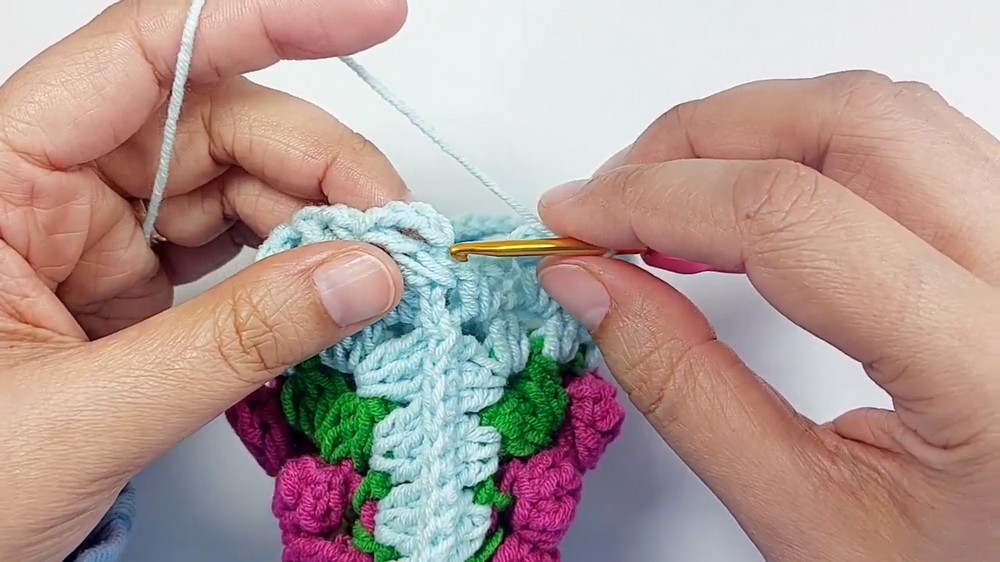
The pouch’s body is worked around the top opening to add height and a decorative touch.
Round 1: Foundation Round
- Start by ch 3 (counts as the first dc).
- Work 2 dc into the same starting corner space. (This creates a cluster of 3 dc).
- Move to the first sp between clusters:
- Work 3 dc into the space.
- Repeat Step 3 for each space between clusters around the top edge.
- At the end of the round:
- Sl st into the 3rd ch of the initial chain 3 to join.
Round 2: Eyelet Round
- Begin by ch 4 (3 chains count as 1 dc and the 4th chain is for the space).
- Work 1 dc into the same starting space (creates a V stitch).
- In each sp between clusters, work the following:
- 1 dc, ch 1, and 1 dc (V stitch).
- Repeat Step 3 around the opening.
- At the end of the round:
- Sl st into the 4th ch from the starting ch 4.
Round 3: Decorative Edging
- Start by ch 3.
- Create a picot by working:
- A sl st into the first ch of the ch 3.
- Skip the next st.
- Work 1 sc into the following st.
- Repeat the following sequence around the edge:
- Ch 3, sl st into the first ch to form a picot, skip next st, and sc into the next st.
- When you’ve worked around the entire edge:
- Sl st into the top of the 3rd ch of the starting ch-3.
Step 3: Strap
The strap can be adjusted to your preferred length.
Instructions
- Create a slip knot on your hook.
- Chain the desired length for your strap:
- For example, ch 70 for a standard crossbody strap.
- Once your chain is complete, fasten off and leave a tail for sewing.
- Attach the ends of the strap to the top corners of the pouch:
-
- Use a yarn needle to securely stitch the strap edges into place on the inside of the pouch.
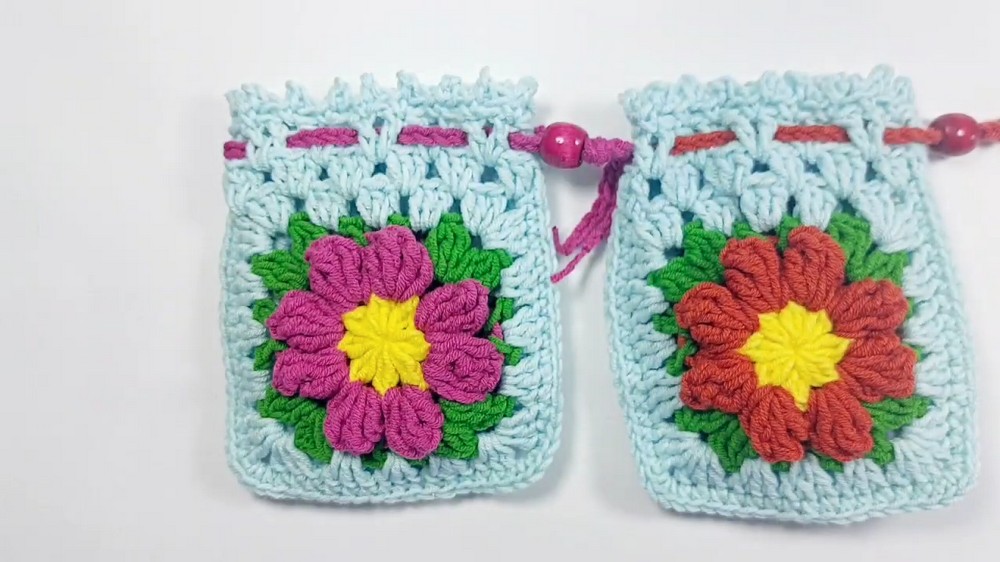
Assembly
- Ensure your pouch’s seams are neatly aligned.
- Weave in any loose ends using your yarn needle.
Finished Dimensions
- The pouch will measure approximately 4 x 4 inches, depending on the size of your granny squares.
- The strap length will vary based on personal preference (chains).
Tips and Customization Ideas
- Colors: Use different shades for the square center and petals for a vibrant daisy effect.
- Size: To create a larger pouch, use a larger crochet hook or thicker yarn. Adjust the strap length accordingly.
- Optional Drawstring: Instead of a strap, you can create a crochet chain as a drawstring and weave it through the top to create a small drawstring bag.
- Lining: Add a fabric lining to the pouch for extra durability and to prevent small items from slipping through the gaps. A simple hand-stitch is all you need to attach fabric inside.
Conclusion
Congratulations on completing your Daisy Flower Pouch. It’s a versatile and fun project, ideal for storing small items or gifting.
Feel free to experiment with different yarn colors, square patterns, and strap lengths to make this pouch truly your own.