
Free Crochet Granny Square Bag Pattern for Your Next Trip
Follow this free crochet pattern to make a unique granny square bag that’s fun to crochet and ready to carry all your favorite items.
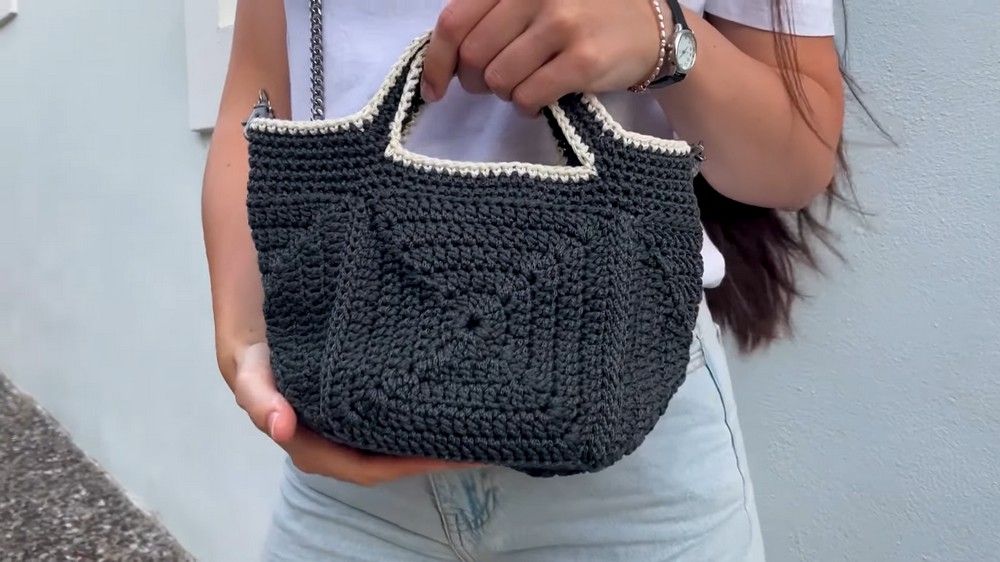
Crocheting has always been more than just creating, it’s about transforming simple materials into something beautiful and functional. One such project is the elegant granny square bag, a timeless piece that blends practicality with charm. Its design is inspired by the beloved crochet motif: the granny square. With intricate textures and neat lines, this bag is a classic accessory that suits any occasion, whether it’s a casual day out or a shopping trip with friends.
Learn to Make a Granny Square Bag with This Easy Pattern
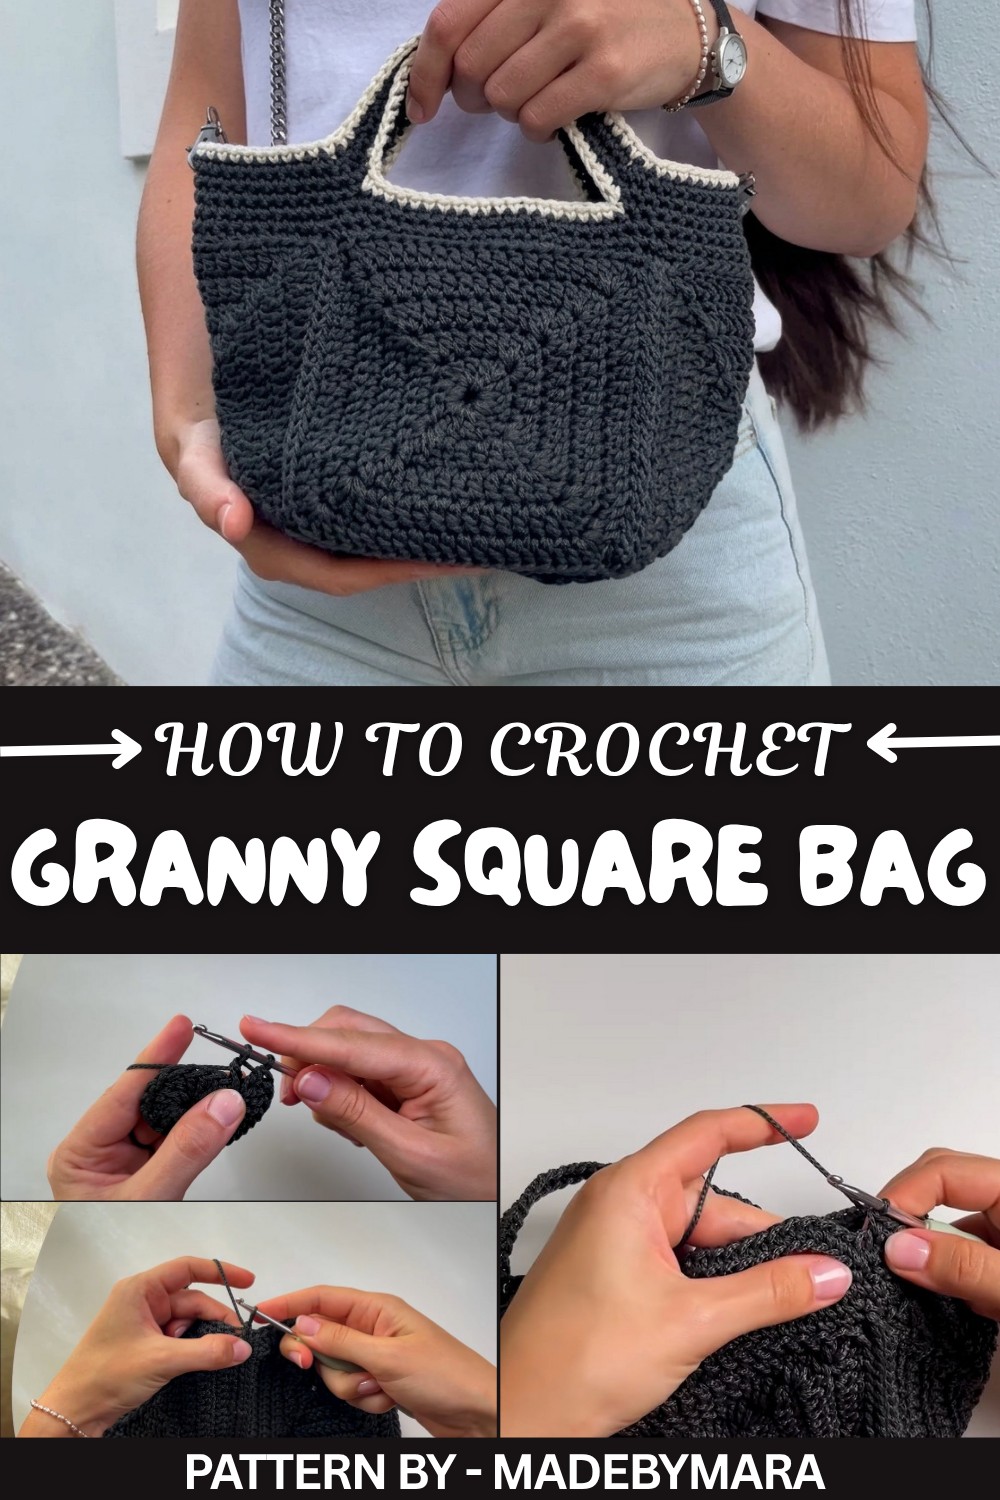
The granny square bag stands out for its versatility and simplicity. It’s completely customizable, choose bright colors for a fun, playful vibe or soft hues for something more understated and elegant. Made up of individual squares, it’s stitched together seamlessly, leaving no rough edges, and the textured stitches throughout the pattern offer both durability and aesthetic appeal. The addition of well crocheted handles ensures comfort while carrying, and you can adjust the size to fit your preference, whether you want a compact tote or a roomy carry all bag.
Starting with the magic circle technique, small details like stitch placement and consistent back looping ensure every square fits beautifully with the next. Step by step, the pieces come together to design a masterpiece that you’ll be proud to showcase.
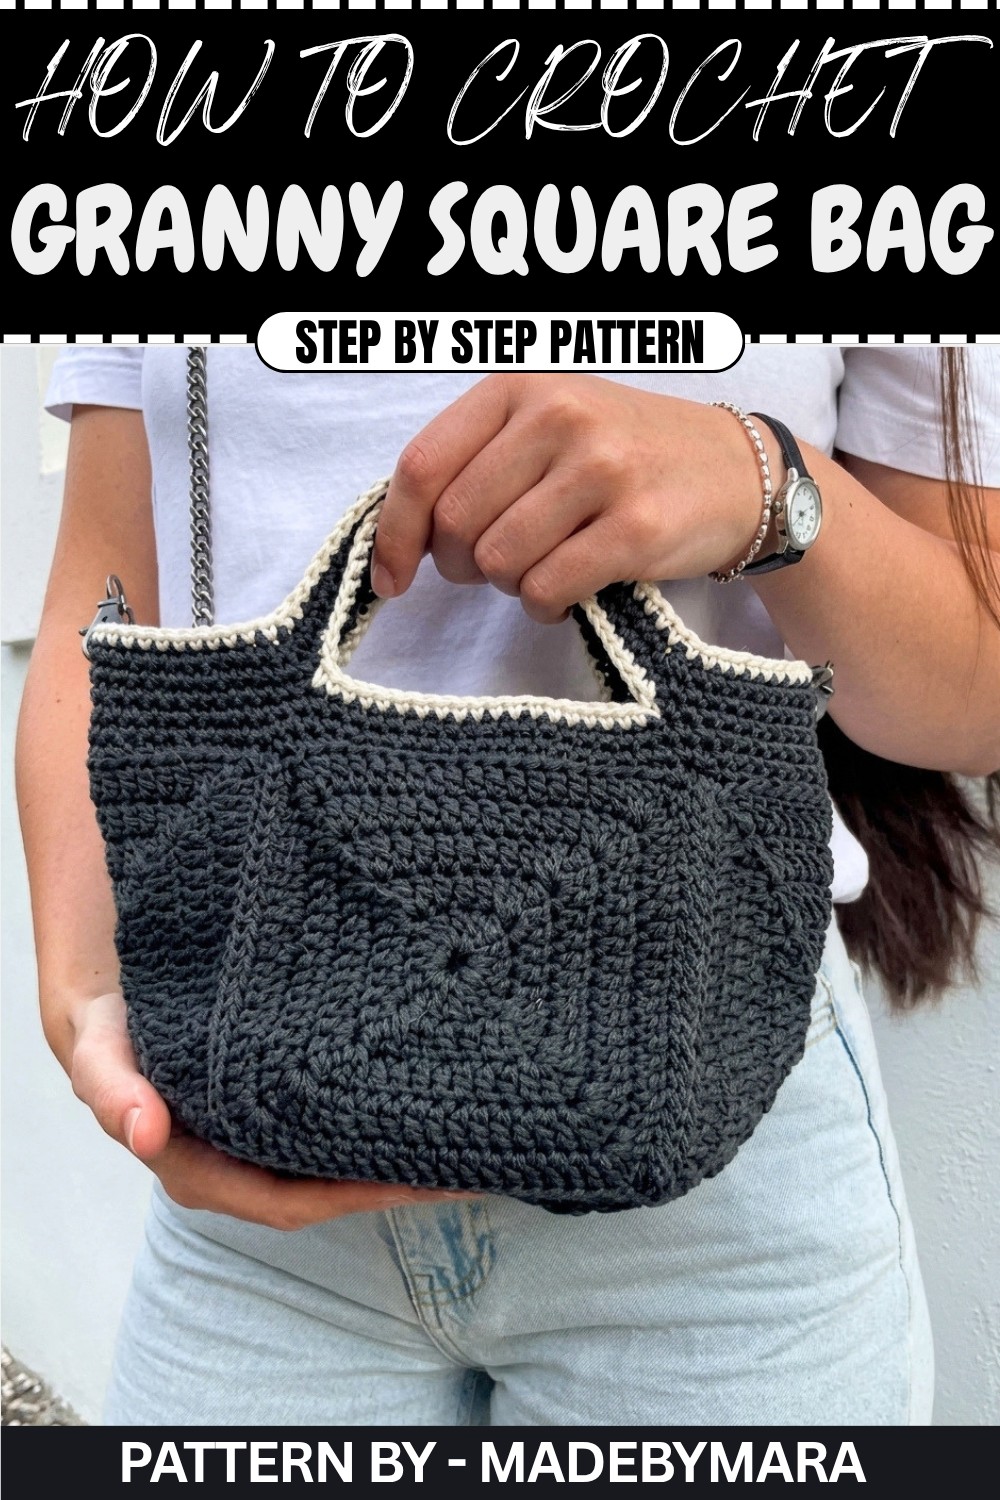
For a comprehensive guide to creating this stunning masterpiece, MadeByMara’s YouTube video tutorial offers an easy and engaging demonstration. Mara’s instructions are clear, beginner-friendly, and full of handy tips for achieving a professional finish. By the end, you’ll have created a granny square bag that’s sturdy, stylish, and perfect for any occasion.
Easy Granny Square Bag Crochet Pattern
Create a beautiful and practical granny square bag using this easy crochet pattern. Perfect for beginners, this project involves making solid granny squares, assembling them, and adding a sturdy brim and handles. Follow this guide for your very own handmade bag.
Quick Overview of the Pattern
- Item: Granny Square Bag
- Difficulty: Beginner friendly
- Number of Granny Squares: 5 (1 for the base, 4 for the sides)
- Assembly: Joined using slip stitches through back loops.
- Finish: Single crochet brim and chain handles.
Notes
- Work all stitches in the back loop only unless otherwise instructed.
- Maintain symmetry when attaching handles by using stitch markers.
Skill Level
Beginner to Intermediate – Requires basic knowledge of slip stitches, single crochet, double crochet, treble crochet, and working in back loops only.
Materials
- Yarn: Macrame style yarn or any sturdy worsted weight yarn (your preferred colors).
- Crochet Hook: 4 mm.
- Tools:
- Darning needle for seaming and weaving in ends.
- Stitch markers.
- Scissors.
Measurements / Sizing
- Granny Square Size: 14 cm x 14 cm after 5 rounds.
- Bag Dimensions: 14 cm wide x 14 cm deep x 28 cm tall (using 5 squares).
Stitch Abbreviations
- CH: Chain
- SC: Single Crochet
- DC: Double Crochet
- TR: Treble Crochet
- SL ST: Slip Stitch
- BL: Back Loop
Special Stitches
Treble Crochet (TR):
- Yarn over twice.
- Insert hook into stitch.
- Yarn over, pull up a loop (4 loops on hook).
- Yarn over, pull through 2 loops at a time, three times, until one loop remains.
Slip Stitch (SL ST):
- Insert the hook into both back loops of the stitch.
- Yarn over and pull directly through the loop on the hook.
Construction
Step 1: Start the Granny Square
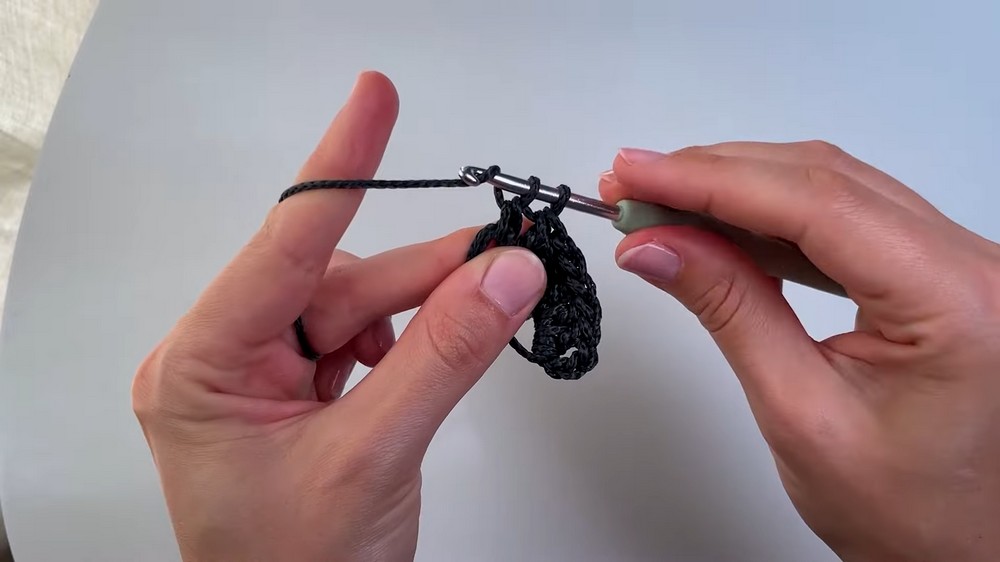
Magic Ring Creation:
- Wrap yarn around two fingers, creating an "X" shape on top.
- Insert hook under the bottom strand and over the top strand; pull through.
- Twist to form a loop on the hook.
- CH 1 to secure the ring.
Step 2: First Round
- CH 4 (this counts as the first Treble Crochet).
- Into the ring:
- 3 DC, 1 TR (corner).
- 3 DC, 1 TR (corner).
- Repeat: 3 DC + 1 TR two more times (for additional corners).
- End the round with 3 DC.
- Pull the yarn tail tight to close the ring.
- SL ST to the 4th chain to join the round.

Step 3: Additional Rounds
For each round:
- Start: CH 4 (counts as the first TR in the new corner).
- Corners: Work 2 DC, 1 TR, 2 DC into the corner space.
- Sides: Work 1 DC into each stitch along the side until the next corner.
- Finish: SL ST into the starting CH (4th chain).
Step 4: Make 5 Granny Squares
Repeat Steps 1–3 to make 5 granny squares:
- 1 square for the base.
- 4 squares for the sides of the bag.
Step 5: Assemble the Bag
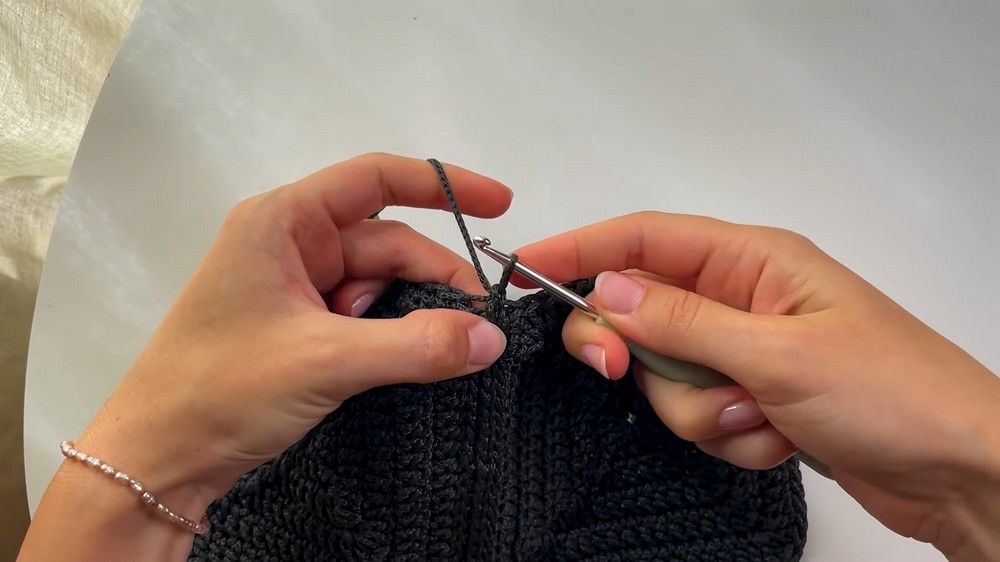
Attach the Squares:
- Align two squares: Place them wrong sides together for joining.
- Use the SL ST join:
- Insert hook into the BL only of both squares.
- Yarn over, pull through both loops, then through the loop on your hook.
- Corners: Insert hook into the entire stitch to avoid gaps, then continue the SL ST join.
Attach All Squares:
- Attach the 4 side squares to the base using the same join through back loops only technique.
- Use stitch markers while joining to maintain alignment.
Step 6: Create the Brim
- Attach Yarn: Join the yarn to any corner of the bag using a slip knot.
- Row 1:
- CH 1. Work SC into the BL only around the entire top edge of the bag.
- SL ST to join at the end of the round.
- Row 2:
- CH 1. Work SC into the entire stitch (not just BL) across for a clean brim edge.

Step 7: Add the Handles
Place Stitch Markers:
- Mark handle placement: Use stitch markers to define where handles will start and end. Ensure even spacing.
- Begin Handles:
- SC into the marked stitch.
- CH desired number of stitches for the handle length.
Attach Handles:
- SC into the corresponding marked stitch on the opposite side.
- Work SC across the rest of the brim edge.
- Repeat for second handle: Follow the same steps for the second handle.
Reinforce Handles:
- Work SC into the back loops of the chain stitches for added strength.
Assembly & Finished Size
- After finishing the last round, SL ST to join, cut the yarn, and fasten off.
- Weave in all dangling ends using a darning needle.
- Turn the bag right side out, ensuring all seams are clean and secure.
Optional Customization
- Add a contrasting color to the brim using SC rows.
- You can reinforce the handle edges using a whip stitch for added durability.
Conclusion
Congratulations, You have successfully crocheted your very own Granny Square Bag. This versatile tote is perfect for everyday use or as a thoughtful handmade gift. Feel free to customize the design by experimenting with colors, square sizes, or decorative edging.