
Free Crochet Halloween Witch Hat Pattern With Spooky Fun
Join the Halloween fun with this free crochet witch hat pattern that create an adorable accessory perfect for kids, pets, or playful dress up fun.
Pattern By LB123
When you think of Halloween, few things capture its enchanting spirit quite like a pointy witch hat, and this Crochet Halloween Witch Hat is the perfect way to create a magical costume accessory. This project allows you to crochet a fun, whimsical hat that is both festive and functional, ideal for Halloween parties, trick or treating, or dressing up for spooky season photo shoots.
Featuring the iconic conical shape, the hat includes bold ridges, which give it a textured and realistic finish. The brim is wide and firm, creating a classic silhouette that screams witchy vibes. You’ll start from the tip of the hat and gradually work your way down, increasing stitches as you go to build the cone shape. After that, you’ll focus on creating the wide brim that finishes the look beautifully.
Free Crochet Halloween Witch Hat Pattern for Party Fun
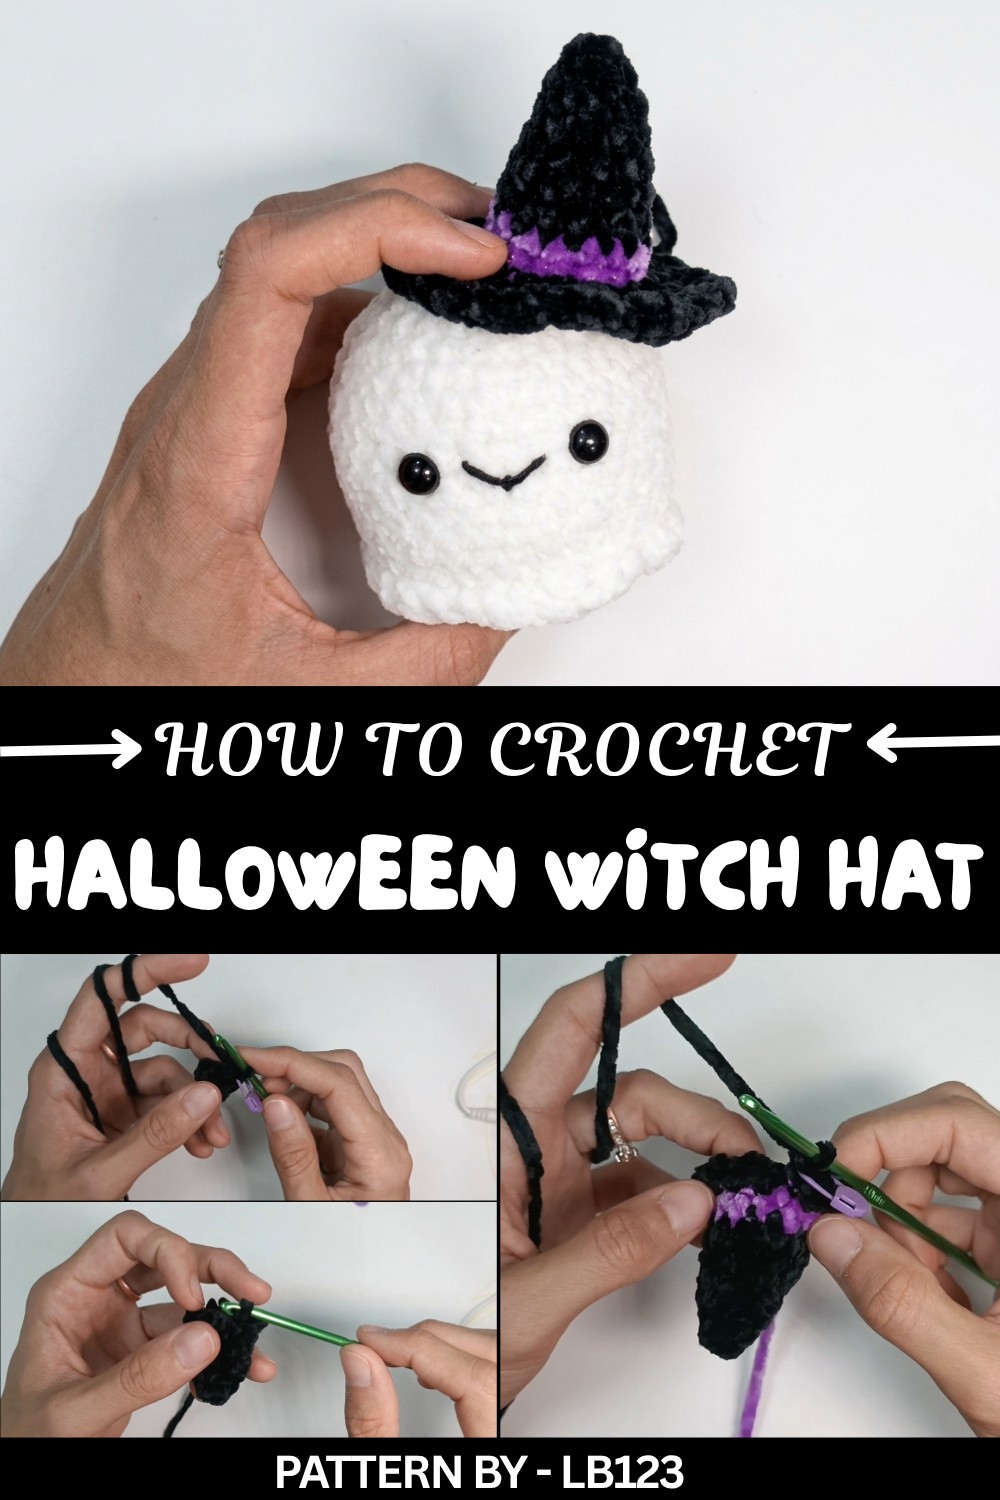
When choosing yarns, a worsted weight yarn works perfectly, as it provides just enough structure to hold the hat’s shape without being too heavy. Pair it with a slightly firmer crochet hook for tighter stitches, helping the hat stand tall. If you’re feeling adventurous, consider adding a pop of color, sparkly accents, or embellishments such as faux flowers, ribbons, or even a crocheted band, these touches can make your hat truly unique.
This fun Halloween project is a great way to prepare for the spooky season while showing off your crochet skills. Whether you’re making it for yourself, a child, or a friend, this witch hat is sure to turn heads and add charm to any Halloween celebration. So bring your favorite yarn, settle in with your crochet hook, and let your Halloween spirit fly.
Crochet Witch Hat Pattern
Quick Overview of the Pattern
- Craft Type: Crochet
- Object: Witch Hat
- Time Estimate: Approximately 1–2 hours
- Skill Level: Beginner
Notes
- Work in continuous rounds, and always use a stitch marker to mark the last stitch in each round for accuracy.
- For color changes, ensure you switch yarns before you complete the final pull through of a stitch to create a seamless transition.
- Only the front loop will be worked for specific sections of this pattern, as indicated in later steps.
Skill Level
Beginner to Intermediate – Includes basic stitches, color changes, and working into front loops only.
Materials
- Yarn:
- Chenille velvet yarn in black and purple (or substitute purple for any color you prefer).
- Crochet Hook: 4 mm.
- Tools:
- Needle
- Scissors
- Stitch marker
Measurements / Sizing
The finished size of the witch hat may vary depending on the specific yarn and hook tension but approximately measures:
- Height: 3 to 4 inches
- Base circumference: 6 inches.
Gauge
Gauge is not critical for this project; work with a consistent yarn tension to ensure proper shape and build structure.
Stitch Abbreviations
- CH: Chain
- SC: Single Crochet
- SL ST: Slip Stitch
- MAG: Magic Circle
- INC: Increase (2 SC in the same stitch)
- FLO: Front Loop Only
Special Stitches
Magic Circle (MAG):
- Form a loop of yarn and insert your hook into the loop.
- Yarn over, pull through the loop, and secure the circle with one CH.
- Complete the required number of stitches into the circle, then pull the tail gently to tighten.
Front Loop Only (FLO):
- Instead of working into both loops of a stitch, work into only the front loop, leaving the back loop unworked.
The Crochet Pattern
Top of the Witch Hat (Cone Shape)
Round 1:
- Start with the black yarn and make a Magic Circle.
- Work 4 SC into the magic circle. Pull the yarn tail to close the circle.
(4 stitches in total)
Round 2:
- SC in the first stitch.
- INC (work 2 SC into the same stitch) into the second stitch.
- SC in the third stitch.
- INC into the fourth and final stitch.
(6 stitches in total)

Use a stitch marker to indicate the last stitch of the round.
Round 3:
- SC in the first stitch.
- INC in the second stitch.
- Repeat (SC, INC) for a total of 3 repeats.
(9 stitches in total)
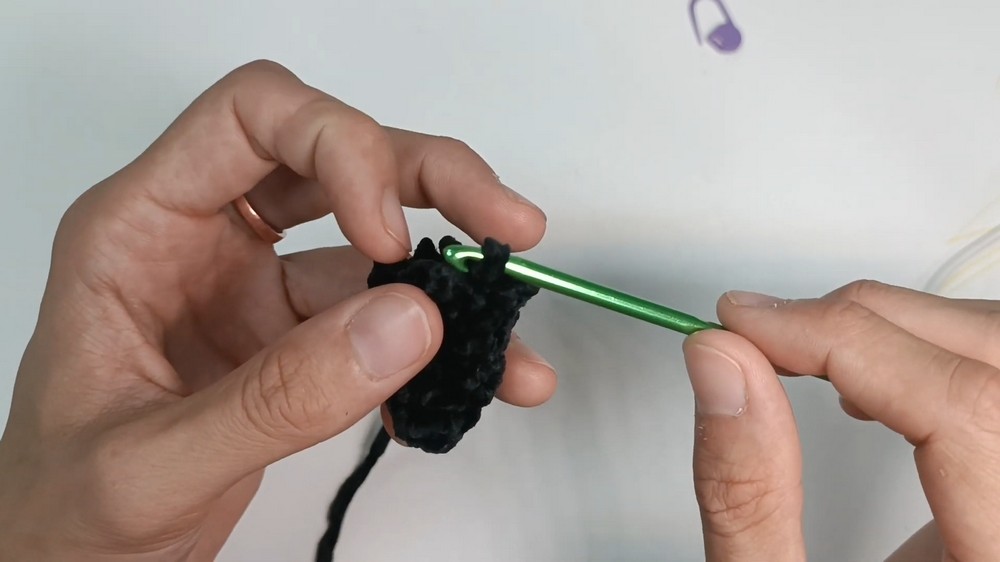
Mark the last stitch of the round.
Round 4:
- SC around the entire row (1 SC in every stitch).
(9 stitches in total)
Round 5:
- SC in the first stitch.
- SC in the second stitch.
- INC in the third stitch.
- Repeat (2 SC, INC) for a total of 3 repeats.
(12 stitches in total)
Round 6:
- Work 1 SC in each stitch around.
(12 stitches in total)
Round 7:
- SC in the first stitch.
- INC in the second stitch.
- SC in the third stitch.
- SC in the fourth stitch.
- Repeat (SC, INC, SC, SC) for a total of 3 repeats.
(15 stitches in total)
Color Transition to Purple Yarn (Hat Band)
- After completing Round 7, pull the black yarn to create two loose loops remaining on the hook.
- Insert the crochet hook into both loops and use purple yarn to finish the last pull through of the SC.
- Tug both the black and purple yarn ends gently to secure.
Hat Band (Purple Section)
Round 8:
- Insert the stitch marker into the final black stitch before beginning this round.
- Work a SL ST into the first purple stitch to create a clean transition.
- Work 1 SC into each stitch around.
(15 stitches in total)

Round 9:
- SC in each stitch around. This is another round entirely in purple.
(15 stitches in total)
Color Transition Back to Black Yarn
- After Round 9, cut the purple yarn, leaving a short tail.
- Tie the purple tail to the black yarn securely with two knots and tuck the purple tail inside the hat.
- Rejoin the black yarn by pulling through the last two loops of the previous purple SC, leaving two black loops on your hook.
Brim of the Witch Hat (Black Section)
Round 10:
- Work into FLO (front loops only).
- Start with a SL ST in the first stitch.
- INC in each FLO stitch all the way around.
(30 stitches in total)

Round 11:
- SC in the first 4 stitches. INC in the next stitch.
- Repeat (4 SC, INC) for a total of 6 repeats.
(36 stitches in total)
Round 12:
- SC in the first stitch. SC in the second stitch. CH 1.
- Repeat (SC, SC, CH 1) all the way around. Remember to finish this round with CH 1.
(36 stitches in total)
Finishing Off
- After Round 12, work a SL ST into the next stitch.
- CH 1 and cut the black yarn, leaving a small tail for sewing.
- Weave in the remaining black yarn tail using a needle, hiding it securely between the stitches of the hat.
- Ensure all yarn ends, including purple and black, are tucked inside the hat to give it a neat finish.
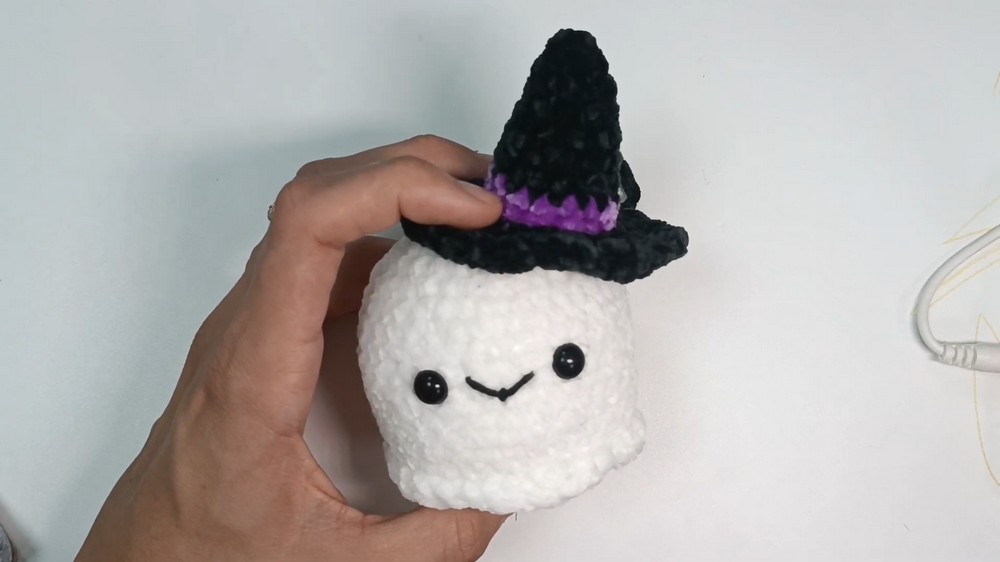
Assembly & Finished Size
- The finished witch hat will measure around 3–4 inches in height and 6 inches in brim circumference, making it perfect for crocheting as a toy, decoration, or keychain.
Conclusion
Your crochet witch hat is ready to use or gift. This quick, easy, and fun project is perfect for Halloween, costumes, or everyday whimsical decor. I hope you had as much fun making this as I had showing you how to crochet it.