
Free Crochet Cat Beanie Pattern with Sweet Winter Style
Keep your ears warm this winter with a fun and adorable Free Crochet Cat Beanie Pattern, perfect for cozy outfits, chilly walks, thoughtful gifts, and more.
On chilly days, keeping warm often involves pulling on something practical yet stylish. For those who love handmade charm, coming across a hat with playful, unique elements can feel like a breath of fresh air. That’s what Sophie offers through her vibrant and approachable channel, Crochet Life Sophie. In one of her tutorials, she introduces a charming pattern that captures the essence of warmth and personality with a delightful twist.
This project features a snug, ribbed hat made from soft acrylic yarn that alternates between earthy tones like green and brown. The hat’s standout characteristic is its adorable ears, woven gently into the design, giving it a playful appearance that resembles a cat. The pattern is simple yet effective, worked as a flat rectangle using half double crochet stitches in the back loops. By maintaining this technique, the fabric gains a textured, stretchy rib, ensuring a comfortable and cozy fit.
Free Crochet Cat Beanie Pattern for Fun Matching Outfits
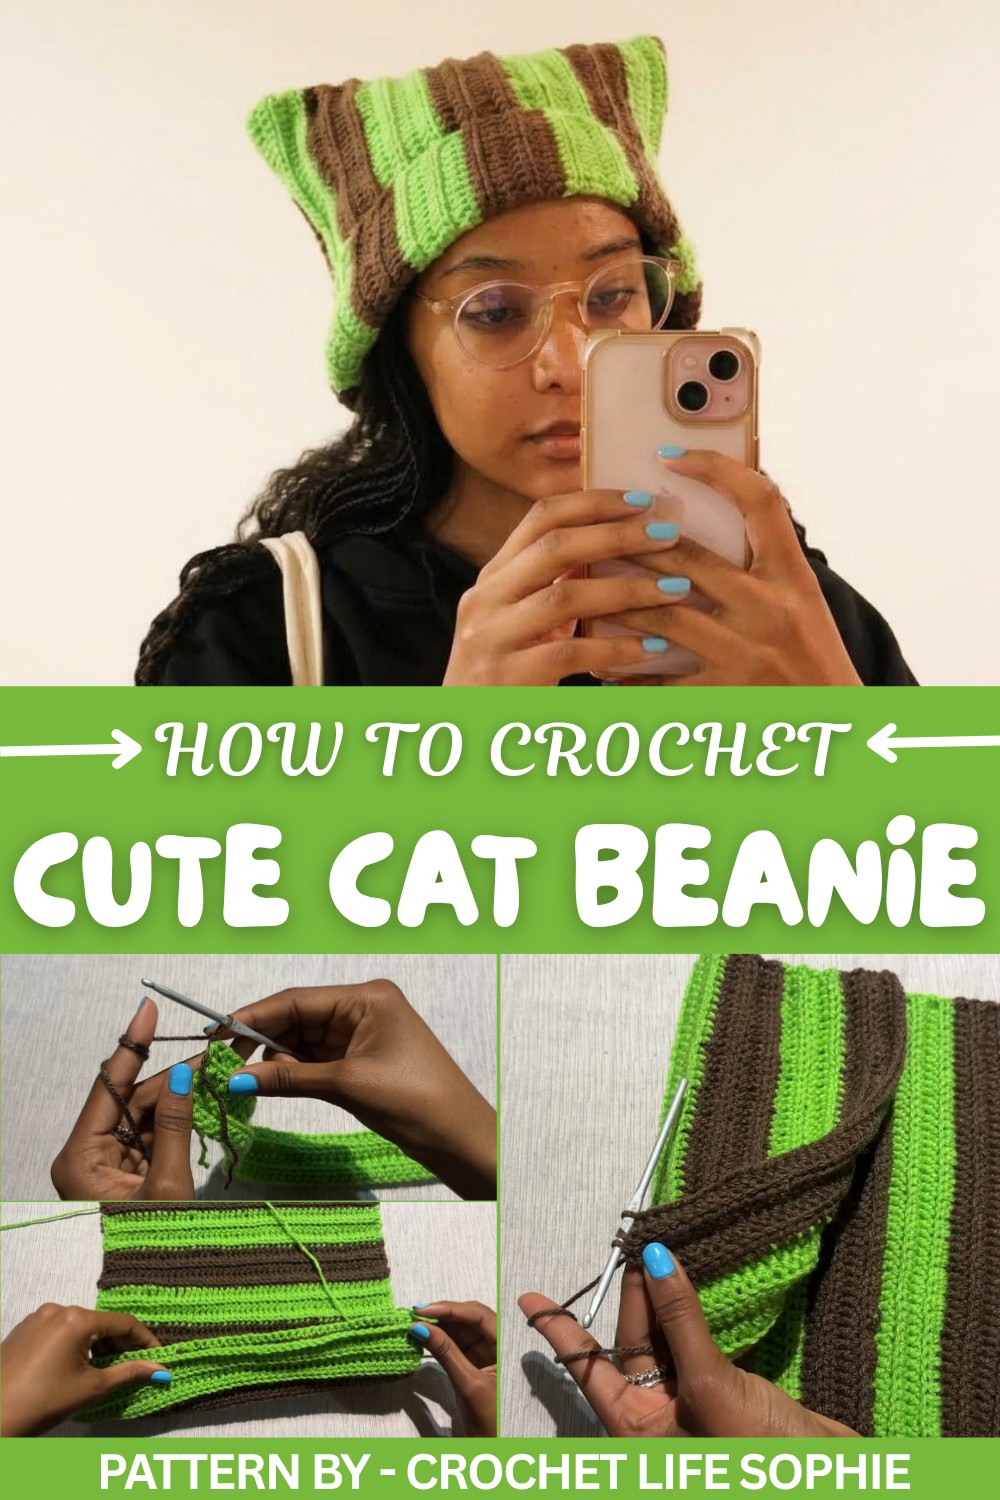
Switching yarn colors every fourth row adds visual interest and allows for customization, making it easy to adapt the project to your favorite hues. Assembly is straightforward once the piece reaches its required size, bringing the rectangle together and sewing the edges creates the final form of the beanie. The top is cinched and secured, giving it its soft, rounded shape with charming cat ears at the corners.
This beanie is perfect for cold seasons, adding both warmth and a touch of whimsy to an outfit. Whether used as a thoughtful handmade gift or a fun accessory for yourself, its joyful design makes it a standout piece in the crochet world. It’s a project anyone can enjoy, balancing simplicity with playful creativity.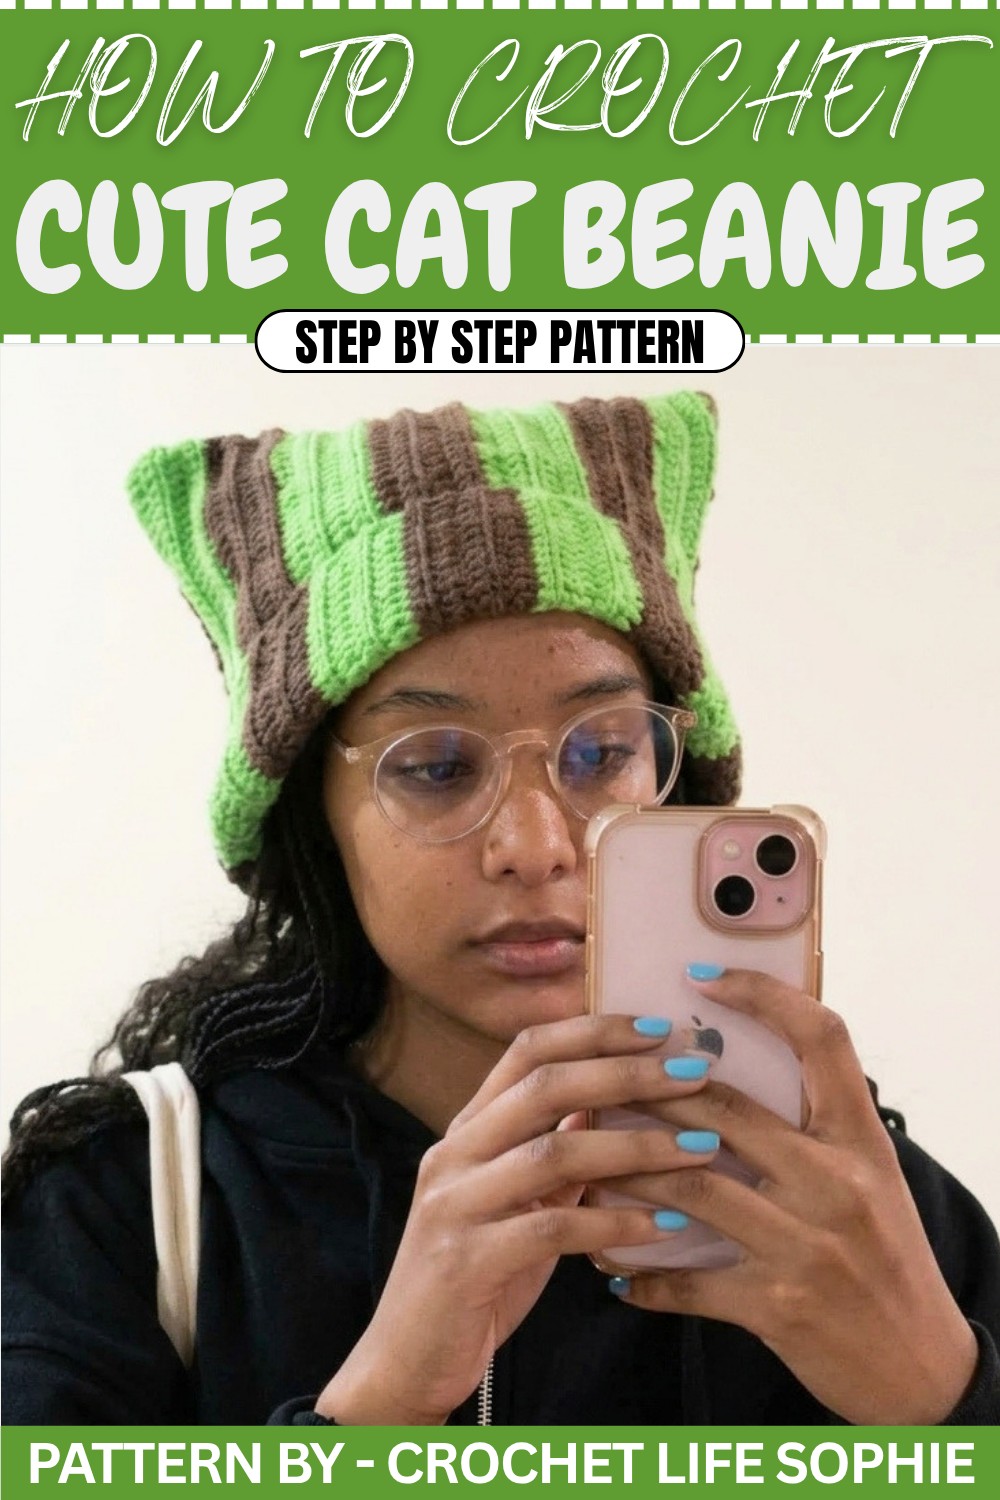
Crochet Two-Toned Beanie Pattern
If you love binge watching your favorite show while crocheting, this project is designed for you. Learn how to create a simple, yet stylish beanie using two colors of acrylic DK yarn. The pattern is beginner friendly and easy to follow, making it a relaxing project for your cozy crochet sessions.
Quick Overview of the Pattern:
- Two-tone beanie crocheted in alternating colors every four rows.
- Half double crochet stitches worked in back loops for the body of the beanie.
- Optional single crochet border for tidiness and symmetry.
- Seaming and finishing the top of the beanie with your choice of stitching method.
Notes:
- For beginners, this project is forgiving on tension—aim for moderate tightness in your stitches but don’t over-tighten.
- Switching colors occurs every four rows, and securing tails as you go is encouraged.
- You can weave in ends later or crochet over them as you work.
Skill Level:
✔ Beginner
Materials:
- Yarn: Two skeins of 100% acrylic DK yarn in two colors (e.g., green and brown).
- Crochet hook: 4.5mm (you can use a 4mm hook if preferred).
- Tapestry needle: For weaving in ends and seaming.
- Scissors: To cut yarn ends.
Measurements:
The pattern can be customized for width and height by increasing or decreasing chain counts and rows.
Gauge:
For 10cm x 10cm square: 18 half double crochet stitches x 14 rows with 4.5mm hook.
Stitch Abbreviations:
- ch: Chain
- sc: Single Crochet
- hdc: Half Double Crochet
- inc: Increase (two sc or hdc into the same stitch)
- dec: Decrease (crochet two stitches together into one)
- sl st: Slip Stitch
Special Stitches:
Half Double Crochet: Yarn over, insert hook into stitch, yarn over and pull up a loop (three loops on hook), yarn over and pull through all three loops.
Back Loop Only: Instead of inserting your hook under both loops of a stitch, only insert it under the back loop (furthest from you).
The Crochet Pattern:
Starting the Base:
- Slip Knot: Make a slip knot using your preferred method. Adjust the loop so it isn’t too tight or too loose.
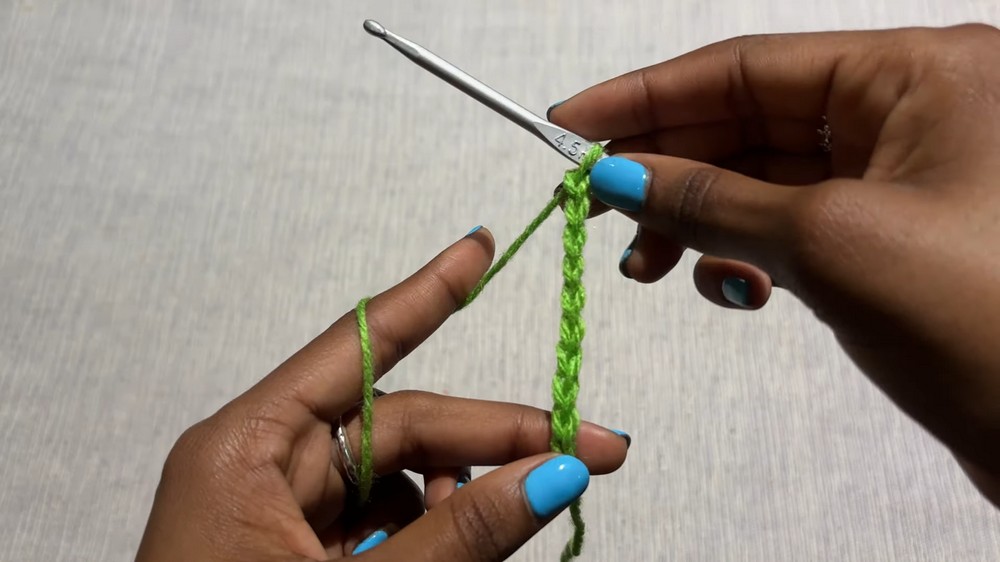
- Foundation Chain: Chain 50. Ensure chains are neither too tight nor overly loose.
Row-by-Row Instructions:
Row 1:
- Skip the first two chains. Work 1 hdc in the third chain from the hook. Follow this sequence for all remaining chains.
- Chain 1, turn your work.
Row 2:
- Work hdc in the back loops only across the row.
- Chain 1 (or 2 as turning chain, but make sure it doesn’t count as a stitch), turn your work.
Row 3 to Row 4:
- Continue working hdc in the back loops only across each stitch.
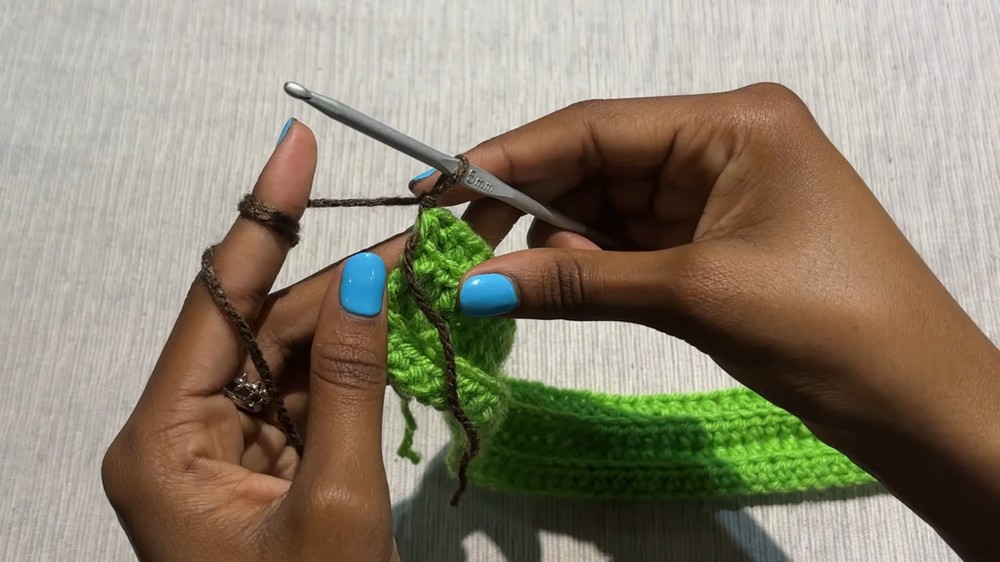
- At the end of Row 4, switch colors as follows:
- In the last hdc, leave the last three loops on the hook.
- Cut off the yarn currently in use, leaving a tail for weaving.
- Attach the new color by yarning over the new color and pulling it through the loops to complete the hdc.
- Tie a double knot with the yarn tails to secure the new color.
- Chain 1 and continue crocheting the next rows.
Color Switching Notes:
- Switch colors after every fourth row. Alternating every other four rows adds a touch of contrast to the beanie.
- As you switch colors, tie the yarn tails together and weave them in as you crochet.
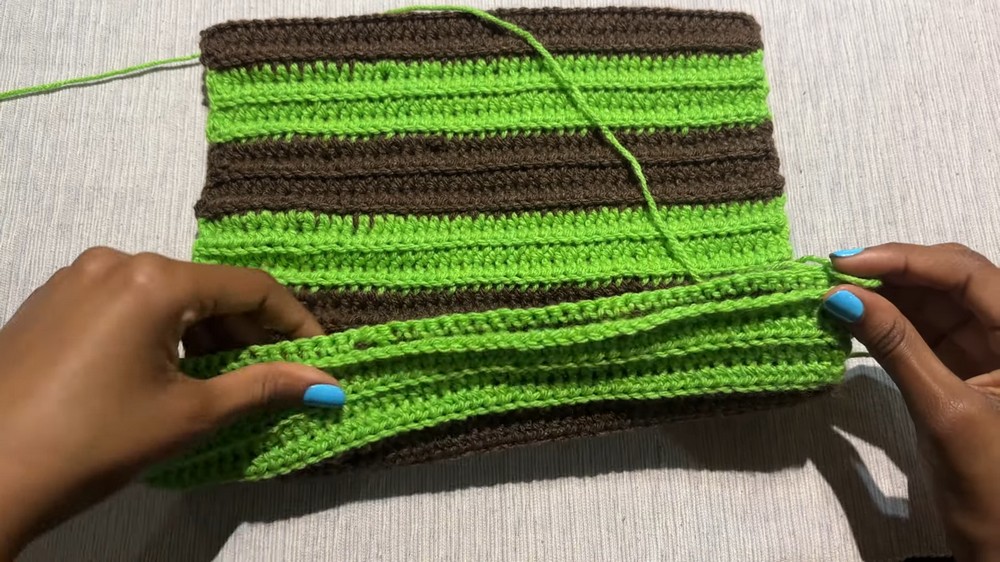
Rows 5 to End:
- Continue crocheting hdc in the back loops only with alternating colors every four rows.
- Repeat the process until the desired width of the beanie is achieved.
- Complete a total of 56 rows for medium size (modifiable based on preference).
Optional Single Crochet Row:
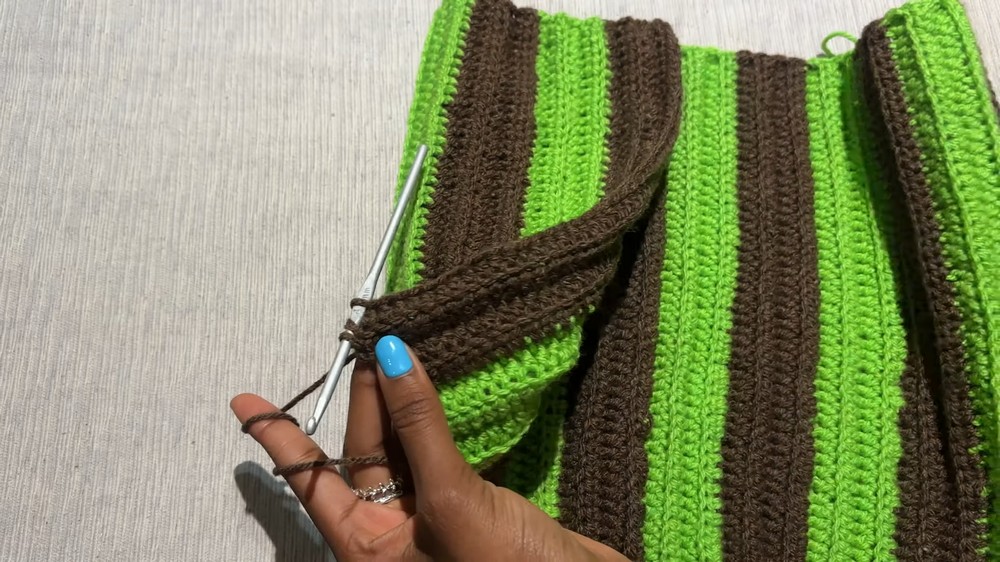
- Using the color you started with, attach yarn without completing the last hdc. Finish the hdc with the original color and make a single crochet row across the length of the rectangular piece.
- Work sc in both loops for this row to provide a clean edge.
- This step is optional but can improve the overall look of your beanie.
Seaming the Beanie:
- Fold the last row over to align with the first row and sew the edges together using your preferred method:
- Slip Stitch: Insert hook into both loops of one stitch from each row, yarn over, and pull through both loops. Continue this across the length.
- Tapestry Needle: Thread the long yarn tail into the needle and sew the edges together using tight stitches, ensuring no gaps remain.
Closing the Top of the Beanie:
- Once the side seam is complete, leave another long tail for sewing the top.
- Insert your tapestry needle into the yarn tail.
- Secure the top by sewing back and forth across the edge, pulling tightly in a circular motion, and closing the hole entirely.
Finishing Touches:
- Weave in all loose ends carefully with the tapestry needle. Avoid cutting them too close to the stitches to prevent unraveling.
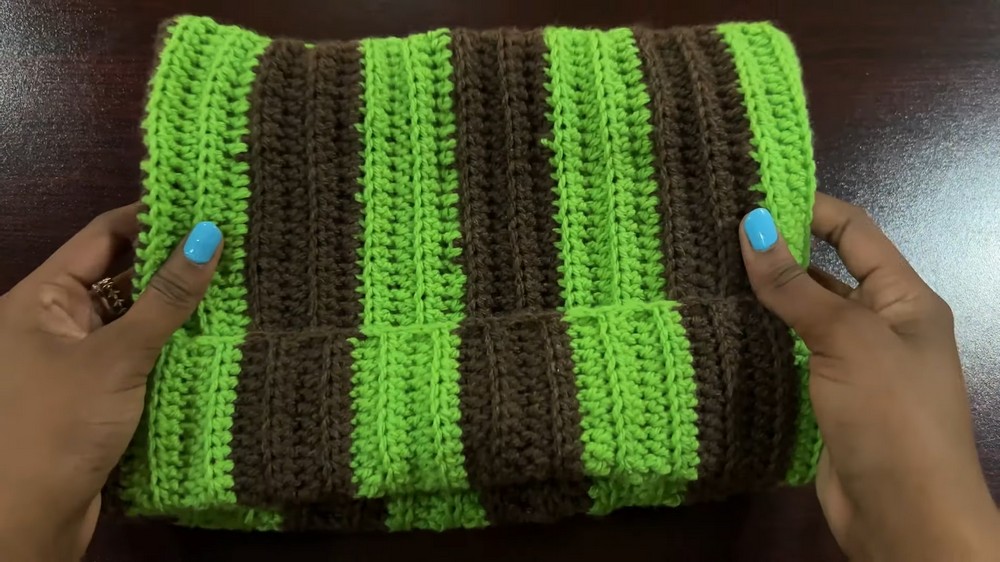
- Optional: Flip the rectangle to decide which side will be the "right" side of the hat.
Assembly & Finished Size:
Fold the rectangle into a cylindrical shape with an even seam. The beanie will measure approximately 54 rows in height, adjustable based on preference. Its width is determined by the starting chain of 50 stitches—modify as needed for a snug or loose fit.
Conclusion:
Congratulations! You have completed your cozy two-toned beanie using this easy-to-follow crochet pattern. This stylish and warm beanie is perfect for winter and adds a touch of handmade joy to your wardrobe.