
Free Crochet Drawstring Pouch Pattern Made for Small Items
Keep your bag tidy with this Free Crochet Drawstring Pouch Pattern, a simple little project for holding earbuds, coins, clips, jewelry, and other bits.
Small crochet projects have a way of combining charm and convenience, and this drawstring pouch is no exception. Whether used for holding coins, jewelry, or little keepsakes, it’s a practical accessory that’s easy to customize and fun to make. The free crochet drawstring pouch pattern offers a rounded, compact shape with a softly structured body and a drawstring closure that keeps everything snug and secure.
Pattern By Maddy Marie
This pouch features a simple texture created with double crochet stitches, which lends it a clean and polished look. The drawstring runs through the second row from the top, adding an understated detail that’s both functional and decorative. It’s a great project for beginners looking to practice foundational stitches, and experienced crocheters can enjoy experimenting with color changes, striping, or decorative edges. You can make the pouch larger or smaller by adjusting the number of rows, so it can serve as anything from a tiny coin purse to a roomy gift bag.
Free Crochet Drawstring Pouch Pattern to Organize Your Bag
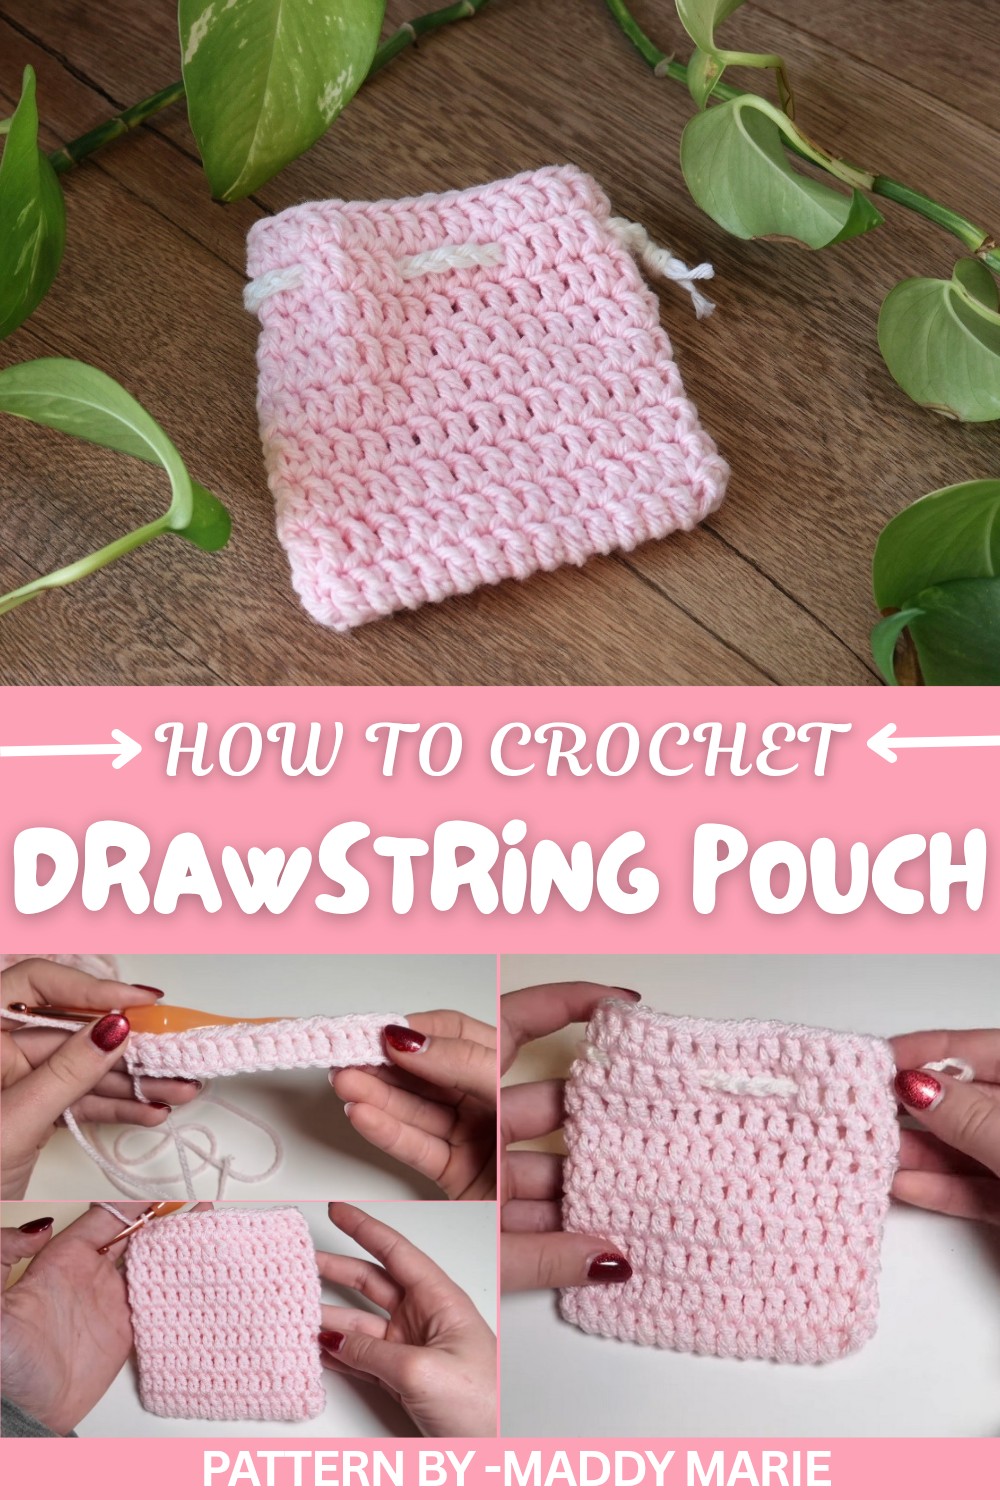
The pouch is worked in rounds to avoid visible seams, and once you get into the rhythm of the double crochet stitches, the process becomes quite relaxing. A medium weight acrylic or cotton yarn complements this design perfectly, it provides structure without stiffness and highlights the neat texture of the stitches.
This project was originally inspired by the idea of replacing disposable gift wrap with something handmade and reusable. It makes an excellent choice for memorable gifting occasions like weddings, bridal showers, or small gestures like “just because” gifts. Add your own flair with colors, embellishments, or hand embroidered details, it’s a versatile little bag that invites you to bring your personality into every stitch.
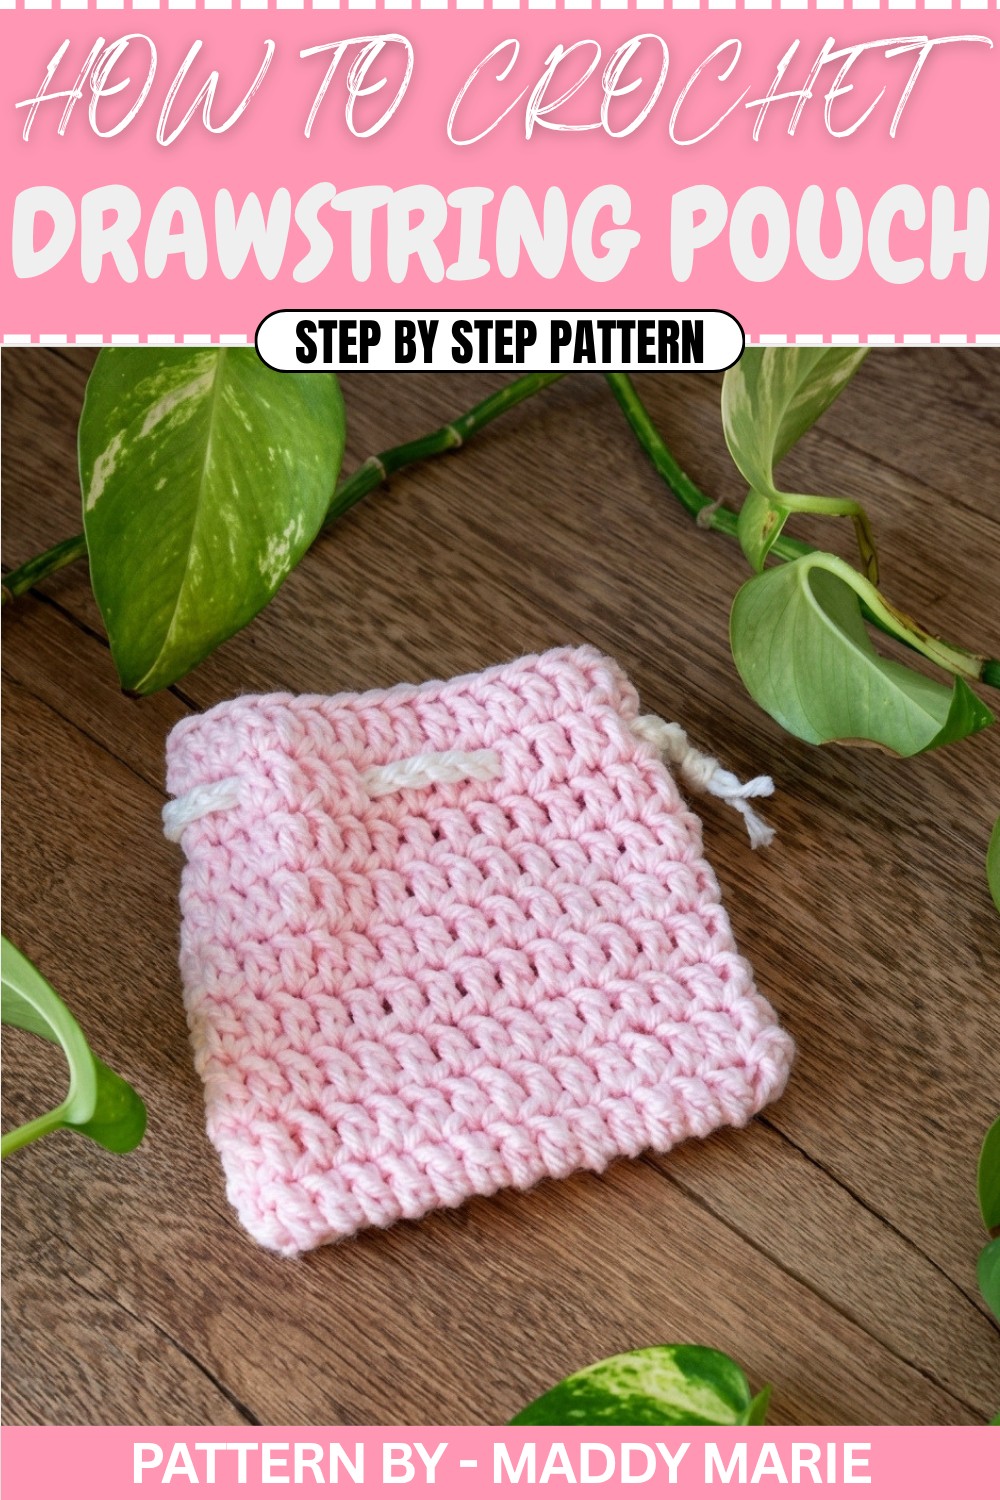
Free Crochet Pattern: Simple Drawstring Pouch
Quick Overview of Pattern
- Small drawstring pouch worked in the round
- Base is formed by working along both sides of a starting chain
- Body is worked entirely in double crochet rounds
- Top is cinched with a simple crochet chain drawstring
- Great for beginners and for using scrap yarn
Notes
- The tutorial uses a stacked single crochet at the start of each round instead of ch 3. This makes a neater, less obvious seam.
- If stacked single crochet is difficult, you may replace each stacked single crochet with ch 3 (counts as dc).
- The pouch is worked as a continuous piece: first the base, then the body.
- Continue the body rounds until you reach the desired height (video uses 9 rounds).
- Drawstring is a long chain that is woven in and out between double crochet stitches near the top.
Skill Level
- Beginner
You should be comfortable with:- Chains (ch)
- Double crochet (dc)
- Slip stitch (sl st)
- Simple seaming / weaving in ends
Materials
- Medium weight (category 4) acrylic yarn
- You may also use medium weight cotton yarn
- 5 mm crochet hook
- Yarn needle (darning needle)
- Scissors
Measurements / Sizing
Approximate size (as demonstrated):
- Height: about 9 rounds of dc → small coin/treasure pouch
- Width: based on 16 starting chains, folded into a narrow oval
You can customize:
- Width: add or subtract foundation chains
- Height: add or subtract dc rounds
Gauge
- Exact gauge is not critical.
- With medium weight yarn and 5 mm hook:
- 16 chains, worked on both sides, forms a small oval suitable for a little pouch.
Stitch Abbreviations
- ch – chain
- sl st – slip stitch
- sc – single crochet
- dc – double crochet
- st – stitch
Special Stitches
Stacked Single Crochet (used instead of ch 3)
Used at the beginning of rounds to match the height of a dc.
Steps:
- Insert hook into the designated stitch.
- Yarn over, pull up a loop (2 loops on hook).
- Yarn over, pull through both loops → 1 sc made.
- Insert hook into the top/back loop (the second loop) of that sc.
- Yarn over, pull up a loop (2 loops on hook).
- Yarn over, pull through both loops.
This counts as 1 dc in the pattern.
The Crochet Pattern
A. Base / Round 1
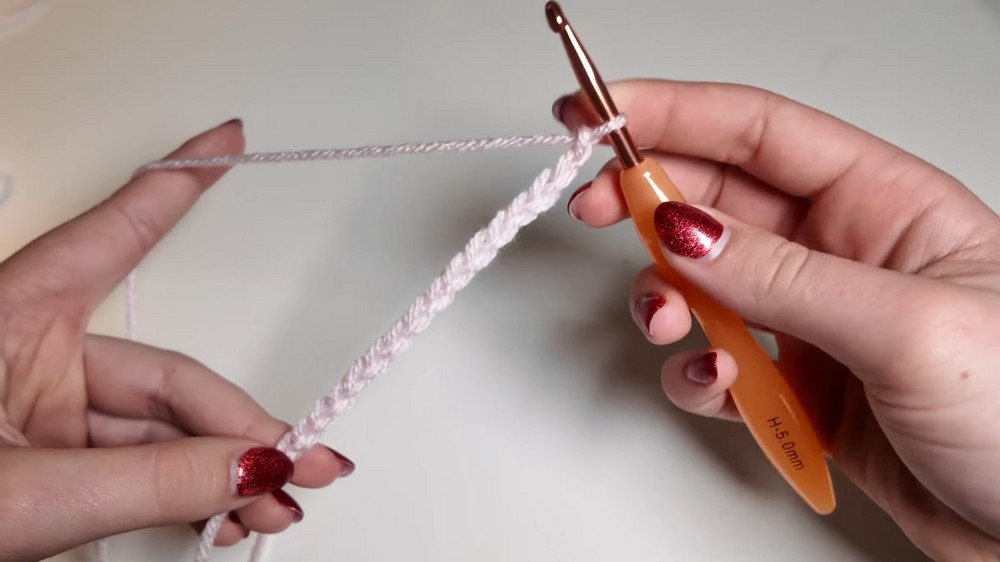
Foundation Chain:
- Make a slip knot, place on hook.
- Ch 16.
Round 1 – First Side of Chain:
- Work stacked sc in the 2nd ch from hook:
- (or ch 3 instead, if you prefer)
- This stacked sc counts as your first dc.
- Then work 1 dc in each remaining chain across:
- You will place dc into chains 3–16.
- At the end of this side you will have:
- 1 stacked sc (counts as dc)
- plus 15 dc
- = 16 dc on the first side.
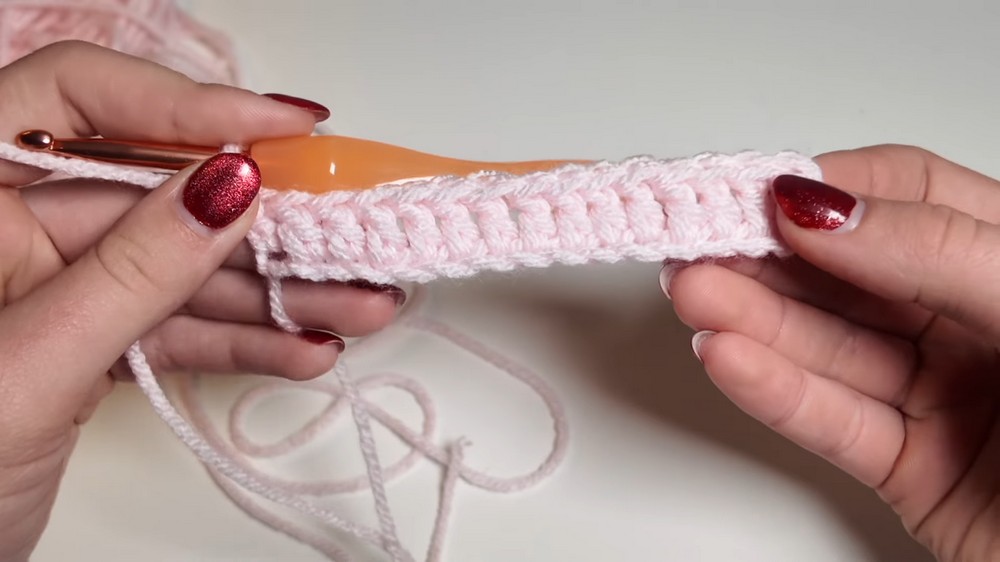
Round 1 – Turn and Work Other Side of Chain:
- Turn your work so the starting chain edge is now at the top (you will work into the other side of the same chains).
- In the same last chain you just worked into, place 1 dc again (so that chain now has dc on both “sides”).
- Then continue along the other side of the foundation chain:
- 1 dc in each chain across the opposite side, working into the remaining loops.
- You should now have a small oval shape.
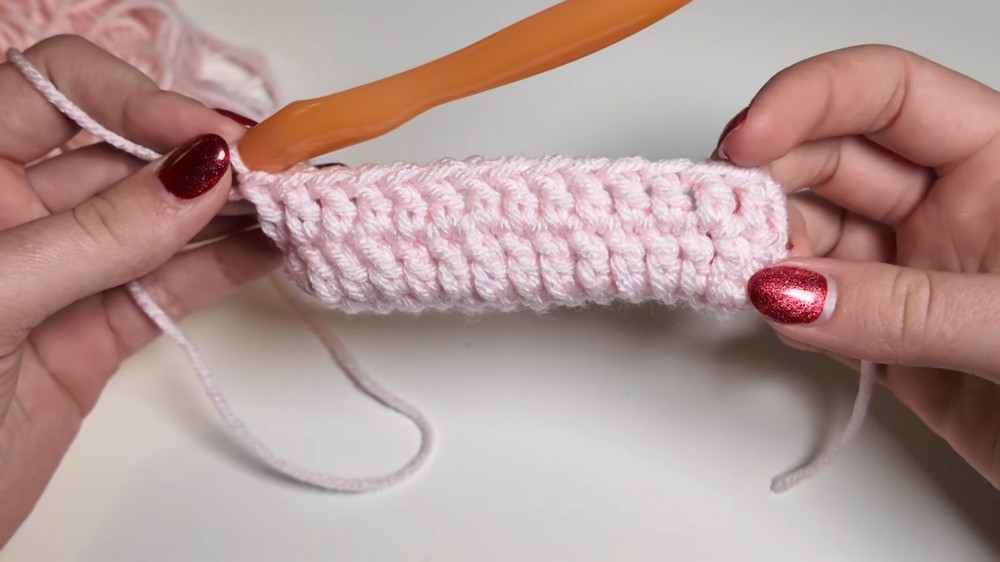
Join Round 1:
- Join with sl st into the top of the stacked sc (or into the top of the ch 3 if you used that).
B. Body of the Pouch
From here, the pouch is worked in joined rounds of dc.
Round 2
- In the first st of the round (same st as join):
- Work stacked sc (or ch3).
- Then 1 dc in each st around:
- Place 1 dc in every stitch from Round 1, all the way around.
- Join with sl st into the top of the stacked sc (or ch 3).
Round 3
- In the first st (where you joined):
- Work stacked sc (or ch 3).
- 1 dc in each st around:
- Again, one dc in each stitch from Round 2.
- Join with sl st into the top of the stacked sc (or ch 3).
Rounds 4–9
Repeat Round 3:
- For each round:
- Work stacked sc (or ch 3) in the first stitch.
- Work 1 dc in each stitch around.
- Join with sl st into the top of the starting stacked sc (or ch 3).
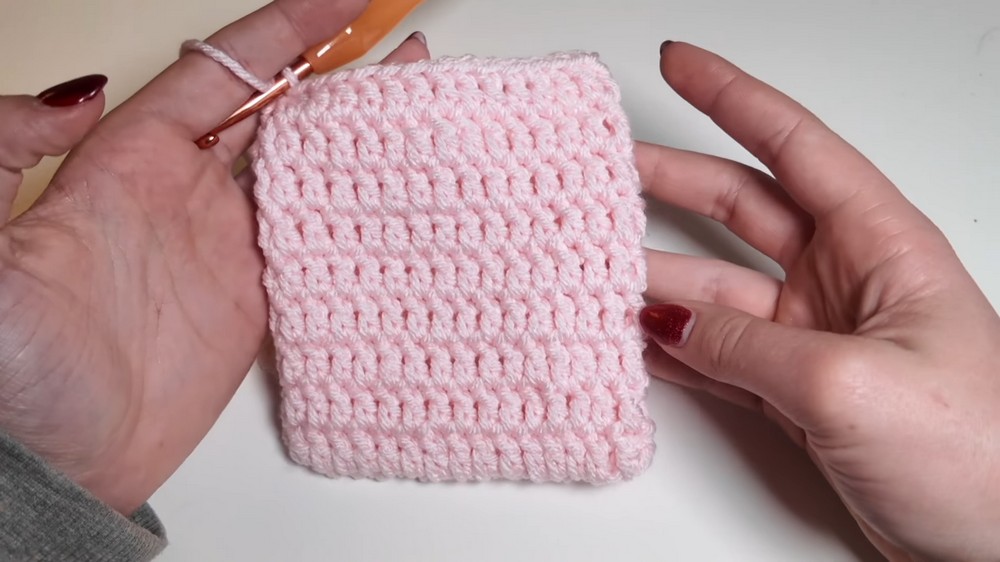
Continue until you have 9 rounds total (or your desired height).
C. Fasten Off and Weave in Ends
- At the end of your final round:
- After the last sl st join, cut yarn, leaving a tail of several inches.
- Pull the hook up to draw the tail through the last loop and tighten to secure.
- Thread the tail onto a yarn needle.
- Weave the tail:
- Insert needle through several stitches along the inside of the pouch.
- Weave one direction, then back the opposite direction for security.
- Trim excess yarn.
- Repeat for the starting tail on the inside of the pouch.
D. Drawstring
You will make a separate chain cord for the drawstring.
Drawstring Chain
- Make a slip knot with your chosen yarn (can be a different color).
- Place on hook.
- Ch 47.
- Cut yarn, leaving a small tail.
- Pull the hook up so the tail comes through the last loop; tighten to secure the chain.
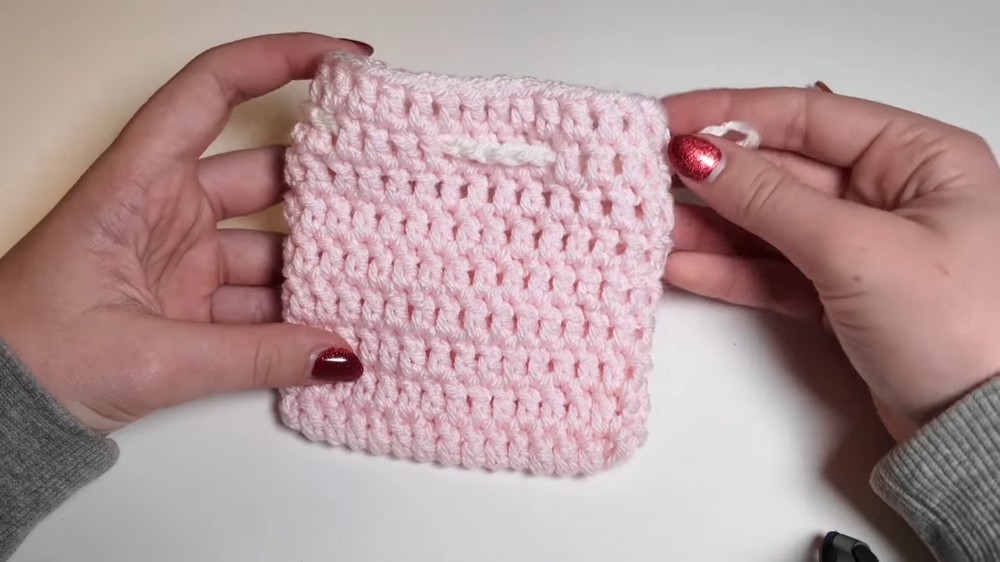
Securing the ends (optional but recommended):
- Pull gently but firmly on each tail to tighten the end knots at the tips of the chain.
- Trim the tails close to (but not into) the knots.
- (Optional) Put a small dab of glue on the knots to prevent them from loosening.
E. Weaving in the Drawstring
You will weave the drawstring through the second row from the top of the pouch.
- Choose any side/edge of the pouch as your starting point.
- Identify the second round from the top (count from the top edge downward).
- Insert one end of the chain between two dc stitches:
- Go over one dc, under the next gap of dc, etc.
- Weave pattern:
- Over 4 dc, then under 4 dc:
- Count 4 dc, bring chain out.
- Count the next 4 dc, insert chain back in between those dc.
- Over 4 dc, then under 4 dc:
- Continue this over 4 / under 4 pattern all the way around the pouch.
- When you return to the starting side:
- Both ends of the chain should exit close to each other.
Tie the Drawstring
- Line up both ends of the drawstring so they are even.
- Tie a simple knot close to the ends:
- Pull the knot snug towards the tips of the chain.
- Adjust the tension so that:
- The pouch closes neatly when you pull the drawstring.
- The knot sits comfortably at one side.
Assembly & Finished Size
- Your pouch should now look like a small cylinder that cinches closed at the top.
- Approximate finished features:
- 16 stitch oval base.
- 9 rounds of dc for the body.
- A chain drawstring woven through the second row from the top.
- When the drawstring is pulled, the opening gathers neatly, forming a compact drawstring pouch.
Conclusion and Ending Words
Your simple drawstring pouch is now complete. It’s a small, cute bag that works perfectly as a coin pouch, jewelry holder, or tiny gift bag. You can easily customize it by changing the yarn color, adding more rounds for height, or adjusting the number of chains for a wider base.
I hope you enjoyed making this little pouch along with me. If you have any questions, feel free to ask, and you can experiment with different colors and uses for your pouch.