
Free Crochet Coin Purse Pattern for Tiny Treasures
Wrap up a fun crochet project with this Free Crochet Coin Purse Pattern and make a cute little purse that is handy for coins and small items.
A crochet coin purse can be the perfect mix of style and functionality, making it a charming and practical handmade accessory. It’s small enough to carry your coins, keys, or tiny treasures, yet unique enough to catch attention. This pattern uses spike stitch, which gives the purse a lovely textured appearance. Spike stitch isn’t just decorative, it adds character and makes the purse feel sturdy and eye catching. With the same techniques, you can make bags, headbands, small baskets, or even throw pillows.
Pattern By AbbysCROCHET
Free Crochet Cutesie Coin Purse Pattern for Happy Makers
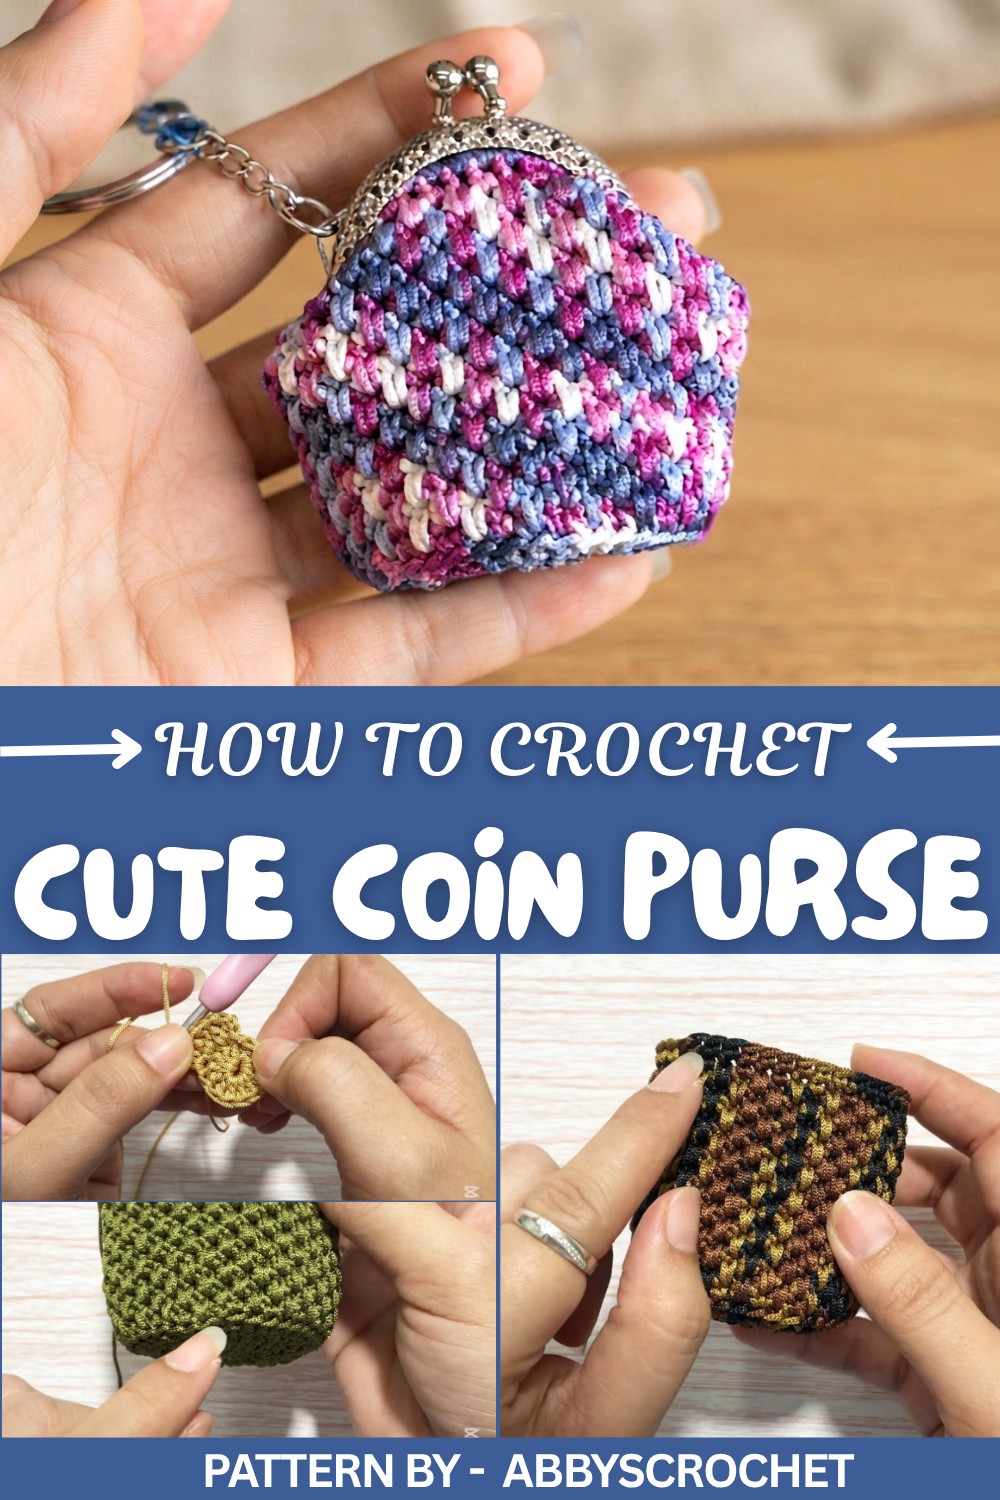
This pattern teaches valuable techniques like working in rounds, achieving neat increases for shaping, and learning how to do spike stitches. You’ll also get step by step instructions on attaching a clasp frame to finish off your coin purse. The process is simple but rewarding, as it combines basic stitches with small details that pull everything together beautifully. It’s a perfect project to improve your skills without feeling overwhelmed.
The small base of the coin purse can be a starting point for many other projects. These same stitches can be used to crochet mini bowls, adorable pouches, or tablet sleeves. Adjusting the yarn type and size will give completely different results, letting you experiment and expand your crochet creations.
Beginners might face small hurdles, such as holding the spike stitch tension or attaching a clasp frame securely. Using stitch markers can be helpful to keep track of rows and avoid mistakes. For the frame, sew slowly and check for alignment before finishing. Don’t rush, crochet is more about enjoying the process than racing to finish. Mistakes can be undone, and every attempt gets better with practice.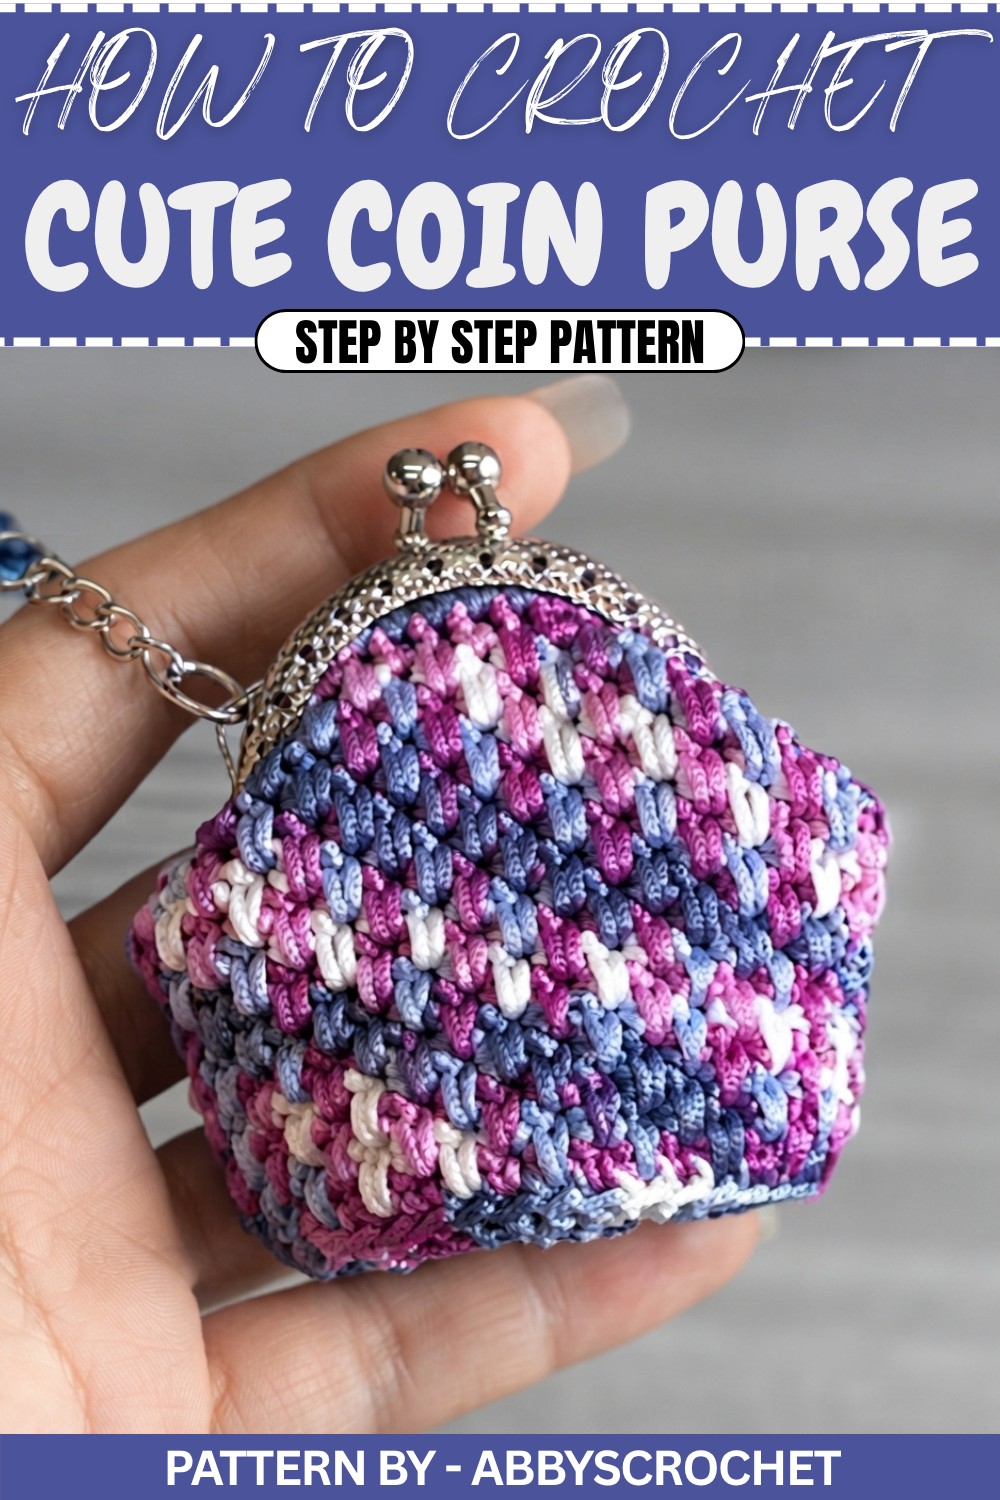
Crochet Pattern: Cute Coin Purse
This coin purse is not only practical but also a rewarding craft project. It is created using a 5 cm metal frame and features spike stitches for added style and texture. Let’s jump into the pattern together using the materials and steps mentioned in the video.
Quick Overview of Pattern
- Magic Ring to create the round base.
- Double crochet stitches and increases for perfect shaping.
- Spike stitch used for texture in the body.
- Single crochet edging for clean finishing.
- Metal frame assembly and final sewing.
Notes
- Keep the tail of the magic ring secure while working to avoid loosening the shape.
- Always count your stitches to avoid mistakes in increase rounds.
- Adjust height based on your preference and metal frame size.
- Use tight, clean stitches for durability when attaching the frame and tag.
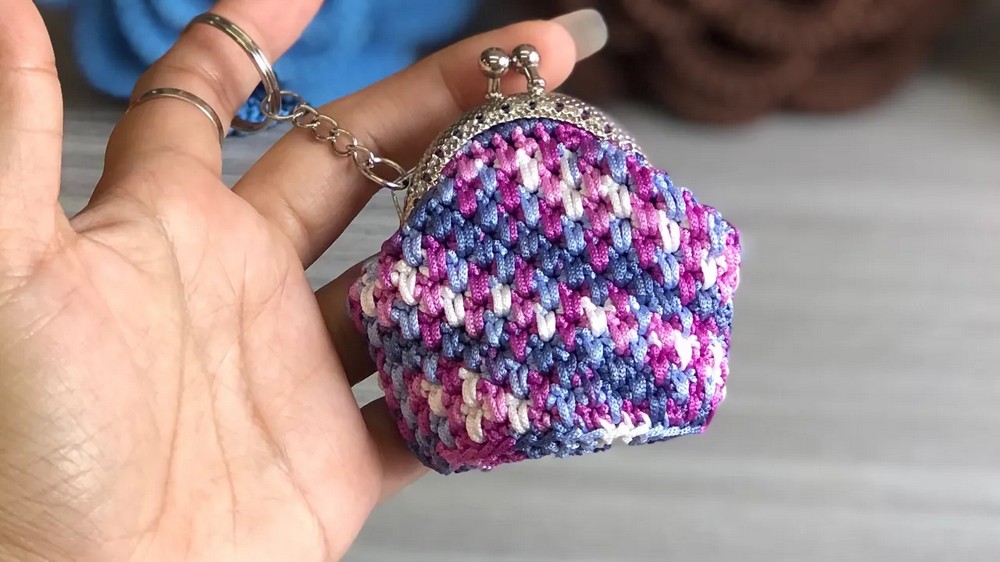
Skill Level
- Beginner Friendly to Intermediate: Basic knowledge of magic ring, double crochet, and single crochet is required. Spike stitches will need some practice.
Materials
- Yarn Options:
- Nylon cord (1.5 mm)
- Mercerized cotton (#5)
- Ply polyester
- 8 P soft polyester
- Hook Size:
- 2.20 mm crochet hook
- Metal Frame:
- 5 cm frame
- Handmade Tag:
- Decorative tag for extra charm
- Thread for Sewing:
- Nylon thread (#4 mm)
- Tools:
- Scissors
- Sharp needle
Gauge
Gauge is not crucial for this project, but aim for tight and consistent stitches to fit the 5 cm metal frame.
Stitch Abbreviations
- CH: Chain
- SC: Single Crochet
- DC: Double Crochet
- SS: Slip Stitch
Special Stitches
Spike Stitch
- Spike stitch involves working a longer single crochet into the stitch below the current row of single crochet. It gives decorative texture to the body of the coin purse.
The Crochet Pattern
Round Base
Magic Ring
- Wrap the yarn around your fingers, creating a loop.
- Use your thumb to secure the tail and insert the hook from the front to the back. Pull the yarn to create a ring.
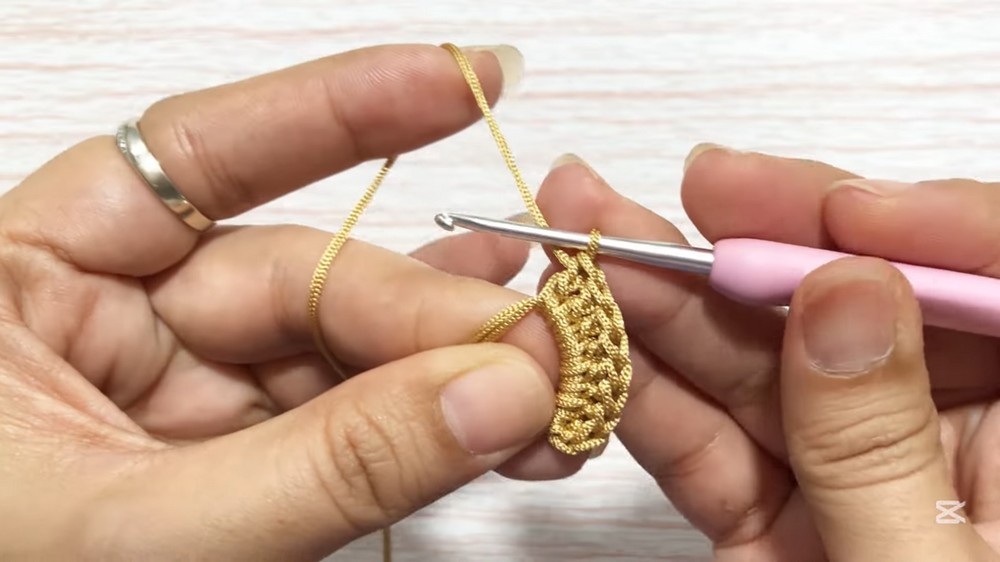
Round 1
- CH 2 (counts as the first DC).
- Work 12 DC into the magic ring.
- Total stitches: 13 (CH 2 counts as the 1st DC).
- Pull the tail tightly to close the ring and SS into the top of the CH 2 to secure.
Round 2
- CH 2 (counts as the first DC).
- Work 2 DC into the same stitch (increase).
- Continue working 2 DC into each stitch around the ring.
- Total increases: 13.
- SS into the top of the CH 2 to join and secure.
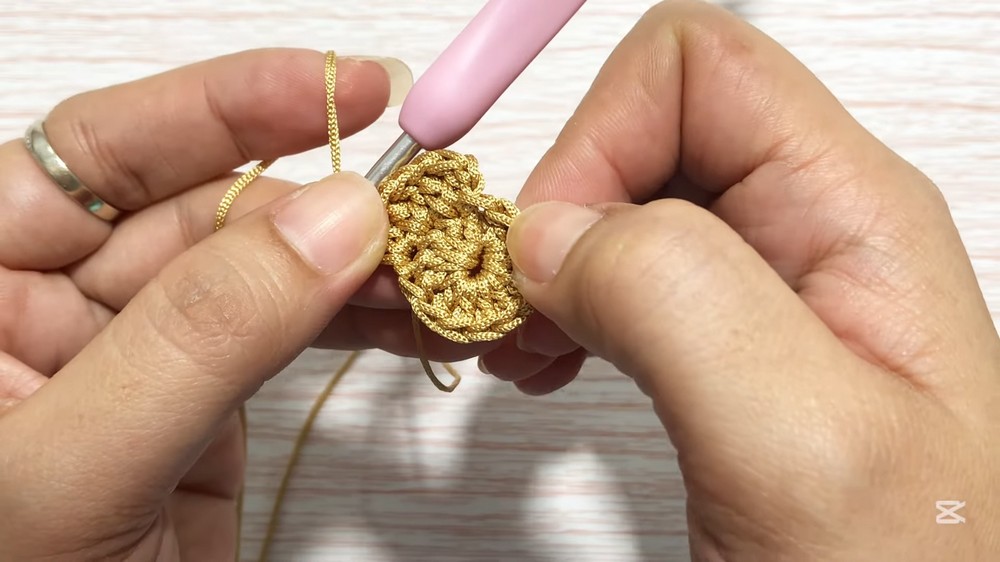
Round 3
- The pattern here alternates between single DC and increases.
- CH 2 (counts as 1 DC).
- Into the same stitch, work 2 DC (increase).
- Follow the pattern: 1 DC, increase. Continue to the last stitch.
- SS into the top of the CH 2 to join and finish the round.
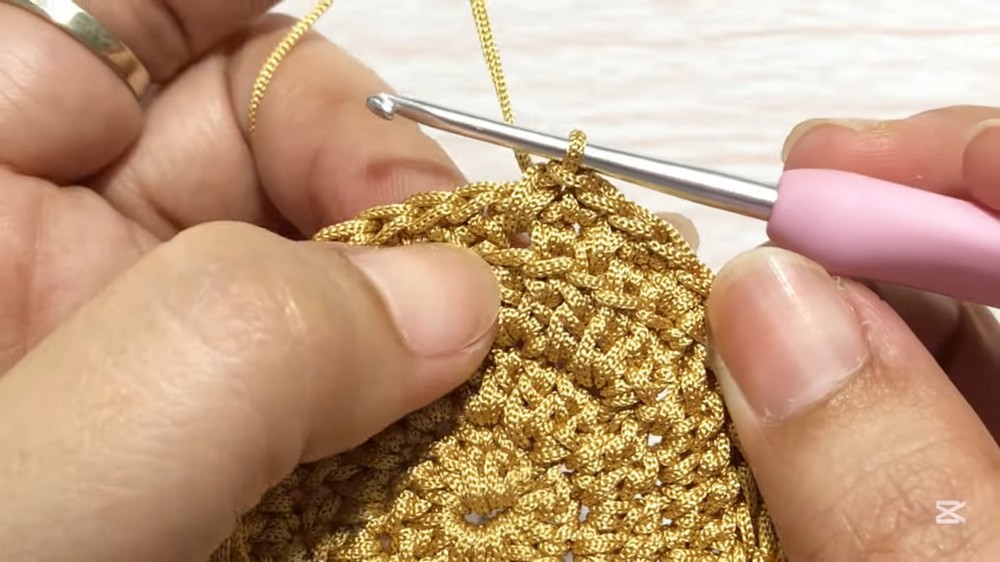
Body
Round of Single Crochet
- After the base is complete, work 1 round of single crochet on the outer loops only.
- CH 1 and SC into the same stitch.
- Continue working 1 SC into each outer loop stitch completely around. Total stitches should match the final count from the base.
Spike Stitch
- Begin spike stitches by overlapping the single crochet from your previous round.
- Work a long single crochet (spike) into the stitch below the current single crochet row.
- Alternate between spike stitches and normal SC stitches.
- Spike stitch: Long single crochet worked into the previous row.
- Normal SC: Regular single crochet worked into the current row’s top chain.
- Repeat spike stitch and SC around the row.
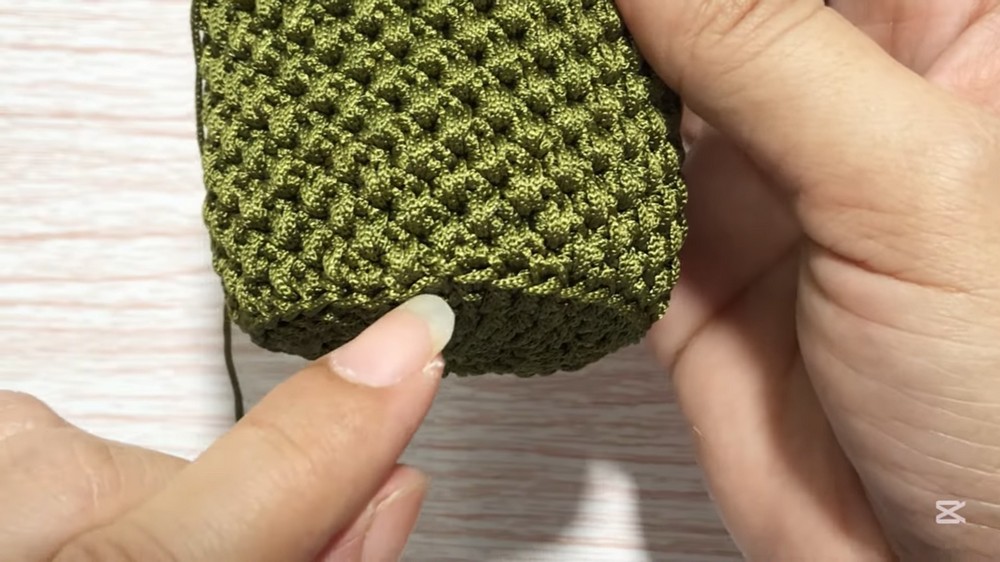
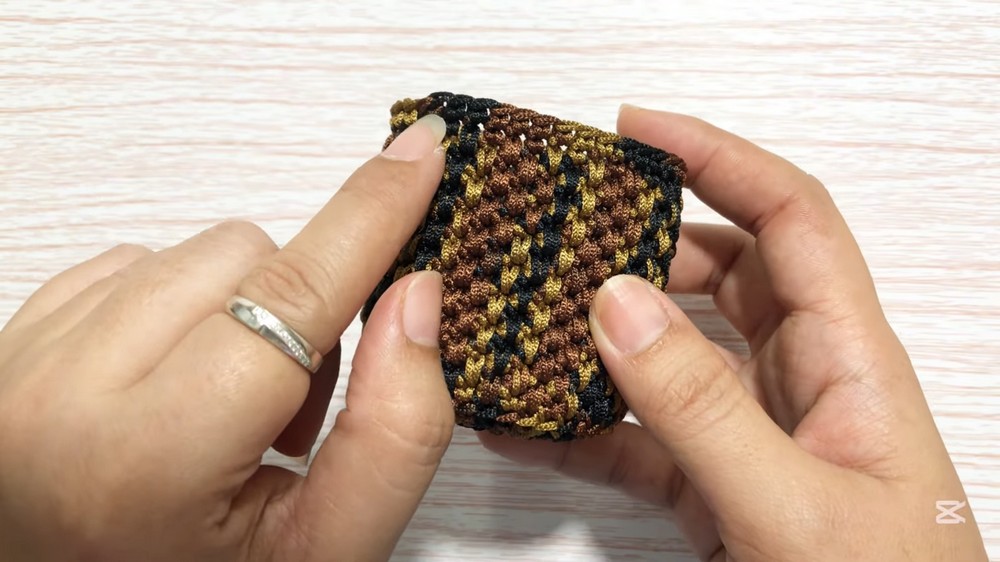
Height Adjustment
- Continue working spike stitches and SC rows until your desired coin purse height is reached. Standard height is 2 rounds of spike stitches, followed by an edging.
Edging
- To finish the body, work a final round of clean single crochet edging.
- CH 1, then work 1 SC around evenly to give a neat finish.
Assembly
Frame Attachment
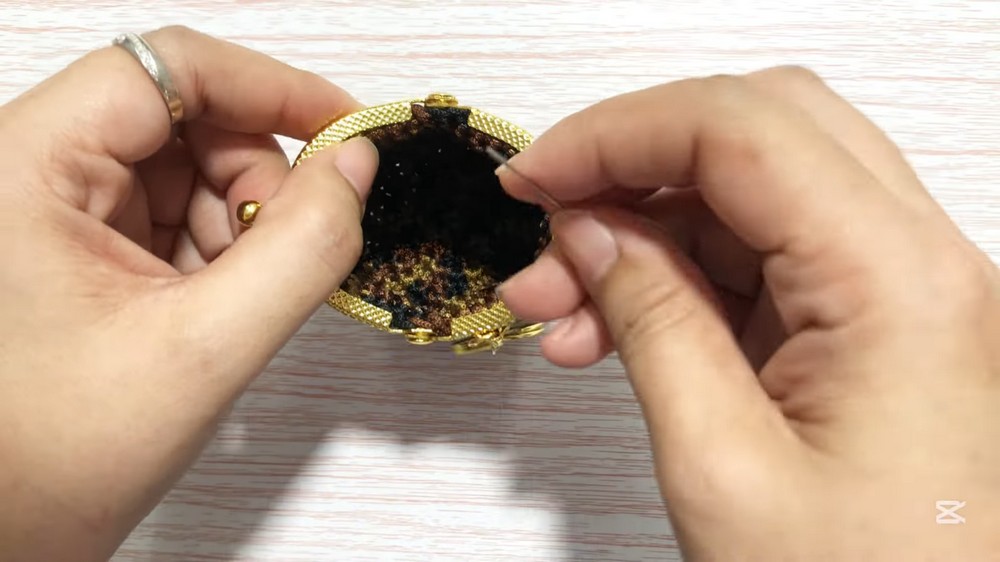
- Use nylon thread and a sharp needle to sew the metal frame onto the purse.
- Position the starting slip stitch of the purse near the side of the frame to hide the seam.
- Perform running stitches to attach the frame securely.
- After completing one side, sew back along the same line for durability.
Tag Attachment
- Add the handmade tag by sewing it securely near the side or edge of your purse.
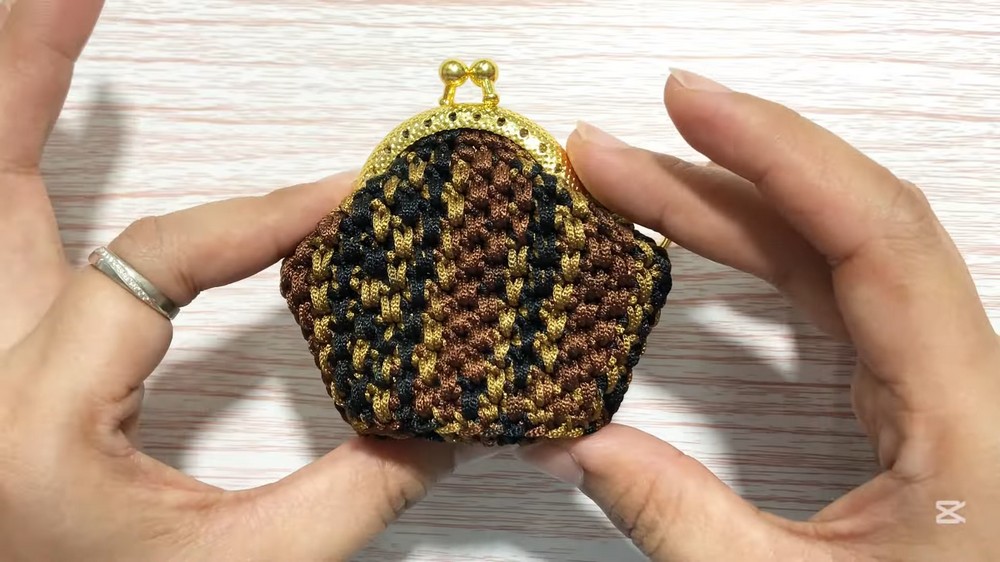
Finished Size
- Diameter of Base: Approximately 5 cm (matches the metal frame size).
- Height: Adjustable based on preference (recommended 2 spike stitch rounds).
Conclusion and Ending Words
Congratulations, You’ve successfully created a cute coin purse. This project is beginner friendly, quick, and makes a great gift or accessory. Feel free to experiment with different yarn types and colors to customize your purse. Add flair with decorative tags or embellishments to make it even more special.