
Free Crochet T-Shirt Yarn Baguette Bag Pattern for Casual Looks
Try this free and simple crochet pattern to make a stunning t shirt yarn baguette bag everyone will adore making and carrying around.
Pattern by Ashley D
T shirts piling up in the back of your closet can find a renewed purpose through a project that’s as stylish as it is environmentally friendly. With t shirt yarn, a crochet hook, and a bit of patience, you can make a bag that turns heads and sparks conversations. Ashley D, known for her engaging and clear tutorials, has shared a fun and budget friendly way to crochet a baguette bag, perfect for anyone looking to combine creativity with sustainability.
Free Crochet T Shirt Yarn Baguette Bag for Quick Projects

This t shirt yarn baguette bag is both practical and uniquely eye catching. The outer fabric, worked with tight stitches using eco friendly and often recycled yarn, gives the bag a strong yet modern texture. It’s lightweight but durable, making it perfect for carrying daily essentials or adding a touch of charm to your outfit. The elongated shape and versatile strap allow for multiple carrying options, whether over your shoulder or on your arm, it’s both functional and stylish.
What makes this bag so special is how customizable it is. You can use fabric scraps or store bought yarn to match your style, whether that’s soft and neutral tones or vibrant and bold colors. It offers an opportunity to personalize your accessory while also embracing eco conscious choices. Not only is this a practical project resulting in a sturdy and beautiful bag, but it’s a meaningful step toward reusing materials and minimizing waste. With Ashley D’s easy to follow instructions, turning old t shirts into a fashionable bag becomes a simple and satisfying experience.
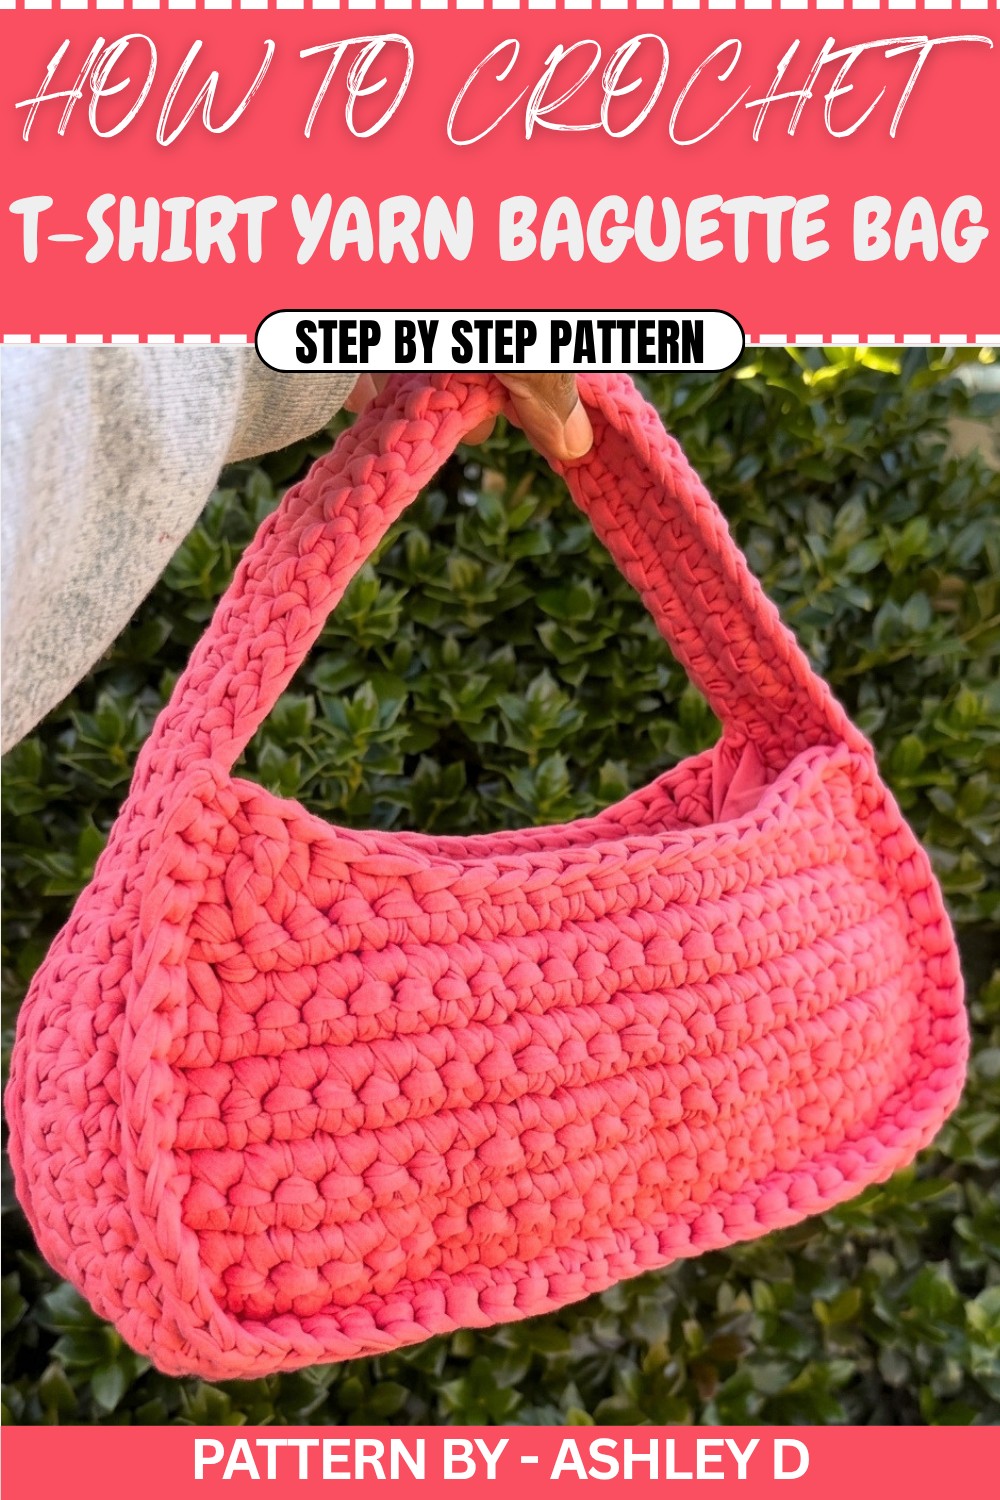
Crochet Baguette Bag Pattern
This crochet baguette bag, made from t shirt yarn, perfectly combines practicality and style. With its tight stitches and sturdy design, it is both durable and attractive. Below is the complete and detailed step by step guide derived from the tutorial.
Materials Needed
- T shirt Yarn: Choose a durable, high quality t shirt yarn for best results.
- 5.25mm Crochet Hook: Recommended for tighter stitches (though 9mm is standard).
- Scissors: Used for cutting yarn.
- Stitch Markers or Bobby Pins: Essential for marking corners and guiding assembly.
Part 1: The Two Side Panels (Make 2)
Foundation
- Create a slip knot.
- Chain 26. This will form the foundation of one panel.
Row 1
- Single Crochet (SC) into the second chain from the hook.
- Continue placing one SC into each chain across, creating 25 stitches.

Rows 2 to 8
- Chain 1, turn your work.
- SC into each stitch across.
- Repeat this step for six additional rows, ensuring a total of 8 rows of SC.

Decreasing Rows (Shaping the Bag)
Row 9:
- Chain 1, turn your work.
- SC decrease (SC two together) in the first two stitches to begin shaping.
- SC normally into each stitch across until the last two stitches, then perform another SC decrease.

Row 10:
- Chain 1, turn.
- Repeat the same SC decrease (two together) at the beginning and end of the row.
Top Edge (Shaping the curved top)
Step by Step:
- Chain 3.
- Into the first stitch, work:
- 1 Treble Crochet (TC).
- 1 Double Crochet (DC).
- 1 Half Double Crochet (HDC).
- 1 Single Crochet (SC).
- Slip Stitch into the next 13 stitches to form the bag's flat middle section.
- For the remaining edge, reverse the pattern:
- Into the next stitches, work:
- 1 SC.
- 1 HDC.
- 1 DC.
- 1 TC into the final stitch.
- Into the next stitches, work:
- Finish: Chain 3, slip stitch into the same stitch as the last TC, chain 1, and cut the yarn. Pull through to fasten off. This completes one panel.
Part 2: The Strap
Chain
- Create a slip knot and chain 80. This will form the long strap that connects the panels.
Rows 1 to 4
- Row 1: SC into the second chain from the hook and every stitch across (79 SC total).
- Rows 2 to 4:
- Chain 1, turn your work.
- SC across each stitch for three more rows.
- Finish: Leave a long tail for sewing, cut the yarn, and pull through to fasten off. Your strap is now complete.

Part 3: Assembly
Marking
- Align the Strap:
- Fold the strap to locate the seam, ensuring it aligns at the bottom of the bag. Use stitch markers or bobby pins to mark corners for precision during assembly.
- Each side panel should have 25 stitches along the bottom edge and 12 stitches along the sides. Marking the strap and panels ensures the right alignment.
Joining
- Start with a Slip Knot:
- Insert the hook into the innermost loops of the strap and a side panel edge to prepare for joining.
- Single Crochet to Join:
- Using SC, join the strap to the panel by working through the loops.
- Carefully follow the marked stitches for even sewing.
- Repeat:
- Attach the strap to the second side panel using the same method, ensuring alignment for symmetry.
Finished Size
The finished size depends on your tension and yarn type, but with tighter stitches created by the 5.25mm hook, the bag will achieve a snug, compact look suitable for everyday use.
Conclusion
This crochet baguette bag is a thoughtful project for beginners or intermediate crocheters looking to experiment with t shirt yarn. The tightly stitched panels and sturdy strap result in a functional, minimalist bag perfect for errands or casual outings.
Each step has been carefully outlined based on the tutorial for clarity and accuracy. Be patient as you work with t shirt yarn, it may be tricky, but the final product is well worth the effort.