
Versatile Crochet Open Vest Pattern for Transitional Seasons
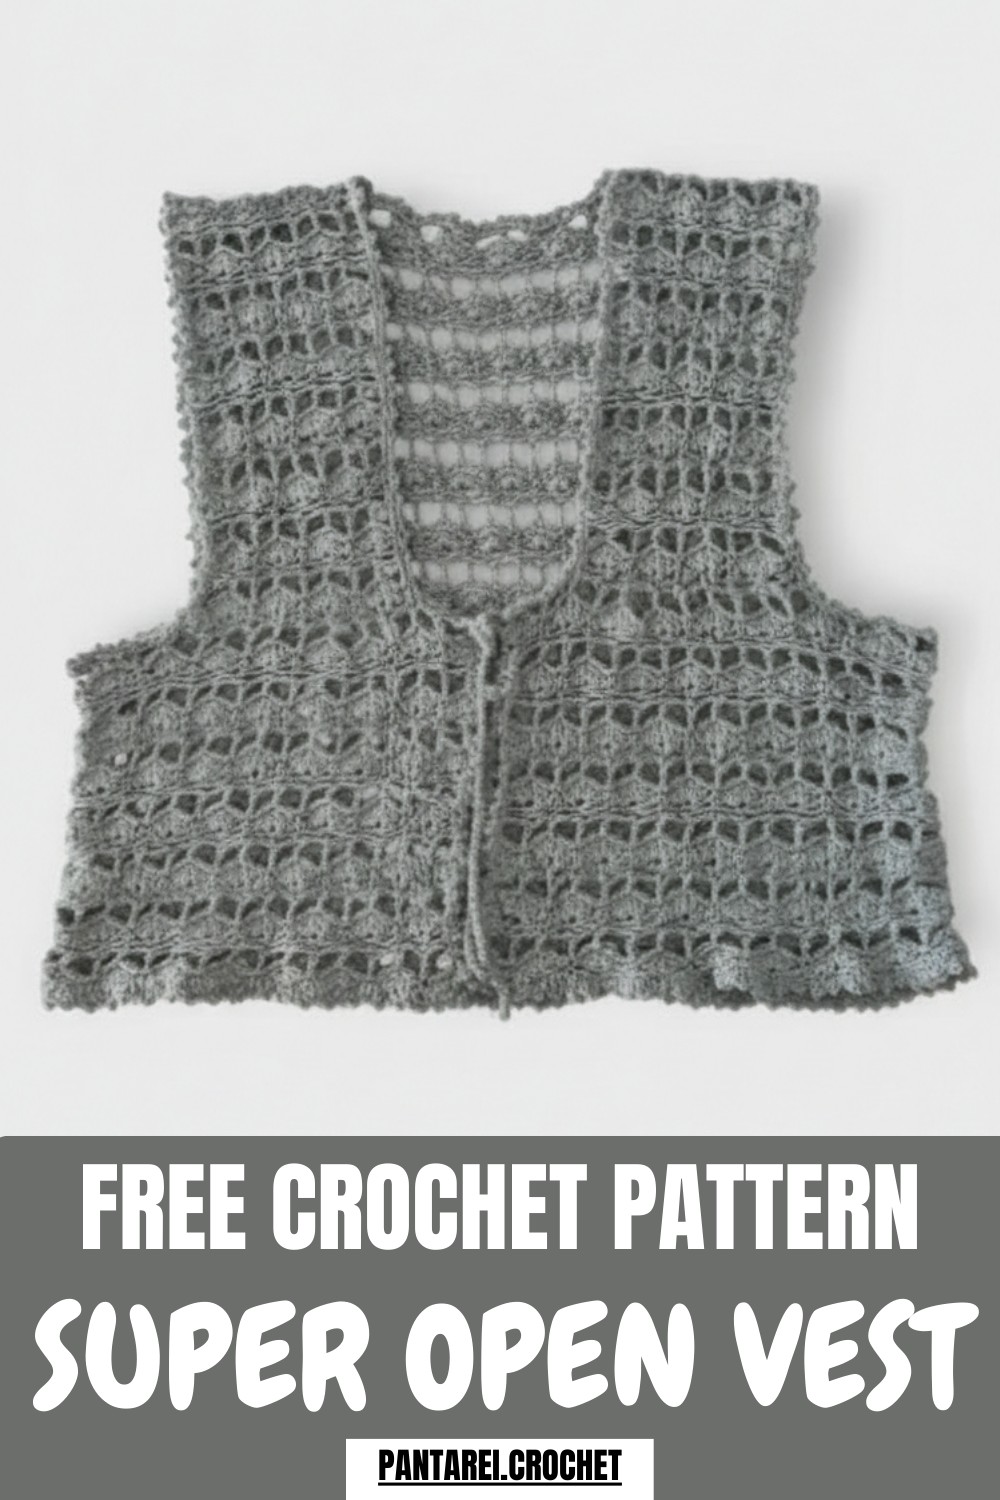
Modern layering flows with this Crochet Open Vest Pattern offering an airy and elegant texture perfect for casual outfits and seasonal looks.
An elegant and stylish wardrobe essential, the crochet open vest pattern stands out for its versatility and charm. The intricate Crochet Open Vest Pattern makes it a perfect layering piece, effortlessly enhancing both casual and formal outfits. Its airy structure keeps it breathable during warmer days, while its timeless silhouette allows it to pair beautifully with long sleeves in cooler months.
Trendy Crochet Open Vest Pattern Perfect for Layered Outfits
This vest creates a unique statement with its texture and flow, while the open-front design ensures an easy, flattering fit. The pattern also offers opportunities for customization, enabling a fresh look through different colors, yarn types, or sizes.

Whether worn for a casual outing, a special occasion, or even to add a personal touch to everyday outfits, it exudes sophistication and individuality. Perfectly blending fashion and practicality, this vest has the versatility to suit every style and occasion, making it a truly timeless addition to any wardrobe.
Step-by-Step Process
1. Materials Needed
The tutor uses the following materials:
- Yarn: 200 grams of fine 83 weight, 100% cotton blended with silk (or any preferred yarn).
- Crochet Hook: 3.5 mm (ensure it’s compatible with your yarn).
- Optional: Yarn needle and stitch markers for clean finishing.
2. Start with Measurements
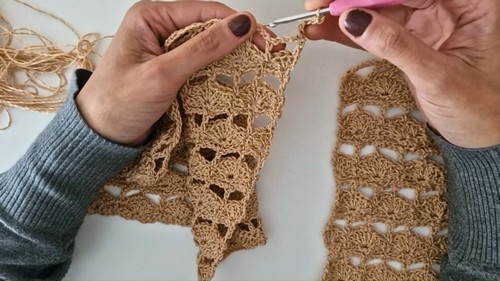
- The vest has two front panels and one back panel. Suggested measurements for an L/XL size:
- Total length: 47 cm
- Armhole: 25 cm
- Each front panel width: 25 cm
- Chest circumference: 104 cm
- Back width: 50 cm
For smaller sizes (S/M with a chest circumference of 90-95 cm):
- Total length: 45 cm
- Armhole: 23 cm
- Each front panel width: 24 cm
3. Creating the Front Panels
- Chain Foundation:
For L/XL: Start with 64 chains, add an extra chain for the base, and begin with single crochet stitches.
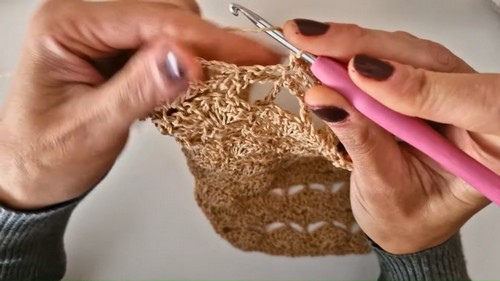
For S/M: Adjust the chain length based on your chest measurement, ensuring the stitch pattern remains a multiple of 8 (+1). - Lattice Stitch Pattern:
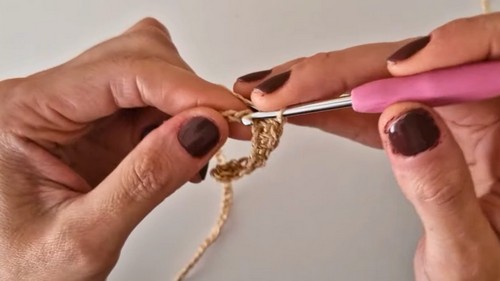
- Work the first row in single crochet stitches.
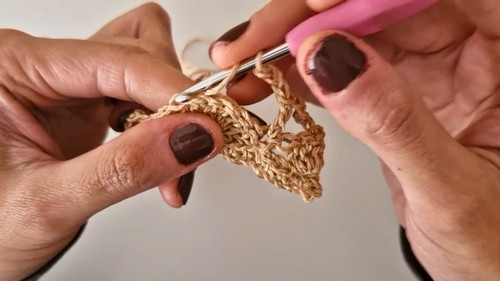
- Begin the lattice stitch with fan-like patterns of 4 to 7 double crochets, separated by a multiple of 4 skip chains and single crochets.
- Alternate rows with spacing stitches (single crochets and chains).
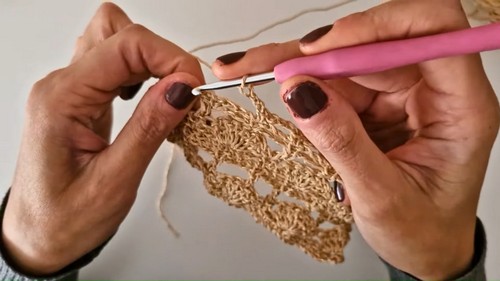
- Continue working in this pattern until you complete 7 rows of fan stitches for the body.
- Armhole and Shoulder Shaping:
- Stop adding stitches to create space for the armhole (about 7 cm).
- Reduce the width by creating fewer fans at the top to shape the shoulders.
4. Creating the Back Panel
- Chain Foundation:
For the back panel of L/XL, start with 128 chains and adjust for other sizes proportionally. - Repeat the Lattice Pattern:
- Work in the same lattice stitch sequence as the front panels, with 7 rows of fan stitches.
- Leave armhole space of approximately 7 cm for clean alignment with the front panels.
5. Join the Panels
- Use a yarn needle and a zigzag stitch to sew the panels together:
- Align the front and back shoulder sections and sew them neatly.
- Then join the sides, ensuring alignment of the armhole spaces.
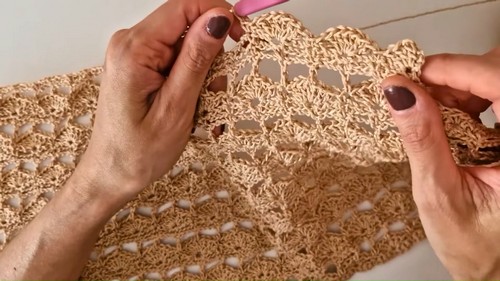
6. Adding Borders
- Work a decorative edge along the front opening, neck, and armhole areas:
- Crochet single crochet stitches with two chain stitches in between, creating a soft scalloped edge.
7. Optional Bow Details
- Create small crochet ties by chaining 64 chains for each ribbon. Use slip stitches along the chain to create a thin, sleek tie. These can be attached to the vest as functional or decorative elements.
Special Features
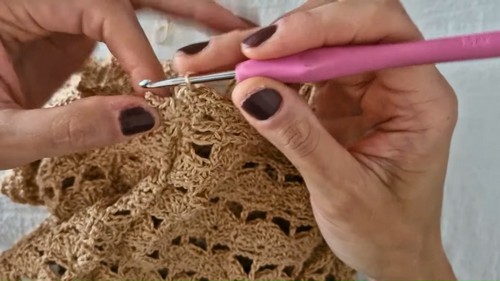
- Lattice Stitch: The standout design of the vest is the lattice stitch, which gives the garment an intricate, textured look while keeping it lightweight.
- Customizable Fit: Clear instructions make it easy to adjust the size for various body styles.
- Seamless Edging: The two-chain scalloped edge adds a polished and delicate finishing touch to the vest.
- Multi-purpose Design: The vest is versatile and can be styled for casual outings or worn as a layering piece.
Level of Difficulty
The vest has a low to intermediate difficulty level:
- Beginner-Friendly: Basic stitches such as single crochet, double crochet, and chains are used.
- Simplified Construction: The project is broken into manageable sections, with clear instructions for assembly.
- Minor Decreases: Basic knowledge of shaping (armholes and shoulders) is needed but not overly challenging.
Tutor’s Suggestions
- Yarn Selection: While the tutor uses 100% cotton with silk, any lightweight yarn will work. Always pair your yarn with the correct hook size.
- Adjust Measurements: For a perfect fit, adapt the stitch count (ensure it remains a multiple of 8) to suit personal dimensions.
- Maintain Tension: Keep stitches loose when starting the foundation chain to prevent the base from becoming too tight.
- Patterns and Colors: The lattice design works well with solid colors or subtle gradients for a sophisticated result.
Uses
- Perfect for casual outings, summer wardrobe, or layering.
- Great as a handmade gift for loved ones.
- Customizable for any season by adjusting yarn type (cotton for summer, wool blends for winter).
Tip
When joining the panels, ensure proper alignment by using stitch markers to avoid uneven connections. Work slowly and in small sections to achieve clean, professional-looking seams.
Conclusion
This step-by-step pattern walks you through creating a stylish and easy-to-make vest with a lattice stitch that looks impressive yet requires only basic crochet skills. Whether you’re crocheting for yourself or crocheting something for someone special, this project is versatile, rewarding, and timeless.