
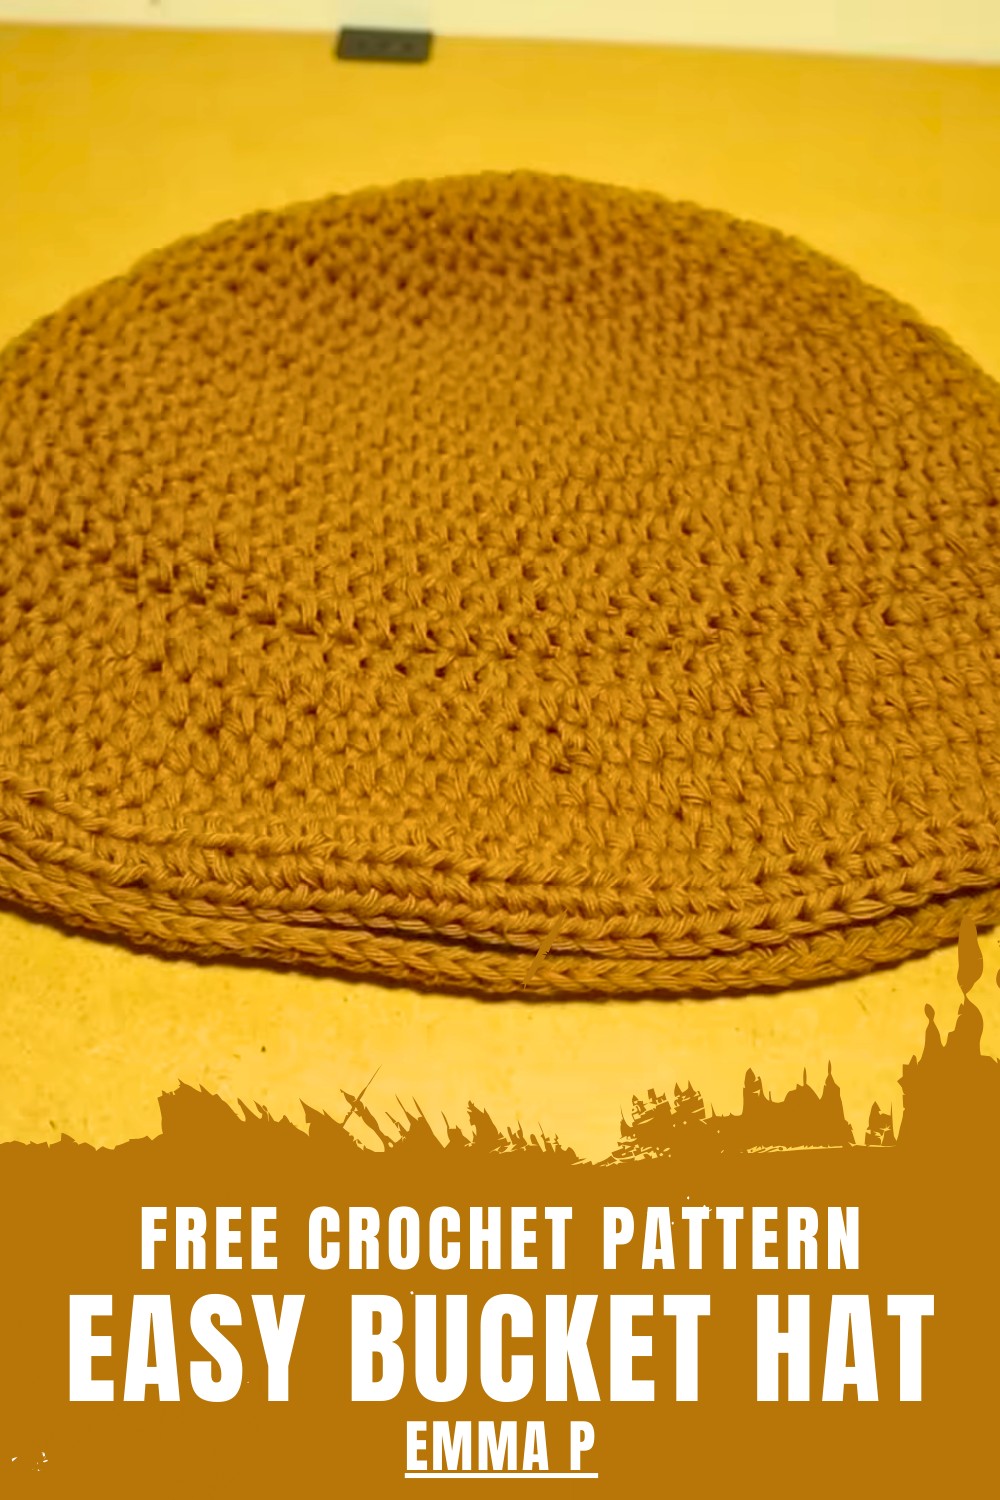
Chic Crochet Bucket Hat Pattern Perfect for Casual Outfits
Style casual looks with this Crochet Bucket Hat Pattern featuring clear instructions and comfortable fit for sunny days and relaxed outings.
Stylish headwear with a relaxed silhouette adds both function and personality to everyday outfits. The Crochet Bucket Hat Pattern provides dependable sun coverage while maintaining a soft, modern appearance that fits effortlessly into casual and outdoor settings. Ideal for walks, vacations, festivals, or beach days, it delivers comfort without feeling heavy or restrictive.
Cozy Crochet Bucket Hat Pattern With a Comfortable Fit
Choosing a Crochet Bucket Hat Pattern offers the benefit of customization, allowing adjustments in size, color, and stitch detail to suit different preferences and seasons. The breathable texture encourages airflow, helping keep the head cool during warm weather, while the balanced structure ensures a secure and comfortable fit throughout the day.
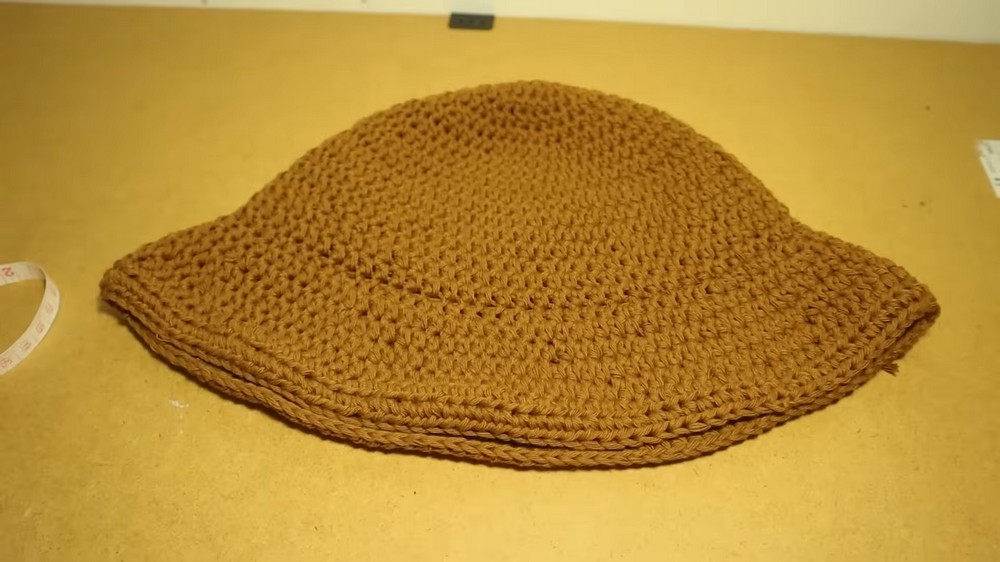
Its textured surface creates visual interest, transforming a simple accessory into a stylish focal point. Overall, this design presents a refined balance of practicality and elegance, offering a timeless look that enhances everyday outfits and remains versatile, wearable, and fashion-forward across changing trends.
Step-by-Step Details
- Gather Your Materials
- Scissors
- Stitch marker
- 4 mm crochet hook
- Tape measure
- Yarn: 100 g (two balls) of Yarn and Colors Epic cotton Aran yarn (Color: Sate)
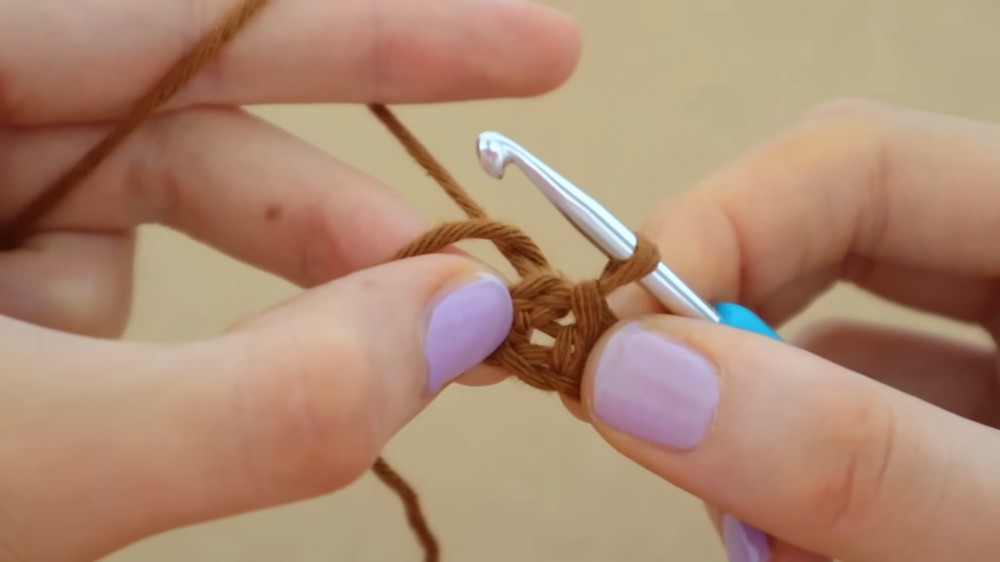
- Start with a Slip Knot and Chain Foundation
- Create a slip knot and chain 4 stitches.
- Insert your hook into the first chain and pull up a loop. Complete a slip stitch by pulling the first loop through the second loop.
- Tighten the circle created by pulling the loose yarn end. This forms the base for your half double crochets.
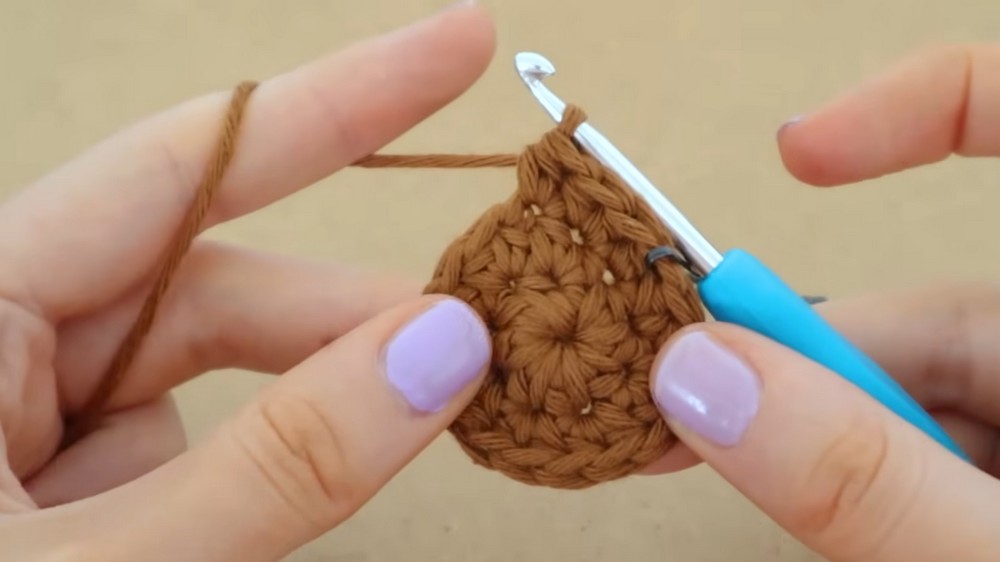
- Begin Half Double Crochet Stitches
- Yarn over and insert the hook into the center of the circle. Pull up a loop, yarn over, and pull through all three loops on the hook to complete a half double crochet.
- Repeat this step until you have 8 half double crochets in the circle. Tighten the circle by pulling the loose yarn end and join the round with a half double crochet into the first stitch.
- Continue Building the Hat with Increasing Rounds
- Row 2: Add two half double crochets into each stitch.
- Row 3: Alternate between one half double crochet and one increase (two half double crochets in the same stitch).
- Row 4: Crochet two single half double crochets, then one increase, and repeat the pattern.
- Row 5: Alternate three half double crochets with one increase.
- Row 6: Crochet four half double crochets, followed by one increase.
- Row 7: Crochet five half double crochets and one increase.
- Row 8: Alternate six half double crochets with one increase to complete the row.
- Adjust Hat Size
- For a head width of approximately 6.25 inches, stop increasing after Row 10 (eight half double crochets, one increase).
- For larger sizes, continue increasing rows by adding one more half double crochet before each increase (e.g., nine half double crochets, one increase).
- For smaller sizes, reduce the number of increasing rows.
- Shape the Hat to Curve Downwards
- Switch to front loop-only half double crochet stitches for a single row (Row 11). This adjustment causes the fabric to curve downward, creating the recognizable shape of the hat.
- Build the Body of the Hat
- Rows 12–19: Crochet normal half double crochets into every stitch. These rows form the main body of the hat.
- Turn the hat inside out to hide the seam created by the front loop-only stitches from Row 11.
- Create the Brim
- Row 20: Use front loop-only half double crochet stitches for a round, with a pattern of four stitches followed by one increase.
- Row 21 and onward: Resume normal half double crochet stitches, continuing with increasing rounds as follows:
- Row 21: Six half double crochets, one increase.
- Row 22: Eight half double crochets, one increase.
- Row 23: Ten half double crochets, one increase.
- Finish the Hat
- For the brim, complete three rounds of normal half double crochet (Rows 24–26).
- Secure the final row by slip stitching the last stitch to the first stitch, then chain one to tie off.
- The brim measures approximately 3 inches. Add additional increase rows if you want a larger brim.

Special Features
- Customizable: The tutorial explains how to adjust the hat size for different head measurements by adding or decreasing increase rounds.
- Elegant Design: The front loop-only technique helps shape the hat downward and adds to the aesthetic appeal.
- Beginner-Friendly: Clear explanations make it suitable for crocheters of all skill levels.
- Affordable: Minimal materials are required, and the process is straightforward.
Level of Difficulty
This project is beginner-friendly, with most of it relying on basic techniques like half double crochet stitches and slip knots. The tutor recommends practicing basic skills from their “Crochet 101” video if you’re unfamiliar with the techniques covered in the tutorial.
Tutor’s Suggestions
- Use a stitch marker: Place this marker at the start of every round to keep track of where the row begins and ends.
- Maintain tight stitches: Pull firmly on the loose yarn end to tighten the circle at the base of the hat—it helps to secure the foundation.
- Turn the hat inside out: This eliminates visible seams and gives the finished piece a polished look.
Uses and Materials
- Uses:
- This hat is practical for everyday wear during colder seasons.
- It makes a thoughtful handmade gift for friends and family.
- Materials:
- Scissors
- Stitch marker
- 4 mm crochet hook
- Tape measure
- Yarn (100 g cotton Aran yarn)
Helpful Tip
To avoid seams in your increases, ensure you move the stitch marker correctly and crochet the first stitch of every new row carefully. This small adjustment creates a seamless circular pattern, which enhances the overall look of the hat.
Conclusion
This tutorial provides clear guidance for crafting a stylish crochet hat with minimal effort. From sizing adjustments to seamless construction, the video ensures anyone can follow along and achieve professional-looking results. Whether you're a beginner or an experienced crocheter, this hat is a rewarding project that combines practical utility with creative design. Take your time, enjoy the process, and wear your masterpiece proudly!