
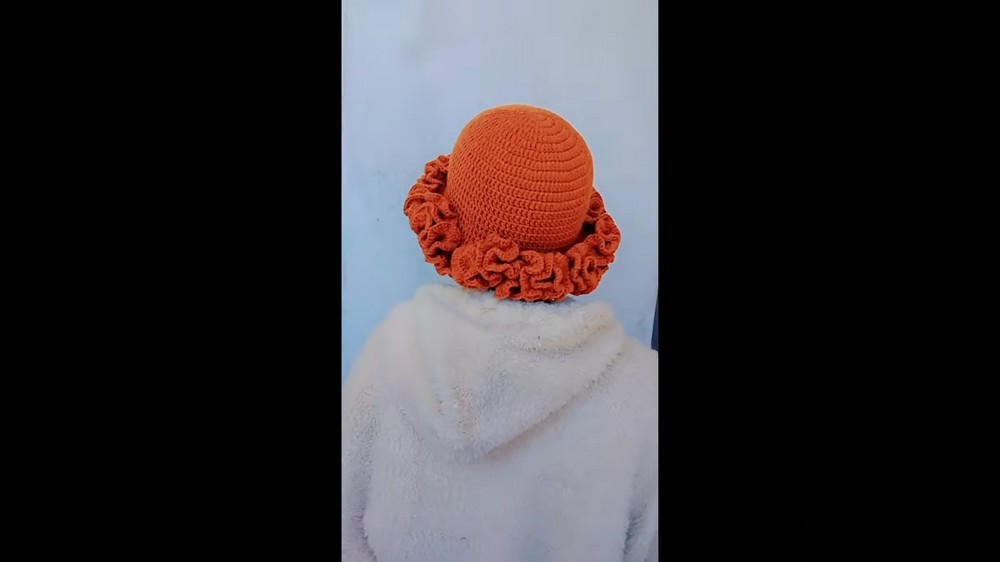
Elegant Crochet Ruffle Hat Pattern That Complements Any Outfit
Show off playful style with this Crochet Ruffle Hat Pattern for textured, cozy hats that offer charm, comfort, and casual everyday flair.
There’s something irresistibly charming about the flowing elegance of cascading ruffles on a beautifully constructed hat. This Crochet Ruffle Hat Pattern blends sophistication with a touch of whimsy, creating the perfect balance between function and style. Its delicate design adds a unique, textured flair that elevates any outfit, whether you're stepping out on chilly days or accessorizing for a special occasion.
Charming Crochet Ruffle Hat Pattern for Gifts and Keepsakes

The beauty of this pattern lies not only in its visual appeal but also in its versatility, crocheted with endless possibilities to experiment with textures, colors, and customization. Beyond aesthetics, it’s a joy to create, a project that offers a sense of accomplishment for seasoned crocheters and a welcome challenge for beginners eager to hone their skills.
As both a fashionable statement piece and a heartfelt, handmade gift, this thoughtful design is as rewarding to crochet as it is to wear, capturing the artful essence of crochet in every ruffled detail.
Step-by-Step Crochet Ruffle Hat Pattern
Materials Needed
- Yarn: 4-ply yarn (any medium-weight yarn).
- Hook: 3 mm crochet hook.
- Stitch Marker: To keep track of rows.
- Tape Measure: To ensure accurate sizing.
- Scissors: To cut the yarn.
Step 1: Create the Magic Circle (Row 1)
- Take the shorter strand of yarn and place it below the longer strand.
- Hold them together in the middle and wrap the long end of yarn around your finger to create a loop.
- Insert your crochet hook into the loop, yarn over, and pull through the loop.
- Chain 2 to secure the circle.
- Crochet 12 double crochets (DC) directly into the magic circle.
- Pull the short strand of yarn to tighten the circle.
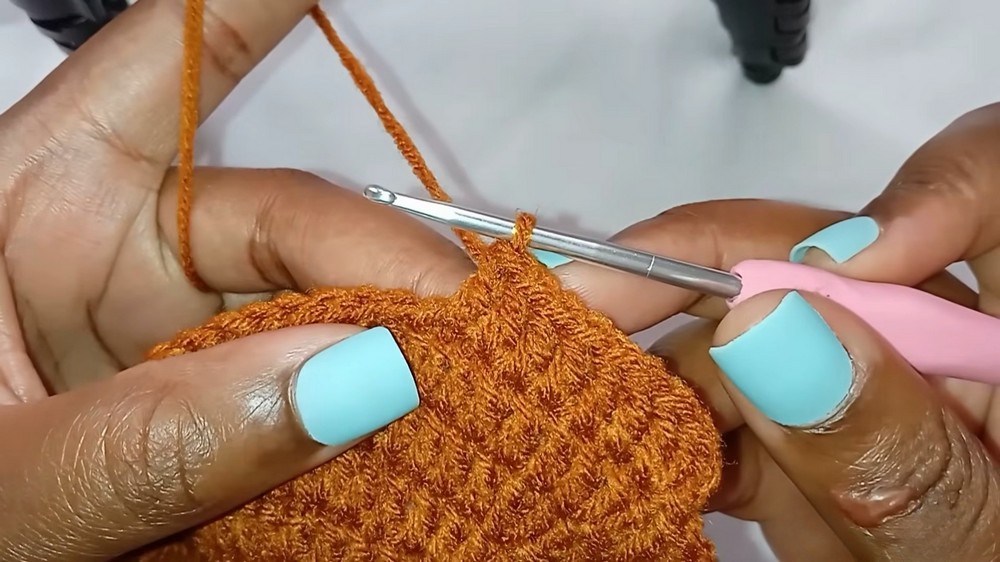
- Slips stitch into the first double crochet to finish the row.

Step 2: Build the Base of the Hat
Row 2
- Chain 2 and make 2 double crochets in every stitch from the previous row.
- Ensure your final count is 24 double crochets (do not count the chain 2).
- Slip stitch into the first double crochet to close the row.
Row 3
- Chain 2 and work as follows:
- 2 double crochets in one stitch.
- 1 double crochet in the next stitch.
- Repeat this pattern to the end of the row.
- Total for the row: 36 double crochets.
- Slip stitch into the first stitch.
Row 4
- Chain 2 and repeat this pattern:
- 2 double crochets in one stitch, followed by 1 double crochet in the next 2 stitches.
- End the row with 48 double crochets.
- Slip stitch to close.
Row 5–8
- Continue the increase pattern:
- Row 5: 2 DC in one stitch, 1 DC in the next 3 stitches → 60 stitches.
- Row 6: 2 DC in one stitch, 1 DC in the next 4 stitches → 72 stitches.
- Row 7: 2 DC in one stitch, 1 DC in the next 5 stitches → 84 stitches.
- Row 8: 2 DC in one stitch, 1 DC in the next 6 stitches → 96 stitches.
- Remember to slip stitch into the first double crochet at the end of each row to close it.
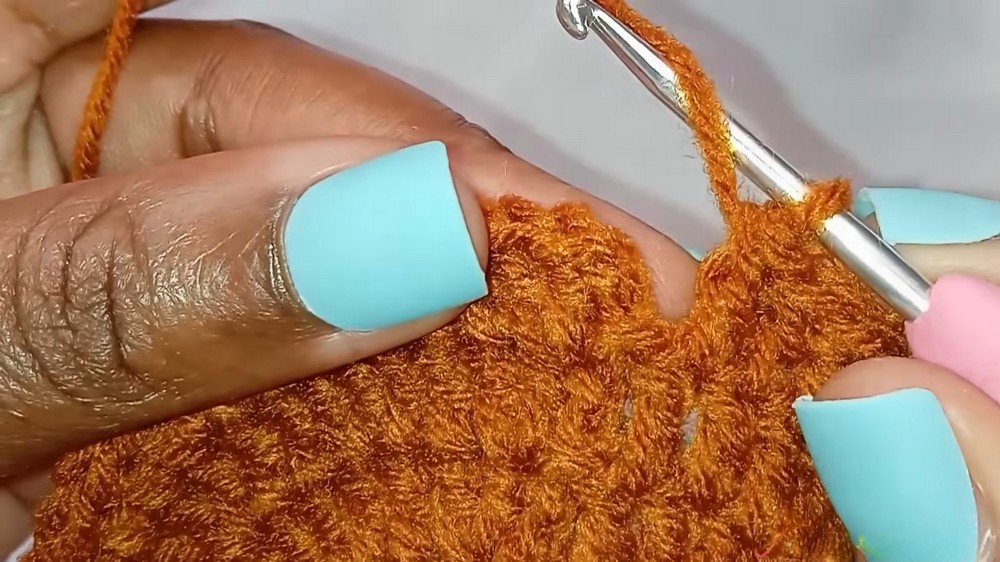
3: Create the Length (No Increases)
- After Row 8, you’ll stop increasing and work several rows with 1 double crochet in each stitch.
- Row 9 onward: Chain 2 and make 1 double crochet in every stitch with no increase.
- Continue this until you have a total of 20 rows.
- For a shorter hat, stop after reaching 3.5 inches for this section; the tutorial’s example measures 4.5 inches. Adjust to your preference.
4: Add Ruffle Detail
Ruffle Row 1
- Chain 2 and make 3 double crochets in every stitch around the row.
- Your work will start curving as the ruffles form.
- Slip stitch into the first double crochet to close the row.
Ruffle Row 2
- Chain 2 and repeat the same pattern: 3 double crochets in each stitch around.
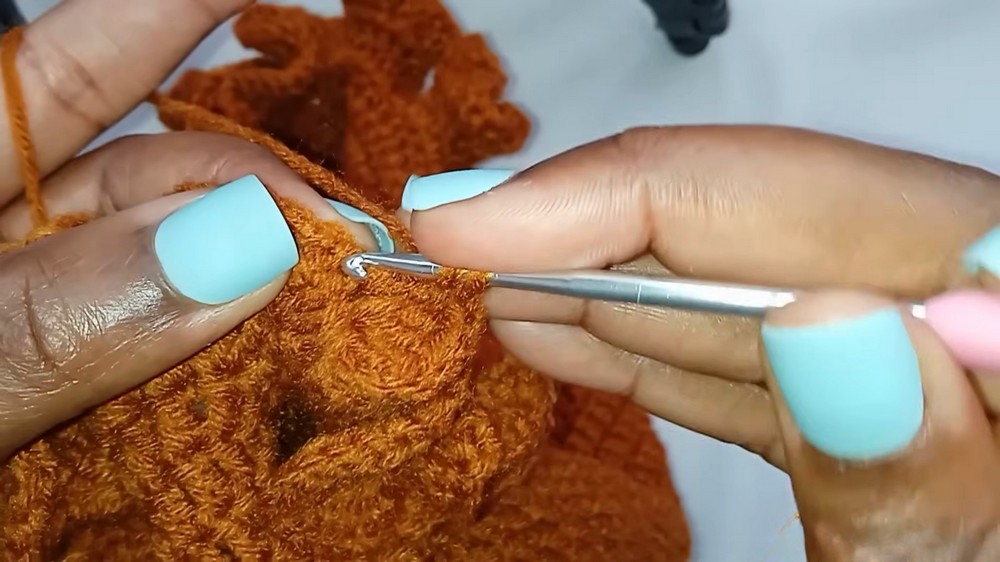
- Ensure you don’t accidentally skip any stitches by pulling the ruffles apart to check for hidden stitches.
- Slip stitch to finish the row.
Ruffle Row 3:
- Repeat the same process for the third row: 3 double crochets in each stitch.
- The ruffles will now have a fuller appearance.
- Slip stitch into the first double crochet and weave in your ends to complete the hat.
Special Features
- Elegant Ruffles: The 3-row ruffle detail gives the hat a stylish and fancy look, suitable for casual and formal occasions.
- Customizable: You can adjust the size, ruffle length, or yarn colors to make it unique.
- Detailed Shape: The structured base with an adjustable length provides practicality and aesthetic appeal.
Level of Difficulty
The pattern is suitable for beginners to intermediates. While it requires understanding basic stitches (e.g., double crochet, slip stitch), the tutor demonstrates steps clearly, including the magic circle technique for beginners.
Tutor's Suggestions
- Practice the Magic Circle: This might be tricky for beginners—rewatch the demonstration as needed.
- Adjust Stitch Count for Yarn Size: Use 10 double crochets instead of 12 in the first row if your yarn is thicker.
- Use a Stitch Marker: Place it on your slip stitch to avoid accidental increases or stitching errors.
- Pull Ruffles Apart: Make sure you don’t skip stitches when adding ruffle rows, as the dense texture can hide stitches.
- Don’t Skip Washing: Wash or steam-block the hat after completion to smooth out stitches and enhance its appearance.
Uses and Materials
Uses:
- Winter accessory for warmth and comfort.
- Stylish statement piece for outfits.
- Handmade gift or craft sale item.
Materials:
- 4-ply medium-weight yarn.
- 3 mm crochet hook.
- Stitch markers, scissors, and a tape measure.
Tip
To achieve evenly curved ruffles, maintain consistent tension throughout the project. Tight or uneven stitches can distort the overall design.
Conclusion
This ruffle hat crochet project is a fun and rewarding way to improve your skills while creating a beautiful, fashionable accessory. From the structured base to the intricate ruffles, this design combines practicality and style. Follow the detailed steps, take your time with each row, and enjoy crocheting a hat that's both functional and eye-catching.