
Free Crochet Lotus Flower Pot Pattern for Stunning Décor
Create a lovely crochet lotus flower pot using this free pattern that’s simple to follow and great for bringing a cozy, colorful touch to your home.
Soft petals, a rounded base, and delicate textures come together in this crochet lotus flower pot pattern, turning simple yarn into a charming and thoughtful project. Inspired by the elegance of the lotus flower, the design combines layered petals with a smooth pot that feels both versatile and timeless. The petals feature light and airy stitches, giving them a natural curve, while the sturdy base helps the pot hold its shape, making it ideal as a decorative piece for your home or office.
Cutest Free Crochet Lotus Pot Pattern You’ve Ever Seen
This project suits a wide range of makers, whether you’re just starting with crochet or have years of experience. It can be customized easily to fit your preferred size, small versions work wonderfully as desk accents, and larger ones make great centerpiece arrangements. You can use any cotton yarn, but softer yarn in pastel shades like pink, white, and green enhances the delicate stitch work and highlights the bloom like structure of the flower.
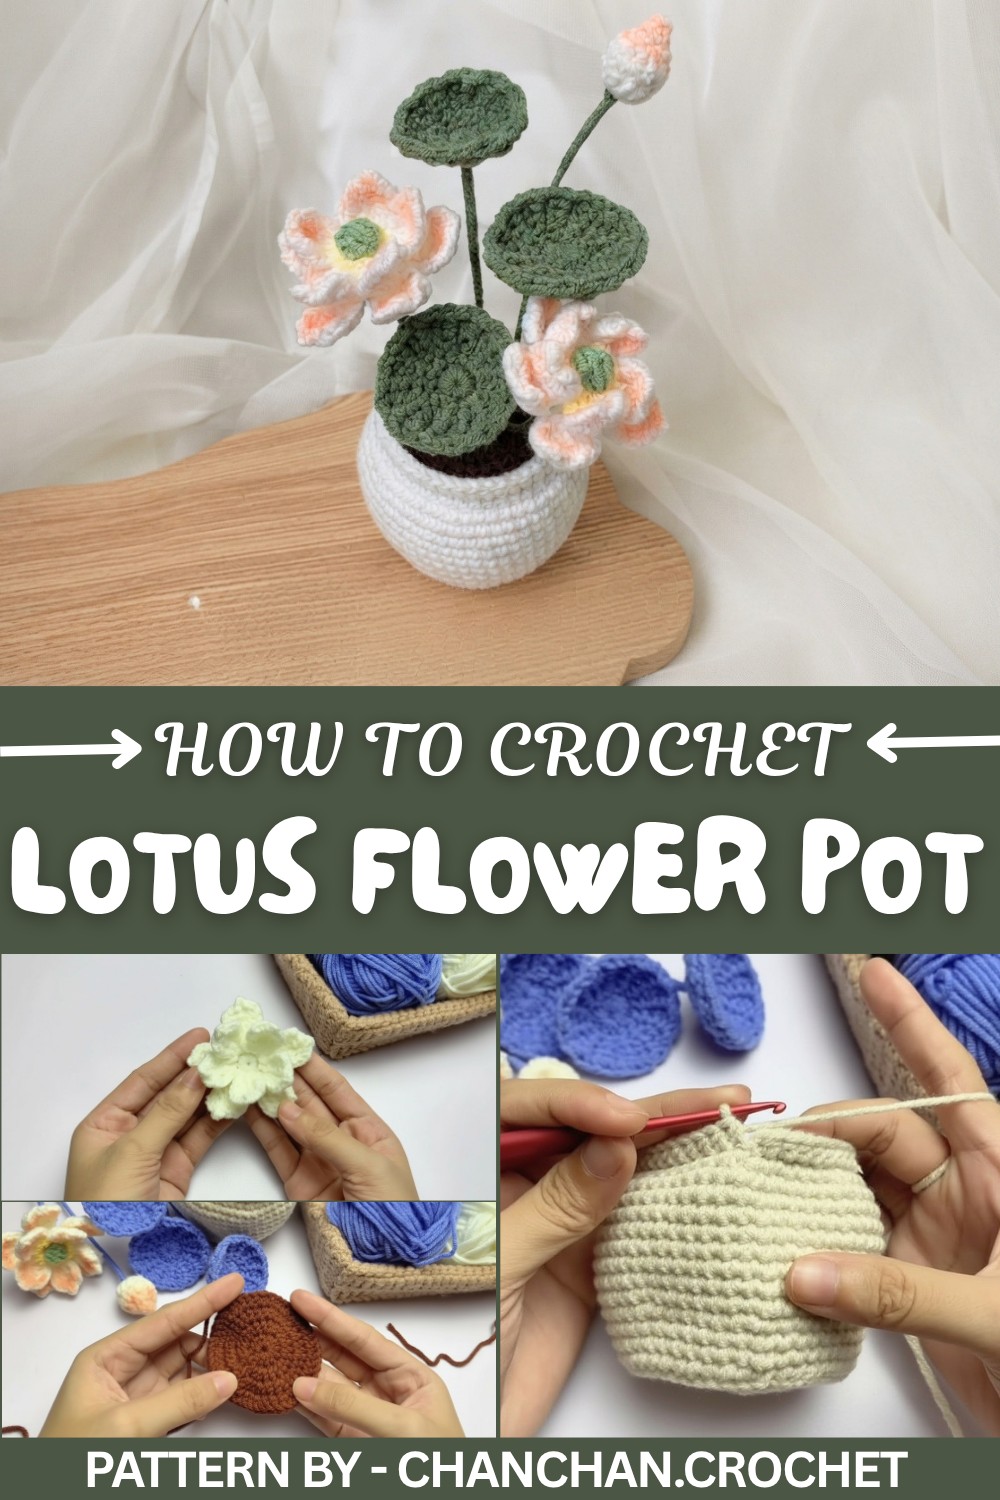
The construction uses simple techniques, starting with magic circles to form both the pot and flower base, followed by single crochet for the foundation and double crochet to shape each petal. To give the petals depth and personality, adding a bit of blush or experimenting with slight variations in yarn texture can add an artistic touch. Stitch markers are handy for keeping track of rows, especially when shaping the pot.
This lotus flower pot makes a thoughtful gift for birthdays, housewarmings, or even festive occasions. It’s a lovely opportunity to work on something relaxing and personal, giving you the chance to try new yarn combinations or add decorative accents. Whether it’s displayed on a shelf or gifted to someone special, this project inspires joy and calm in every detail.
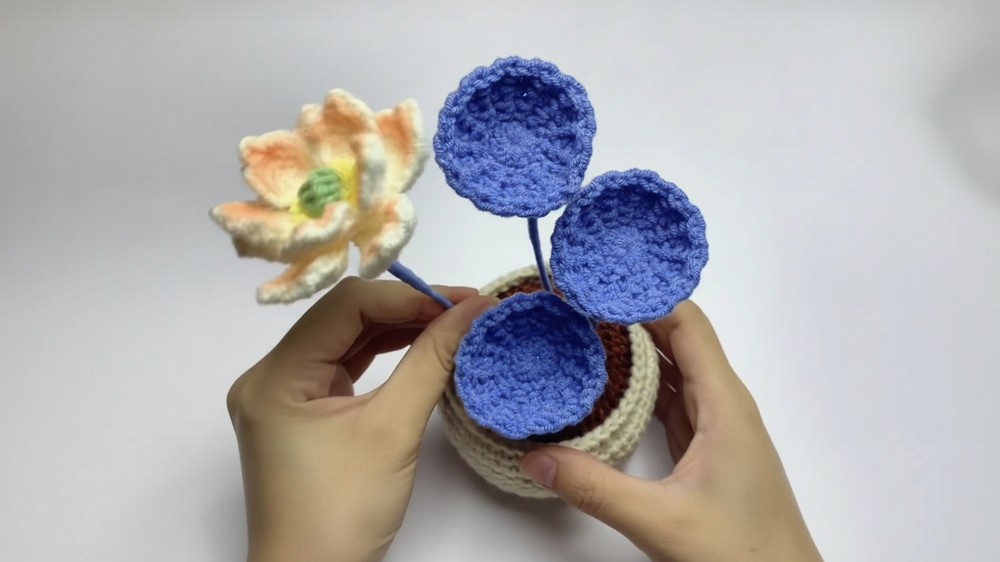
Crochet Pattern: Mini Lotus Flower Pot
Quick Overview Of Pattern
- Components: Lotus petals (small and large), flower center, lotus bud, stem and leaves, soil, and crochet pot.
- Techniques Used: Magic ring, single crochet, slip stitch, half-double crochet, double crochet, increases, decreases, front/back loop stitches.
- Finished Look: Miniature lotus flower arrangement in a woven pot.
Notes
- For consistent results, maintain even tension throughout the project.
- Choose soft cotton yarn for cleaner stitches and better shaping.
- Floral wire is important for stabilizing stems and leaves.
Skill Level
Intermediate: Requires knowledge of basic stitches, shaping techniques, and assembly methods.
Materials
- Crochet Hook: 3mm
- Yarn:
- White (petals)
- Green (leaves and stems)
- Yellow (center)
- Brown (pot soil)
- Fiberfill: Small amount for the bud and soil.
- Floral Wire: Thin wire for stability in stems and leaves.
- Optional: Pink pigment for flowers.
Measurements / Sizing
The finished design measures approximately:
- 12–15 cm tall
- 8–10 cm wide
Gauge
Gauge is flexible for this project. Proper shaping can be achieved by following the written instructions.
Stitch Abbreviations
- MR: Magic Ring
- SC: Single Crochet
- HDC: Half Double Crochet
- DC: Double Crochet
- SL: Slip Stitch
- CH: Chain
- INC: Increase (two stitches in one stitch).
- DEC: Decrease (crochet two stitches together).
- BL: Back Loop only.
- FL: Front Loop only.
Special Stitches
Half Double Crochet (HDC):
- Yarn over, insert the hook into the next stitch, pull up a loop (three loops on the hook).
- Yarn over, pull through all three loops.
Magic Ring (MR):
Wrap the yarn to form a loop. Insert the hook, pull a loop through, and crochet into the ring before pulling it tightly to form a closed circle.
The Crochet Pattern
1. Flower Petals
Small Petals:
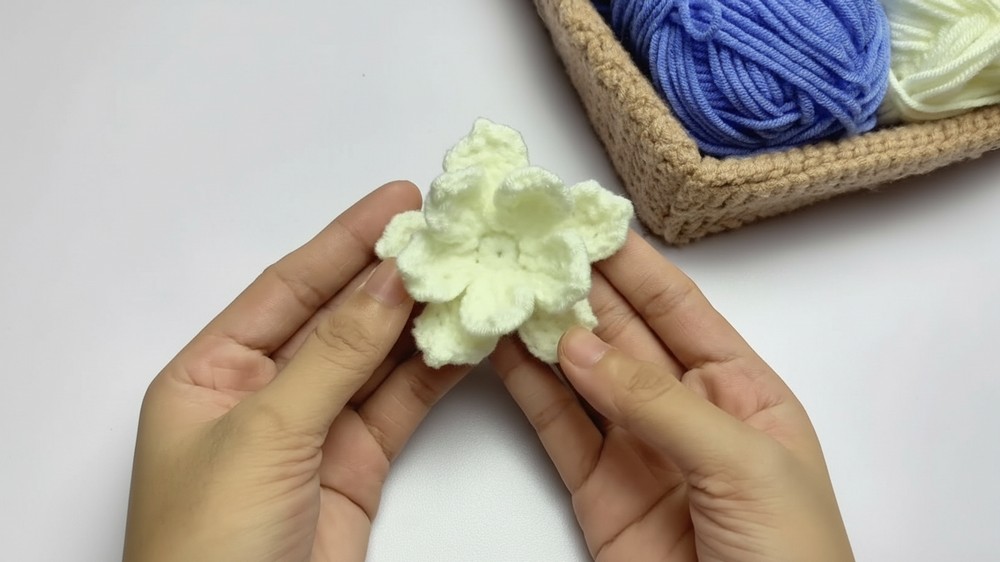
- Using white yarn, create a Magic Ring (MR), then crochet 10 Single Crochets (SC) into the ring. Pull tight to close.
- Round 2: Attach yarn with a Slip Stitch (SL) into the first stitch. CH 6, skip the first two chains, then work Double Crochets (DC) and Single Crochets (SC) back down the chain.
- Secure with a SL into the next base stitch.
- Repeat these steps to make 5 small petals.
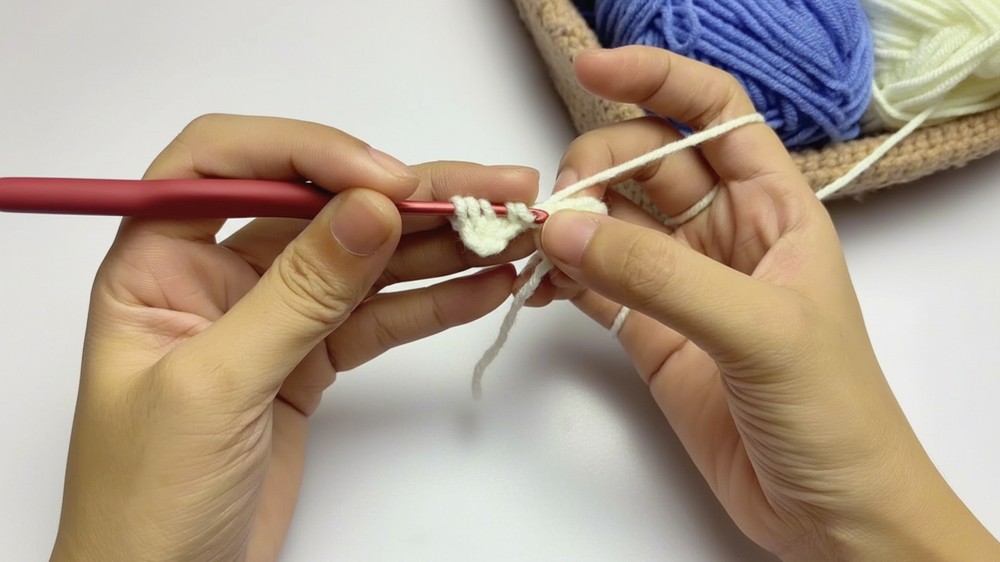
Large Petals:
- Join yarn into the Back Loop (BL) of the stitches from the base ring. CH 7, skip the first two chains, then work incomplete DC and SC stitches back down the chain.
- Repeat these steps to create 5 large petals.
Flower Center
- Switch to yellow yarn. Create a MR, CH 2, then crochet 5 incomplete DC into the ring. Pull through all loops to cluster.
- Fasten securely and wrap with green yarn for structure. Attach wire for easy positioning later.
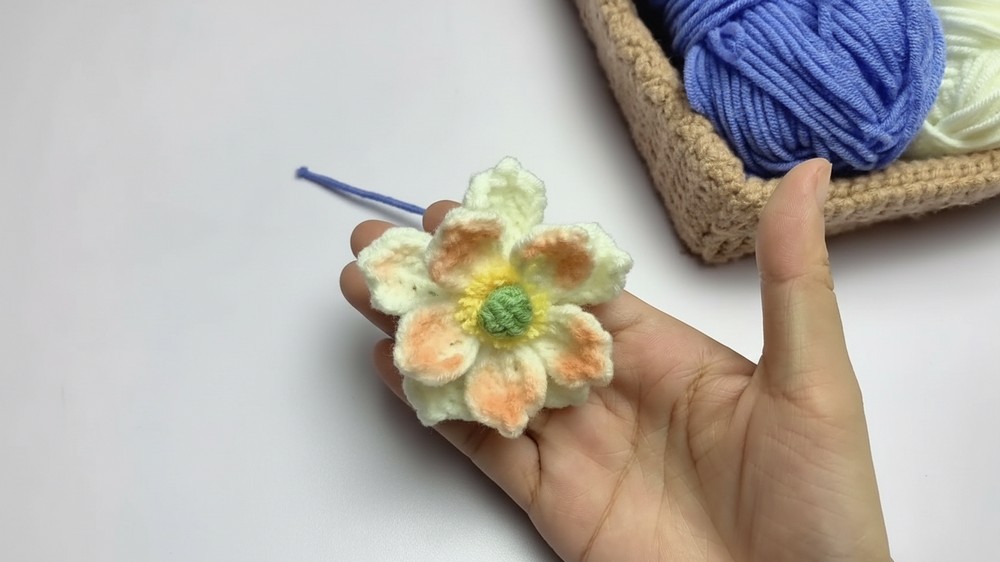
2. Lotus Bud
Round 1:
- Begin with a MR using white yarn. CH 2, then crochet 12 Double Crochets (DC) into the ring. Pull tight to secure.
Round 2:
- Crochet 12 Half Double Crochets (HDC) into the stitches around the ring.
Round 3:
- Work 6 single decreases (DEC) to reduce the stitch count to 6.
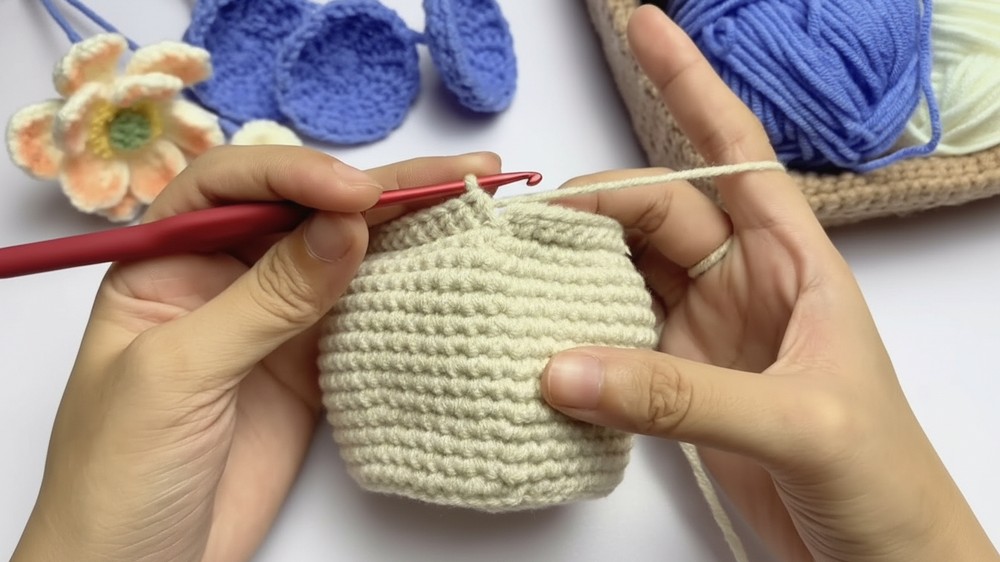
Round 4:
- Crochet 3 DEC to close the bud shape. Stuff lightly with fiberfill and fasten off securely.
3. Leaf
Base:
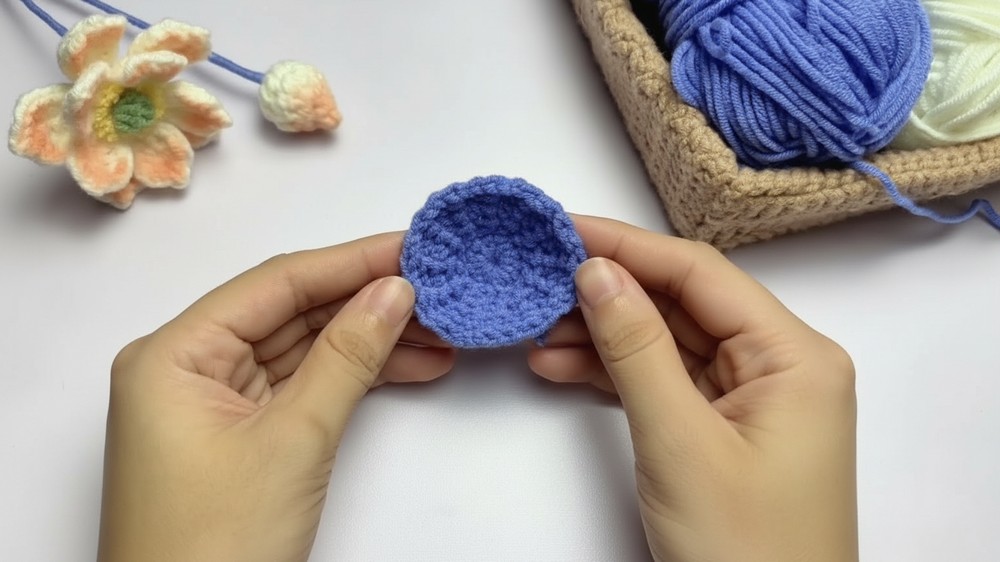
- Using blue yarn, create a MR and crochet 12 HDC into the ring.
Round 2:
- Work CH 5 and make incomplete crochet stitches back down the chain to form rounded leaf edges.
- Repeat this step around the base circle to complete the leaves. Insert wire through the leaf’s base for sturdiness.
4. Pot and Soil
Pot:
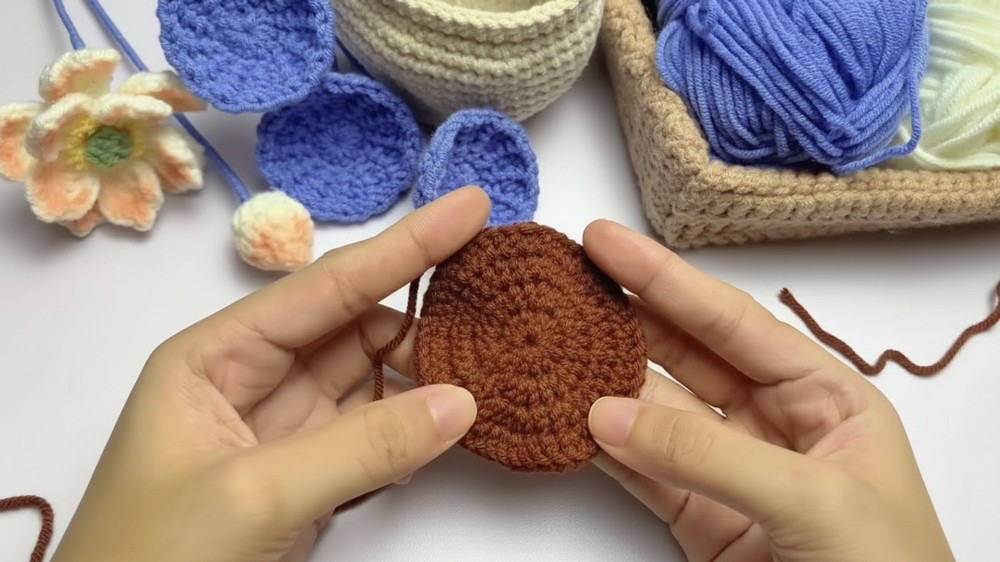
- Begin with MR using brown yarn. Crochet 8 SC into the ring and tighten.
- Gradual increases per round:
- Round 2: Crochet 16 SC.
- Round 3: Crochet 24 SC.
- Round 4: Crochet 32 SC.
- Round 5: Crochet 40 SC.
- Round 6: Crochet 48 SC.
- Round 7: Switch to working in Back Loop (BL). Crochet 48 SC into BL stitches to form the pot base.
- Maintain 48 SC per round for Rounds 8–9.
- Round 10: Increase to 56 SC for shaping the pot walls.
Soil:
- Begin with MR using brown yarn and crochet 12 HDC into the ring.
- Gradually increase the stitches per row following a circular pattern until the diameter matches the pot opening. Ensure soil remains flat.
5. Assembly
Complete Pot and Soil Assembly:
- Sew the soil section into the pot. Use the BL stitches from Round 7 as guidance for attaching.
- Add fiberfill stuffing to the soil section before completing the stitching for stability.
- Insert stems, flowers, buds, and leaves into the soil section, using floral wire to secure them in place.
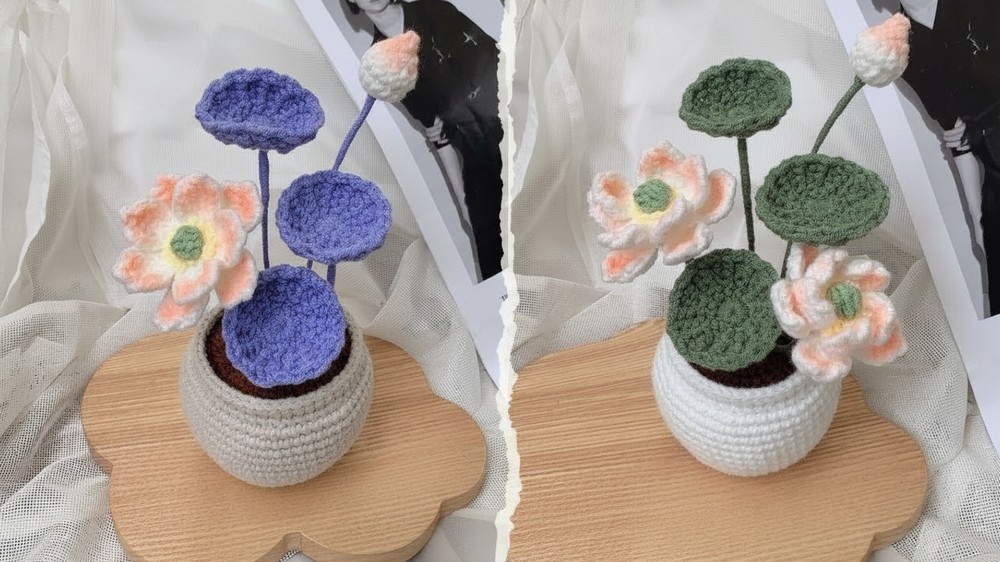
Assembly & Finished Size
The completed mini lotus flower pot measures 12–15 cm tall and 8–10 cm wide. Arrange the miniature flowers, buds, and leaves into the pot for a natural, elegant display.
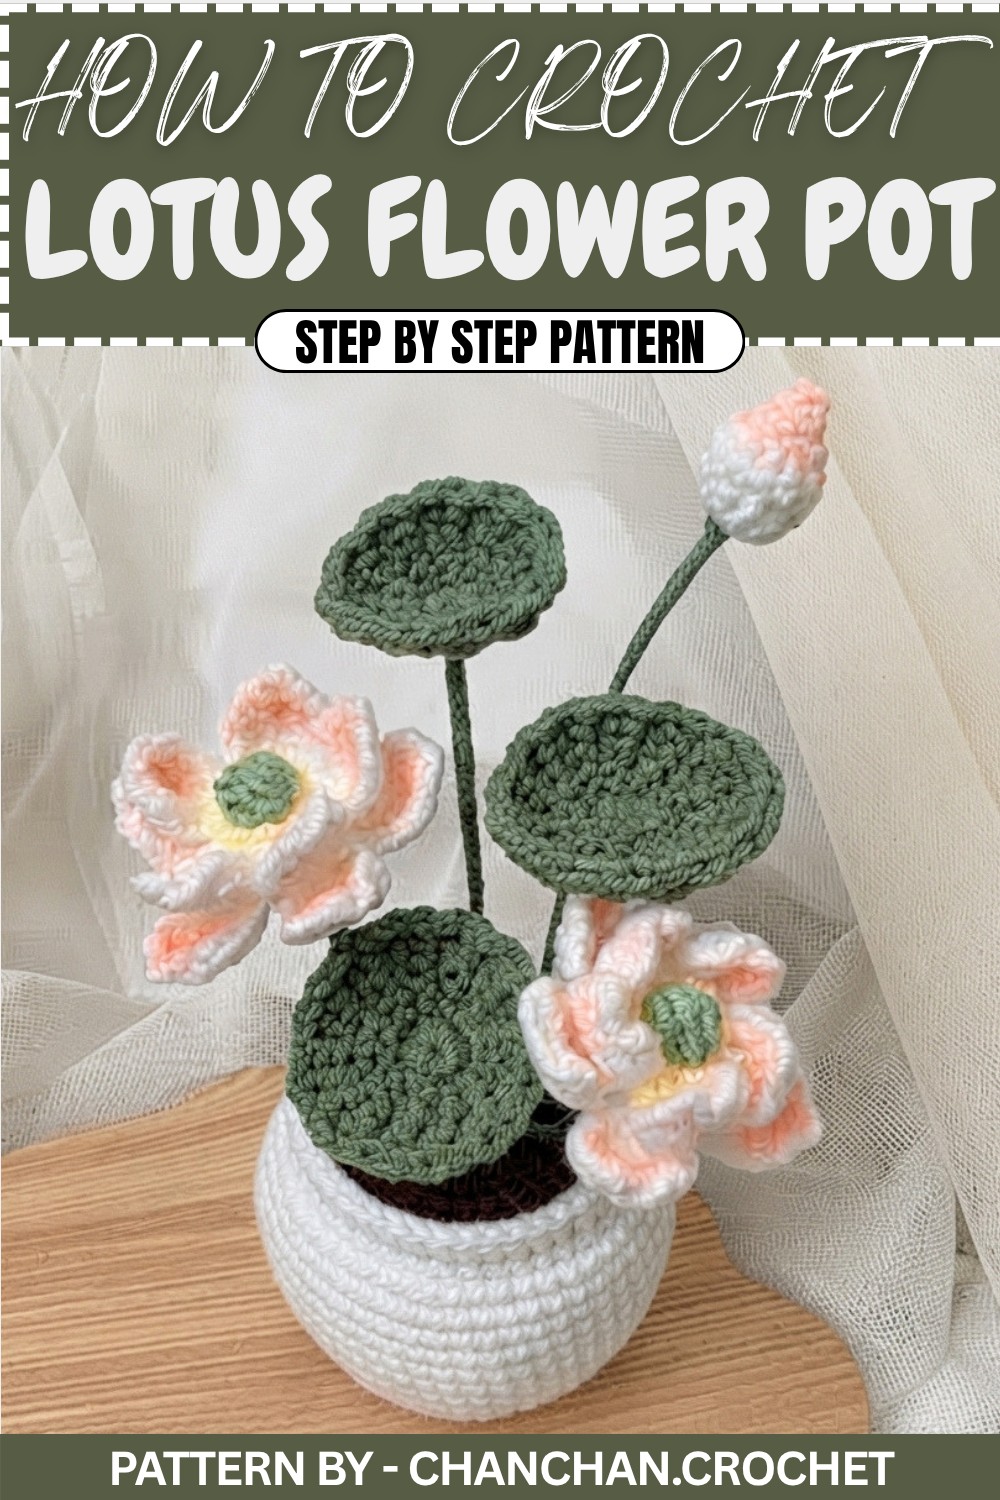
Conclusion and Ending Words
Thank you for following this step-by-step tutorial to create your beautiful mini lotus flower pot! This handmade creation is a wonderful decoration or thoughtful gift for loved ones. Add your personal touch, like pink pigment on the petals, for a realistic finish.