
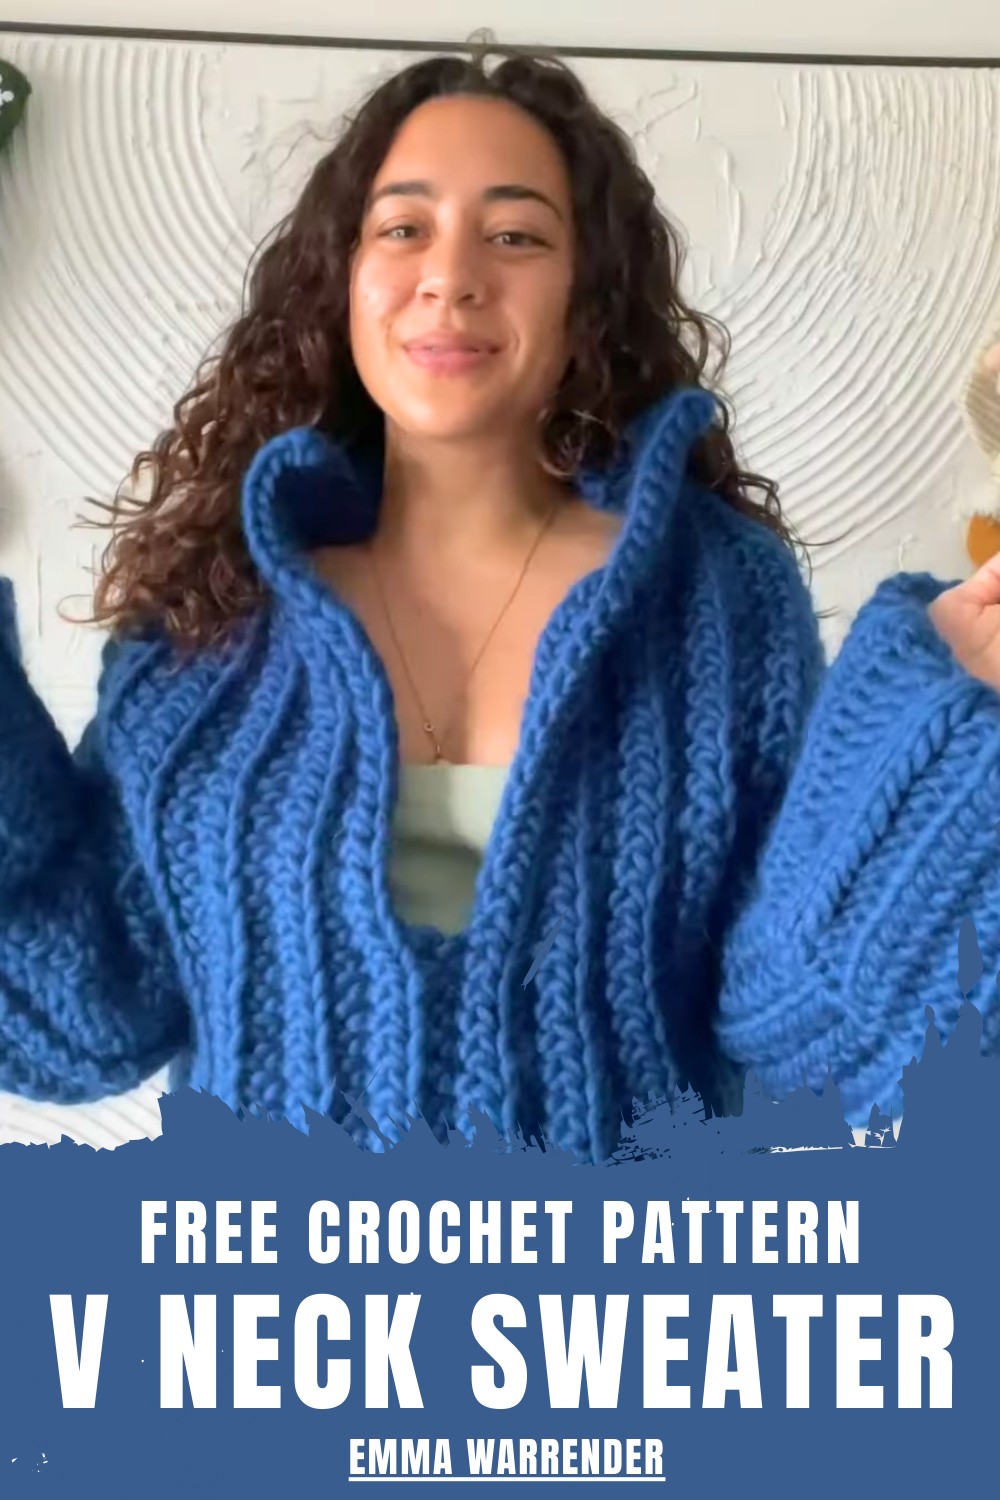
Comfy Crochet V Neck Sweater Pattern Ideal for Chilly Days
Upgrade your wardrobe with this Crochet V Neck Sweater Pattern for cozy textured that offer charm, comfort, and versatile everyday style.
A refined silhouette and cozy texture come together to create a sweater that feels both modern and classic. The Crochet V Neck Sweater Pattern adds a touch of elegance while allowing comfortable layering for everyday wear or seasonal styling. Soft stitches provide gentle warmth without bulk, making it ideal for cool mornings, relaxed evenings, or transitional weather. Designed with versatility in mind, it complements jeans, skirts, and tailored bottoms alike, adapting easily to casual and semi-polished looks.
Warm Crochet V Neck Sweater Pattern Ideal for Winter Days
The pattern offers creative freedom through yarn selection and color choices, helping crocheters achieve a truly personalized finish. Thoughtful shaping ensures a comfortable fit that drapes smoothly and retains its structure over time.
Enjoyable for a range of skill levels, the crocheting process feels rewarding as the garment takes shape. This sweater blends comfort, durability, and handmade beauty into a wardrobe essential that remains stylish season after season.
Step-by-Step Instructions
Materials Needed
- Yarn - Chunky or soft wool; the tutor demonstrates using a yarn suitable for creating a warm and cozy texture.
- Crochet Hook - Ensure the hook size matches your chosen yarn’s recommendations.
- Scissors - For cutting yarn.
- Measuring Tape - To ensure the sweater fits you correctly.
- Stitch Markers - Optional but helpful for marking sections like collars and sleeves.
- Tapestry Needle - For weaving in ends after finishing the sweater.
Steps:
Step 1: Back Panel
- Start with a slip knot, and create a chain slightly longer than the desired length of your sweater.
- Example: For the tutorial, 45 chains were used, resulting in a 58 cm long chain.
- Adjust the chain length depending on the fit and style you want.
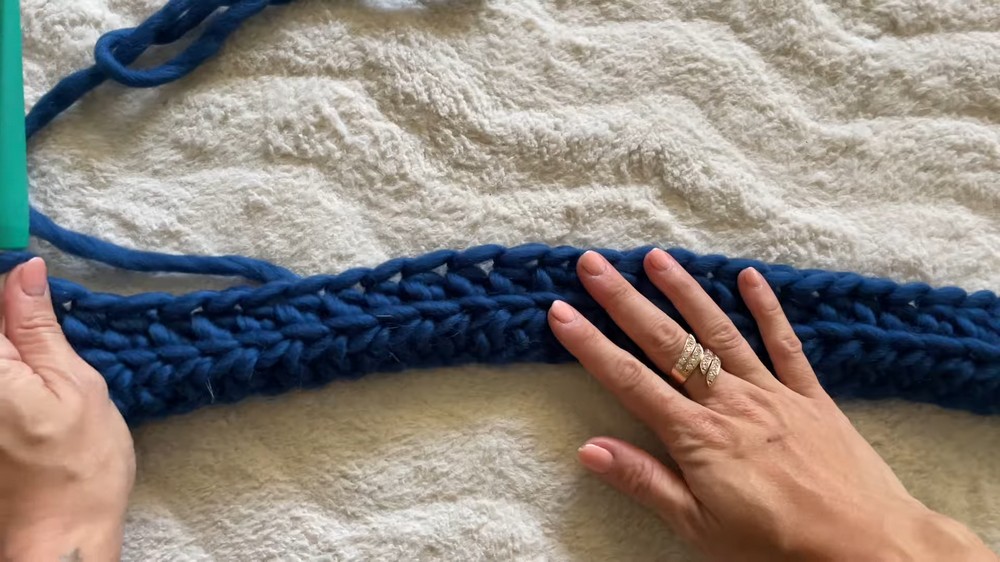
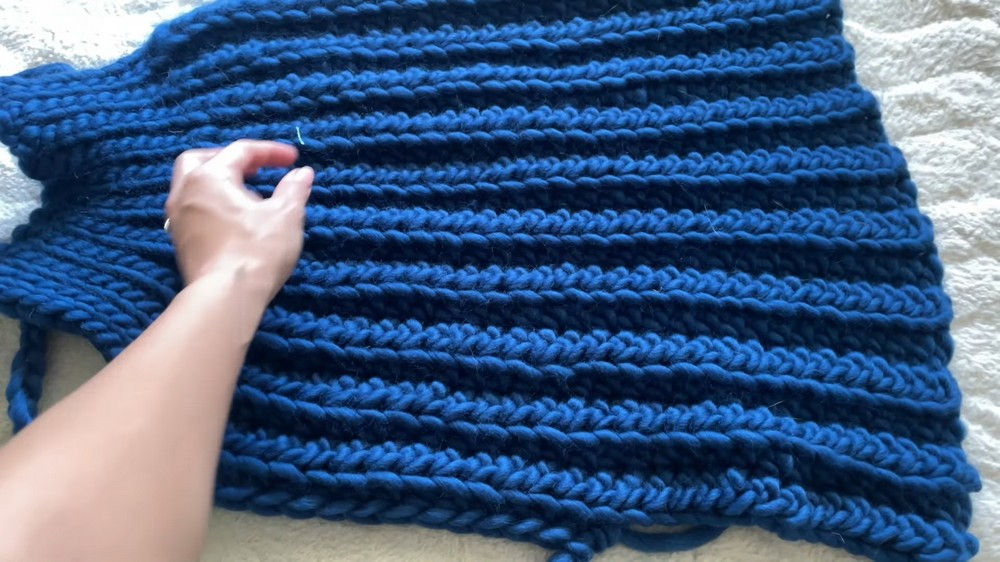
- Start Ribbed Stitching:
- Chain 2 and work half-double crochets (HDC) in the back loops (BLO) until 10 stitches before the end of your row.
- For the last 10 stitches, switch to slip stitches in the back loops to create the ribbed texture for the foldable collar.
- Turn your work and repeat the pattern for all rows:
- First 10 stitches: Slip stitches in BLO.
- Remaining stitches: HDC in BLO.
- Repeat this pattern until the back panel is long enough to cover your back and shoulders. For this pattern, 21 rows were made.

Step 2: Front Panels
- Repeat the same process as the back panel, but adjust for the deep V-neck.
- Create a chain of the same length as the back panel (e.g., 45 chains).
- Divide the panel in half, with each side measuring approximately half the total row count. For instance, do 11 rows for one side of the V-neck.
- Start Creating the V-Neck:
- After stopping at the midpoint (e.g., Row 11), chain additional stitches to form the "triangle" of the v-neck.
- Work in the same slip stitch and HDC BLO pattern for the remainder of the panel.
- Ensure the two front panels mirror each other by replicating the pattern exactly for the second panel.
3: Sleeves
- Create a chain slightly longer than your arm length to allow for a fold-over cuff (e.g., 70 cm for a looser cuff).
- Work the same HDC in BLO pattern for all rows.
- The tutor made a sleeve with 15 rows in this method.
- Once the panel is complete, fold it along its length and slip stitch the edges together to create a tube-like shape for the sleeve.
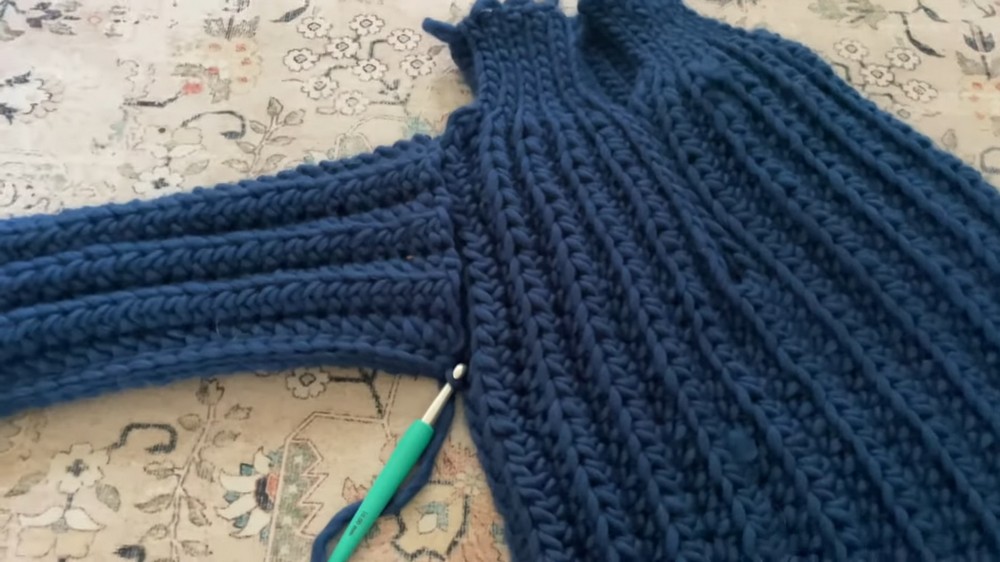
4: Assembly
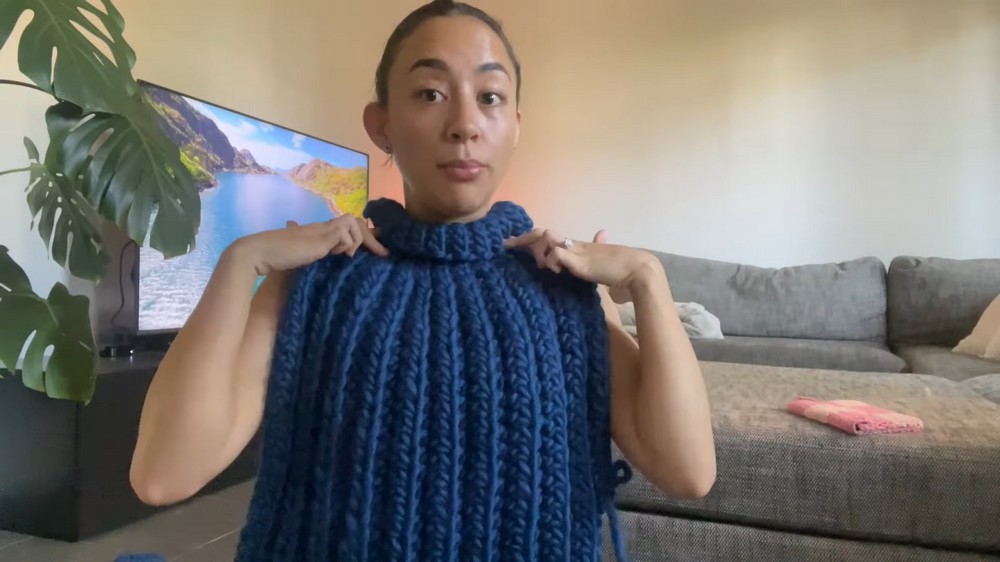
- Attach the Back and Front Panels:
- Align the collar edges of the front and back panel, ensuring the slip-stitched ribbed neckline lines up correctly.
- Use slip stitches to secure the panels together at the shoulders.
- Attach Sleeves to the Body:
- Match the sleeves to the shoulder section's edges and secure them with slip stitches.
- Join the Body and Sleeves:
- Slip stitch the edges of the body panels together (side seams), starting from under the arm and working downward.
- Ensure the sleeves and body are securely connected and aligned.


5: Tidy Up
- Tie off loose ends securely and weave them in with a tapestry needle.
- Fold the cuffs and collar neatly for a polished, professional look.
Special Features
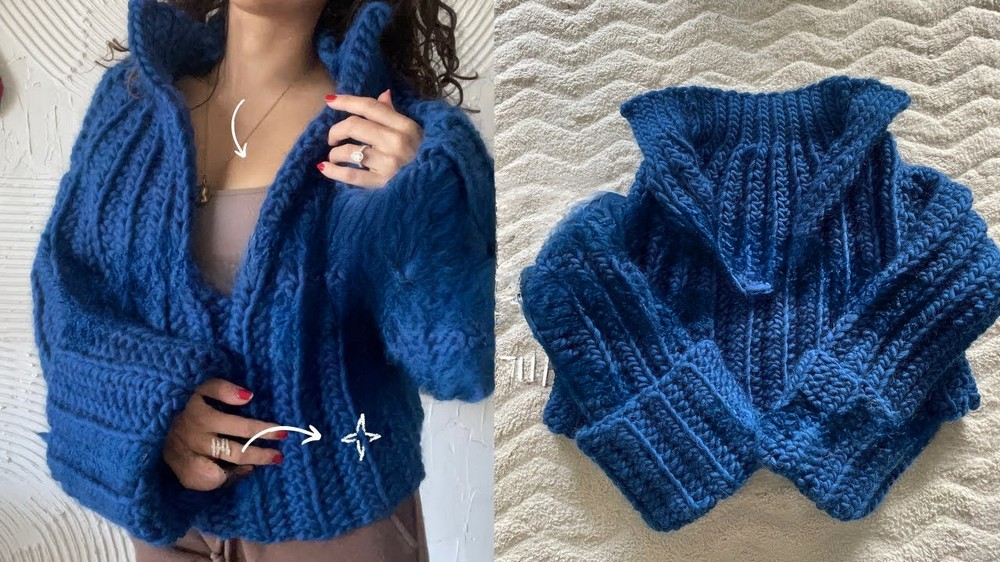
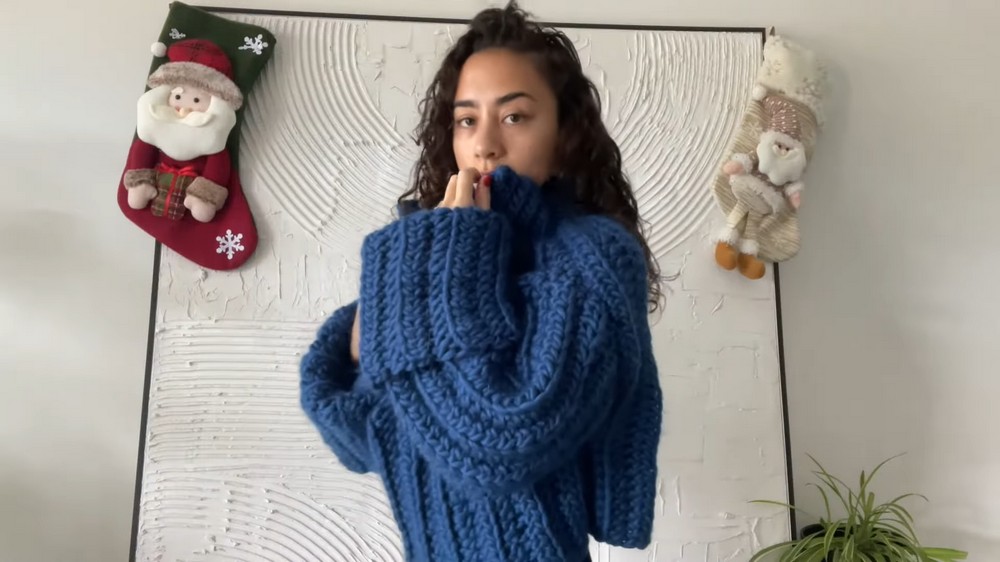
- Deep V-Neck: This sweater features a stylish deep V-neck for a flattering fit. The depth can be adjusted based on personal preference.
- Customizable Ribs: The ribbed collar and cuffs add a classic and chunky texture, perfect for a cozy look.
- Fold-Over Design: This design includes a foldable collar and long foldable cuffs.
- Versatile Style: You can adjust it to make either a pullover v-neck or a turtleneck sweater.
- Beginner-Friendly: The pattern uses simple stitches (HDC, slip stitches) but introduces techniques like back-loop-only stitching for texture.
Level of Difficulty
This project is beginner-friendly to intermediate. The stitches and techniques used (HDC, slip stitches, back-loop-only work) are accessible, though consistent tension and measuring correctly may challenge beginners. The tutor’s clear explanations make it easy to follow the process.
Tutor's Suggestions
- Customizations: Adjust the depth of the V-neck by leaving extra space. Deeper is better as you can always sew it closed later if needed.
- Measurements: Regularly measure your panels against your body to ensure a precise fit. Use stitch markers to mark important points (e.g., ribbed sections, shoulder lines).
- Cuffs and Collar: Make the cuff and collar folds longer or shorter depending on your preference for warmth and style.
- Yarn Choice: Use soft, chunky yarn for a cozy feel.
- Assembly Tips: Line up the panels carefully before stitching them together to ensure a seamless finish.
Uses and Materials
Uses:
- This sweater is ideal for cold weather, casual wear, or festive occasions like Christmas.
- It works as a personalized gift for friends or family during the holiday season.
- The timeless design makes it a wardrobe staple.
Materials Needed:
- Chunky yarn.
- Crochet hook (approximately 5.5-6mm, depending on yarn weight).
- Measuring tape.
- Tapestry needle and scissors.
- Optional: Stitch markers for easier alignment.
Tip
When working on the ribbed sections (collar or sleeve ends), keep tension consistent in slip stitches and HDCs to avoid uneven ribbing or gaps in the sweater. Blocking the finished panels before assembly can also help achieve a more professional, symmetrical fit.
Conclusion
This deep V-neck ribbed cuff sweater is a versatile, cozy project perfect for sweater season. The combination of simple stitches and thoughtful design makes it accessible for beginners, offering a rewarding and stylish result. You can personalize the length, collar, and sleeves to suit your preferences while learning foundational crochet techniques like HDC and slip stitches in back loops.