
Crochet a Stylish Wallet with This Free, Easy-to-Follow Pattern
Make a colorful crochet wallet that mixes practicality with elegance, giving you a stunning and unique accessory for all your daily needs.
A handmade wallet is more than just an accessory, it’s an expression of creativity and personal style. This adorable crochet design not only looks delightful but is practical for organizing your small essentials like cards, AirPods, lipstick, or keys. With its compact shape, soft texture, and thoughtfully crocheted inner pocket, it offers functionality while adding a touch of charm to your day. Perfect as a gift or a personal project, this wallet is a lovely mix of elegance and fun.
Quick Free Crochet Wallet Pattern That Looks Gorgeous
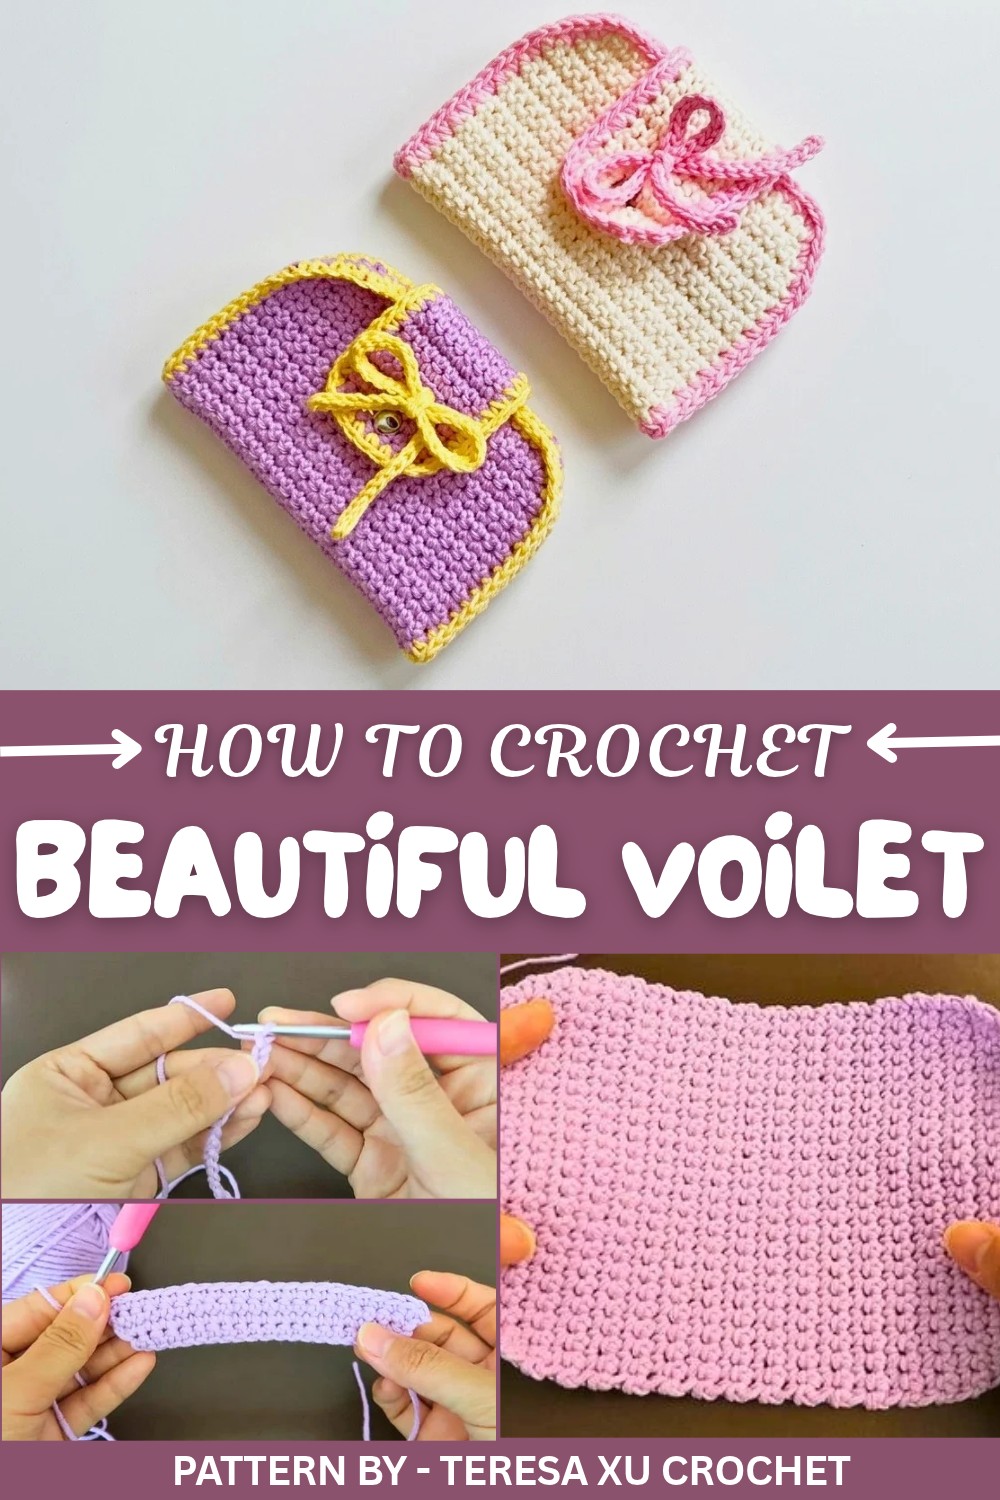
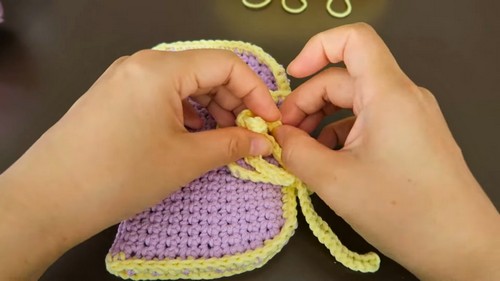
The design, demonstrated step by step on Teresa Xu Crochet, is as enjoyable to make as it is to use. Teresa begins by creating the wallet’s main body with basic single crochet stitches, alternating increases and decreases to shape it into a neat rectangular form. The clever addition of pockets inside makes the wallet even more versatile, allowing for better organization and an easy way to keep items safe. One of the standout features is the decorative yellow edging, which gives it a polished and clean finish. For those who love extra embellishment, Teresa also adds a stylish bow knot, made with slip stitches in the back bumps of chains, completing the wallet with a playful detail.
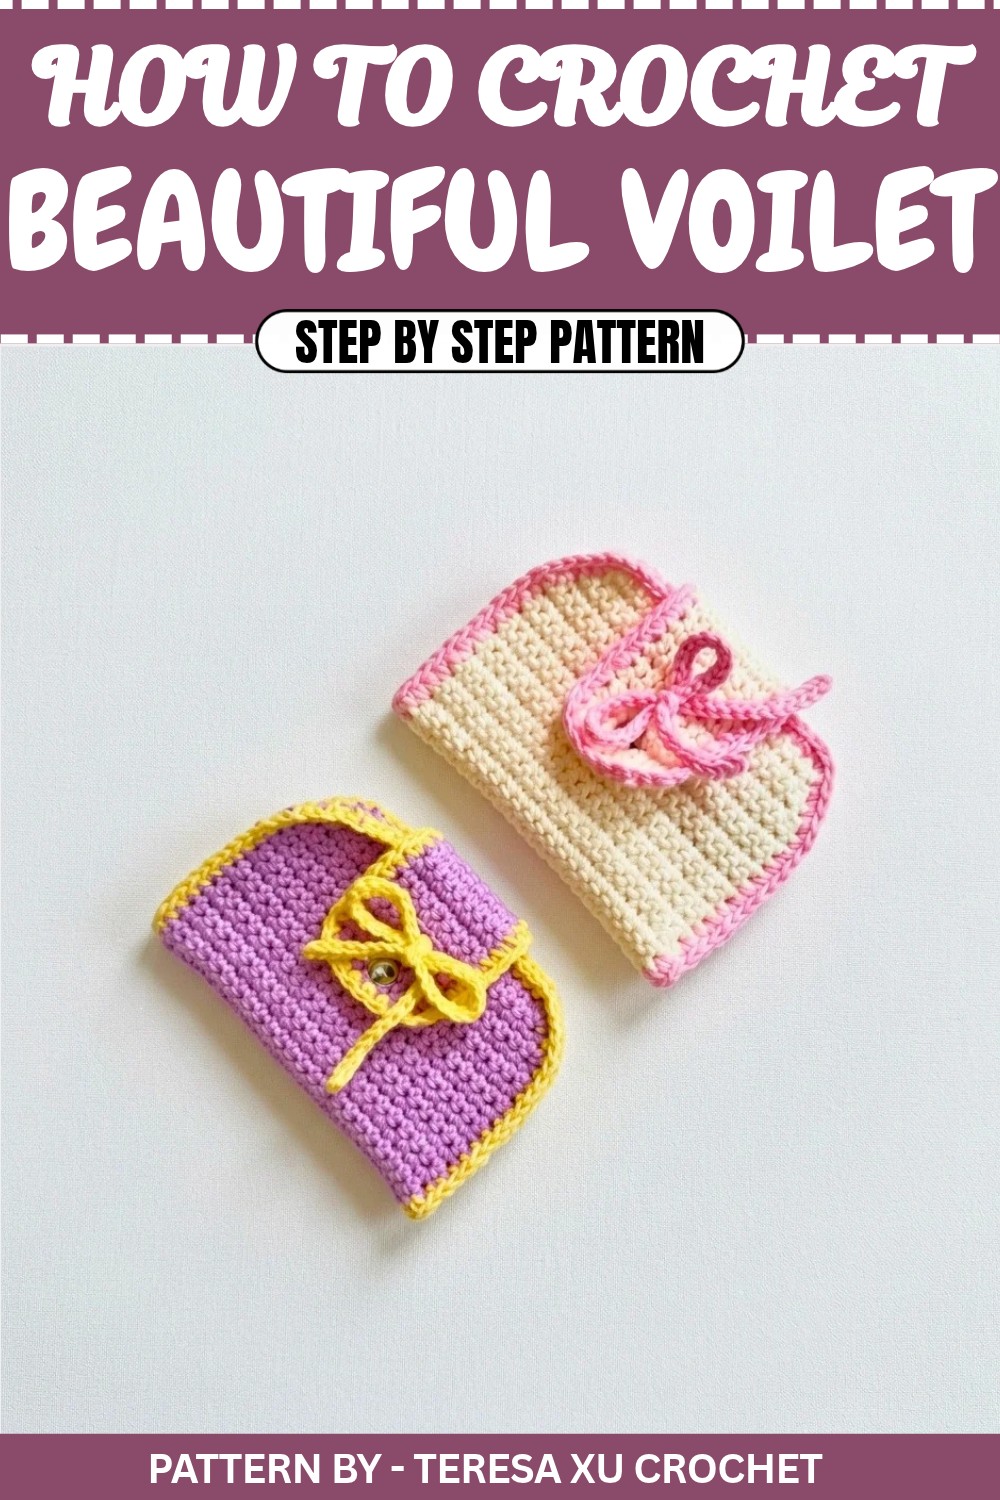
Another practical tip from the tutorial is adding snap closures and minor adjustments to the pocket’s edges to prevent items from falling out, an ingenious touch for safety. The wallet’s design is easy to follow and can be customized with your favorite colors, making this project fulfilling for beginners and experienced crocheters alike. Check out Teresa Xu Crochet for clear guidance and inspiration to crochet a wallet that’s unique and functional.
Crochet Cute Wallet Pattern
Quick Overview of the Pattern
- Project: Cute Crochet Wallet
- Features: Small compartments and pockets, a bow knot, and an optional snap for more secure storage.
- Skill Level: Beginner friendly
- Fabric: Crochet using two colors (purple and yellow).
- Construction: Includes a wallet body, pockets, and a decorative edge finish with additional steps for a bow and optional snap fastening.
Notes
- This pattern is written in US terminology.
- You will work single crochet stitches throughout the project.
- Turn your work at the end of every row unless specified otherwise.
- If you want to adjust the size, ensure you maintain consistent stitch counts for symmetry.
Skill Level
Beginner: Requires basic knowledge of single crochet (sc), slip stitches (sl st), increases, decreases, chains, and working in rows.
Materials
- Yarn: Two colors of yarn (purple and yellow).
- Hook: Crochet hook (size not specified in the transcription, but a 4mm or 3.5mm hook is recommended).
- Stitch markers
- Scissors
- Snap buttons (optional)
Measurements / Sizing
- Body part size: The wallet body consists of 32 rows with 19–23 stitches in each row, creating a small, compact wallet.
- Pocket size: Same height and width as the body but shorter in length (16 rows).
Gauge
Not provided in the transcription. Adjust hook and yarn as needed to match your desired size.
Stitch Abbreviations
- ch: Chain
- sc: Single Crochet
- sc2tog: Single Crochet Decrease (2 stitches together)
- sl st: Slip Stitch
Special Stitches
- Single Crochet Increase: Work two single crochets (sc) into one stitch.
- Single Crochet Decrease (sc2tog): Insert the hook into the next stitch, yarn over and pull through a loop (2 loops on hook). Insert the hook into the next stitch, yarn over and pull through another loop (3 loops on hook). Yarn over and pull through all 3 loops.
The Crochet Pattern
Wallet Body
- Row 1:
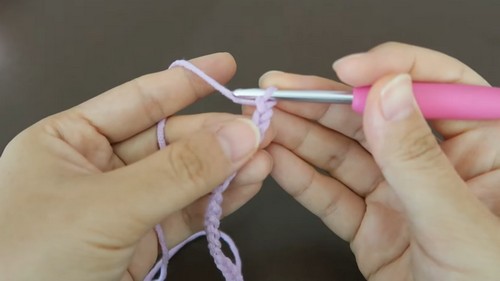
- Start with a slip knot and make 20 chains with purple yarn.
- From the second chain from the hook, make 1 single crochet in each chain to the end for a total of 19 single crochets.
- Row 2:
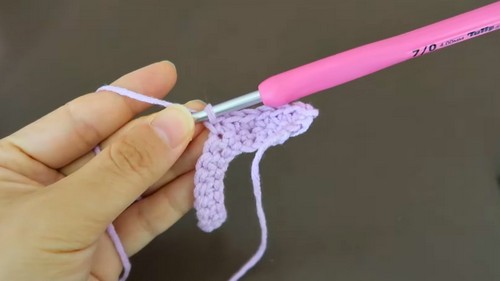
- Chain 1, turn your work.
- Make an increase in the first stitch (2 sc).
- Then, make 1 sc into each stitch for a total of 17 sc.
- You will end with 1 stitch left. Make an increase (2 sc).
- Row 3:
- Chain 1, turn your work.
- Make 1 sc in each stitch across. Do not increase or decrease.
- You should have a total of 21 sc at the end of this row.
- Row 4:
- Chain 1, turn your work.
- Start by making an increase (2 sc) in the first stitch.
- Then, make 1 sc in each stitch across for a total of 19 sc.
- In the last stitch, make another increase (2 sc).
- Row 5:
- Chain 1, turn your work.
- Make 1 sc in each stitch all the way across. No increase or decrease.
- You should still have 23 sc at the end of this row.
- Rows 6–32:
- Chain 1, turn your work.
- Make 1 sc in each stitch across. Keep a consistent stitch count of 23 single crochets per row.
- At the end of Row 32, finish off the body part by cutting the yarn and securing it with a knot. Set it aside for now.
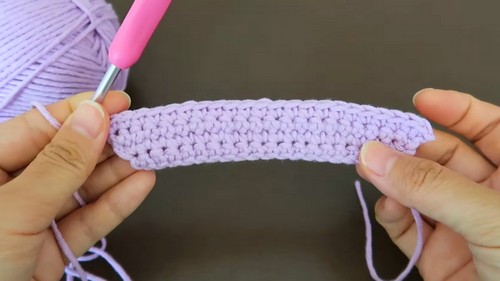
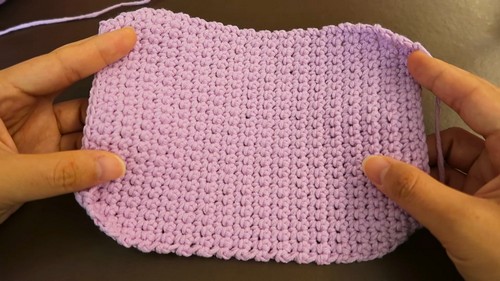
Pockets
- Start similarly to the body part by making a slip knot and crocheting 20 chains with purple yarn.
- Repeat Rows 1–16 of the body pattern to make the pocket. The pocket will be shorter in length compared to the wallet's body.
- Once completed, cut the yarn and secure it.
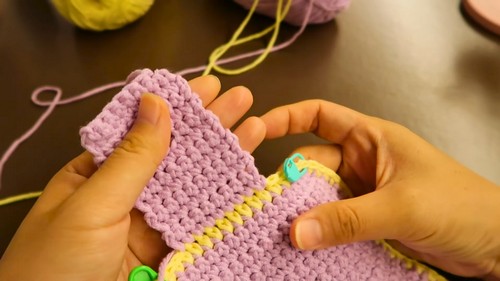
Assembly: Attaching the Pockets
- Using stitch markers, attach the two pocket pieces to the wallet body.
- Ensure the pockets are directly opposite to each other and line up evenly along the edges of the body.
- Leave a gap between the two pockets with 4 rows of the body visible in the middle.
Adding the Edging
- Change the yarn color to yellow for a clean and polished edge.
- Attach the yellow yarn to any edge of the body with a slip stitch.
- Ch 1, and make a single crochet (sc) in the same place.
- Work sc stitches evenly around all the edges, making sure to crochet around the sides of the wallet and over the edges of the pockets as well.
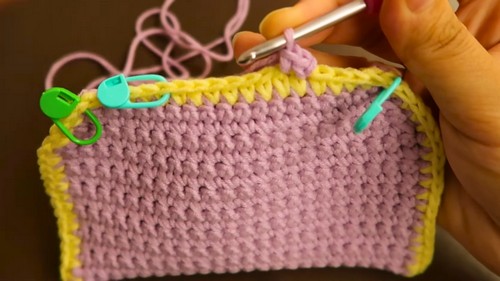
Bow Knot
- To decorate the wallet, make a bow knot:
- Start with a slip knot in yellow yarn.
- Make 60 chains.
- Work slip stitches (sl st) into the back bumps of each chain.
- Use the completed chain to tie a bow and sew it onto the wallet as a decorative element.
Finishing Touches
- Optional: If you'd like to make your wallet secure, you can sew a pair of snap buttons onto the edges of the wallet for closure.
- Use a darning needle to sew the edges of the inner pocket slightly smaller, making the opening more secure for storing small items.
- Ensure all yarn tails are tucked and secured.
Finished Size
- The body of the wallet is approximately 32 rows high with a width of 19–23 stitches.
- The two pockets will be 16 rows high, giving the wallet a snug and compact fit for small items.
Conclusion
Congratulations, You’ve just created a cute and handy crochet wallet perfect for carrying small items like cards, lip balm, or AirPods. Its adorable design and clean edges make it a wonderful handmade item to give as a gift or keep for yourself.