
Shine Crochet Frill Flower Pattern for Table Decor
Sprinkle charm with the Crochet Frill Flower Pattern, a delicate textured bloom that adds color, elegance, and playful flair to any project.
Grateful for the opportunity to feature your ( Channel crochet flower) video on my website!
A flower that seems to dance in the breeze — soft, curly petals and delicate layers make it almost lifelike. The Crochet Frill Flower pattern turns simple yarn into these charming blooms, with frilled edges that give each petal a playful, ruffled look. Its three-dimensional shape and textured layers make it stand out, whether you choose bright colors for a bold statement or soft pastels for a gentle, elegant feel.
Snag Crochet Frill Flower Pattern Ideal for Floral Projects
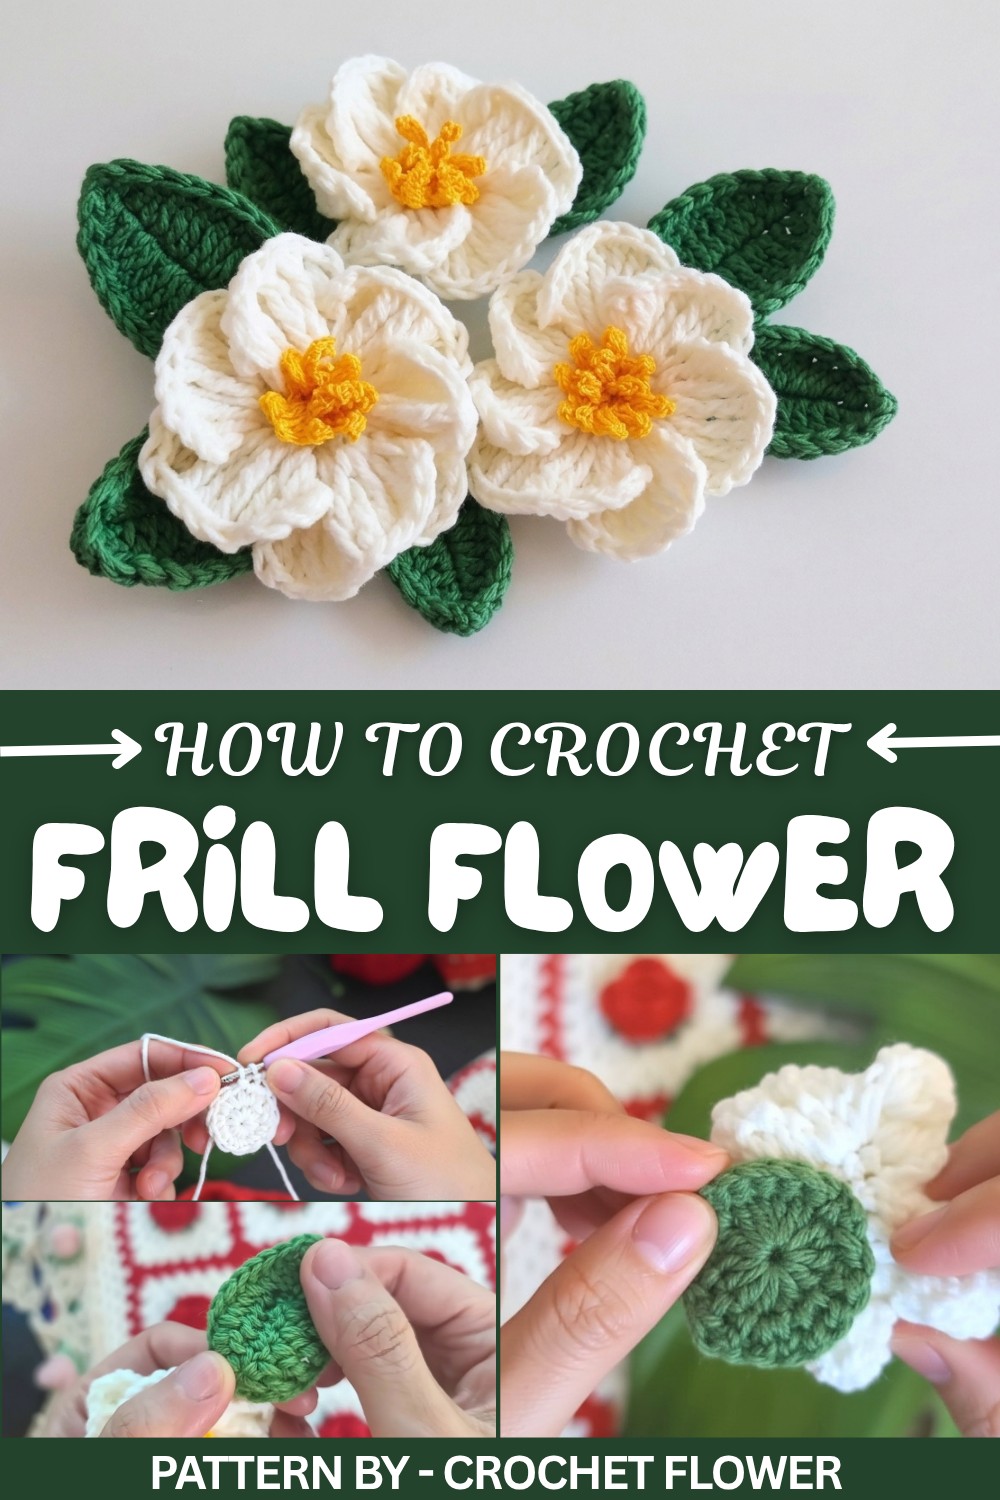
What makes this pattern truly special is its versatility. These frill flowers can be added to scarves, hats, headbands, or bags as eye-catching accents, grouped together to create a bouquet that never fades, or sewn onto blankets and cushions for a decorative floral touch.
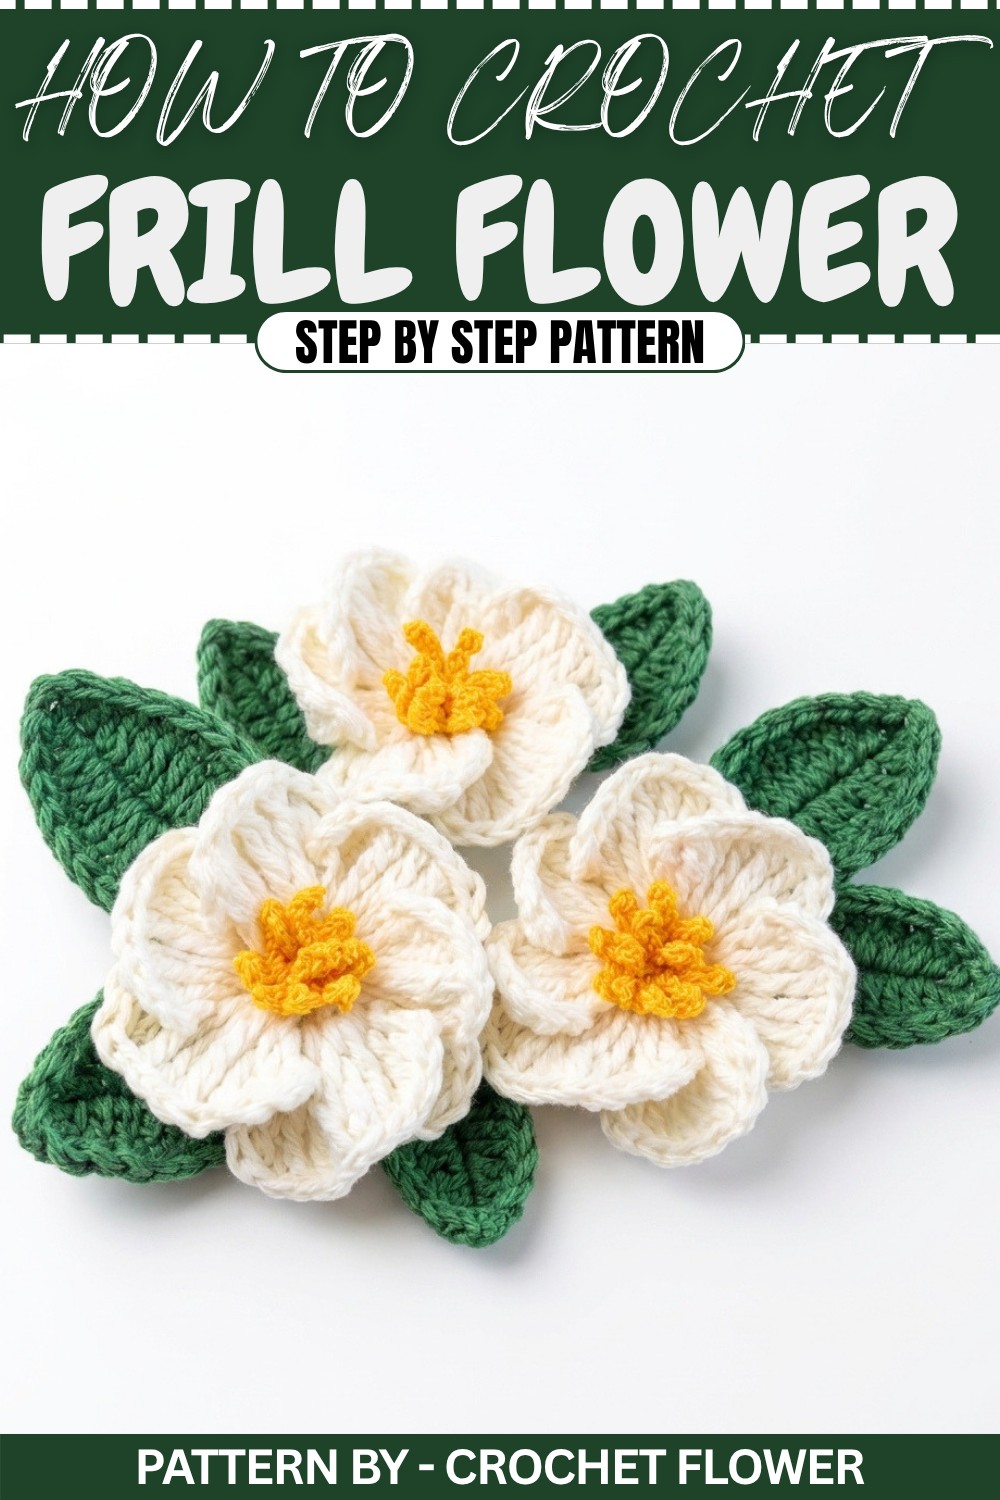
The creator highlights key points like keeping stitches even so the petals curl naturally, aligning each layer for balanced ruffles, and selecting colors that bring out the depth and texture of the design. Beyond their beauty, these flowers are functional too they can refresh everyday items, make thoughtful handmade gifts, or even be used in crochet projects that need a pop of floral charm. With its lively frills and endless creative possibilities, the Crochet Frill Flower pattern transforms yarn into decorative art that is both playful and elegant.
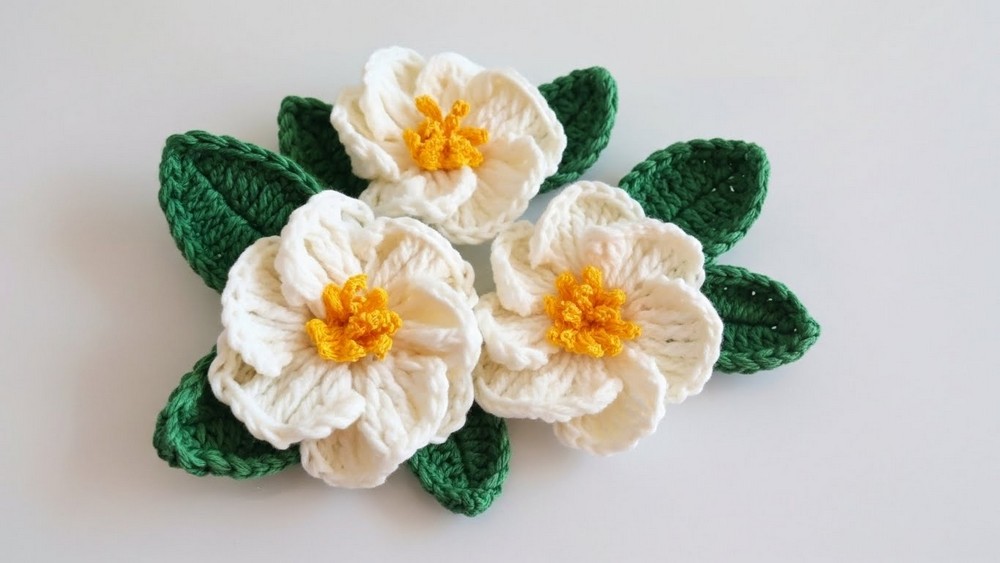
Frill Flower and Leaf Crochet Pattern
This frill flower pattern creates a lush, textured blossom perfect for embellishing accessories, home décor, or gift wrapping. With detailed, layered petals and a three-dimensional rolled stamen, each flower comes to life in a natural, joyful form. A bold leaf with visible spine complements the design. The pattern uses classic stitches and easy assembly, producing a realistic and elegant result suitable for decorative displays and crafting projects.
Skill Level
Intermediate
The pattern is suited for crocheters who are confident working in rounds, changing directions, shaping petals, and creating multiple stitch heights. Some joining, gluing, and forming is involved for the naturalistic floral shape.
Materials
- Flower: Happy Cotton (Ivory), 2.5mm crochet hook
- Stamen: Ostrich yarn (size 30), 1.5mm crochet hook
- Leaf: Lambswool (green, or Happy Cotton), 2.5mm crochet hook
- Finishing: Scissors, instant glue, glue gun
Special Stitches
- Magic Ring (MR): Adjustable ring to start projects worked in the round.
- Petal Formation: Series of double and treble crochet stitches to achieve a ruffled, dimensional petal.
- Flip and Slip Stitch: Turning work for petal construction and joining petals smoothly.
- Rolled Stamen: A thin, loopy crocheted strip rolled and glued into the flower’s center.
Stitch Abbreviations
- ch — chain
- sc — single crochet
- sl st — slip stitch
- dc — double crochet
- tr (TC) — treble crochet
- hdc — half double crochet
- rep — repeat
- MR — magic ring
Useful Tips
- Maintain even but not too tight tension, especially in petals and leaf for a softer, more realistic shape.
- Change hook size or yarn weight to adjust the final size for different projects.
- Use a sharp, small hook when working the stamen for tight, crisp coils.
- Instant glue creates a quick, stable hold; use sparingly to avoid stiffness or visible residue.
- Assemble and glue in a well-ventilated space for safety and neat results.
- Wet blocking or light steaming can help shape the finished petals and leaf.
Detailed Pattern Instructions
Flower Base
Round 1:
- Make a magic ring (MR), ch 1.
- Work 6 sc into MR.
- Sl st into the first sc to close the round.
Round 2:
- Ch 1.
- 2 sc into each st around (total 12 sc).
- Sl st into the first sc to close the round.

Flower Petals (Make 6 in Total)
Work these around the flower base, forming a frilly, overlapping pattern.
First Petal Setup:
- Ch 3.
- In the same st, work:
- 1 dc, 2 tr.
- In the next st, work 4 tr.
- In the third st, work:
- 2 tr, 1 dc, ch 3.
- Sl st into the same st (to anchor the edge of the petal).
Petal Transition:
- Ch 2, turn your work (“flip”).
- Skip 2 sc on the base.
- Sl st in the next 2 sts (to connect and move to start of next petal).
- Ch 3.
Petal Body (Repeat for Each Petal):
- Repeat the petal setup sequence (1 dc, 2 tr into current space; in next st, 4 tr; then 2 tr, 1 dc, ch 3, sl st into same st).
- For each petal, after completion:
- Ch 2, flip work, skip 2 base sts, sl st into next 2 sts, ch 3.
- Repeat until you have 6 full petals surrounding the center.
- Sl st to join and fasten off, weaving in tail securely.

Flower Stamen
This forms the coiled, dimensional pollen center.
- With stamen yarn and small hook, ch 14.
- Work 1 sc in 2nd ch from hook.
- Next, 3 sl st in the following 3 chains.
- Ch 4, 1 sc in last sl st, then 3 sl st; repeat from * across to end of the chain (ensuring the final sl st of every section is worked through two loops of previous chains for stability).
- Gently roll the completed strip into a tight coil with the "puffs" or loops facing outward.
- Using instant glue, secure the base of the stamen.
- After glue dries, use hot glue to fix the stamen into the very center of the flower.
Leaf
- With green yarn, ch 12.
Row 1 (First Side):
- In 2nd ch from hook: 1 sc.
- Next ch: 1 hdc.
- Next 2 ch: 1 dc each (total 2 dc).
- Next 5 ch: 1 tr in each (total 5 tr).
- Next ch: 1 dc.
- Last ch: 1 sl st.

Other Side (Row 2):
- Ch 1, rotate work.
- In last ch just worked: 1 sl st.
- Next ch: 1 dc.
- Next 5 ch: 1 tr in each.
- Next 2 ch: 1 dc in each.
- Next ch: 1 hdc.
- Next ch: 1 sc (should end at initial chain base).

Spine Finish:
- Sl st along the center foundation chain to form a visible leaf spine and reinforce the shape.
- Fasten off and weave in tail.
Assembly and Sizing
- Gently arrange the petals, shaping them with your fingers or a light steam for extra frill.
- Insert and glue the coiled stamen into the flower’s center, ensuring puffs are evenly spaced.
- Allow all glue to dry fully for stable assembly.
- Attach leaves to flower base as desired, or use individually for additional décor.
Typical finished size for the flower is approximately 2–2.5 inches across; leaf may measure just over 2 inches, depending on yarn and tension.
Conclusion
The frill flower with leaf brings a unique three-dimensional touch to crochet projects, featuring realistic petals and a rolled stamen for authentic texture. This pattern encourages creativity in assembly and personalization through color and size changes. Combine these motifs for bouquets, accessories, or as cheerful seasonal embellishments for homes and gifts. Each finished piece captures natural inspiration and the joy of detailed handcrafting.