
Blooming Crochet Rose Pot Pattern For Tabletop Decor
Brighten any corner with the Crochet Rose Pot Pattern, featuring delicate petals, easy stitches, and a charming, long-lasting decorative touch.
This cozy flower project brings a touch of nature indoors with a handmade twist that doesn’t need watering or sunlight to stay beautiful. The Crochet Rose pot pattern blends a delicate rose with a little pot base, giving you a tiny bouquet that feels cheerful and decorative at the same time.
Elegant Crochet Rose Pot Pattern Adds Charm To Any Corner
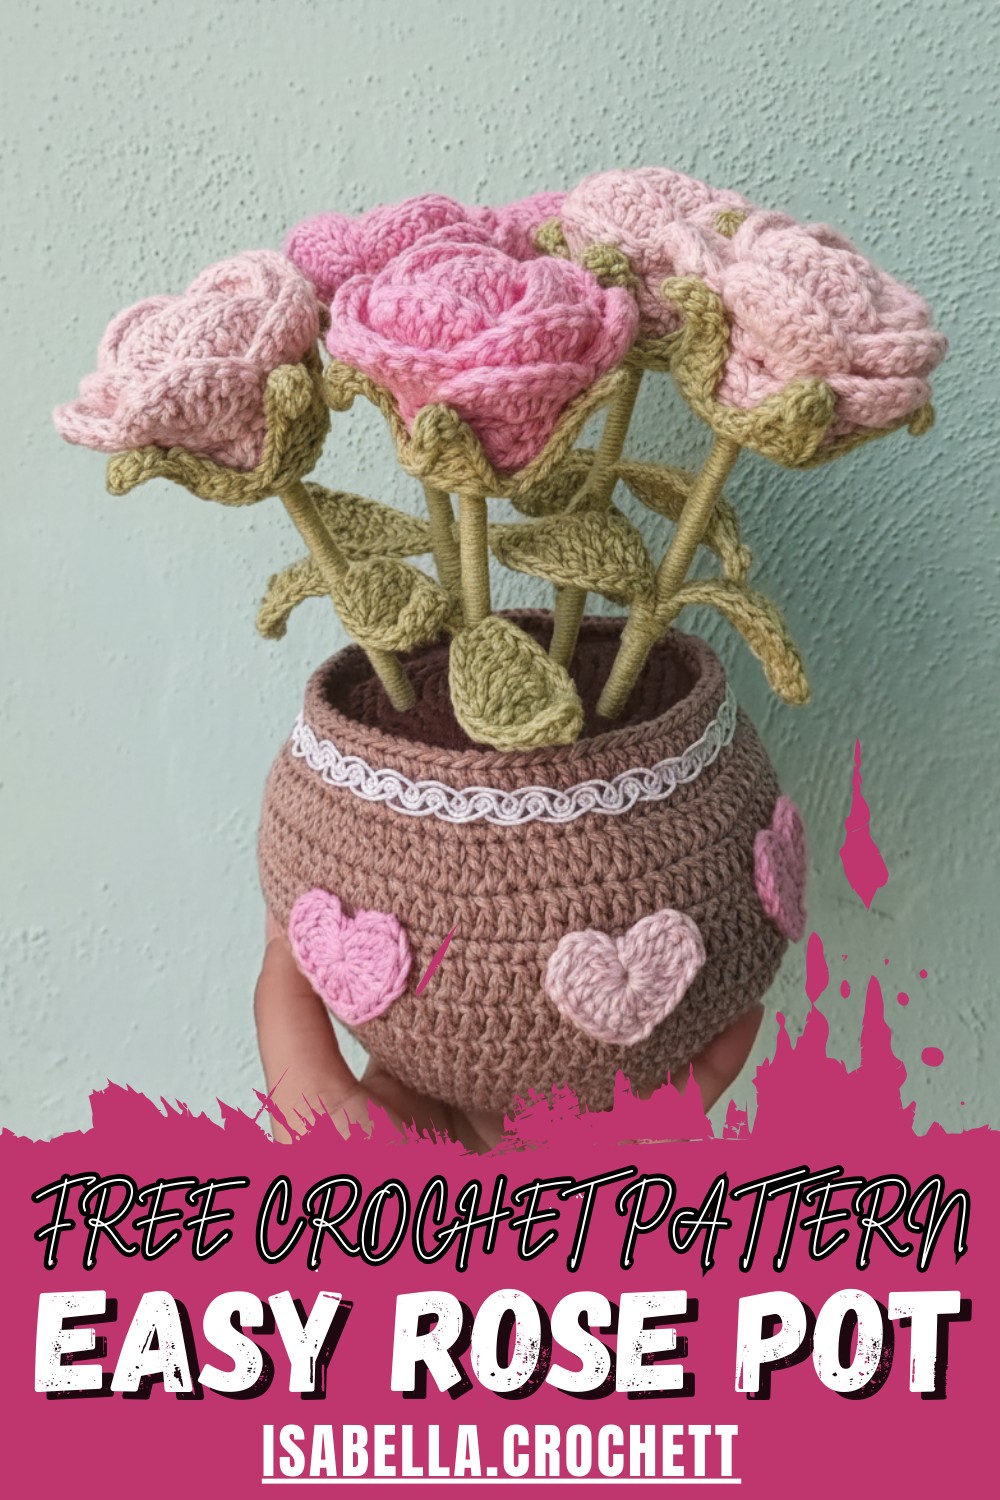
The rose petals look rich and layered, standing proudly above a neat, rounded pot that supports the flower and adds a charming contrast in color and shape. Together, they create a cute, compact piece that feels alive and inviting without ever needing care.
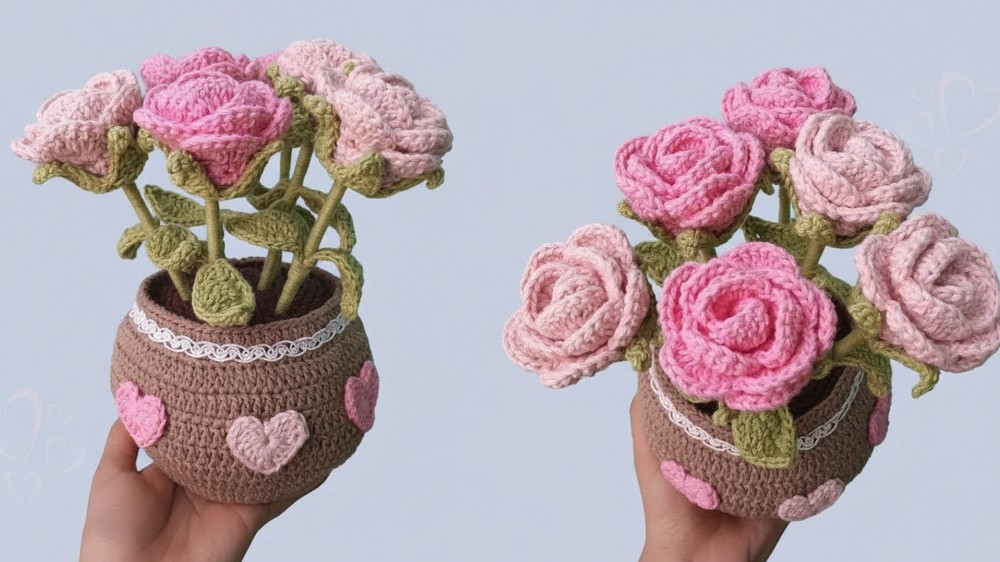
This pattern better than many simple crochet flowers is how complete it feels you’re not just making a flower; you’re building a little scene with stem, leaves, and pot all in one.
The stitches are arranged so each part keeps its form, giving a sturdy finished piece that can be displayed almost anywhere.
Because it uses familiar stitches and clear steps, it’s accessible for beginners while still appealing to experienced makers who enjoy fine detail.
You can use this rose pot as a desk accent, room décor, or as a thoughtful handmade gift for birthdays, Mother’s Day, or holidays. It fits into shelves, coffee tables, or windowsills and brings a splash of color and handmade love to everyday spaces.
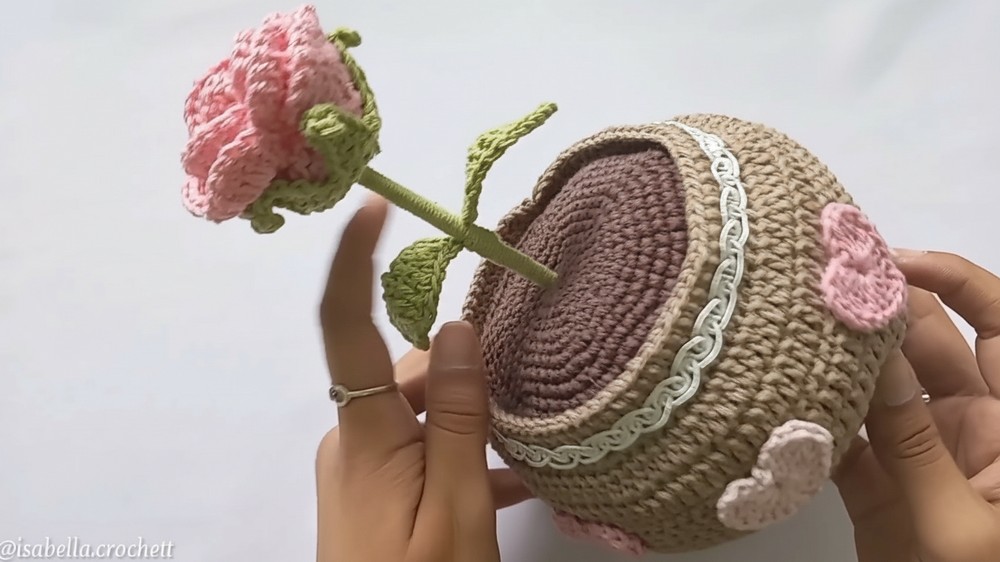
In this tutorial by isabella.crochett, you will learn how to crochet realistic roses designed for small decorative pots or bouquets. These flowers are crafted in parts and then assembled for a professional look.
General Information
-
Materials:
-
Yarn: 100% unmercerized cotton ("La Abuelita" brand). Colors: Light Pink, "Girl" Pink (vibrant rose), and Avocado Green.
-
Hook: Size 2.0 mm (as used in the video) or 3.0 mm.
-
Other: Skewer sticks (trimmed to 15.5–16 cm), hot glue gun, scissors, and pliers for cutting the sticks.
-
-
Difficulty Level: Intermediate. While the stitches (single, double, and triple crochet) are standard, the "mirror effect" for the leaves and the assembly process requires precision.
-
Uses: Potted plant decor, handmade bouquets, gifts for Mother's Day, or home centerpieces.
Step-by-Step Details
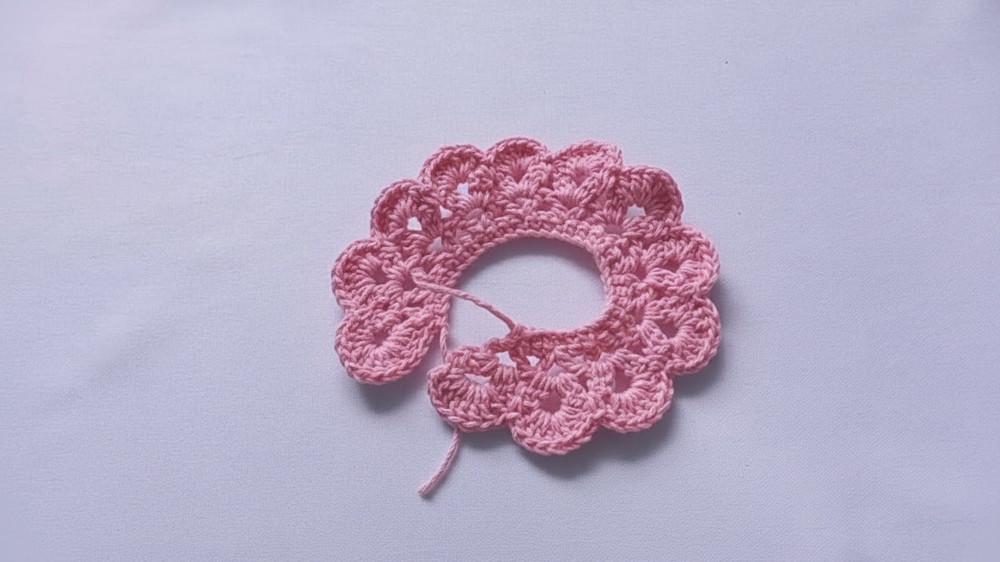
1. Crafting the Rose Petals
-
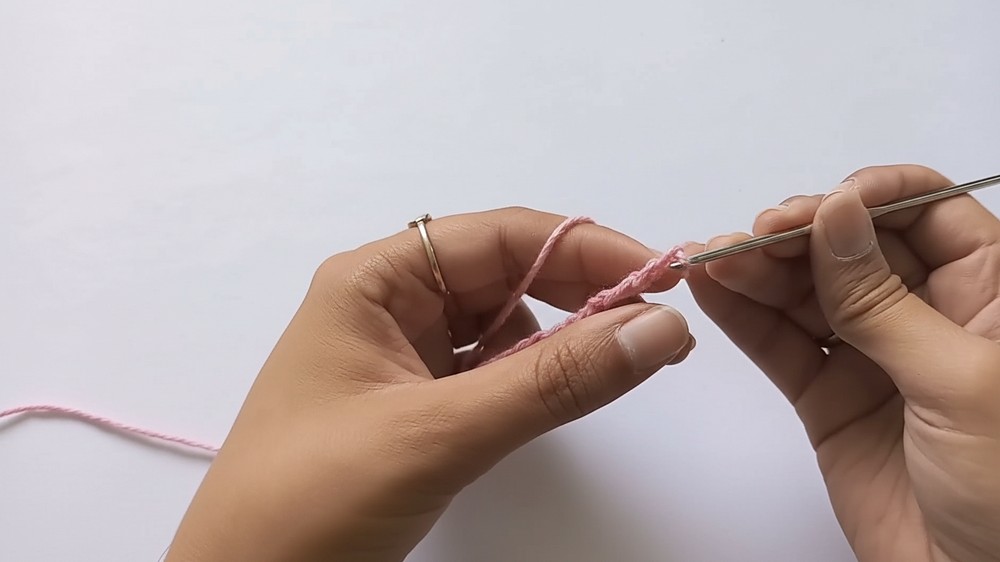
Foundation: Start with a slip knot and 34 chains. Work a row of 33 single crochets.
-
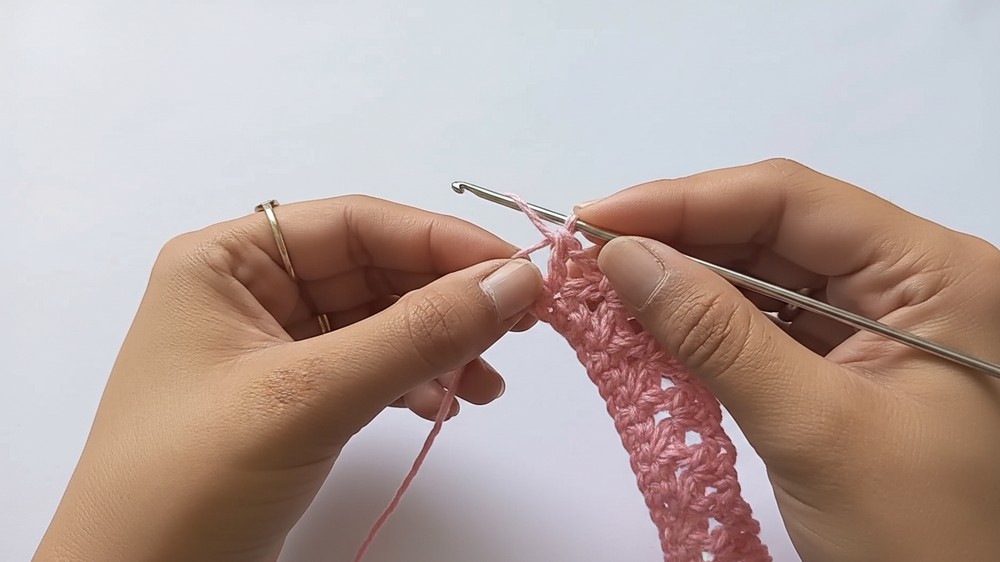
The Mesh Row: Create 12 "V" shaped triangles by working double crochets with two-chain separations.
-
Building Volume: In each triangular space, work two double crochets, two chains, and two more double crochets.
-
The Petals: For the first 11 petals, work 8 double crochets into each space. For the final (12th) petal, work 12 double crochets to help it wrap around the base more naturally.
2. The Green Base (Sepals)
-
The Ring: Start with a magic ring and work 20 double crochets into it.
-
The Points: Create five sharp points around the ring. Each point is made by chaining 8 and working a sequence of slip stitches, single crochets, and half-double crochets back down the chain.
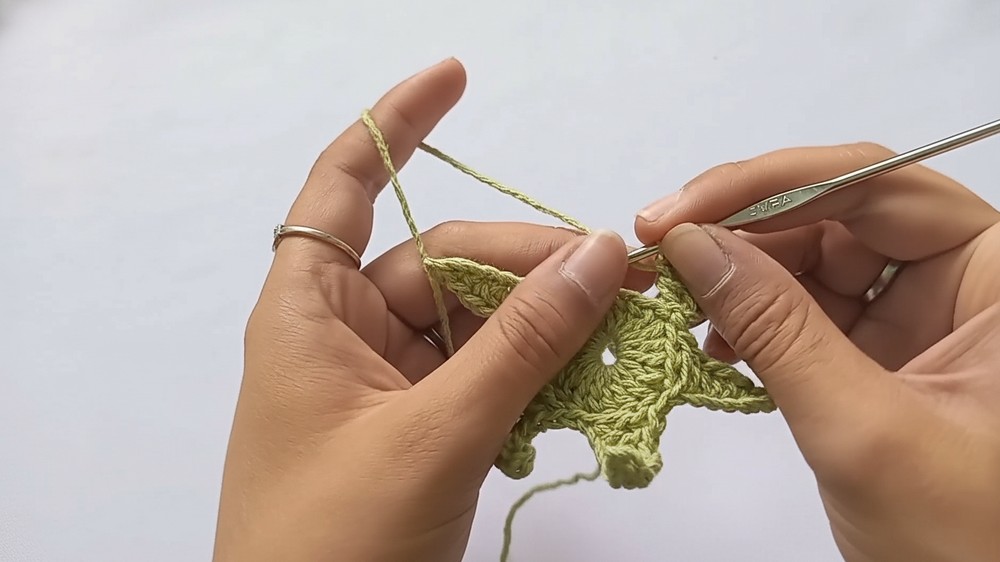
3. The Leaves
-
Shape: Chain 12 and work a variety of stitches (slip, single, half-double, double, and double-treble) to create a leaf shape.
-
Mirror Effect: Once you reach the end of the chain, turn and work the same sequence on the opposite side to finish the leaf.
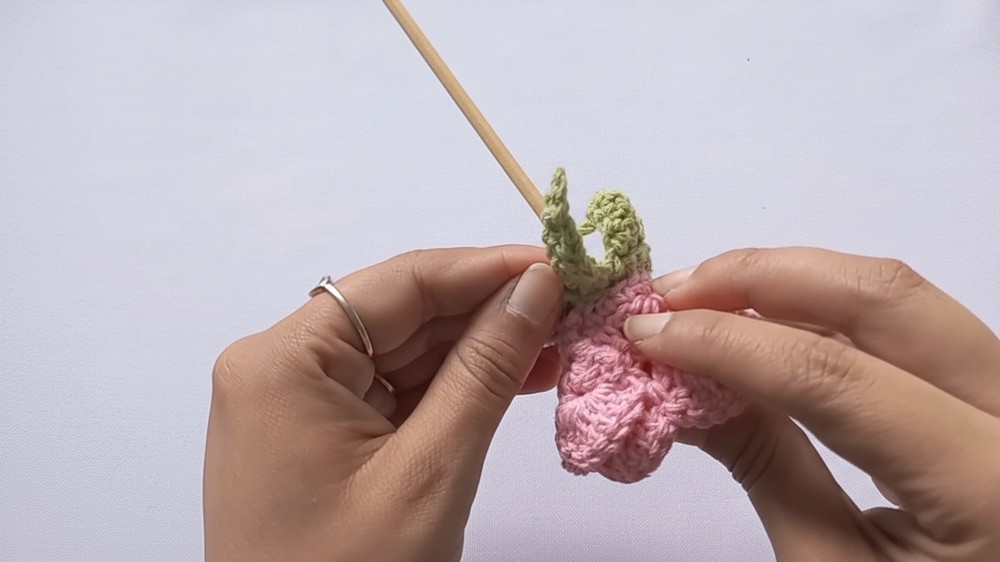
4. Assembly and Wrapping
-
The Flower: Apply glue to the end of the petal strip (the side with the 12-double-crochet petal) and wrap it tightly around the tip of the skewer. Secure the bottom with glue as you roll.
-
The Base: Slide the green sepal base up the stick and glue it to the bottom of the rose, ensuring the points cover the seam where the flower ends.
-
The Stem: Tie green yarn at the top of the stick and wrap it downward. Insert the leaves midway through wrapping, securing them with a few extra turns of yarn and a dab of glue at the bottom.
Special Features
-
Realistic Structure: The varying number of stitches in the petals (8 vs. 12) ensures the rose looks full and wraps perfectly without gaps.
-
Adjustable Height: By trimming the skewers, you can create a tiered effect if placing multiple roses in one pot.
Tutor’s Suggestions
-
Hook Choice: Use a 2.0 mm hook to keep the stitches tight, which helps the rose maintain its shape over time.
-
Stem Height: For a standard mini pot, the tutor recommends cutting the sticks to roughly 16 cm so the flowers don't look top-heavy.
Conclusion
Crocheting these roses is a rewarding process that results in a beautiful, permanent floral arrangement. Whether you use them for a single pot or a full bouquet, the detailed assembly ensures they look as close to nature as possible.
Final Tip: After gluing everything together, gently pull at the outer petals to "open" the bloom. This small adjustment makes the crochet rose look much more lifelike and voluminous.