
Mini Crochet Sea Bunny Pattern Easy for Cozy Decor
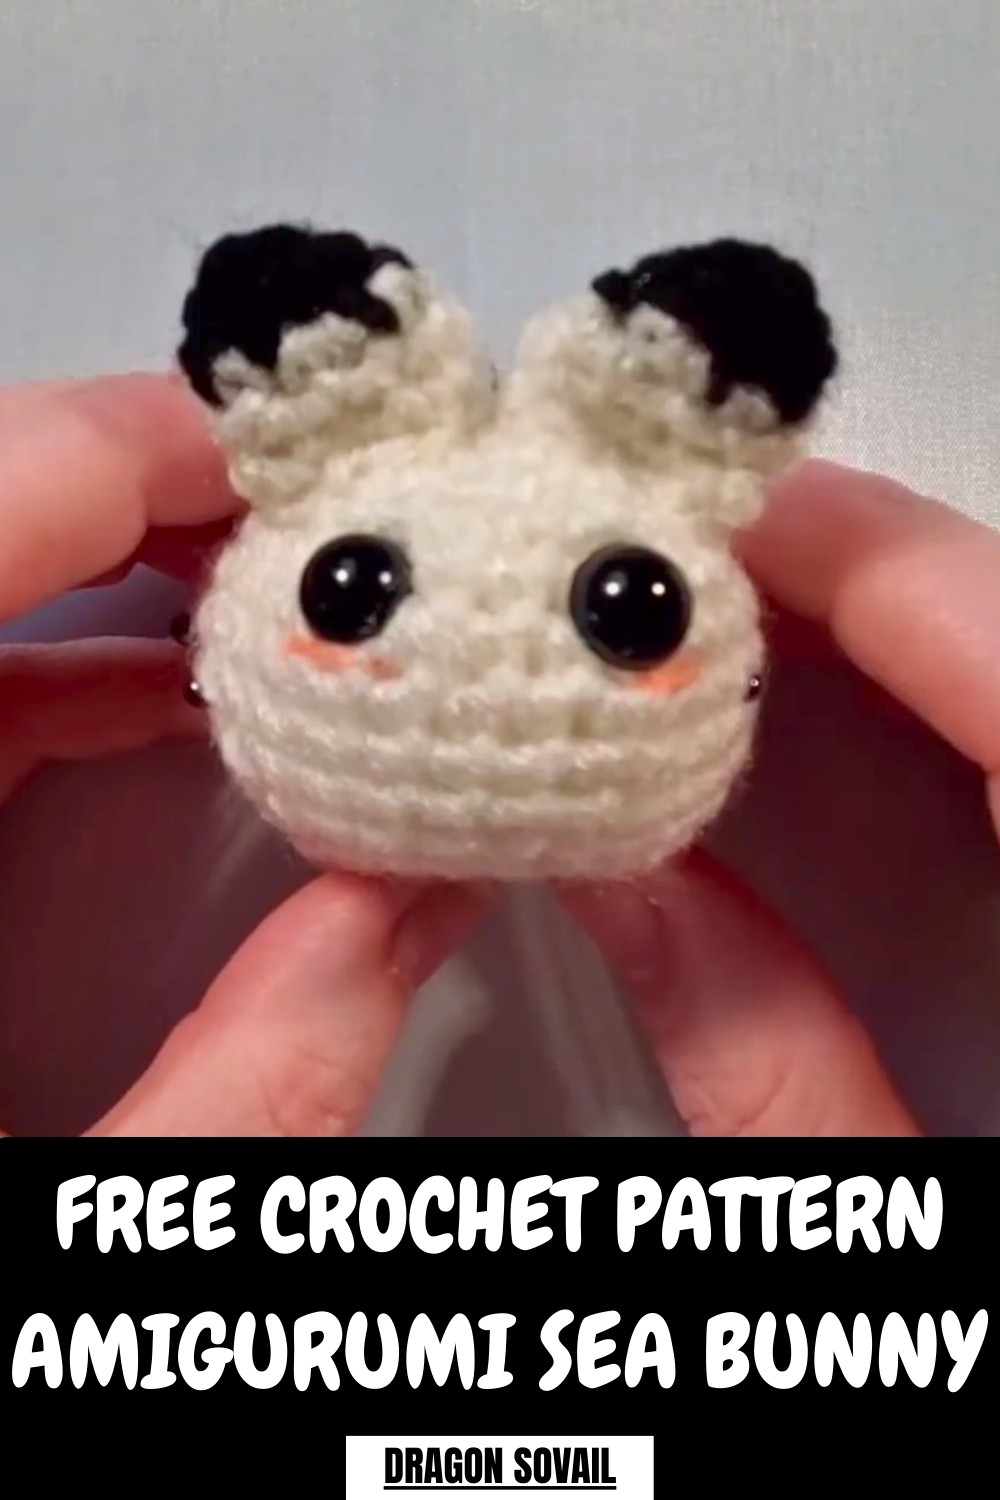
Bring ocean magic to life with the Free crochet Sea Bunny Pattern, a playful and whimsical creation that brightens any space and delights sea lovers.
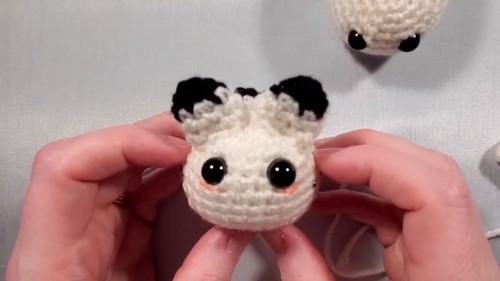
Have you ever seen a tiny creature that looks like it swam straight out of a fairy tale? This Crochet Sea Bunny Pattern brings that whimsical charm to life with soft, rounded shapes, delicate “ears,” and gentle color variations that make it irresistibly cute. Perfect as a decorative accent, it brightens shelves, desks, or display corners, and its small size also makes it ideal as a keychain charm, bag accessory, or thoughtful handmade gift.
Playful Crochet Sea Bunny Pattern Add Charm to Your Home
Beyond its delightful appearance, working on this project offers a calming, hands-on activity that encourages focus, patience, and skill improvement. Lightweight yet sturdy, the finished piece is durable enough to be handled or displayed anywhere. Its playful, almost magical look captures the imagination while remaining simple and approachable, combining beauty and practicality in a single small object.
How to Crochet a Sea Bunny (A Cute Amigurumi Project)
Materials Needed
To get started, you’ll need:
- Yarn: Black, white, and optional light pink for blush details.
- Polyfill Stuffing: Or leftover yarn scraps to fill the bunny.
- Safety Eyes: Any size that fits your preference.
- 3.25 mm Crochet Hook: Perfect for small amigurumi projects.
- Stitch Marker: Essential for keeping track of rounds.
- Yarn Needle: For sewing parts together and weaving ends.
- Scissors: To cut yarn cleanly.
- Black Seed Beads: For adding decorative spots on the bunny (use thin black thread and a small needle to sew them on).
- Optional Makeup or Blush Yarn: To add color to the cheeks.
Uses
- A thoughtful handmade gift or fun addition to an Easter basket.
- A cute piece for decorative marine-themed or holiday displays.
- A whimsical toy or keepsake that showcases creativity.
Special Features of the Sea Bunny
- Combines amigurumi techniques with striking, customizable details.
- Incorporates seed beads or embroidery on the back to mimic a real sea bunny's spots.
- Lightweight and pocket-sized, making it perfect for showcasing or gifting.
- Unique dual-color ears and detailed tail pieces add character.
- Fun to personalize with different eye sizes, spot placements, or blush colors.
Level of Difficulty
This project is beginner-friendly to intermediate, depending on experience with small pieces and techniques like magic rings, increases, and invisible decreases. The seed bead step and black yarn sections can be slightly challenging but manageable with practice.
Step-by-Step Instructions
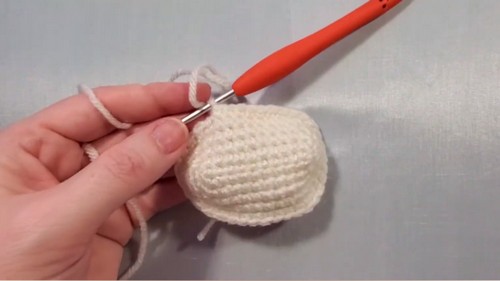
1. Make the Body
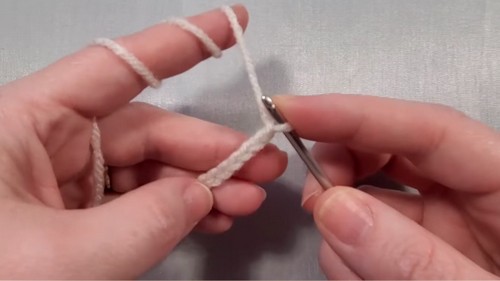
- Use white yarn to start the body. Create a slip knot and chain 11 stitches.
- Work down the back bumps of the chain with 9 single crochets (SC), followed by an increase in the last stitch (2 SC in the last loop).
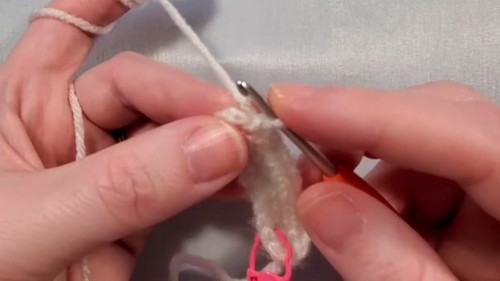
- Move to the opposite side of your chain and continue crocheting into the other loops, beginning with an increase. Crochet 8 single crochets, add two increases in the next stitches, and SC 8 to close the round. Add a stitch marker to keep track.
- Repeat rounds, increasing as indicated to create the body’s oval shape:
- Round 2: Increase to 24 stitches.
- Round 3: Increase to 28 stitches.
- Round 4: Work up to 36 stitches.
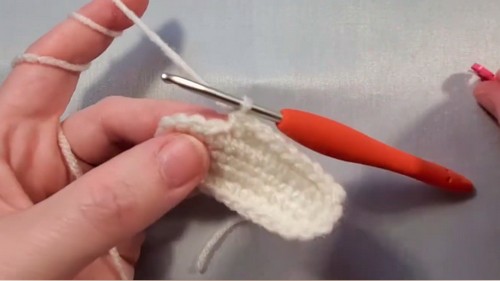
- Crochet four rounds without increasing. This creates the rounded look of the body.
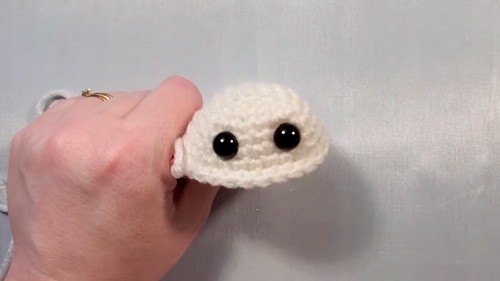
- Add safety eyes between rows 5 and 6, with about three stitches of space between them.
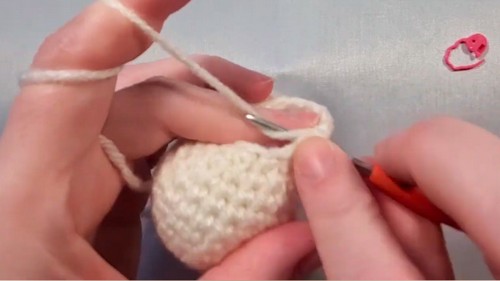
2. Decrease to Shape the Body
- Begin decreasing the body with invisible decreases, which ensure a smooth finish:
- Round 1: Decrease to 28 stitches.
- Round 2: Decrease to 24 stitches using a pattern of decreases and single crochet rounds.
- Add stuffing as the body narrows, focusing on a medium firmness.
- Continue decreasing until the opening is small enough to sew shut. Use a yarn needle to close off the remaining gap securely.
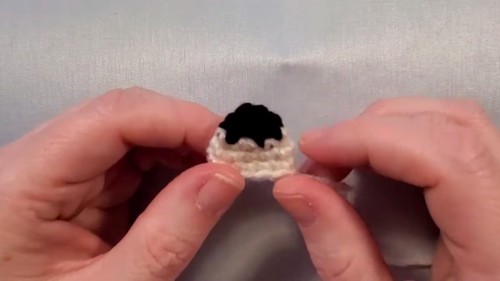
3. Create the Ears
- Start with black yarn and a magic ring. Crochet four SC into the ring and close loosely.
- Increase to six stitches in the second round. Transition to white yarn at the end of this round by pulling through with white on the last stitch.
- Crochet the remaining rounds using white:
- Increase to eight stitches in round three, then to 10 in round four.
- Round 5: SC around without increases.
- Fasten off, leaving a long tail for sewing. Make two ears in total.
4. Assemble the Tail
- The tail is made of three small, puff-like pieces. Start with black yarn and create a magic ring with four SC.
- Transition to white yarn by the third or fourth stitch of the second round. Increase from 4 to 6 stitches.
- Work one final round of SC and finish off. Make three tail pieces, and stuff lightly.
5. Sew Pieces Onto the Body
- Ears: Position them close to the safety eyes, angling slightly outward. Start sewing from the center down to have them well-secured.
- Tail: Sew the three tail pieces around the back curve of the bunny, placing one piece in the center and the other two diagonally on either side.
6. Add Decorative Features
- Blush: Use either scrap pink yarn or makeup to add blush under the eyes for an extra-cute appearance. If using yarn, sew a few horizontal stitches below each eye.
- Spots: Sew seed beads onto the back of the bunny using a thin needle and black thread, scattering them randomly for an organic look. For child-safe alternatives, embroider black yarn spots instead.
Tutor’s Suggestions
- Don’t crochet too tightly when starting the chain, as inserting your hook in the back bumps can be tricky.
- Use a stitch marker—it’s essential for tracking rounds, especially for oval shapes.
- Plastic safety eyes? Be cautious if gifting to children under three years old. Use embroidered or felt eyes for safety.
- If black yarn proves difficult to work with, crochet in a well-lit area.
Conclusion
This sea bunny crochet project is a whimsical and fun take on traditional amigurumi, combining marine life inspiration with creative design features. Its adorable ears, detailed tail, and playful spots make it an instant crowd-pleaser. Perfect for Easter or as a quirky, handmade gift, this project stands out for its charm and endless customization options. With just a few hours of crochet work, you’ll create a delightful sea creature that’s as fun to make as it is to display!
Bonus Tip
Struggling with squeaky yarn or hard-to-see stitches? Work at a steady tension and consider switching to softer yarn or lighter colors for easier handling. Good lighting and practice make all the difference!