
Happy Crochet Toast Coaster Pattern Add Style to Your Kitchen
Brighten your table with the Free crochet Toast Coaster Pattern, featuring easy steps, quick stitching, and a cute coaster perfect for gifts or kitchen decor.
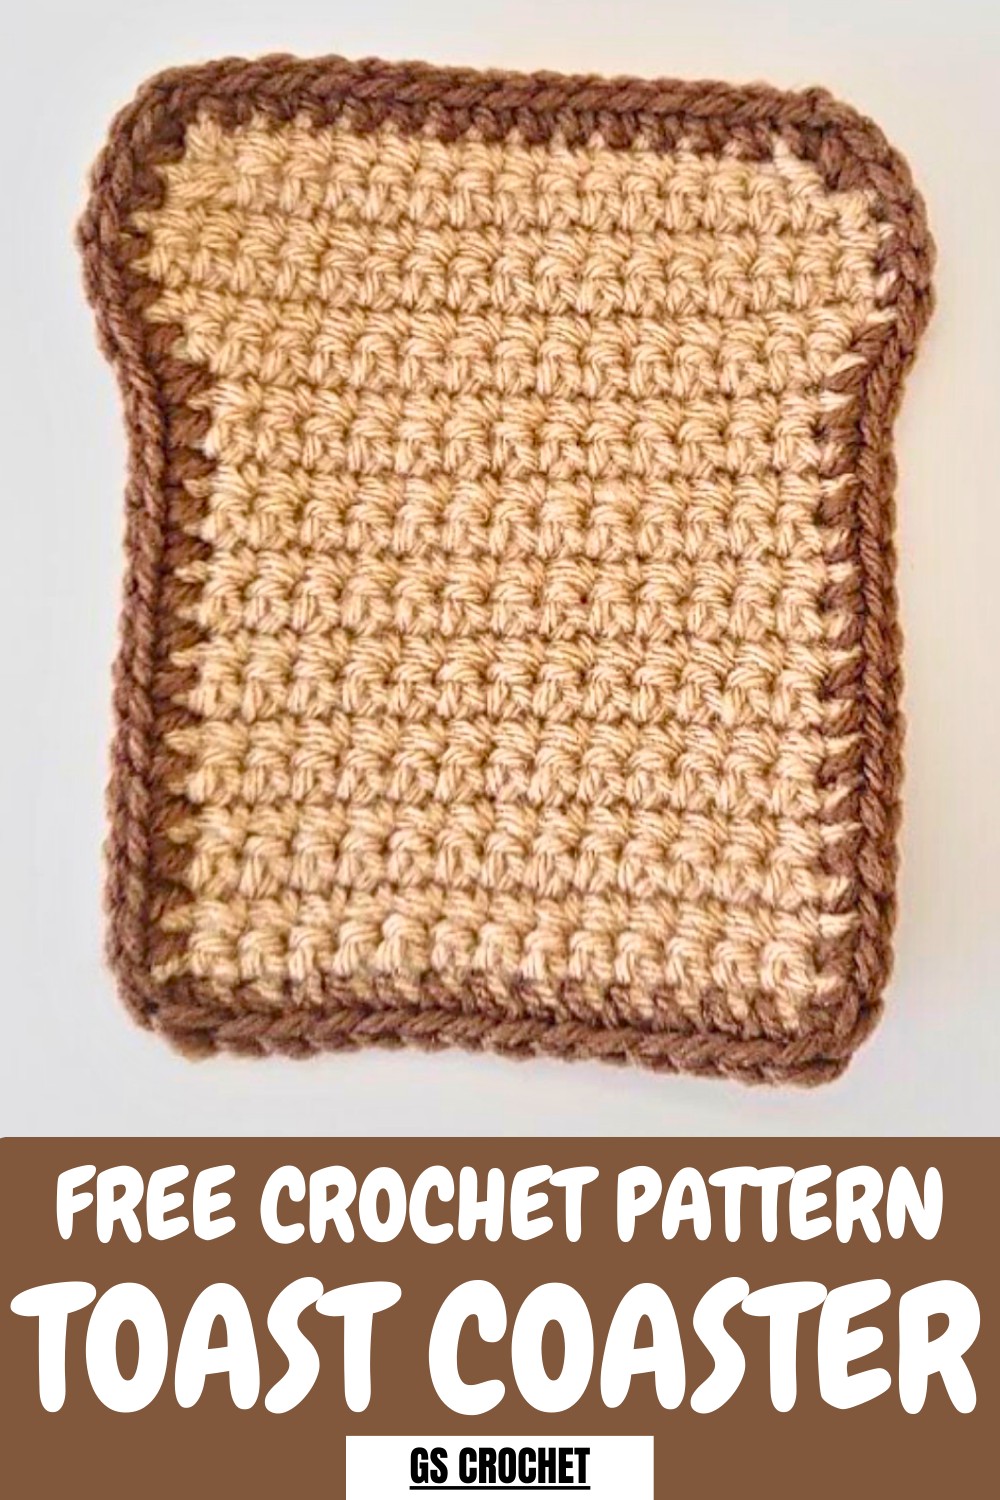
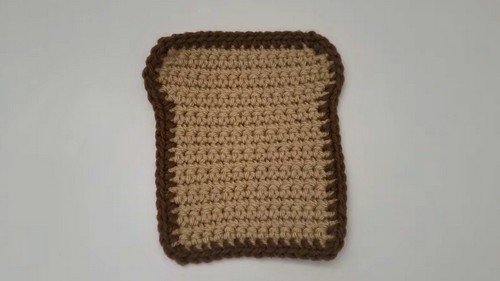
A cheerful little toast-shaped accessory can brighten up any tabletop while protecting surfaces from drips and heat. The Crochet Toast Coaster Pattern uses simple stitches and clear shaping to achieve a soft, rounded shape with subtle “golden-brown” tones, giving it a realistic yet playful appearance. Beyond its cute look, it serves a practical purpose by keeping tables, desks, and countertops safe from moisture or hot cups.
Sweet Crochet Toast Coaster Pattern Perfect for Coffee Lovers
Lightweight and easy to store, it works well as a daily-use coaster, a decorative accent, or even a small gift for someone special. Working on this piece provides a relaxing, hands-on activity that sharpens focus and improves stitch consistency. This coaster combines utility with charm, turning an ordinary tabletop item into a delightful little accessory that adds personality, warmth, and a touch of fun to everyday routines.
Materials Needed
To create the toast coaster, you’ll need the following:
- 2 skeins of category 4 yarn in two colors: light brown (for the bread) and dark brown (for the crust).
- A 3.5 mm crochet hook.
- A darning needle (optional; you can use a crochet hook for weaving in ends if you don’t have one).
- Scissors for cutting the yarn.
Uses of the Toast Coaster
- Protects surfaces from heat and moisture from cups or mugs.
- Adds a playful and decorative touch to home decor.
- Makes a thoughtful handmade gift for friends or family.
- Can be used as a table centerpiece or in creative crafting displays.
Special Features
- The pattern creates a cute slice of toast, complete with a crust and rounded edges.
- Easy to follow, with the base built using simple single crochet stitches.
- The crust is added later by crocheting a border around the bread.
- Lightweight and durable, ensuring long-lasting utility and charm.
Step-by-Step Instructions
1. Starting the Bread Base
- Begin with the light brown yarn to crochet the main part of the toast.
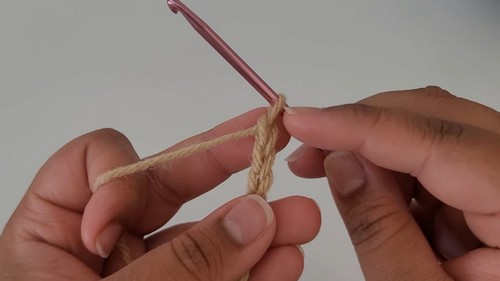
- Create a slip knot and chain 14 chains.
- Starting with the second chain from the hook, work single crochet stitches into each chain across (you should end up with 13 stitches).
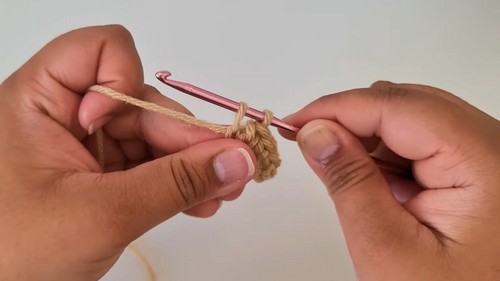
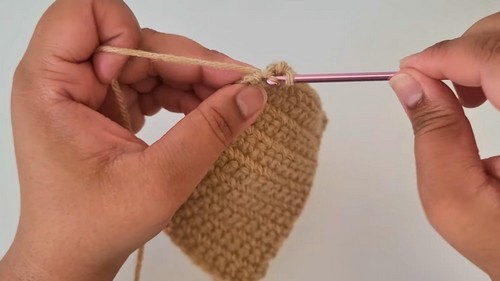
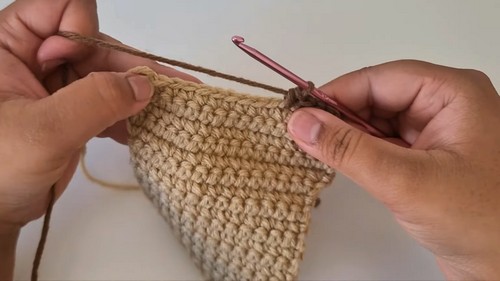
2. Building the Bread Rows
- At the end of each row, chain one and turn your work.
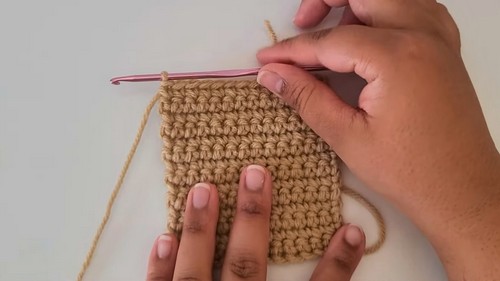
- Work single crochet stitches into each stitch across.
- Repeat this process for 14 rows in total to build the bread base.

3. Adding Curves to the Toast
- For row 15, begin increasing at the first and last stitches to create rounded edges.
- Continue this concept of increasing on both edges for row 16.
- Work two additional rows (rows 17–18) of regular single crochet stitches without any increases.
4. Shaping the Toast Top
- Start decreasing at the beginning and end of row 19 to shape the top.
- Repeat the decrease process for row 20 (the final row for the bread base).
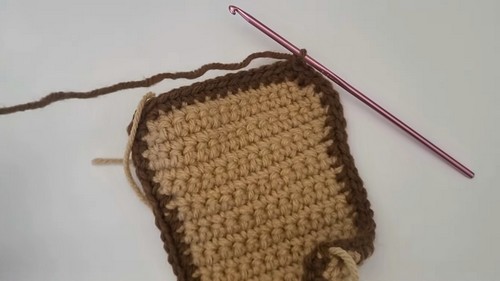
5. Adding the Crust
- Switch to the dark brown yarn to create the crust.
- Attach the yarn to the top edge of the bread.
- Crochet single crochets evenly across the top, down the sides, along the bottom, and back up to the top.
- Add increases at the corners to give a rounded, smooth finish.
6. Fastening Off
- Finish the border with a slip stitch into the first stitch of the dark brown row.
- Chain one, cut the yarn, and pull it through the stitch to secure.
7. Weaving in Ends
- Use a darning needle (or crochet hook if you don’t have one) to weave in all loose ends.
- Work the ends into the back of the coaster, ensuring neatness and durability.
Level of Difficulty
This project is beginner-friendly. It primarily uses basic stitches like the single crochet, slip stitch, and increases/decreases. The optional crust detailing can help beginners refine their edge work.
Tutor's Suggestions
- Adjust the number of rows or stitches if you want a smaller or larger coaster.
- Hold the yarn tightly for a neat appearance, but not so tight that it’s hard to work with.
- Stretch the stitches slightly when working along the sides for even placement.
- Use stitch markers to maintain proper placement for the crust increases.
- If you’re a beginner, take your time with the chaining process to avoid puckering or uneven edges.
Conclusion
The toast coaster is an enjoyable crochet project that combines a playful design with practicality. Its simple stitches and pattern make it perfect for beginners, while the customization possibilities offer a chance for creativity. Whether as a gift or an addition to your table, it’s a delightful handmade piece that’s sure to brighten any space.
Bonus Tip
When crocheting the crust border, avoid pulling the yarn too tightly to maintain even edges and ensure the coaster remains flat.