
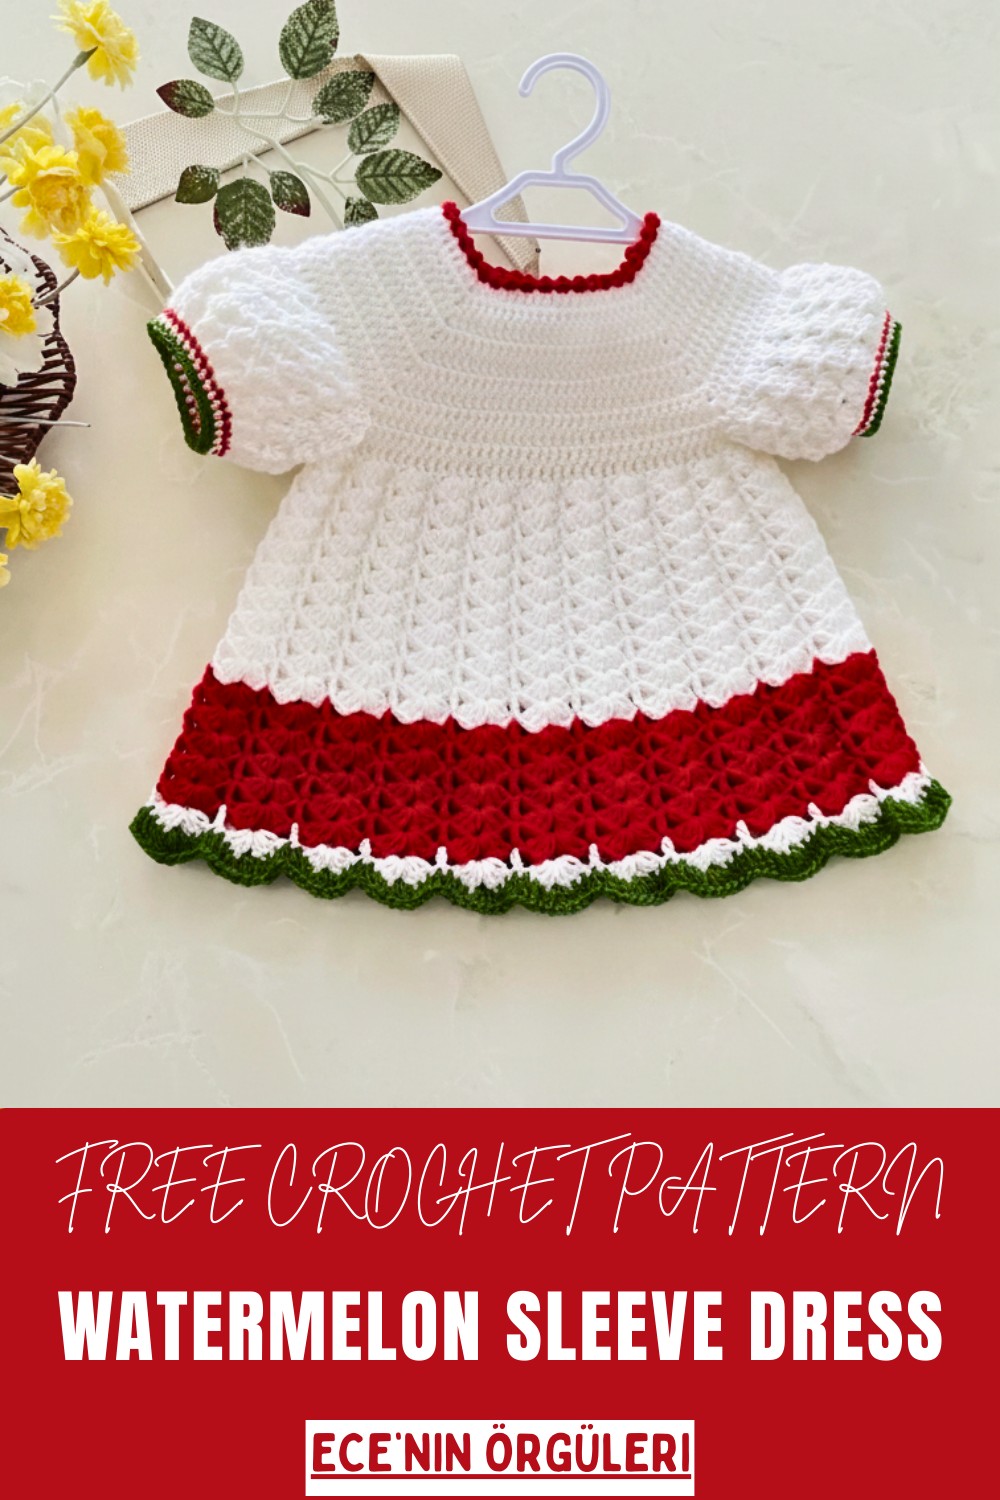
Playful Crochet Watermelon Sleeve Dress to Stand Out in Style
Refreshing and playful, this Free Crochet Watermelon Sleeve Dress Pattern lets you make a vibrant, breezy summer dress full of style and comfort.
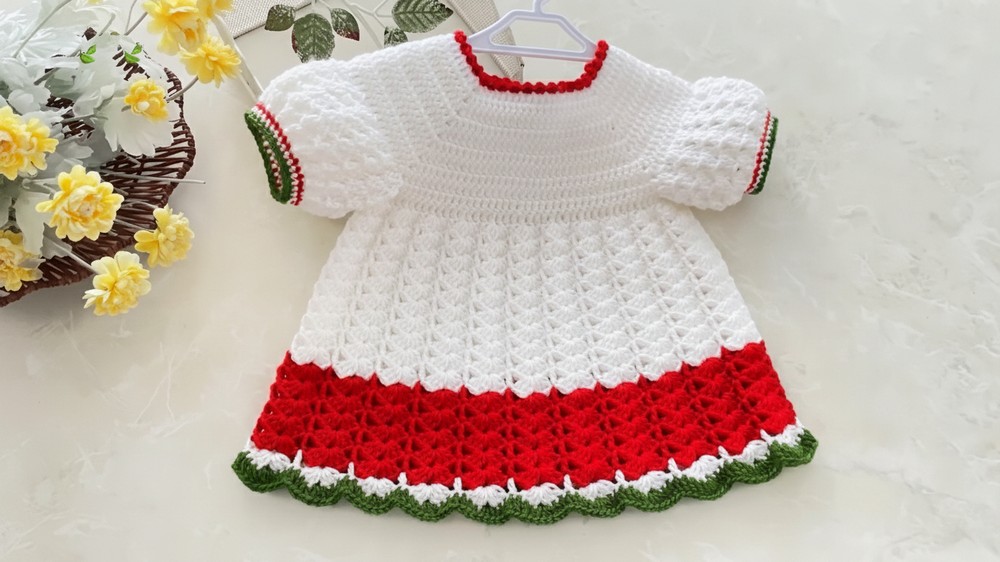
This charming summer garment captures attention with its vibrant and playful design, evoking a fresh and cheerful aesthetic. The Crochet Watermelon Sleeve Dress Pattern features delicately crocheted sleeves and a flowing silhouette, combining elegance with a light, airy feel, perfect for warm-weather outings, beach trips, or casual gatherings.
Charming Crochet Watermelon Sleeve Dress Pattern with Light Wear
The intricate crochet work not only enhances its visual appeal but also ensures a comfortable, breathable fit that flatters different body shapes. Its unique design balances style and practicality, allowing wearers to enjoy a handcrafted piece that is both striking and wearable.
The combination of bright pinks, greens, and subtle seed-like accents contributes to a youthful and joyful appearance, making it a versatile addition to any wardrobe. Beyond its beauty, the pattern provides crocheters with an opportunity to refine detailed stitching skills while creating a standout, functional dress suitable for multiple occasions.
Materials
To crochet this baby dress, you will need:
- Yarn: White yarn for the base and additional yarn in colors like red and green for accents or patterns. The tutorial mentions using yarn with 100 grams yielding 240 meters.
- Crochet hook: A 3 mm hook is recommended for those with loose tension, while a 3.5 mm or 4 mm hook works better for tighter stitchers.
- Buttons: Pearl or decorative buttons for the back closure.
- Yarn needle: For sewing the button and weaving ends.
- Scissors: To cut yarn during color changes or finishing.
- Optional measuring tape: To check width and height as you go.
Uses
This baby dress is perfect for special occasions, casual summer outings, or adorable photo shoots. Its flexible sizing allows it to fit newborns up to 6 months of age, making it a thoughtful handmade gift for baby showers or birthdays.
Special Features
- Puffy Sleeves: Adds charm and elegance to the design.
- Patterned Hemline: Incorporates wavy edges for an appealing look.
- Buttoned Back Closure: Makes it easy to dress and remove.
- Customizable Colors: The design allows you to switch yarn colors for personalization.
- Flexible Sizing: Includes instructions for adapting the collar and body to fit babies up to 2 years old.
Level of Difficulty
This project has a moderate difficulty level. It is suitable for crocheters who are familiar with basic techniques such as double crochets, chains, slip stitches, increases, and pattern work. Beginners who are confident in their skills may find this rewarding with patience.
Step-by-Step Instructions
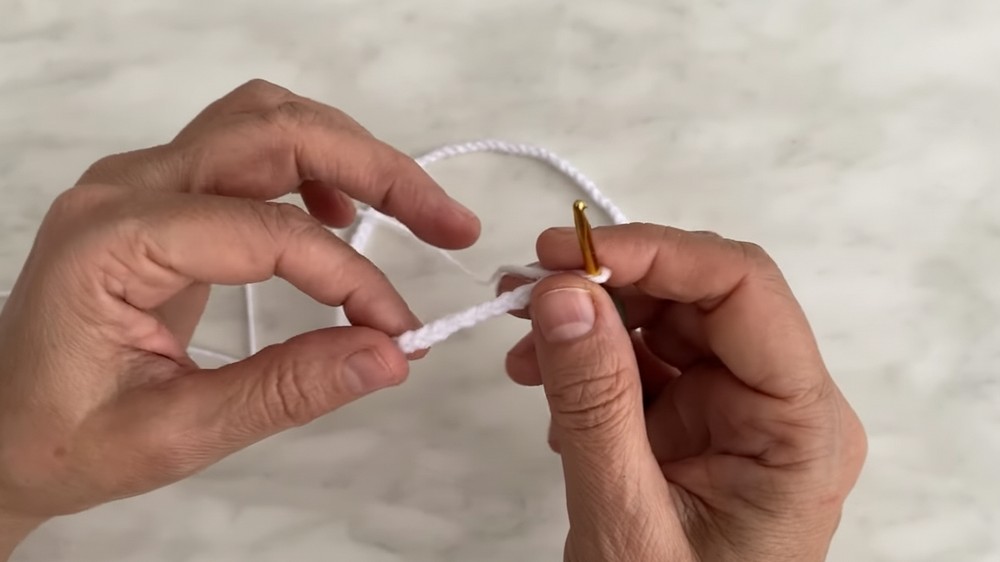
1. Start the Neckline
- Begin with 79 chains (adjust based on desired size). For the instructor's tension, this measures 30 cm.
- Create separations for the neckline:
- Make 10 double crochets for the back.
- Chain 2.
- Make 18 double crochets for the first sleeve.
- Chain 2.
- Make 20 double crochets for the front.
- Chain 2.
- Make 18 double crochets for the second sleeve.
- End with 10 double crochets for the back section.
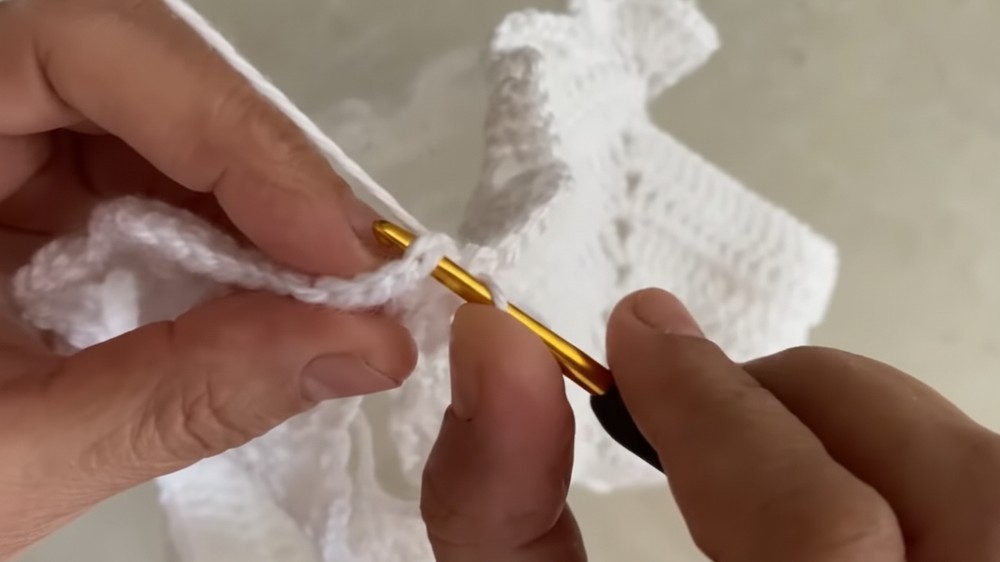
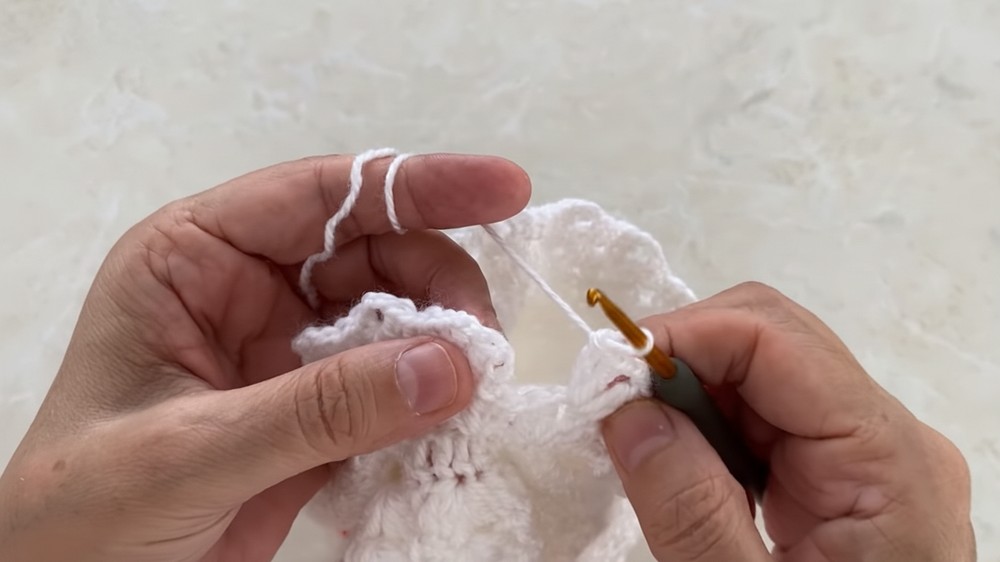
2. Create the Collar
- Continue crocheting rows for the neckline. At each increase point (the chain spaces), work 1 double crochet, 2 chains, and 1 double crochet to expand the collar.
- Repeat increases row by row. For a 3–6-month sizing, complete 9 rows total. Adjust by adding rows for larger sizes (e.g., 10 rows for 6 months, 11 rows for 1–2 years).
- Once the neckline reaches 9 cm height, prepare to separate the sleeves and start the body.

3. Shape the Body
- Join the front and back sections together while skipping the sleeve stitches:
- Work double crochets across the back, underarm chains, and front.
- Add 3 chains where the sleeves separate to form underarm sections.
- Continue working body rows without increases to maintain consistent width.
- Begin the pattern row with alternating groups of 3 double crochets, 2 chains, and 3 double crochets, followed by skipping a stitch and creating a single double crochet in the next. Repeat this pattern across the body.
4. Create Pattern Rows
- Work 10 rows of patterns alternating color changes (e.g., adding red or green yarn).
- Switch back to white yarn once the pattern rows are complete.
5. Make the Hemline
- Create a wavy hem by working 3 double crochets into each chain space in the bottommost row. This creates a soft, scalloped effect.
6. Finish the Puffy Sleeves
- Attach white yarn at the sleeve base. Begin working patterns with clusters of 2 double crochets, 2 chains, and 2 double crochets.
- Skip two stitches between clusters for a loose, balloon-like appearance.
- Make 5 rows of patterns for smaller babies or 6–7 rows for older children.
- To narrow the sleeve opening, work a row of single crochets while skipping stitches to create decreases. Add final rows with red, white, and green yarn to complete.
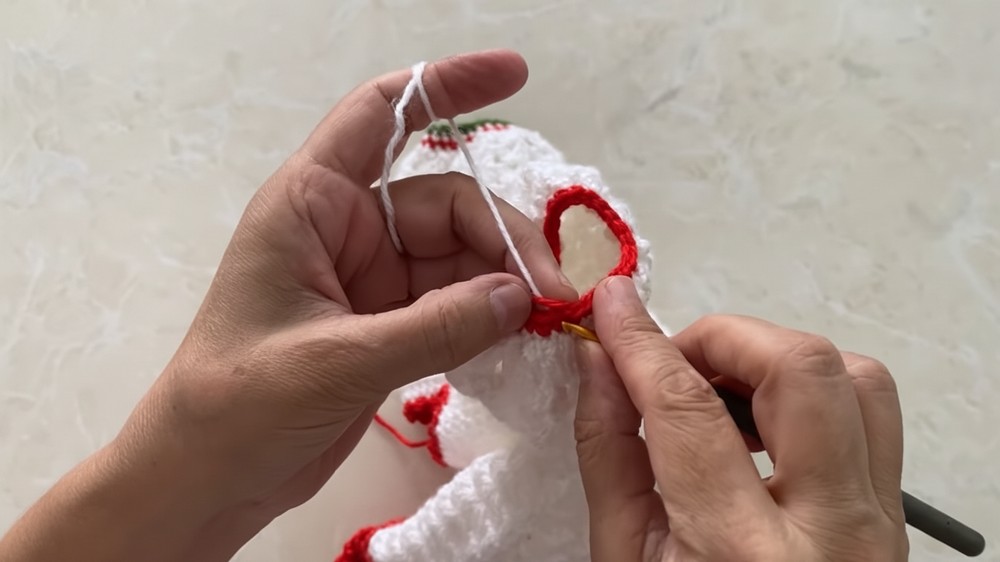
7. Add the Back Button
- Create buttonholes by crocheting chains (e.g., 6 chains) tightly in the collar’s back, then attach buttons securely. Ensure the buttonholes match the size of the buttons used.
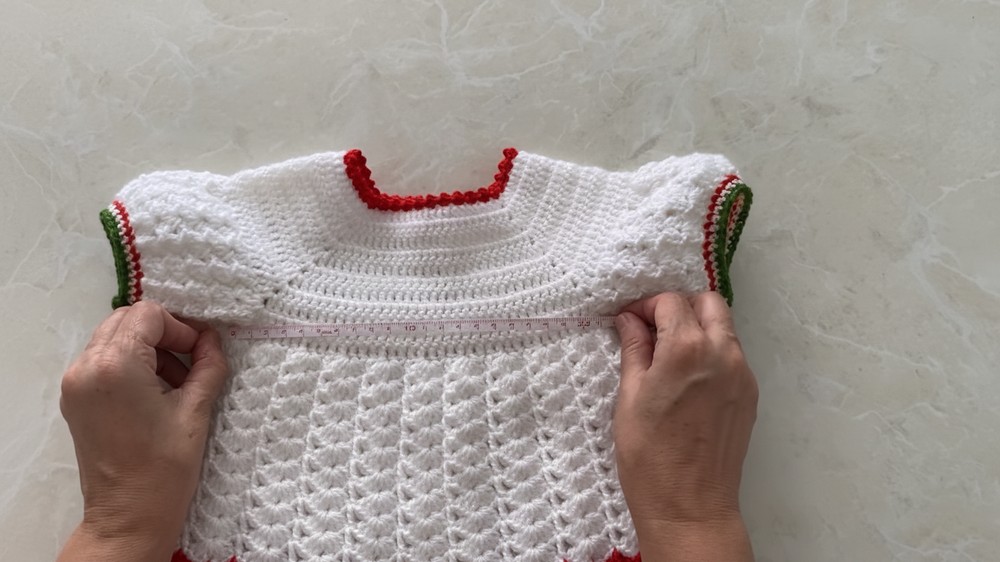
8. Measurements
After completing the dress, the instructor measures:
- 21 cm width underarm.
- 36 cm height from shoulder to hem.
Tutor's Suggestions
- Keep your chains and stitches loose during increases to prevent difficulty when inserting the hook into stitches later.
- Adjust the crochet hook size based on your tension to ensure proportional sizes.
- Experiment freely with color combinations, as the pattern works well with any yarn color.
- For larger sizes, add 8–10 more chains to the starting neckline and complete additional rows during the collar stage for proper fit.
Conclusion
This crochet baby dress is a thoughtful, handmade gift that is both adorable and practical. The versatile design accommodates various sizes while allowing room for personal creativity in colors and patterns. Following this step-by-step guide, you can crochet a lovely dress that is sure to become a treasured keepsake.
Tip
When working multiple colored patterns, avoid cutting the yarn after each row. Instead, let it sit and carry it up the rows neatly to avoid wasting yarn or creating excess ends to weave in.