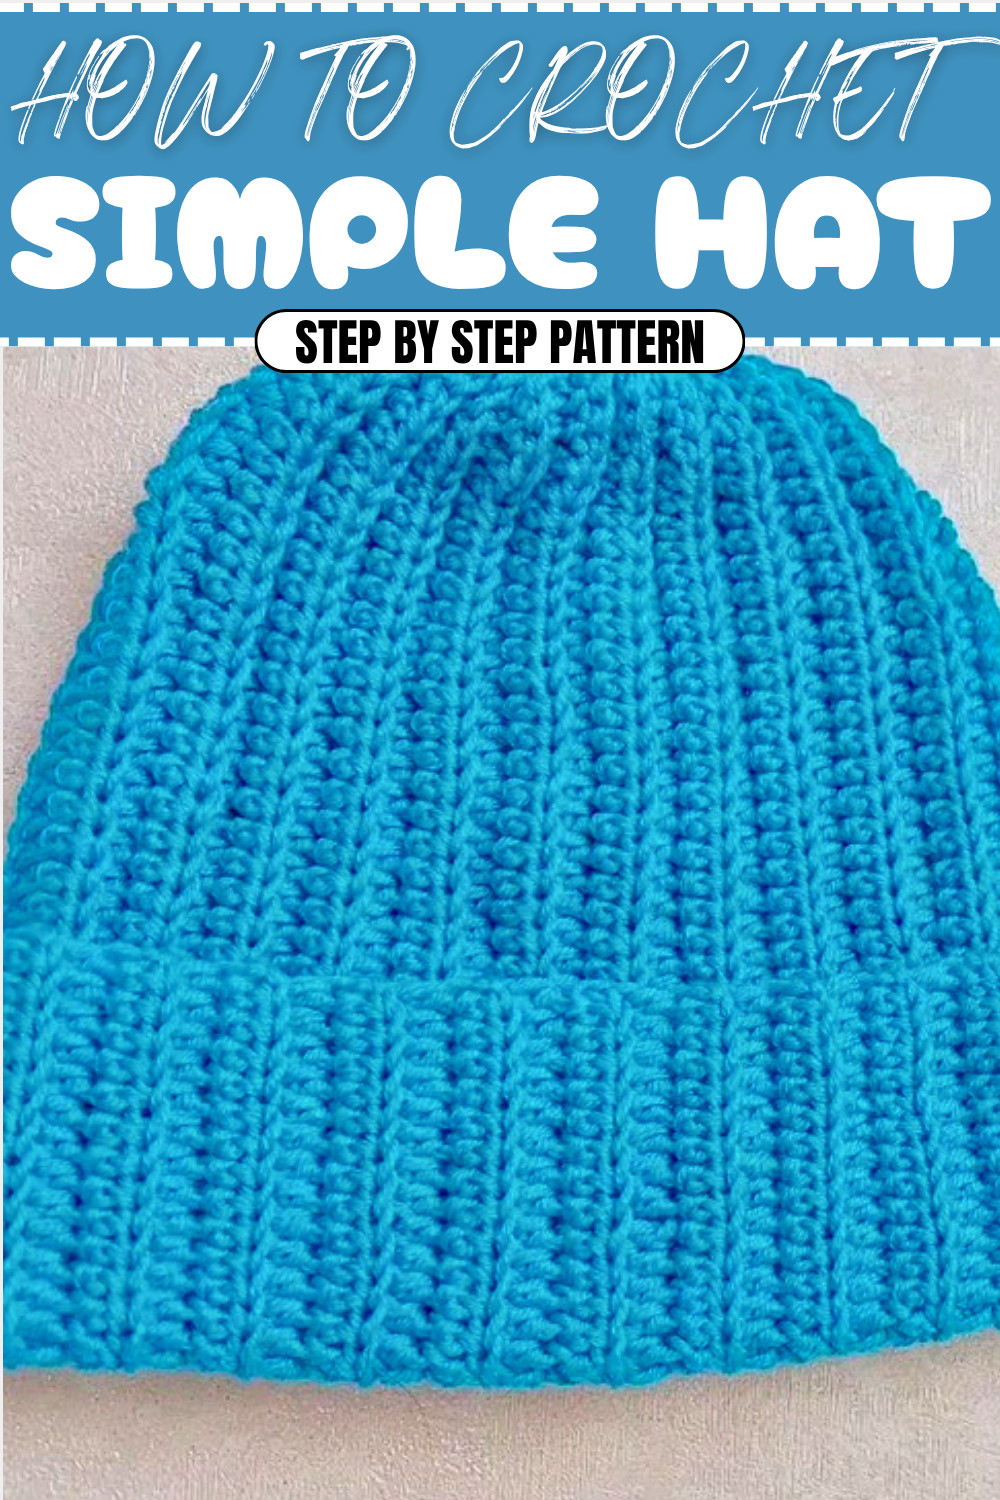
Warm and Effortless Crochet Simple Hat Pattern for Everyday Style
Try a free crochet simple hat pattern for an easy way to stay cozy and stylish with a handmade touch that's great for gifts or everyday wear.
There’s a simple charm in a handmade hat that keeps you warm and adds a cozy touch to any outfit. This easy-to-follow hat pattern uses the half double crochet stitch, creating a soft, thick fabric that feels gentle against the skin. By working mainly in the back loop only, the pattern gains a subtle ribbed texture that makes it stretchy and comfortable. Its versatile pattern makes it perfect for babies or toddlers, providing warmth on chilly days while looking adorable. Whether worn outside during winter strolls or as a cute accessory at home, this hat brings both function and style together effortlessly.
Learn the Easiest Free Crochet Simple Hat Pattern for Beginners
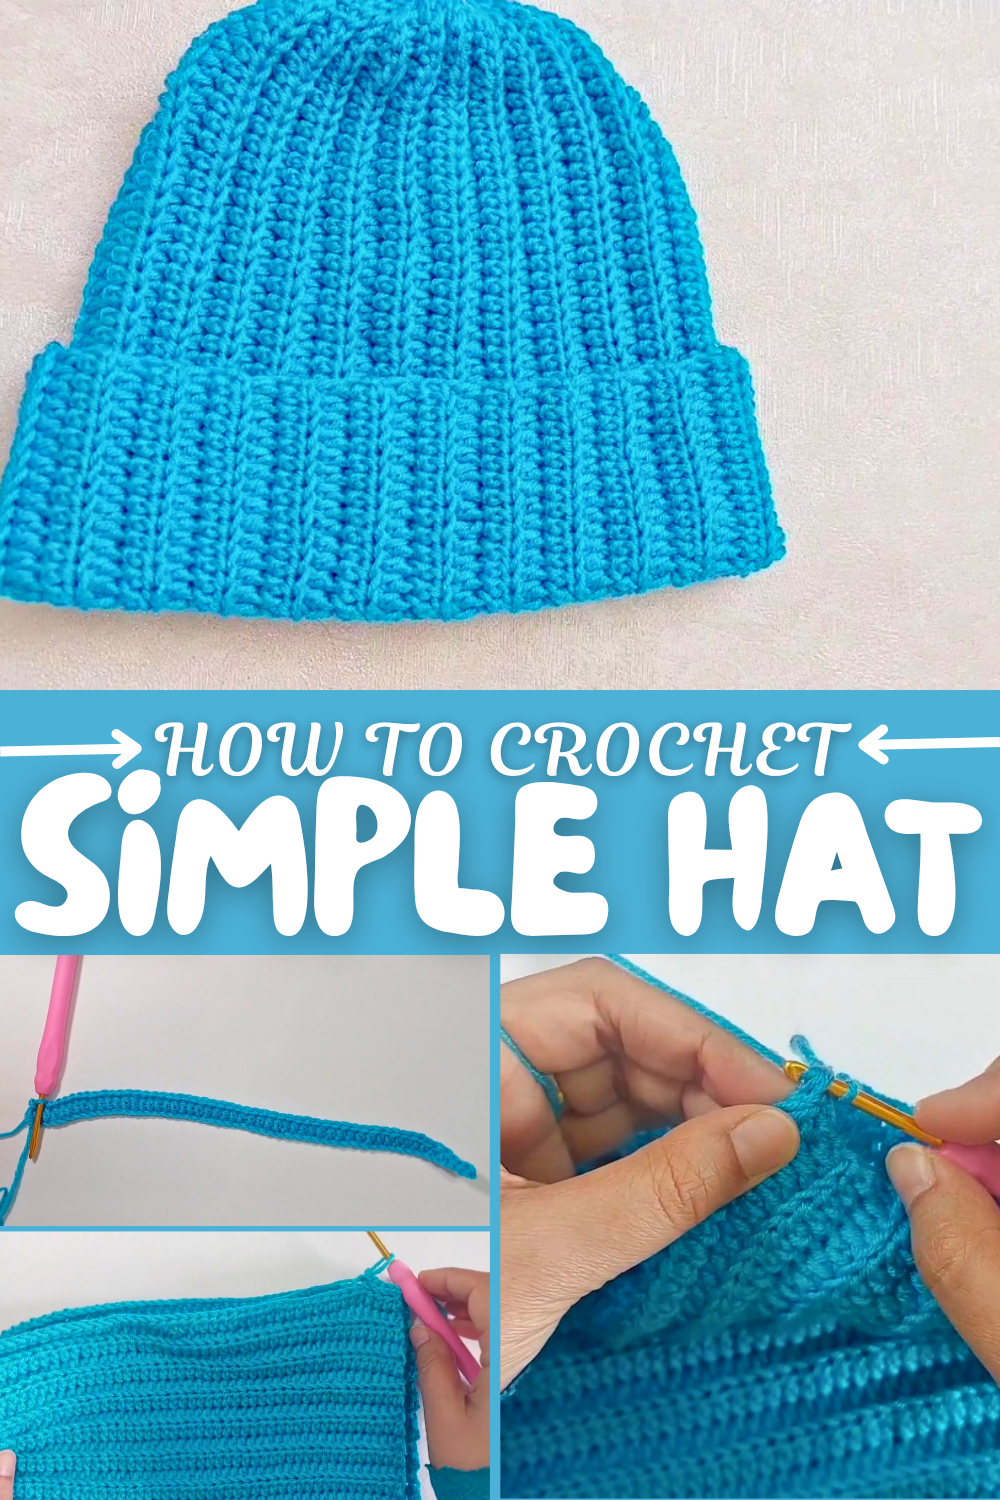
Starting with a foundation row of chains and building up with half double crochets, the pattern is clear and straightforward. These stitches deliver a soft yet sturdy fabric that holds its shape well, making it beginner-friendly. Finishing the edges with a combination of single crochets and slip stitches adds a neat, polished look without any fuss.
Other Projects to Try with These Stitches
Once comfortable with these stitches, you can move on to making scarves, headbands, or simple cowls using similar techniques. The back loop stitch is especially helpful for creating stretchy trims and textured effects that work great in cozy winter accessories. This basic set of skills is a great foundation for exploring many easy and useful crochet projects.
Crochet Pattern: Simple Baby Hat
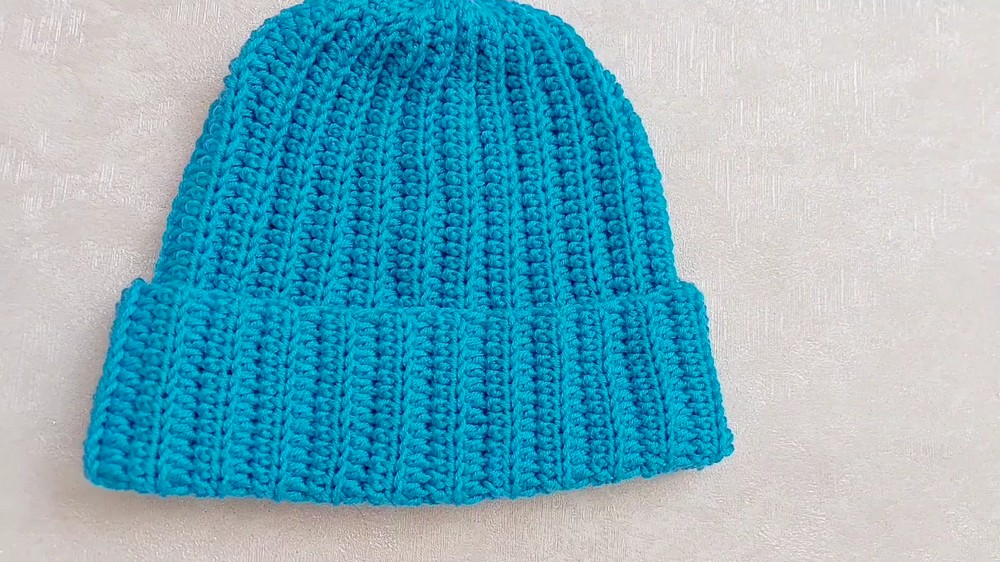
This simple and warm crochet baby hat is perfect for beginners and makes a cozy addition to any little one’s wardrobe. Designed for a 1–2-year-old baby, this hat is soft, stretchy, and versatile for any winter occasion. The pattern is worked sideways in rows, using the back loops only technique to create subtle ridges for added texture and stretch. Once completed, this hat can be folded up to give a snug and stylish fit.
What You’ll Learn from This Pattern
- How to work half double crochet in back loops only to create a stretchy ribbed texture.
- Shaping techniques for hats, including creating folded edges and gathered tops.
- Simple joining techniques with slip stitches to create seamless fabric.
Skill Level & Terminology
- Skill Level: Beginner
- Terminology: US Crochet Terms
Materials & Tools
- Yarn:
- Medium weight (size 4) yarn of your choice, approximately 100–150 yards.
- Hook:
- 4.5 mm crochet hook.
- Additional Tools:
- Scissors.
- Tapestry needle (for weaving ends and sewing).
- Measuring tape for accurate sizing.
Gauge
- 6 half double crochet stitches and 5 rows = 5 cm × 5 cm (2-inch square).
Ensure that gauge matches to achieve proper sizing. Adjust hook size if necessary.
Abbreviations
- ch – Chain
- sl st – Slip Stitch
- sc – Single Crochet
- hdc – Half Double Crochet
- st(s) – Stitch(es)
Special Stitch Instructions
Back Loop Only (BLO):
Each stitch has two loops at the top: a front loop (facing you) and a back loop (facing away from you).
For instructions marked as “Back Loop Only (BLO),” insert your hook under just the back loop of the stitch and complete the specified stitch as usual.
This method creates textured ridges in the crochet fabric.
Finished Size
- Height (unfolded): 25 cm (approx. 10 inches).
- Head circumference (unstretched): 43 cm (approx. 17 inches).
- This hat is designed to fit a baby sized 1–2 years with a slight stretch. Adjust the number of rows to fit different head circumferences.
How to Start
The hat begins sideways (worked flat) and is later joined to create a seamless beanie. It’s primarily worked in half double crochet (hdc) in back loops only (BLO) to create stretch and texture. The slip stitches and single crochet stitches are used along the folded edge to give a snug fit.
The Pattern
Foundation Chains
- Slip Knot & Base Chain: Start with a slip knot on your hook.
- Chain 52: Create chains for a total length of 25 cm (or desired hat height, including an additional portion for the fold).
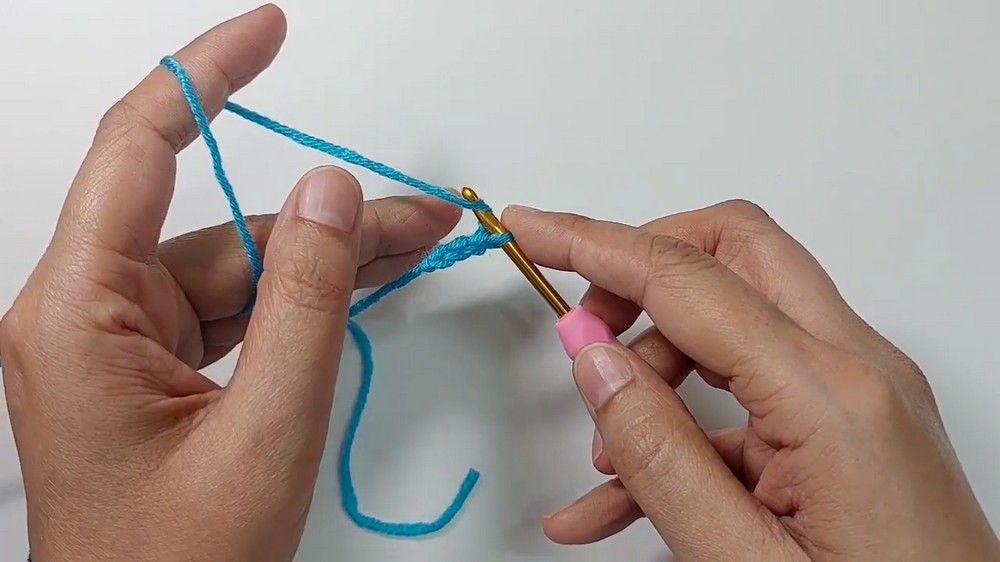
Tip: Adjust the chain length if you are making the project for larger or smaller sizes, adding or subtracting chains accordingly.
Row 1: First Row of Hat Body
- Skip the first chain from the hook.
- In the next 3 chains, work 1 sl st in each chain. (Creates the folded edge).
- In the following 3 chains, work 1 sc into each chain. (Adds a softer edge near the fold.)
- Work 1 hdc in each of the remaining chains, across to the end of the row.
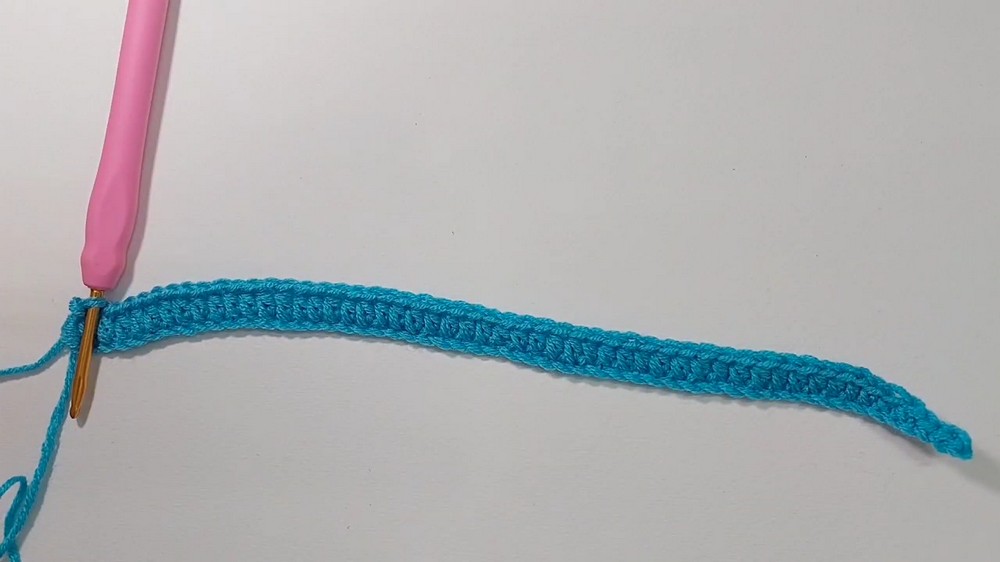
- At the end of Row 1, measure the length to ensure it still measures approximately 25 cm (10 inches).
This row begins the hat’s textural body and defines the folded-edge design of the hat.
Row 2: Starting the Textured Pattern
- Ch 2 (counts as the first hdc), turn your work.
- Work 1 hdc in the back loop only (BLO) of each stitch across the row, leaving the last 6 stitches unworked.
- Work 1 sc in BLO in the next 3 stitches.
- Work 1 sl st in BLO in the last 3 stitches.
This row creates the ridges in the hat and keeps the folded edge snug and neat.
Row 3: Folding Back the Pattern
- Ch 1, turn your work.
- Work 1 sl st into the BLO of the first 3 stitches.
- Work 1 sc in BLO of the next 3 stitches.
- Work 1 hdc in BLO of each remaining stitch across, to the end of the row.
This is a reverse of Row 2 and keeps a consistent design for the folded edge and the hat texture.
Repeating Rows 2 and 3
- Repeat Rows 2 and 3, following the same pattern, until the total length of your work reaches the head circumference measurement (approximately 43 cm or 17 inches for a 1–2-year-old baby).
At this stage, your fabric will appear as a long rectangular piece with distinct ribbing textures.
Joining the Hat
Step 1: Fold the Hat
- Fold the fabric so that the starting edge chains meet the final row worked, with the ribbing running vertically.
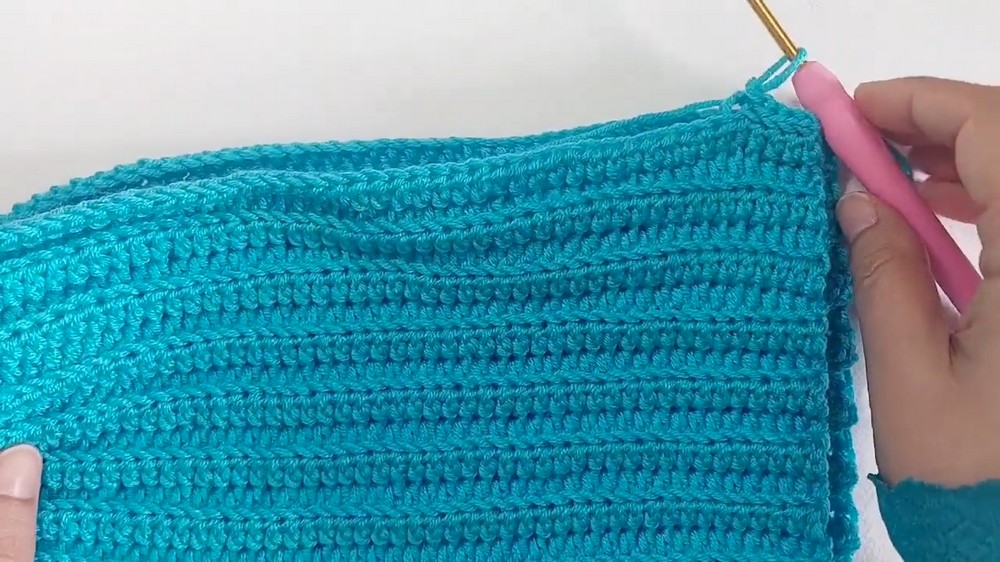
Step 2: Joining the Seam
- Insert your hook through the back loop only of the last row and the front chain of the foundation chain.
- Work a sl st to join the two sides together.
- Continue joining by slip stitching along each set of stitches, ensuring all rows are evenly lined up.
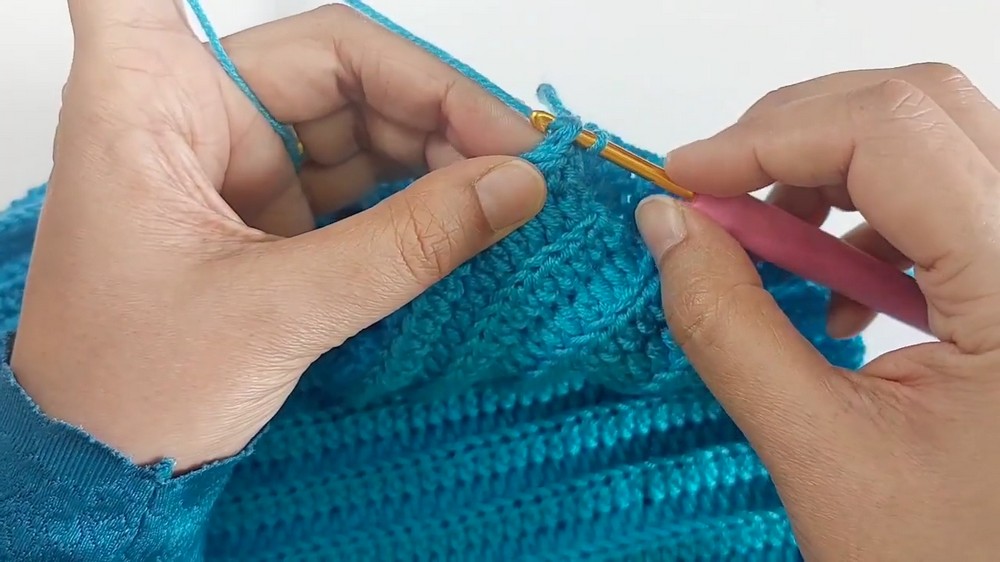
Once finished, your hat is now joined into a tube-like form!
Closing the Top
- Cut a long piece of yarn (approximately 6–8 inches) and thread it onto a tapestry needle.
- Weave the needle around the top edge of the hat, picking up one stitch from every row.
- Pull the yarn tightly to close the top, making sure the gathered stitches are secure.
- Tie a knot to secure, weave in the remaining tail, and trim off the excess yarn.
Assembly & Finishing
- Turn the hat inside out to reveal the right side.
- Fold up the bottom edge of the hat to create the brim. This adds a snug fit for the baby and creates an adorable finish.
- Optionally, sew a small pompom, button, or decoration to the top of the hat for added style.
Why You’ll Love This Pattern
This baby hat is quick to make, stylish, and practical for chilly days. The design is versatile, with simple ribbing that adapts to various sizes and colors. It’s a perfect handmade gift that’s not only functional but also heartwarming. This project works up quickly, making it ideal for last-minute gifts or craft fairs.