
Unique Crochet Huntrix Amigurumi Free Pattern with Step-by-Step Tutorial
Bring fun Crochet Huntrix Amigurumi to your toys with simple steps that help you make colorful and lovely handmade friends easily.
This charming handmade toy is perfect for brightening up your home, gifting to friends, or adding to your collection of cute crochet creatures. The Crochet Huntrix Amigurumi pattern helps you create a small, colorful character with lovely details that make it both unique and adorable. It’s great for decorating shelves, desks, or as a cuddly companion for kids.
Easy Crochet Huntrix Amigurumi Free Pattern for Handmade Gifts
Made with soft yarn, this amigurumi has a pleasant texture that feels nice in your hands. The finished size is small and easy to carry or display anywhere. This project is ideal for beginners or those with basic crochet skills since the steps are simple but produce a beautiful result.
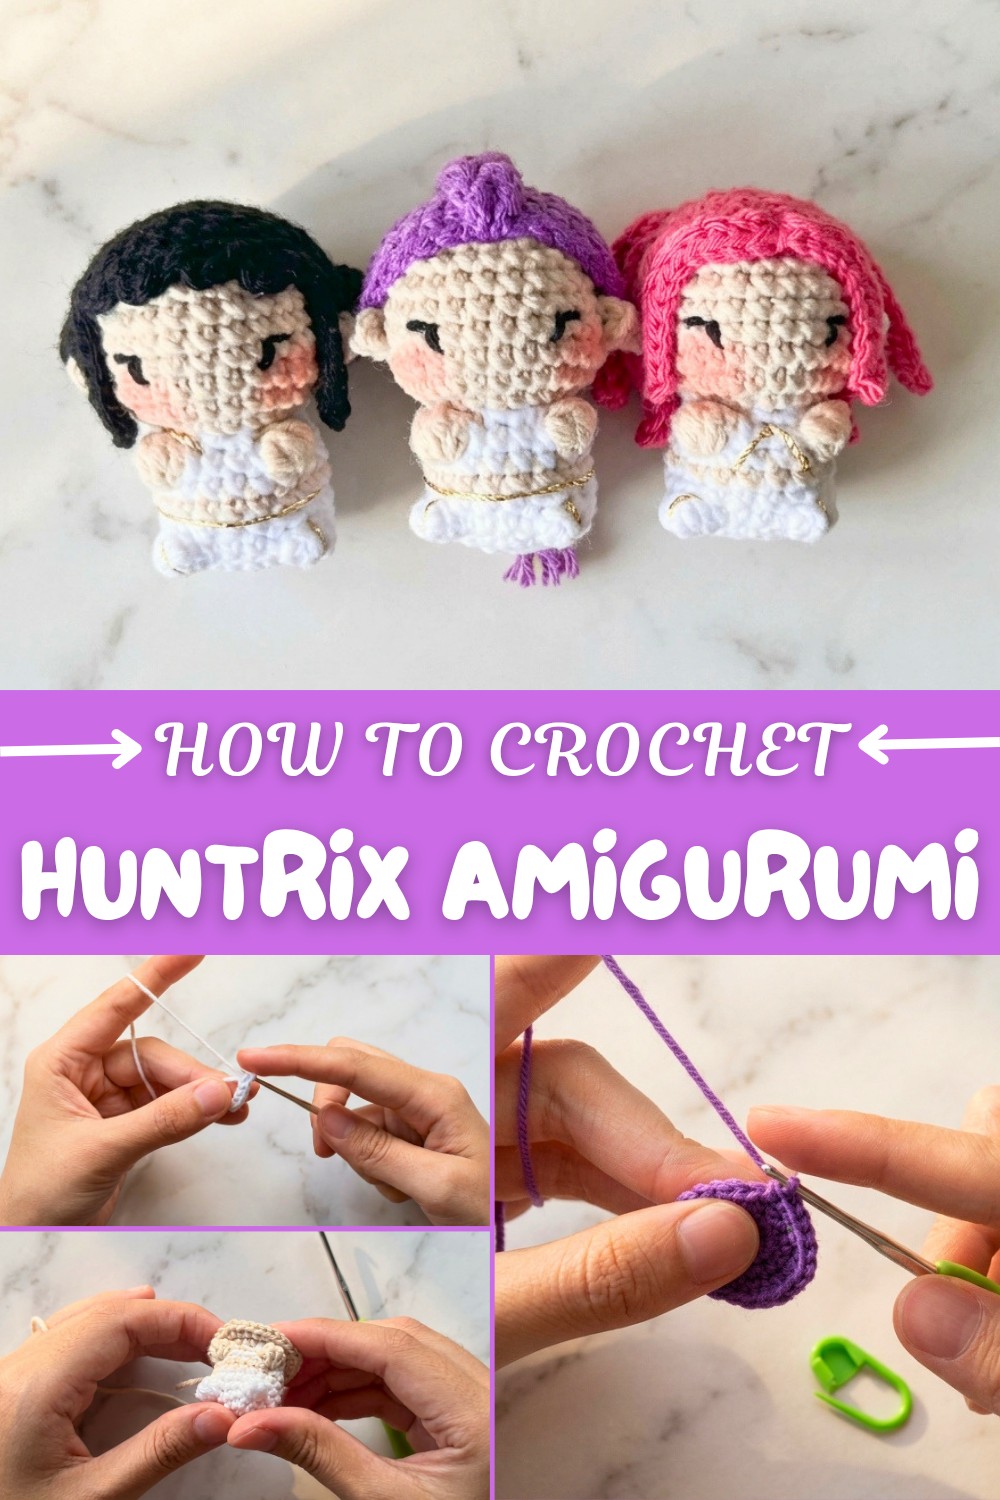
You’ll need basic materials like bright-colored yarn, a crochet hook, stuffing, and some finishing tools. The pattern allows you to be creative by choosing your favorite colors and adding personal touches.
Overall, this is a fun and easy project that results in a cute handmade toy you’ll enjoy sharing or keeping.
Hunticks Amigurumi Trio – Detailed Crochet Pattern
Today, you’ll learn how to make the three main Hunticks characters as adorable amigurumi dolls. Each doll uses the same basic body pattern, with individual customizations for hair and clothing details. These mini figures are perfect for fans, gifts, or decorative displays, and are designed with beginner-friendly instructions.
Quick Overview
- Each doll is made of a basic crocheted body with shaped head, arms, and ears.
- Simple color changes and popcorn stitches give character to each figure.
- Custom hair patterns and accessories distinguish Mira, Rumy, and Soy.
- Finish with embroidered facial features, blush, and optional golden thread accents.
Notes
- Use yarns of the same thickness for consistent sizing and appearance.
- Color changes are frequent; keep tails tidy and secure as you go.
- Popcorn stitch is used for arms to give dimensional effect.
- Options for further customization (blush, gold thread) are included.
- Make three identical bodies before adding each character’s specific hair/accessory details.
Skill Level
Easy to Intermediate:
Skills needed are basic amigurumi—single crochet, working in rounds, increases and decreases, magic ring, popcorn stitch, color changes, simple embroidery and sewing.
Materials
- Yarn: 2 mm acrylic yarns in ecru, white, black, fuchsia, lilac (for bodies and hair)
- Hook: 2 mm crochet hook
- Stuffing: Synthetic fiberfill
- Notions: Stitch marker, scissors, tapestry needle
- Extras: Gold thread (for accessories), blush/makeup (for cheeks)
Measurements / Sizing
- Finished dolls stand approximately 8–10 cm tall.
- Size depends on yarn, hook, and stuffing density.
Gauge
Gauge is not critical, but stitches should be tight enough to prevent stuffing from showing.
Stitch Abbreviations
| Abbr. | Meaning |
|---|---|
| ch | Chain |
| sc | Single crochet |
| hdc | Half double crochet |
| dc | Double crochet |
| inc | Increase (2 sc in next st) |
| dec | Decrease (sc 2 sts together) |
| sl st | Slip stitch |
| MR | Magic ring |
| pc | Popcorn stitch |
Special Stitches
Popcorn Stitch (pc):
- Work 4 unfinished dc in same st, keep last loop of each dc on hook (5 loops on hook).
- Yarn over, pull through all loops.
The Crochet Pattern
Body (Make 3 – One for Mira, Rumy, Soy)
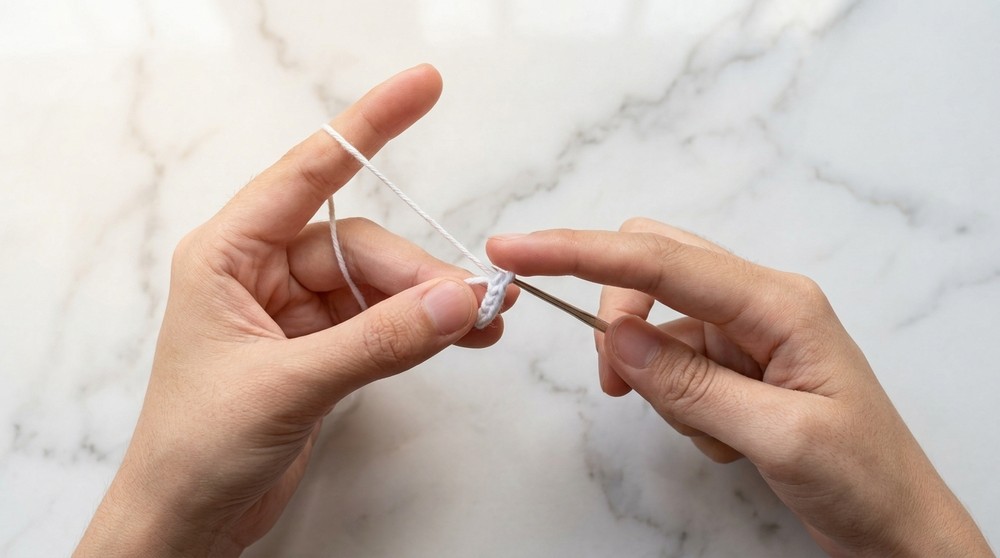
Rnd 1:
- MR, 6 sc into ring (6)
Rnd 2:
- Inc in each st around (12)
Rnd 3:
- (1 sc, inc) repeat 6 times (18)
Rnd 4:
- 6 sc, popcorn stitch (arm: 4 dc, pull through), 4 sc, pc, 6 sc (18)
Rnd 5:
- Sc around (18)
Color changes:
- Before finishing round 5, switch to flesh/beige color for head.
Rnd 6:
- Sc around (18)
Rnd 7:
- Change to white color for top.
- Sc around (18)
Rnd 8:
- 6 sc in white, change to flesh color, pc, 4 sc in white, change to flesh color, pc, 6 sc in white (arms) (18)
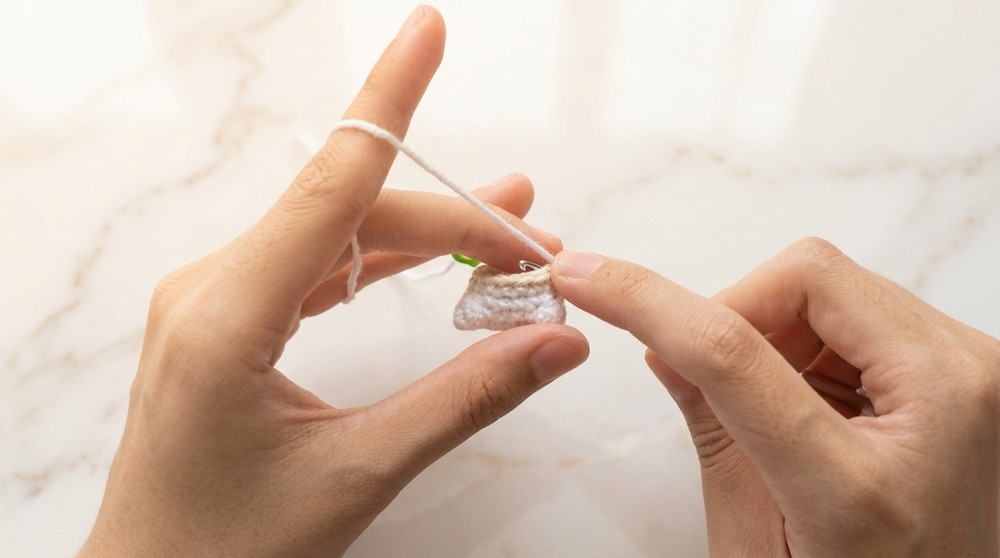
Rnd 9:
- (1 sc, dec) repeat 6 times (12)
Rnd 10:
- Change to flesh color for head. (Inc in each st) (24)
Rnd 11:
- (3 sc, inc) repeat 6 times (30)
Rnd 12:
- Sc around (30)
Rnd 13 (Face shaping):
- 7 sc, 3 dec, 6 sc (center of face), 3 dec, 5 sc (24)
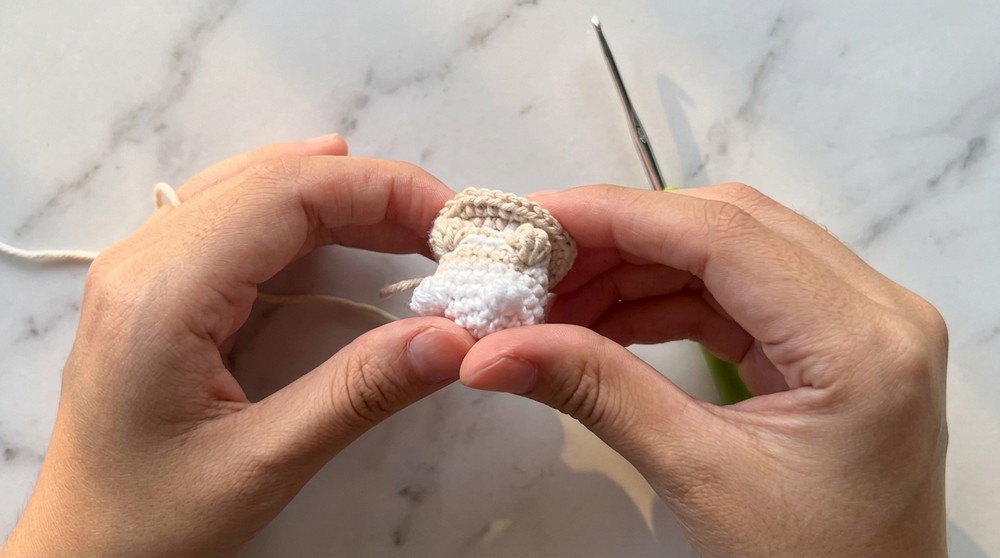
Stuff firmly as you go.
Rnd 14–16:
- Sc around (24) (3 straight rounds)
Rnd 17:
- (1 sc, dec, 1 sc) repeat 6 times (18)
Rnd 18:
- (1 sc, dec) repeat 6 times (12)
Stuff head firmly, especially between cheeks.
Rnd 19:
- 6 dec (6)
- sl st, fasten off, sew closed.
Ears (Make 2 per doll)
- MR, 3 sc into ring, ch 1, fasten off. Sew on both sides of head, two sts after eyelashes.
Facial Features
- Embroider eyes on rnd 13, two sts away from center point; 5 sts separation between eyes.
- Ears sewn two sts after end of eyelashes.
Mira’s Hair
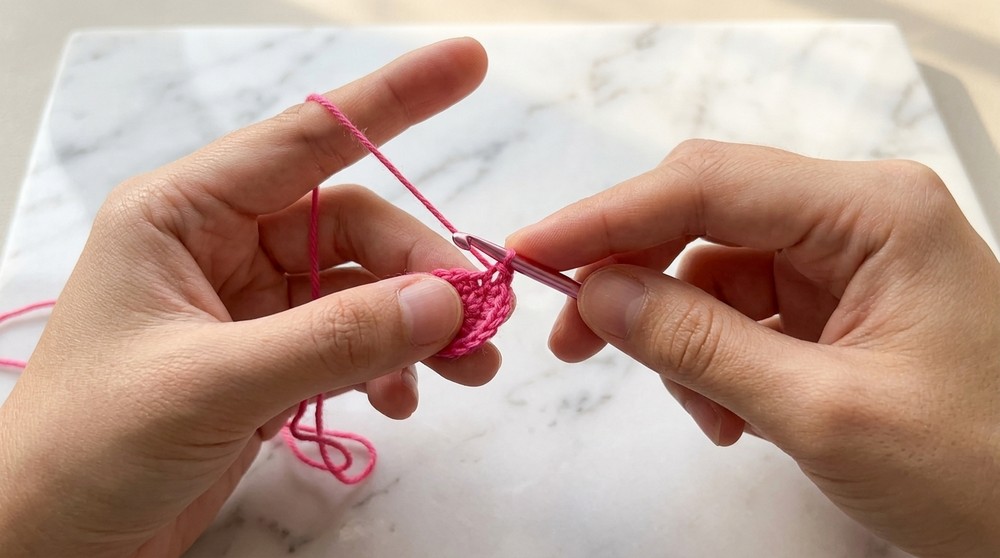
Base Cap:
- Rnd 1: MR, 6 sc
- Rnd 2: Inc all (12)
- Rnd 3: (1 sc, inc) x6 (18)
- Rnd 4: (1 sc, inc, 1 sc) x6 (24)
Strands:
- 4 long: Ch 10, from 2nd ch, sc, 8 hdc, sl st skipping one stitch. Repeat for 4 strands.
- 2 short: Ch 3, from 2nd ch, 2 hdc; sl st skipping one stitch.
- 9 consecutive sl st.
- Repeat Ch 3 strand once more.
- 2 more long strands: Ch 10, sc, 8 hdc; sl st skipping one stitch.
Front Bangs:
- Ch 12, from 2nd ch, 11 sl st. Repeat twice.
Pigtails:
- Ch 11. From 2nd ch, sc, 9 hdc. Make 2 (one for each side).
Rumy’s Hair
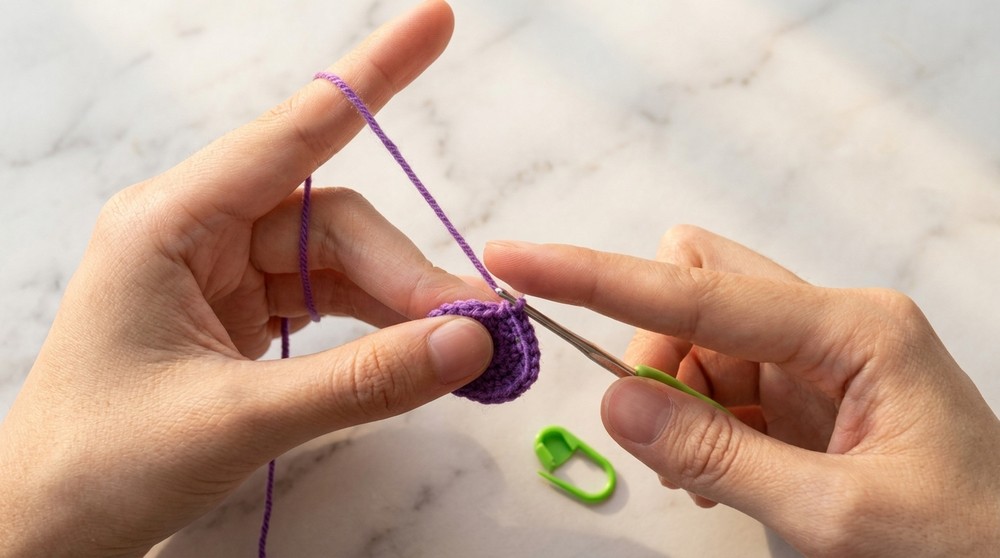
Base Cap:
- MR, 6 sc
- Rnd 2: Inc all (12)
- Rnd 3: (1 sc, inc) x6 (18)
- Rnd 4: (1 sc, inc, 1 sc) x6 (24)
- Rnd 5: (3 sc, inc) x6 (30)
- Rnd 6–8: Sc around (30) three rounds.
Braid:
- Find top two center points, pull one strand from each, ch 35.
- From 2nd ch, 34 sl st.
- Attach braid at same st or next st for three total strands.
- Tie braid at end.
Soy’s Hair
Base Cap:
- Rnd 1: MR, 6 sc
- Rnd 2: Inc all (12)
- Rnd 3: (1 sc, inc) x6 (18)
- Rnd 4: (1 sc, inc, 1 sc) x6 (24)
- Rnd 5: (3 sc, inc) x6 (30)
- Rnd 6–7: Sc around (30) two rounds.
Bangs:
- 9 sc, ch 7, from 2nd ch, 6 sl st.
- Work sl st in next st, repeat ch 7, 6 sl st.
- 10 sc, for shape.
Fringe:
- Ch 2, sc in 2nd ch, sl st skipping one st. Repeat 4 times.
Side balls:
- Crochet two small balls and attach near ear/hairline.
Assembly & Customization
- Sew ears to head.
- Embroider facial features with thread or yarn.
- Attach hair following proper arrangement (bangs, locks, pigtails, braids, balls).
- Optional: Add blush to cheeks using makeup.
- Optional: Embroider or sew gold thread onto clothing, shoes, belts, or shoulder bags.
Finished Size
Each doll is about 8–10 cm tall, depending on yarn and stuffing.
Conclusion
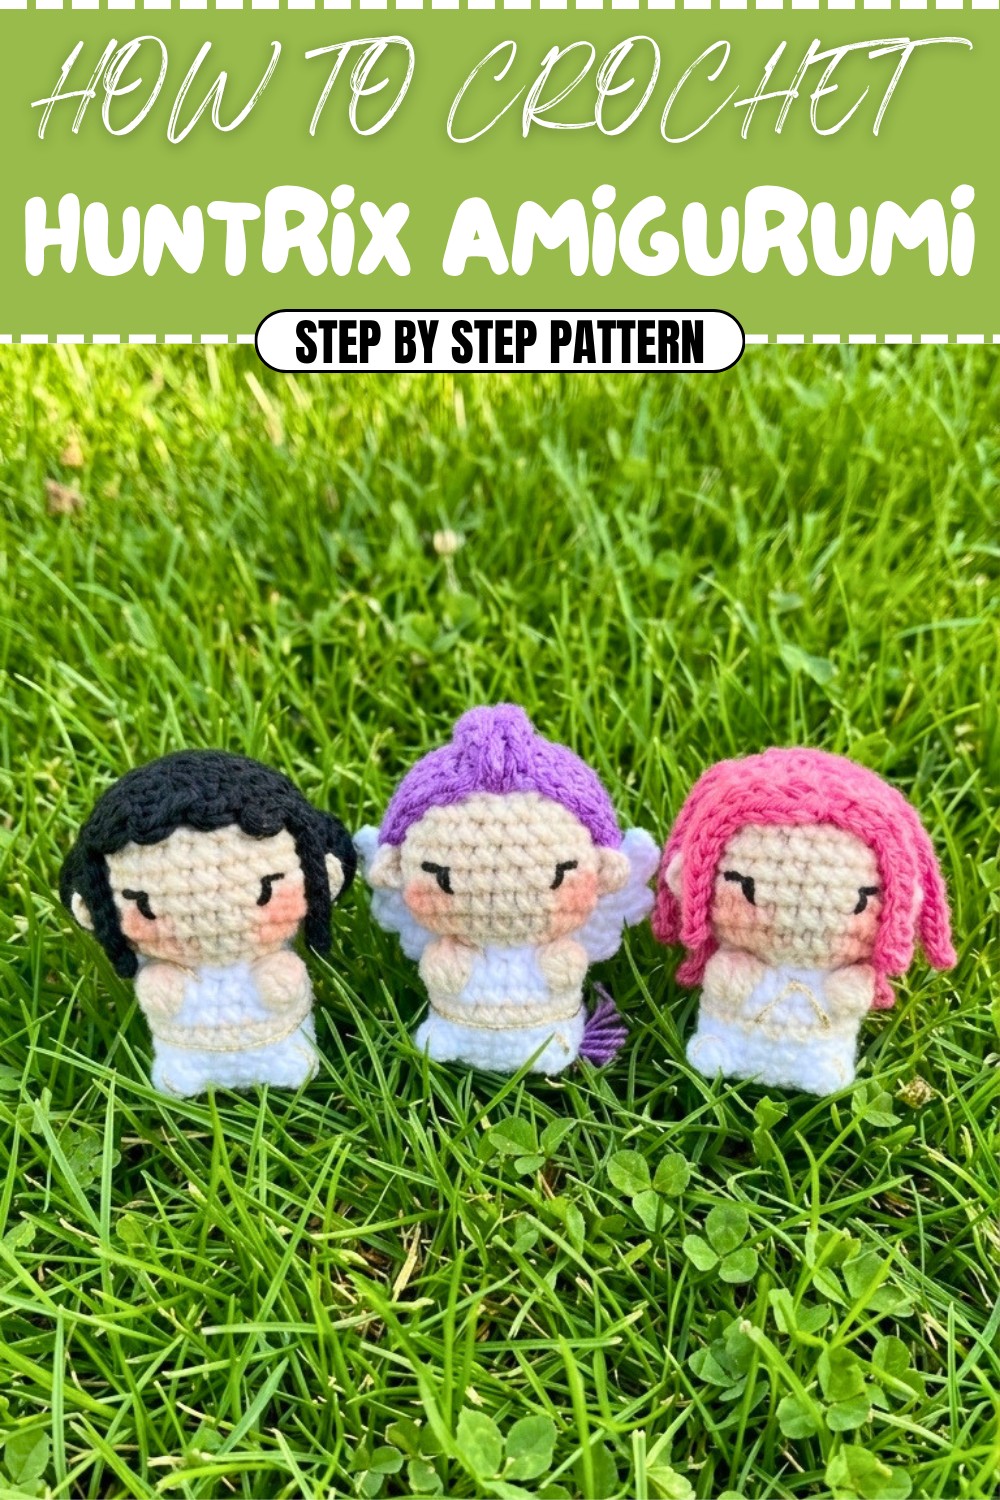
Your Hunticks dolls are finished! You have completed three adorable characters with individual hair and accessories. Enjoy customizing further with blush or gold thread to add sparkle to their personalities. Share your makes with other fans and have fun displaying or gifting these soft, chubby cuties!