
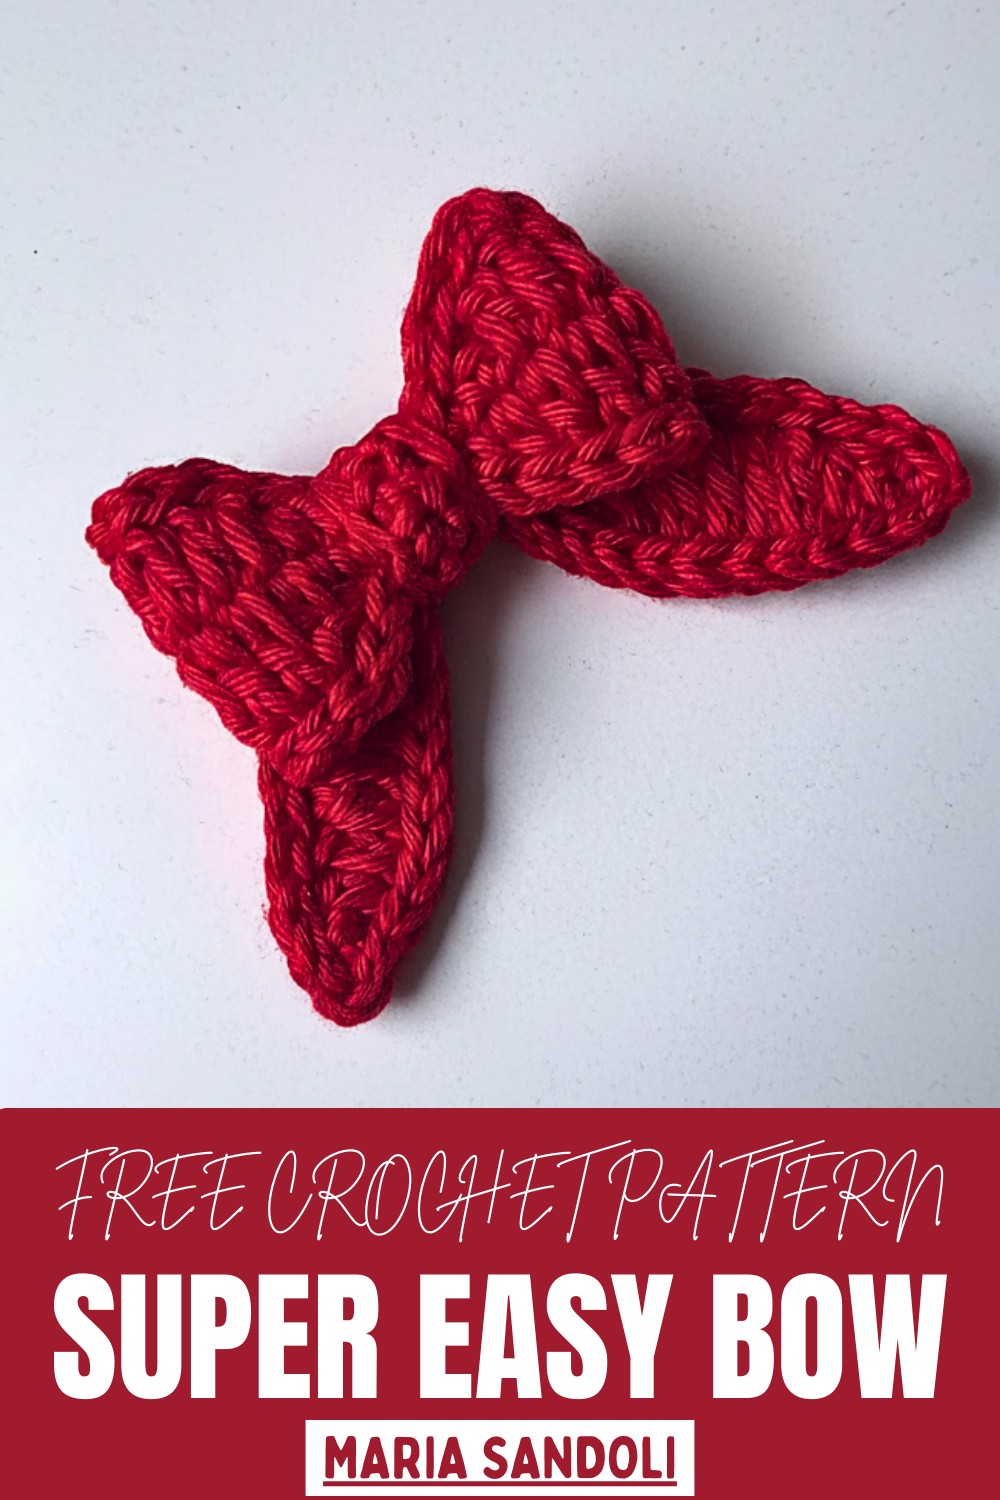
Sweet and playful accents are possible with this Free Crochet Bow Pattern tht's offering a simple project suitable for all skill levels.
Give any accessory or project an instant touch of charm and sophistication with a small yet versatile handmade Crochet Bow Pattern. Perfect for embellishing hairbands, bags, gifts, home décor, or clothing, it blends style and function seamlessly while providing a fun and satisfying stitching experience. Its neat, structured form and delicate shape make it both practical and visually appealing.
Materials:
-
-
Yarn: Compatible with the chosen hook size.
-
Hook: Crochet hooks size #2.20 mm or #2.5 mm (or compatible with your chosen yarn). The tutor uses a #2.20 mm for the main bow and a smaller #2.0 mm for the finishing border.
-
Notions: Scissors and a tapestry needle for weaving in ends.
-
-
Difficulty Level: This is an Easy project. The steps involve only fundamental stitches (Chain, Slip Stitch, Single Crochet, Half Double Crochet, and Double Crochet) and minimal counting.
- Uses: Apply this bow as an embellishment for doll clothes, children's clothing, headbands, or larger projects like the maternity door hanger, as suggested by the tutor. You can also use it for Christmas/holiday decorations.
Tutor's Suggestions
-
Border Finish: The tutor recommends completing the final round with Slip Stitches (or Single Crochet) around the entire edge, even though it's optional. This border gives the bow a more polished and professional appearance.
-
Tails: The tail portion of the bow (the second piece made) is also optional; you can stop after completing just the main bow piece if you prefer a simpler look.
-
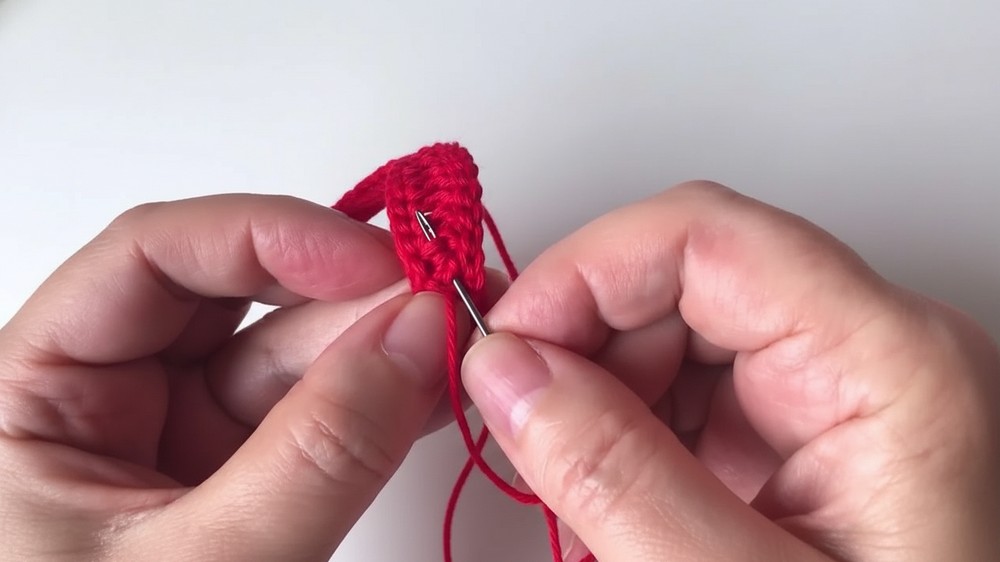
Hiding Ends: When weaving in the initial and final yarn tails, ensure you pass the thread through the stitches so that it does not show through on the right side of the work.
Chic Crochet Bow Pattern for Handmade Fashion
This design allows for creativity in color choices, yarn types, and size adjustments, making each bow a unique and personalized accessory. Lightweight and easy to attach, it works beautifully on gifts, outfits, or as a decorative accent for home projects. Combining elegance, versatility, and handmade charm, the crochet bow adds a polished, stylish touch that enhances everyday items and special creations alike.
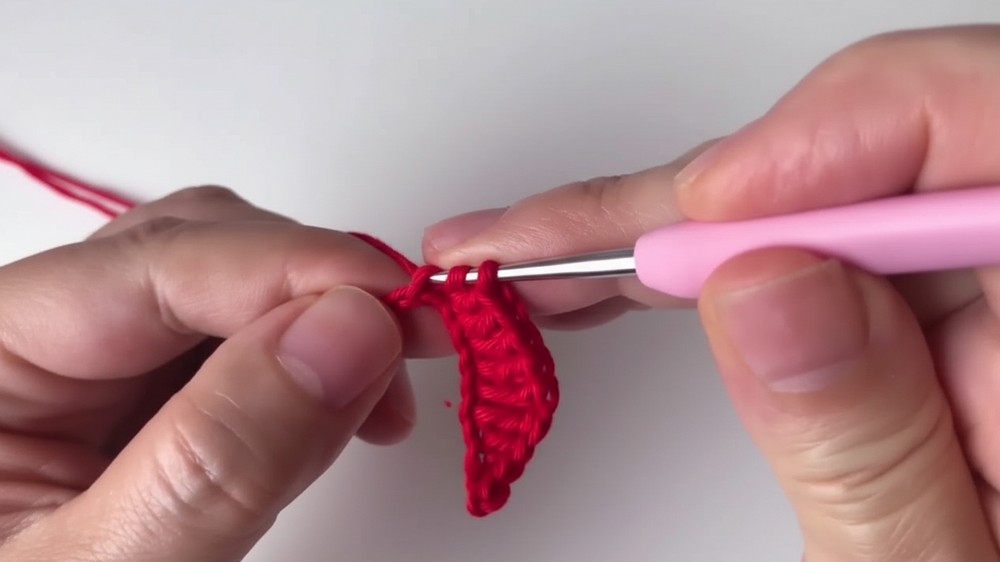
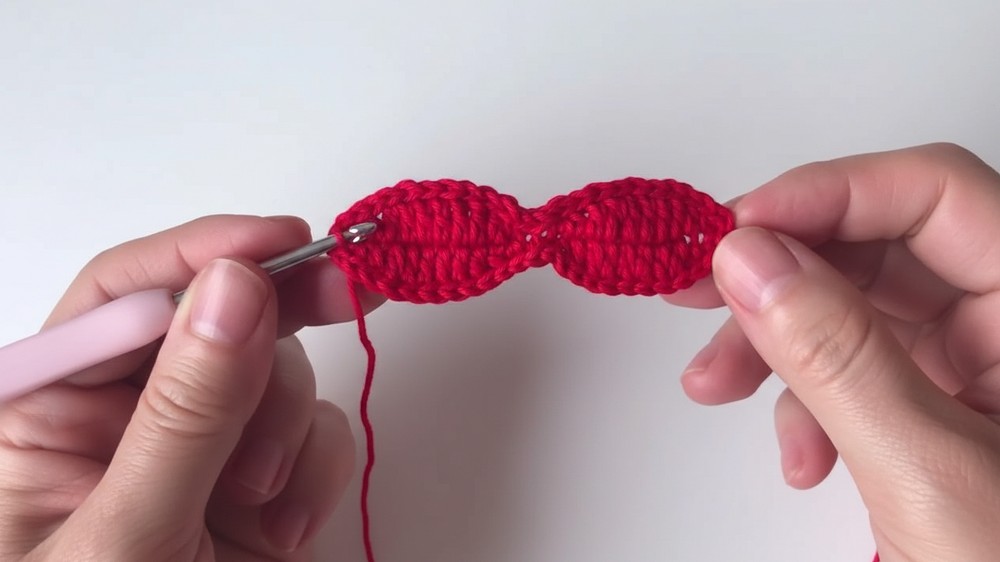
The Crochet Bow Pattern begins with the start, forming a foundation strip using single crochet and half-double crochet to set the width and base size.
Special Features
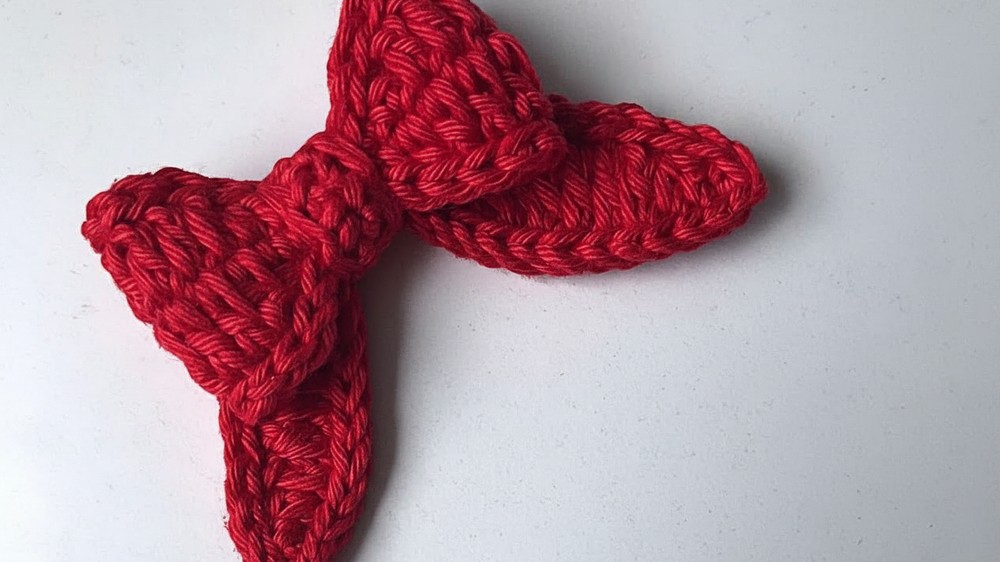
The bow's distinct feature is its symmetrical, tapered shape, achieved by working a specific sequence of stitches (Slip Stitch, Single Crochet, Half Double Crochet, Double Crochet) and then reversing the order on the opposite side of the chain. This creates the rounded bow edges without complex shaping. The pattern also includes a neat Single Crochet border for a clean finish.
In the mid stage, additional rows are worked to build volume and shape the loops evenly, giving the bow a balanced and polished look.
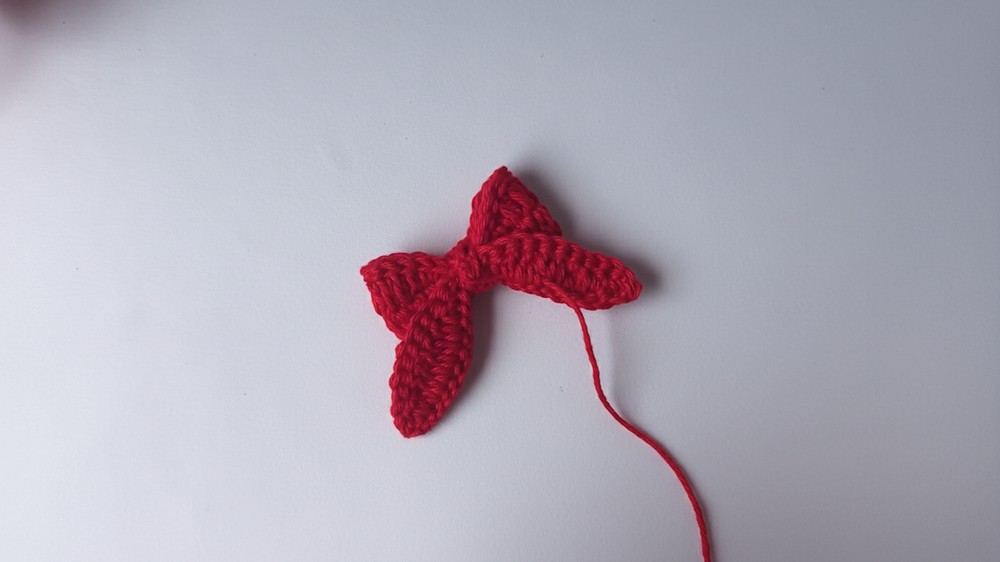
The end stage focuses on wrapping the center securely, finishing the edges neatly, and optionally adding decorative touches like buttons, beads, or contrasting yarn to elevate its style.
Conclusion
You have successfully constructed a super easy and elegant crochet bow! By employing a simple chain foundation and a graduating sequence of stitches, you created a perfect accessory ready to adorn any number of craft projects.
Final Tip
To keep the center of your bow perfectly shaped, use the long yarn tail left over from the main bow loop to wrap around the center before you attach the small center band. This ensures the cinched folds are secure and well-defined.


