
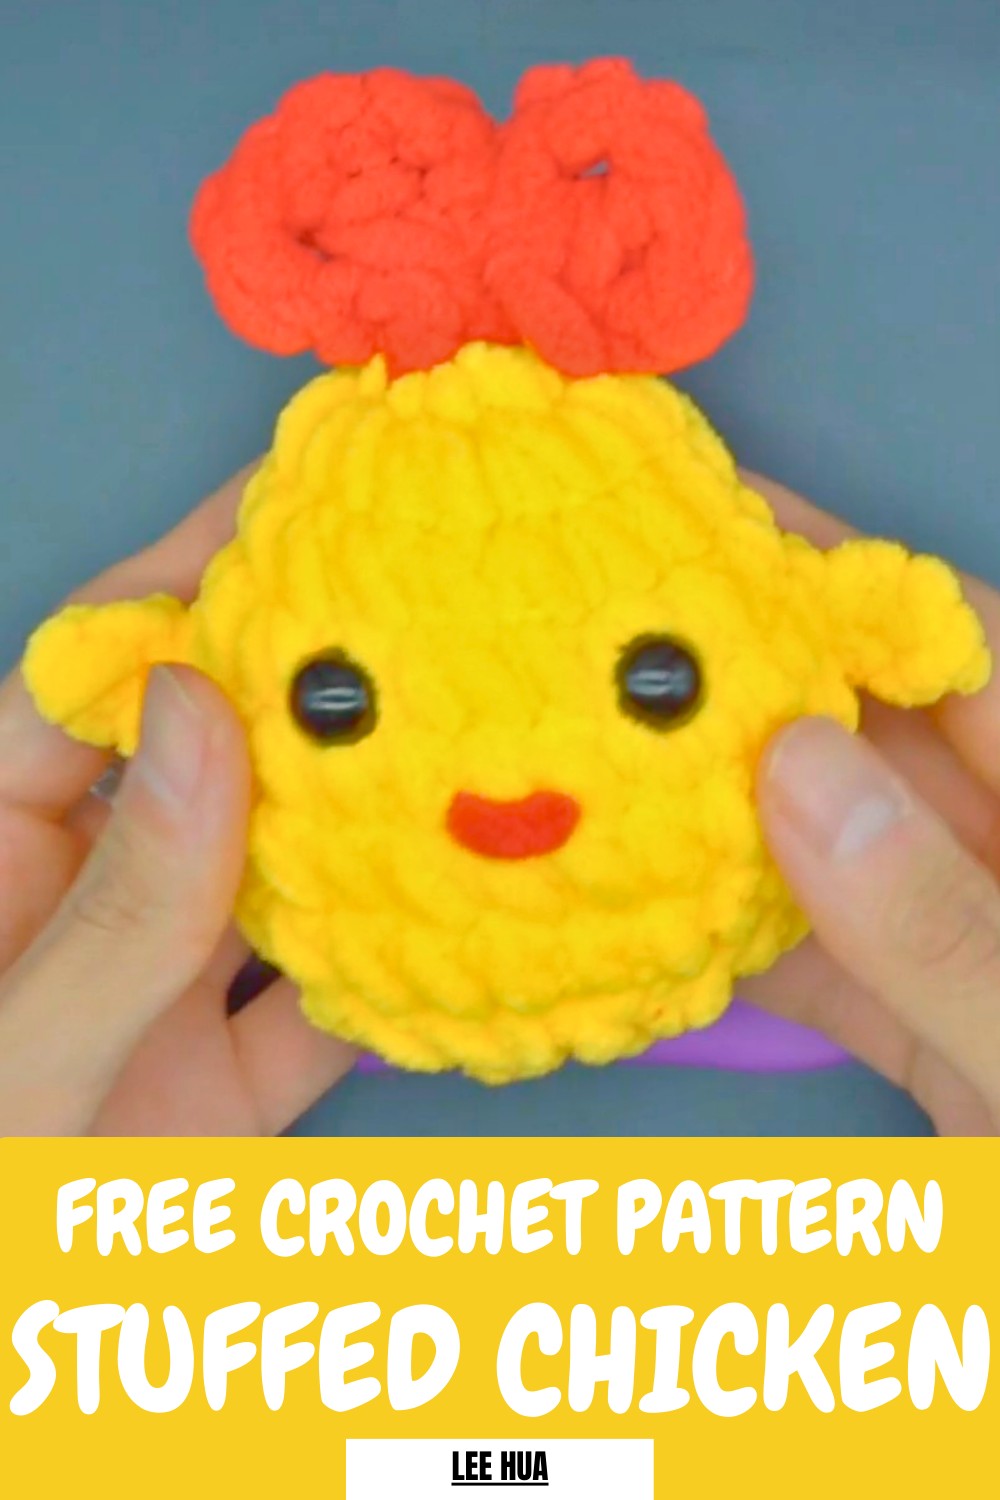
Share cheerful vibes with this Free Crochet Stuffed Chicken Pattern that's perfect for playful décor and gifts for chicken lover friends.
This little farm‑inspired animal makes a delightful decoration or toy that brings a smile to any room with its rounded body, bright beak, and tiny wings. It’s perfect for decorating shelves, children’s rooms, Easter baskets, or even as a playful desk companion that adds personality wherever you place it. The Crochet Stuffed Chicken pattern lets you turn simple yarn into this adorable bird, blending creative fun with a useful project that’s enjoyable to work on.
Simple Crochet Stuffed Chicken Pattern Perfect Accent Piece
Making this piece brings a sense of satisfaction as you see each part come together, while also helping improve focus and hand‑eye coordination. Once finished, the chicken becomes a lovely keepsake, a thoughtful gift, or a cheerful accent that reflects your creativity and adds warmth to your handmade collection.
This design is usually worked in continuous rounds to form a plump body, with separate details like beak, comb, wings, and legs added to give character and charm.
Level of Difficulty
-
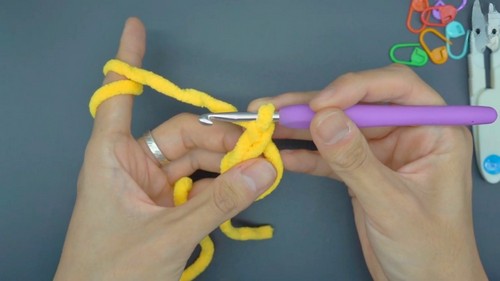
Beginner: This tutorial is an ideal entry point for amigurumi beginners. It slowly introduces fundamental skills like the magic ring, basic stitches, and facial embroidery.
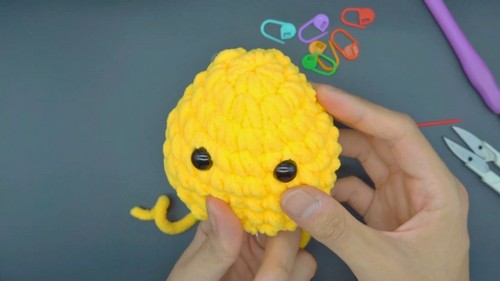
Many versions of the pattern suggest using soft yarn and safety eyes for a cuddly feel and vibrant look that appeals to kids and adults alike.
Special Features
-
Compact Proportions: The design uses a 24-stitch maximum diameter, resulting in a perfectly palm-sized, spherical toy.
-
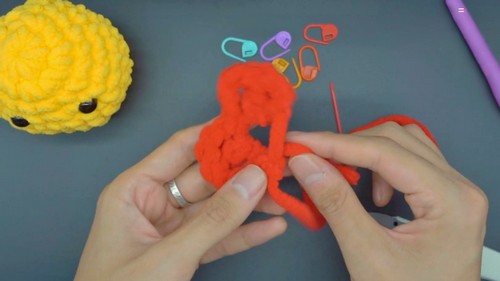
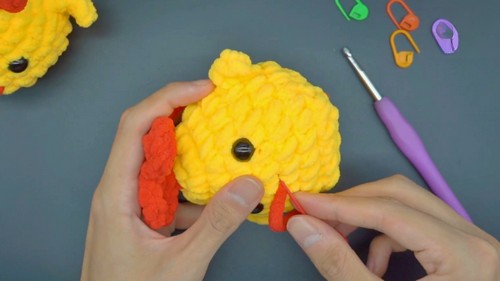
Textured Details: The separate bow and surface-crocheted wings add 3D elements that make the chick look more detailed than a simple ball.
-
Secure Finishing: By using the "front loop only" method to close the bottom, you create a flat, seamless base that allows the chick to sit upright.
You can make it in classic yellow and orange tones or choose your own colours to match your décor or style, and adjust the size by changing yarn thickness.
Materials
-
Yarn: Soft yellow yarn for the body and wings, and a small amount of a contrasting color for the bow and beak.
-
Hook: A standard crochet hook (sized to match your yarn).
-
Tools: Safety eyes with plastic backings, fiberfill (stuffing cotton), darning needle, scissors, and stitch markers.
Tutor's Suggestions
-
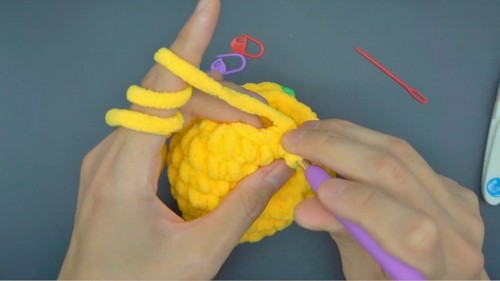
Trust Your Markers: The tutor emphasizes marking the first and last stitch of every round to ensure your count of 24 stitches remains accurate during the body-building phase.
-
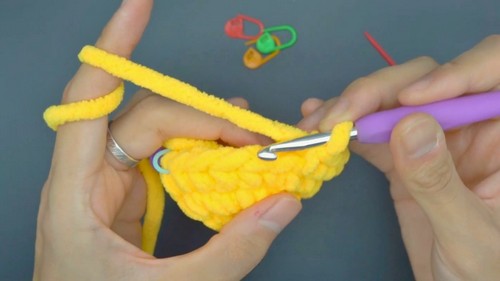
Patience is Key: Rounds 5–7 require repetitive single crochets; the tutor encourages patience during these rounds to ensure consistent tension.
-
Visible Stitches: If you struggle to see the "V" of the stitch, the tutor recommends using a darning needle to gently lift and identify the loops before inserting the hook.
Uses
-
Easter Decor: These make adorable additions to Easter baskets or spring-themed displays.
-
Sensory Toy: Because it is small and soft, it serves as a gentle fidget or sensory toy for children.
Step by Step Guide
This Stuffed Crochet Chick is a tiny, rounded amigurumi project that combines simple shaping with cute, customizable details like a bow and wings. Its compact size and soft texture make it a perfect handmade gift for spring or a charming nursery accessory.
Conclusion
Crocheting this Stuffed Chick allows you to master the essential "spherical" shape used in most amigurumi. By following these clear steps and adding personalized touches like the bow, you create a professional-looking plushie that is full of character.
Pro Tip
When sewing on the bow or embroidering the beak, insert your needle through the back of the doll and come out exactly where you want to start. Once finished, thread the needle back through to the same exit point at the back, tie a knot, and push it inside the body. This hides all knots and loose ends within the stuffing for a perfectly clean finish!


