
Trendy Crochet Shorts with Free Pattern for Any Skill Level
Stitch your summer style with this free crochet short pattern that offers comfort and flair for sunny days and casual outings.
Crochet has the power to create something beautiful out of simple yarn, and Julsmara Crochet work makes it possible for anyone to try. Julie, the creative mind behind the channel, shares detailed yet simple instructions in her videos, helping people of all skill levels create clothing that feels as good as it looks.
Free Crochet Shorts Pattern You’ll Want to Wear All Summer
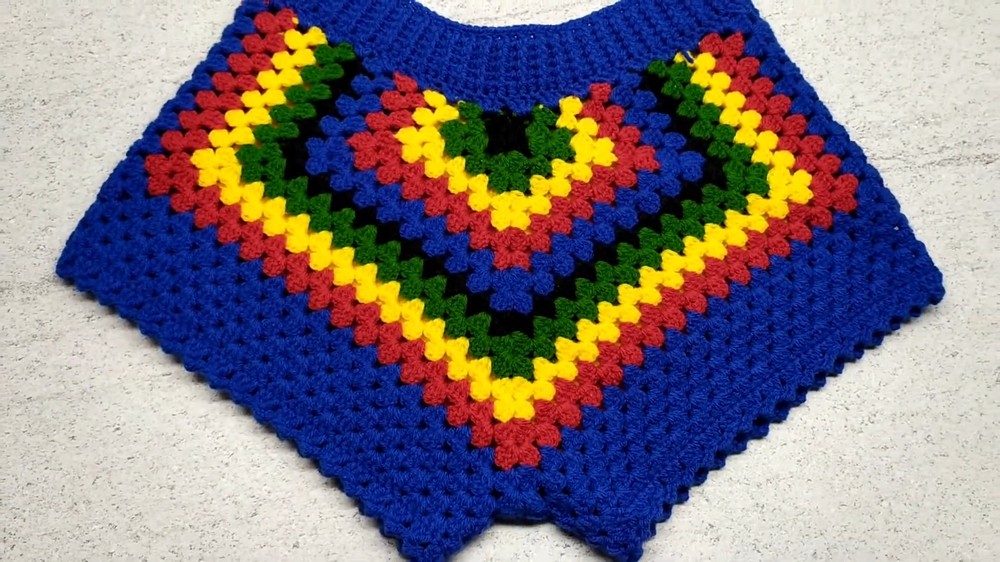
These shorts are a perfect mix of function and style, featuring bright colors that are stitched together in an eye-catching way. Starting with a black ribbed waistband, the shorts offer a soft, stretchable fit that stays comfortable. The rest of the design uses alternating rows of vibrant hues like green, yellow, blue, and red, connected with classic stitches like doubles and chains. The edges are finished with a delicate picot stitch that gives the outfit a polished and unique touch.
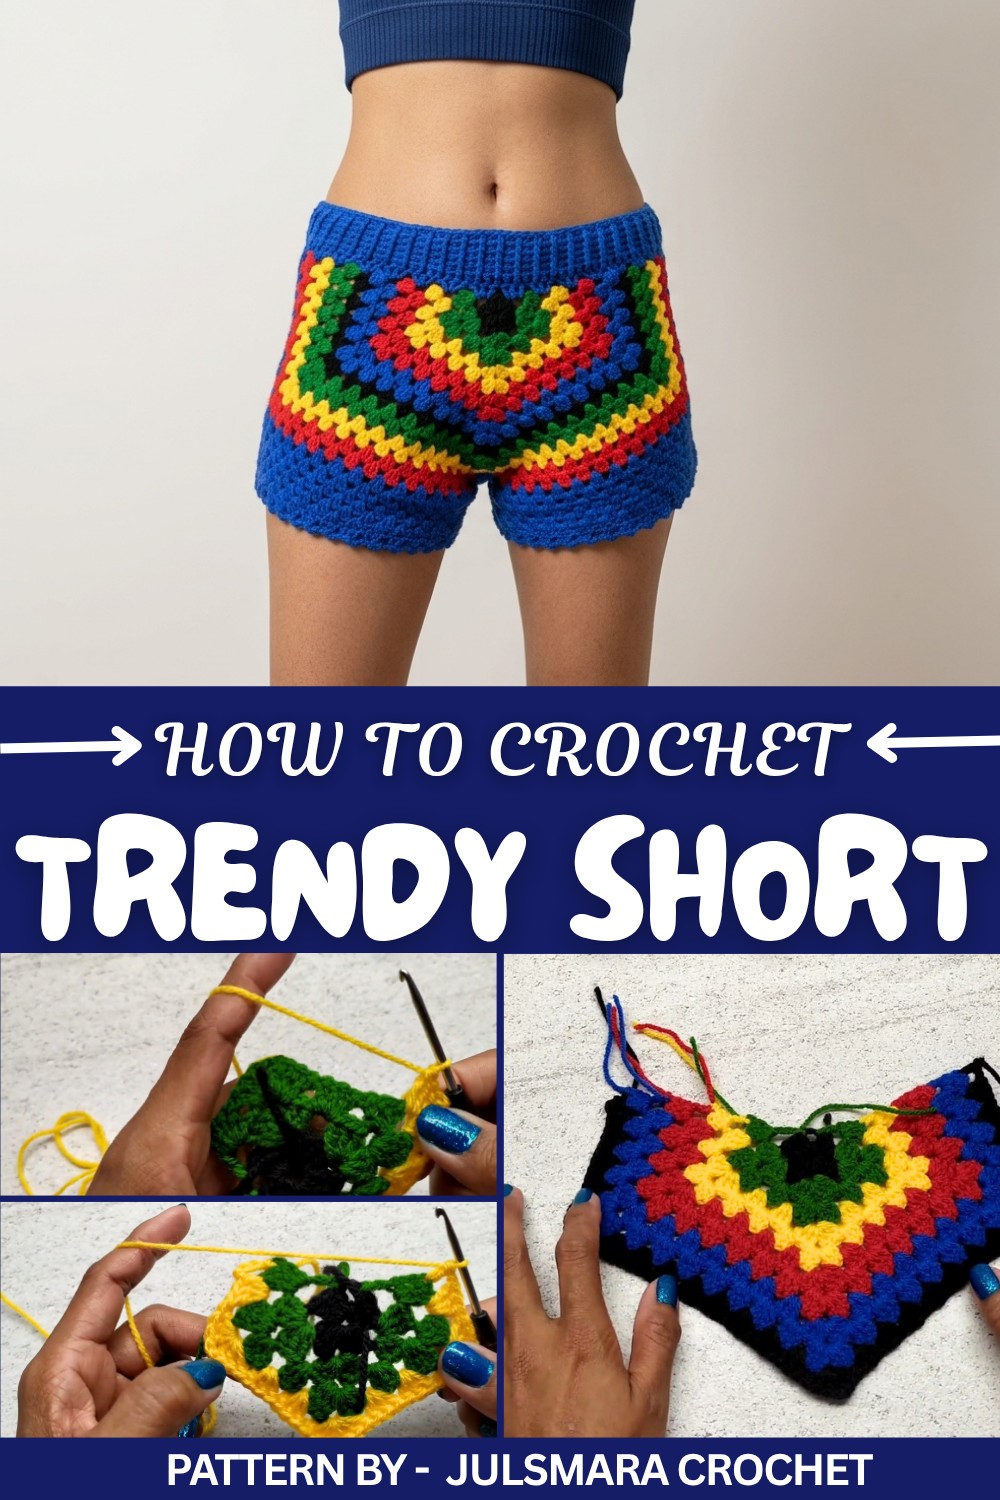
These shorts are perfect for sunny days, casual outings, or relaxing at home. They're lightweight and breathable, making them comfortable for hours of wear. The easy-to-follow instructions ensure you’ll make something stylish even if you’re just starting out. The design can be adjusted in size, colors, and length, giving you the chance to personalize your work.
When finished, these crochet shorts become much more than just an accessory—they are a combination of comfort and self-expression. Simple to put together but stunning when finished, they’re a great choice for anyone who loves beautiful and practical projects.
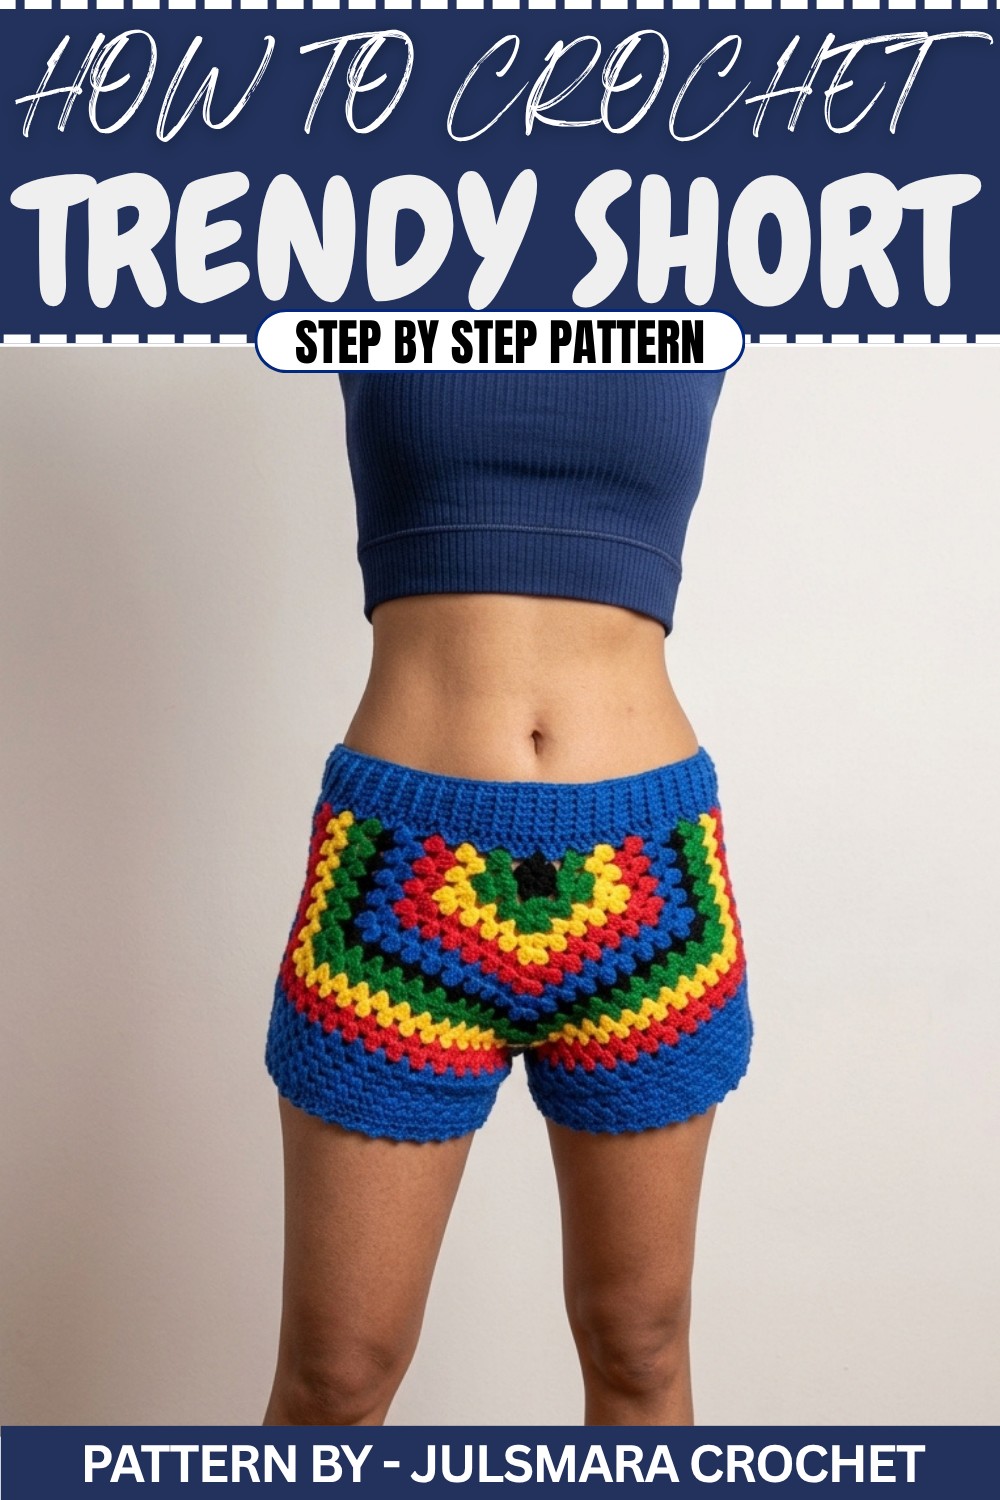
Crochet Shorts Pattern – Size Small
This versatile crochet shorts pattern is designed to create a fun and colorful pair of shorts using two identical panels. With bold colorwork and simple assembly, this project is perfect for adding a handmade touch to your wardrobe.
Skill Level
This pattern is suitable for Intermediate crocheters due to its color-changing rows, basic shaping, and edging techniques.
Materials
To complete this project, you will need the following supplies:
- Yarn:
- Madame Tricote 100% Acrylic yarn in five colors: Black, Green, Blue, Red, and Yellow.
- Crochet Hook: Size 3mm crochet hook.
- Tools: Yarn needle, yarn cutter, and tape measure.
Special Stitches
Picot Stitch Edging
- Work a cluster of 3 double crochet stitches together in one space.
- Chain 3.
- Slip stitch into the first chain to form the picot.
Front Post Double Crochet (FPDC)
Insert your hook around the post of the previous round’s stitch, working from front to back. Yarn over, pull through, and complete as a double crochet.
Back Post Double Crochet (BPDC)
Insert your hook around the post of the previous round’s stitch, working from back to front. Yarn over, pull through, and complete as a double crochet.
Stitch Abbreviations
Here is a helpful glossary for this pattern:
- CH = Chain
- DC = Double Crochet
- SL ST = Slip Stitch
- SC = Single Crochet
- FPDC = Front Post Double Crochet
- BPDC = Back Post Double Crochet
Useful Tips
- Blocking: After assembling and completing the shorts, consider lightly blocking the panels to smooth out the stitches and edges.
- Gauge: While gauge is not crucial, ensure each panel measures approximately 12" wide and 9" long to achieve the correct fit for a size small.
- Color Changes: For more seamless color transitions, carry your yarn along the side of your work or weave in ends as you go.
Pattern Construction
1. Creating the Panels
Foundation
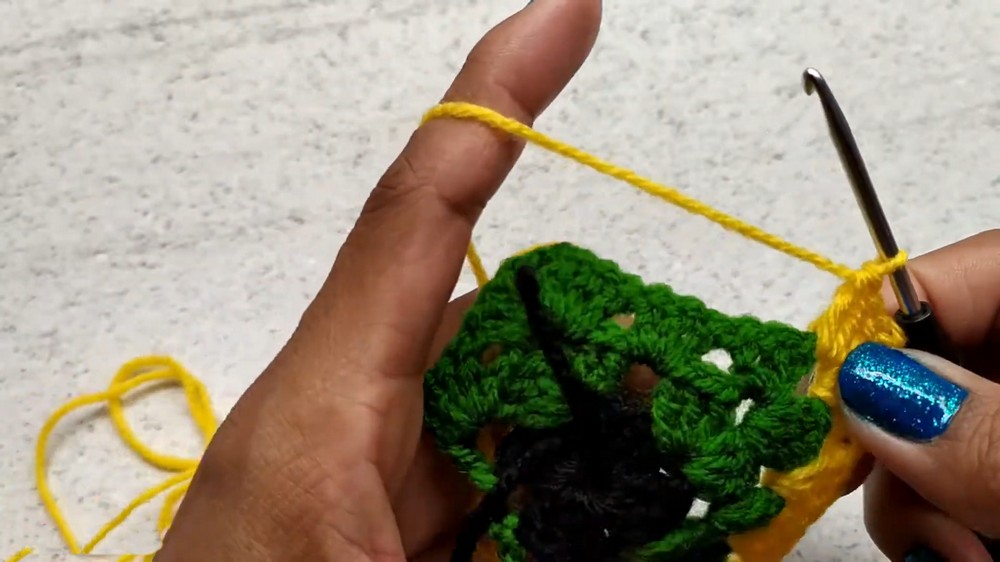
- Work a magic ring to start.
- Round 1:
- CH 3 (counts as first DC).
- Work 2 DC into the ring, CH 2.
- Repeat (3 DC, CH 2) three more times to create four sets of 3 DC separated by CH 2.
- Join with a SL ST at the top of the CH 3.
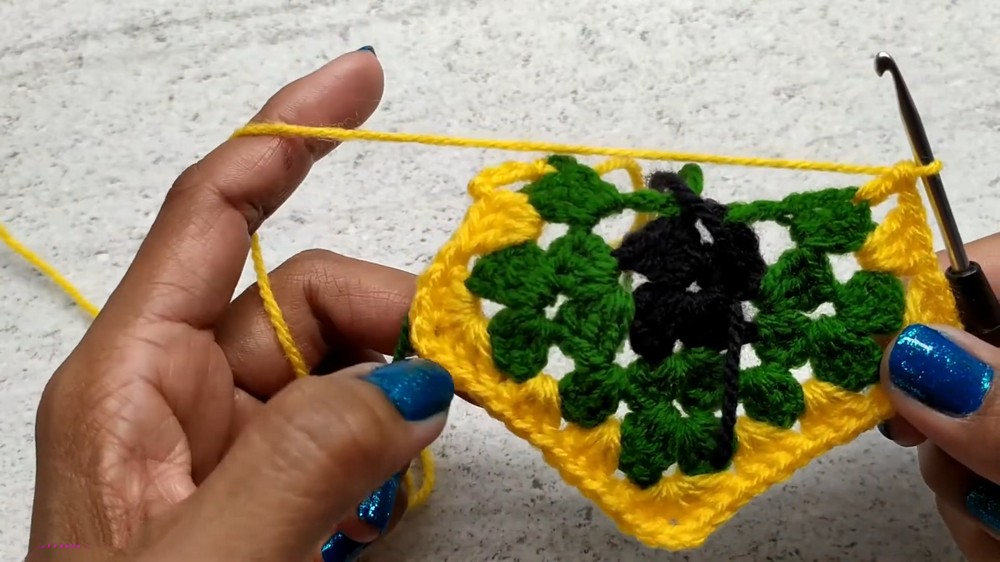
Color Rows
- Round 2:
- Attach Green yarn.
- CH 3 (counts as first DC), and work 3 DC into each CH space around.
- At each corner, work (3 DC, CH 2, 3 DC) to maintain the square shape.
- Join with a SL ST.
- Rounds 3–7:
- Continue working in rounds, changing colors (Yellow, Red, Blue, Black) as desired.
- Each round will increase the stitch count by adding 3 DC into each CH space.
- Ensure corners are always worked as (3 DC, CH 2, 3 DC) for consistent shaping.
- Dimensions:
- Finish working until each panel measures 12 inches wide and 9 inches long. Stretching slightly will reach 17.5 inches wide when worn.
2. Assembly
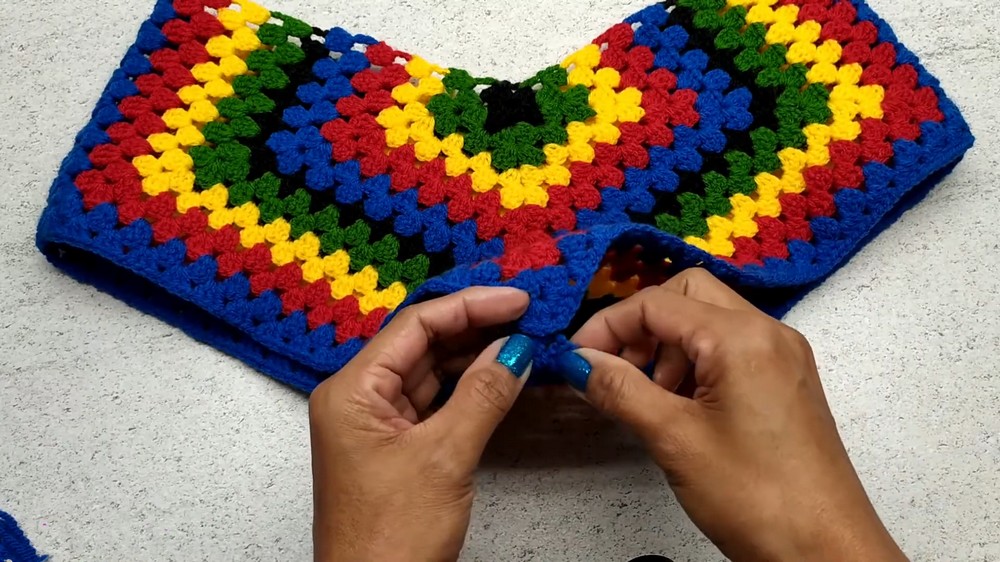
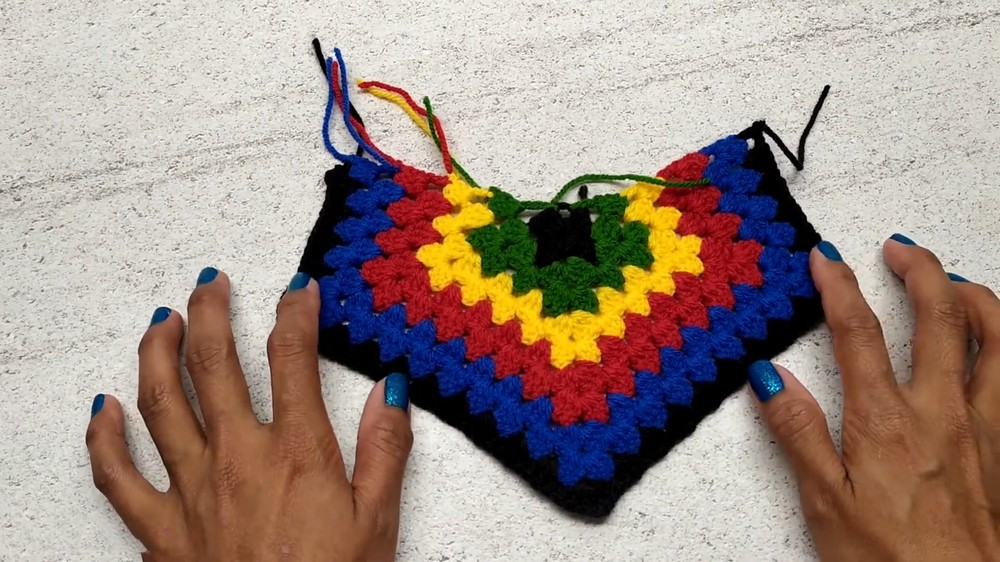
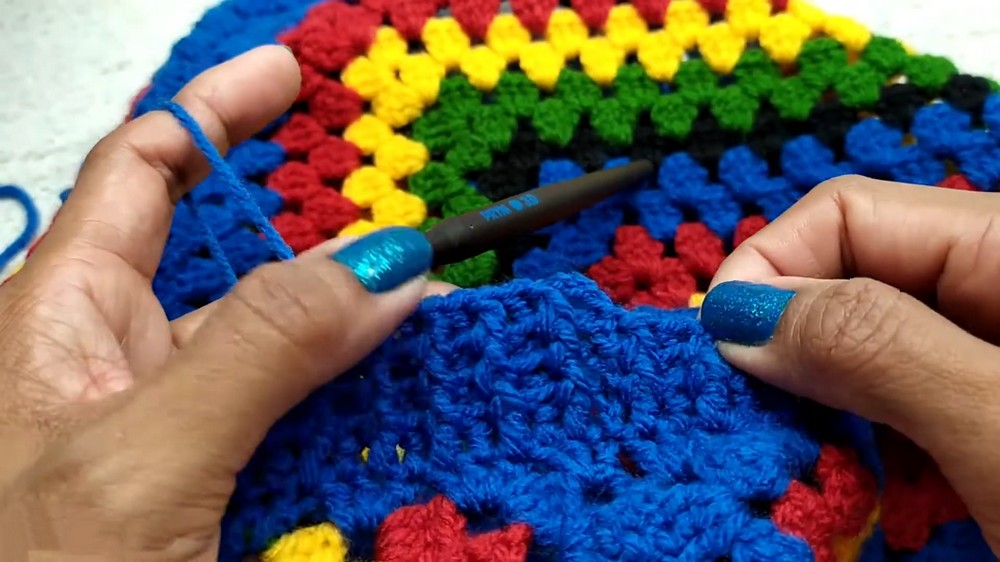
- Use a yarn needle to sew the two panels together.
- Side Seams: Match the side edges of the panels and sew evenly along the length.
- Crotch Area: Align the center bottom edges of both panels and stitch securely to shape the shorts.
3. Leg Construction
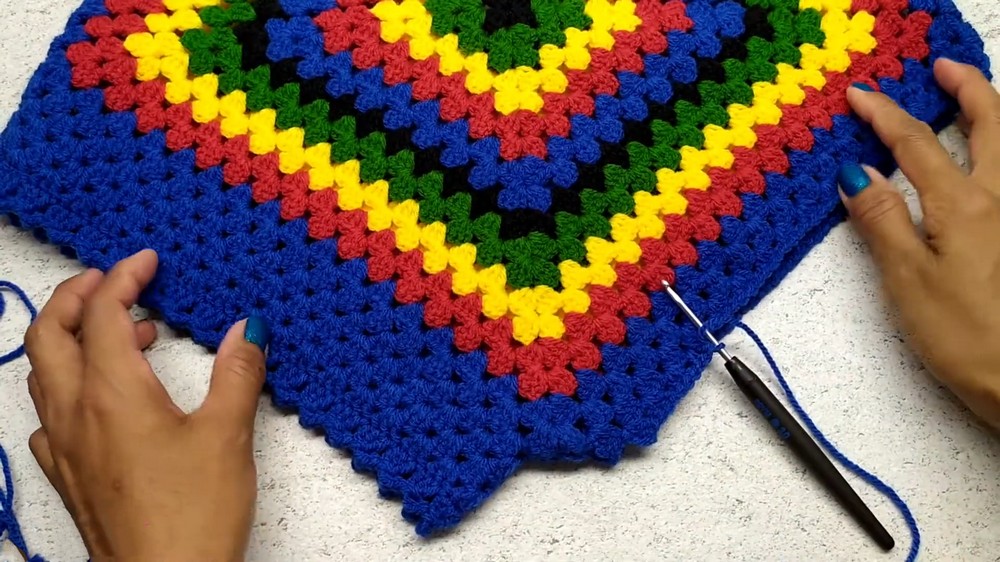
Leg Openings
- Attach yarn at the crotch area.
- Round 1:
- Work 3 DC into each chain space across the leg opening.
- Join with a SL ST at the start of the round.
- Edging:
- Work a picot stitch border to add decorative detail:
- For each cluster of 3 DC, chain 3 and slip stitch back into the first chain to create the picot.
- Work a picot stitch border to add decorative detail:
- Repeat the leg instructions for the other leg.
4. Waistband
Base Rows
- Attach yarn at any side of the waist opening.
- Row 1:
- Work 3 DC into each chain space around the waist.
- Join with a SL ST.
- Row 2:
- Work a standard row of DC in every stitch.
Waistline Ribbing
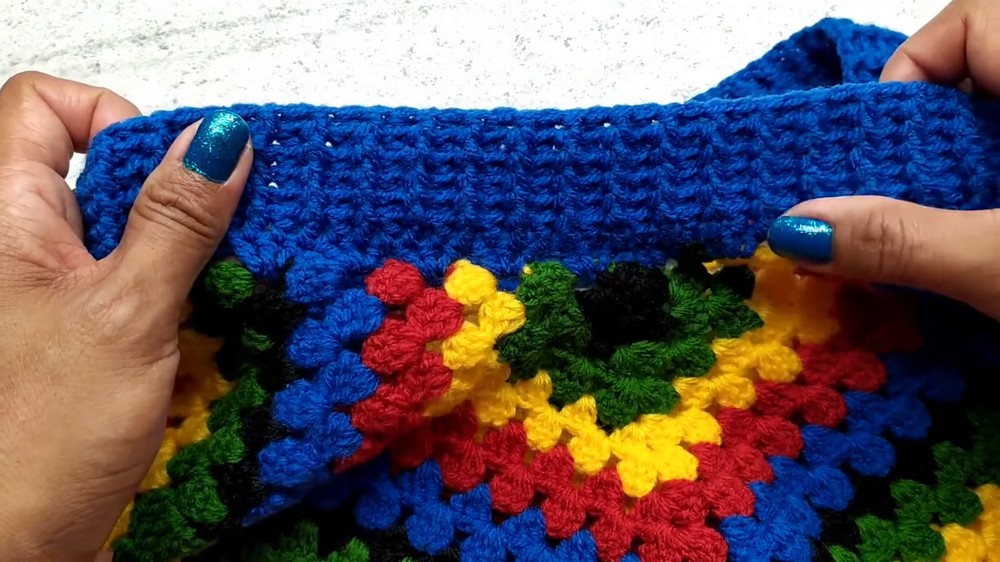
- Rows 3–7:
- Transition to ribbing using FPDC and BPDC stitches alternately.
- This creates the distinctive textured ribbing for a snug and stylish fit.
Finishing Touches
- Work a final row of SC around the very top edge of the waistband for a clean, polished look.
- Fasten off and weave in all loose ends.
Assembly and Sizing
Follow the assembly instructions carefully to ensure the correct fit for a size small. Verify seam placements at the side and crotch area before sewing completely. This will ensure the shorts are symmetrical, comfortably wearable, and well-fitted.
Conclusion
These vibrant crochet shorts, combining bright colorwork and textured edges, offer a playful addition to any wardrobe. The straightforward construction and intricate details make this an enjoyable project for intermediate crocheters seeking a wearable design. The techniques learned here—such as picot stitches and ribbing—can also be adapted for other crochet projects. Enjoy crocheting your stylish shorts with complete and easy pattern with tutorial for visual help.