
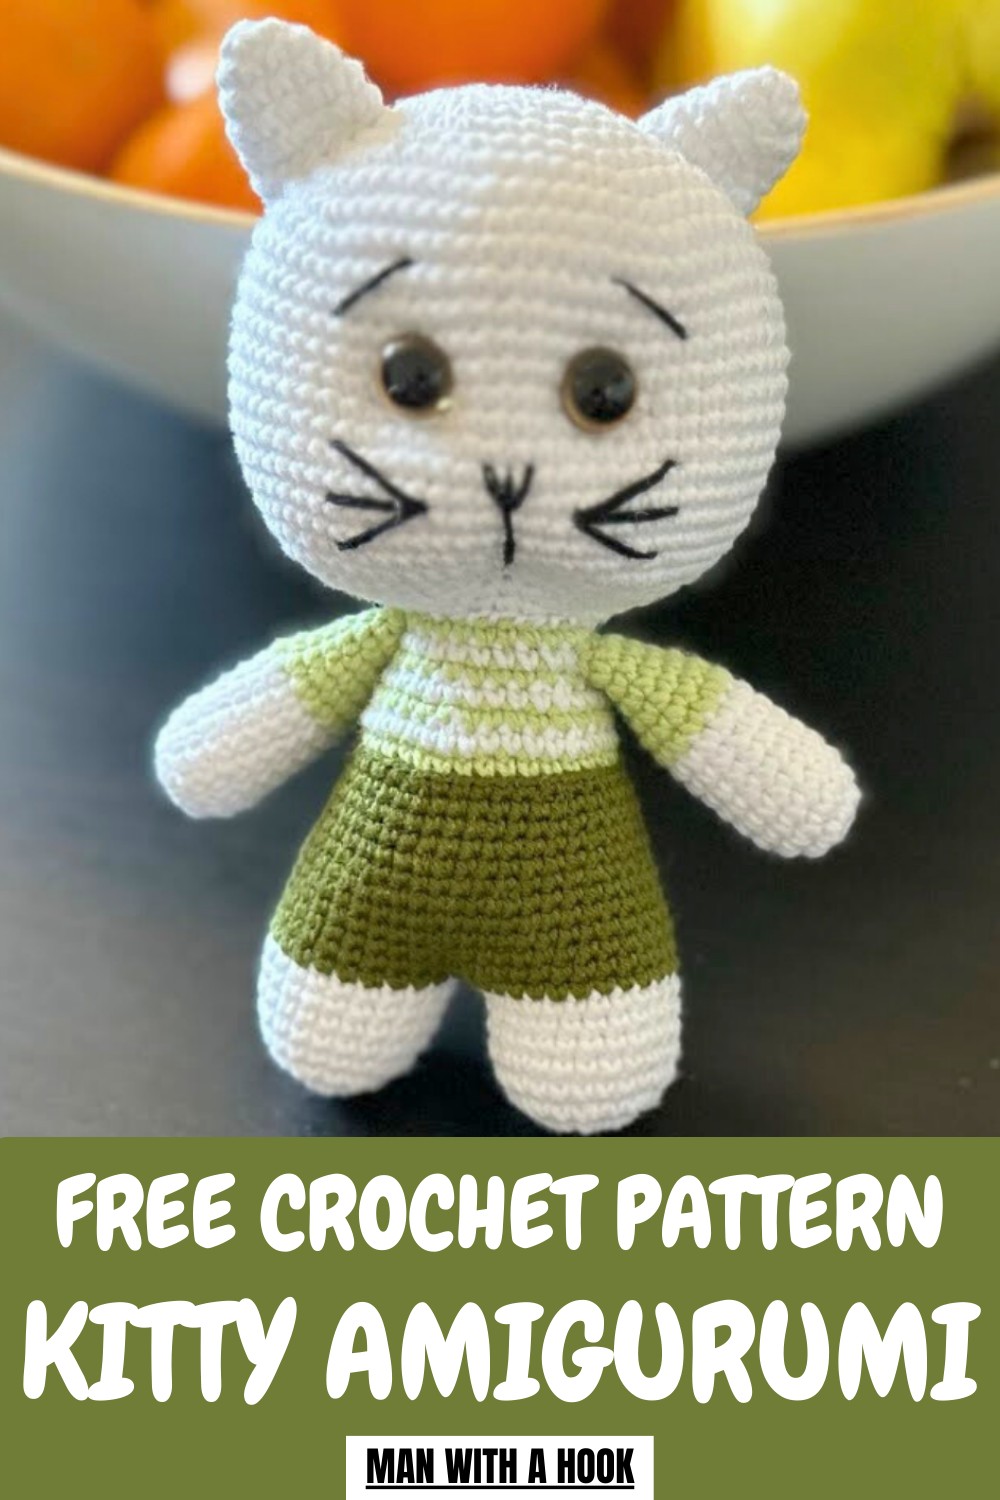
Snuggle up with this Free Crochet Kitty Amigurumi Pattern, perfect for adding charm to shelves, desks, or as a cute collectible gift.
Crocheting a small stuffed animal, such as a cute kitty, is a delightful way to channel creativity and make a unique handmade item. A well-designed pattern allows crafters of all skill levels to create an adorable toy or collectible with just a little yarn and some basic tools. Ideal for amigurumi enthusiasts, a kitty pattern stands out for its versatility, enabling you to customize colors, textures, and expressions.
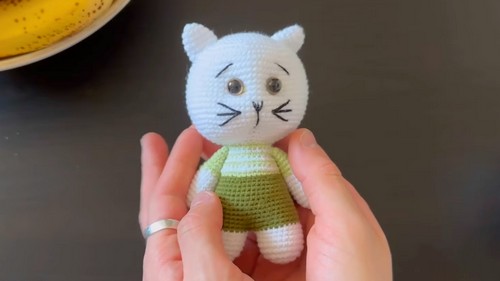
Playful Crochet Kitty Amigurumi Pattern That Purrs with Cuteness
Whether used as a gift, a piece of home decor, or a stress-relief project, it provides the perfect balance of relaxation and artistry. Unlike a mass-produced plush toy, a handmade kitty carries a personal touch, making it more meaningful and long-lasting.
An amigurumi project like this is better for sustainability, using minimal materials while promoting thoughtful crafting. With endless opportunities for personalization, a crochet kitty amigurumi pattern combines charm, functionality, and creativity seamlessly.
How to Crochet a Cute Kitty – Step-by-Step Guide
Materials Needed
To create the crocheted kitty, gather the following:
- White Yarn – This is the primary color (unknown brand; the tutor mentions writing the brand in the description).
- Dark Green Yarn (#82) – For creating certain accents, like the pants.
- Light Green Yarn (#11) – For variation and contrast.
- Scissors
- Crochet hook size 2
- Needle for sewing and final assembly.
Uses
- A handmade gift for loved ones.
- A decorative item for home or desk.
- Perfect for personalizing with different colors or accessories.
Special Features
- Incorporates multiple colors to add detail (white, dark green, light green).
- Detailed face features, including eyebrows, cheekbones, and a triangle-shaped nose, make the kitty more expressive.
- Sturdy construction with stuffing to provide a cute shape and texture.
- A beginner-friendly technique for creating parts such as ears, arms, and body, which are then sewn together for a seamless look.
Level of Difficulty
The project is beginner to intermediate:
- For Beginners: The magic ring, increases, and basic stitches are well-explained, making it accessible.
- For Intermediate Users: You’ll enjoy the details of sewing, shaping, and combining the pieces.
If you're entirely new to crochet, you might want to familiarize yourself with the basic crochet stitches and practice working in rounds before attempting this project.
Tutor’s Suggestions & Tips
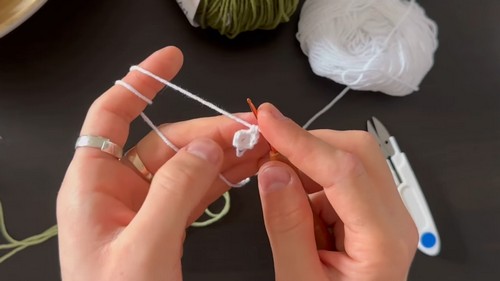
- Magic Ring: When starting with a magic ring, ensure your stitches are tight to avoid gaps.
- Mark Rows: Mark your rows as you progress with stitches and decreases to keep track easily.
- Stuff Gradually: The tutor emphasizes stuffing the parts, especially the head, gradually. Using tools like tweezers can help you evenly fill smaller areas.
- Sewing Tips: Pay attention to alignment when sewing the head, arms, and legs. Stitch securely to avoid loose parts later.
- Use Hidden Decreases: Follow the tutor’s instructions for performing decreases to keep stitches neat and hidden.
- Face Embroidery: The tutor emphasizes softly tightening the embroidery thread for creating expressive cheekbones, eyebrows, and a mustache. Count rows to ensure symmetry between the eyes and face features.
Step-by-Step Instructions
1. Start with the Arms
- Use white yarn and a magic ring.
- Crochet 7 stitches in the ring and proceed with 7 increases (create 2 stitches in each chain).
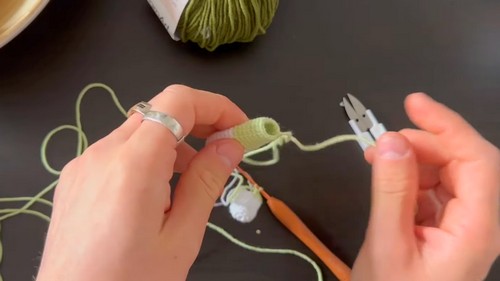
- Work 14 stitches for 7 rows in white, then switch to light green and crochet 6 rows.
- Secure by cutting yarn, leaving a tail for sewing later.
2. Make the Legs and Start the Body
- Crochet two feet using a magic ring and 8 stitches.
- Work 8 increases to make 16 stitches, and progress with one-stitch increases until creating rounds of 24 stitches.
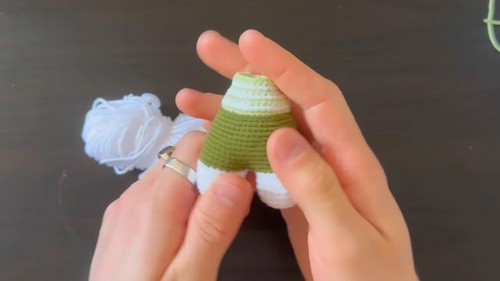
- Do not cut the yarn on the second leg. Join the legs at the center with 24 stitches each, switching to dark green yarn for the pants.
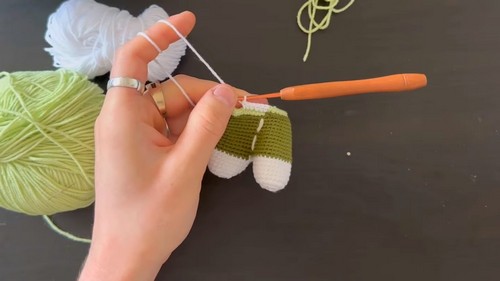
- Work five rows of 48 stitches around the legs and create decreases while alternating colors (green and white) with successive rows. Gradual decreases form the body shape.
3. Crochet the Head
- Start with white yarn and a magic ring with 8 stitches.
- Work increases: one-stitch, two-stitch, three-stitch increases up to seven-stitch increases, ending with 72 stitches in the round.
- Crochet 12 rows of 72 stitches consistently.
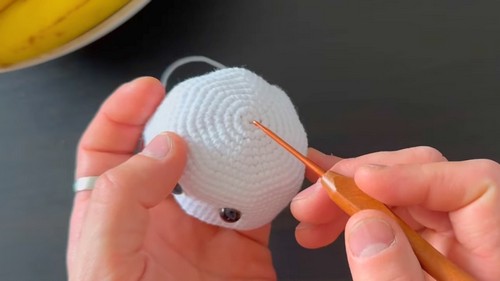
- Position and install safety eyes between rows 14 and 15, maintaining 9 stitches distance between them. Tie off securely.
- Begin decreasing the head by doing rows of decreases until you reach 24 stitches. Stuff gradually as you decrease. Leave a long tail for sewing the head to the body.
4. Create the Ears
- Use white yarn and a magic ring with 4 stitches.
- Work increases row by row, progressing to 6 stitches and 1 increase.
- Tie off the pieces and sew them onto the head about 4 rows down from the top of the head.
5. Assemble the Kitty
- Attach the arms below the neck and above the legs.
- Sew the head onto the body, stitching securely to avoid tilting.
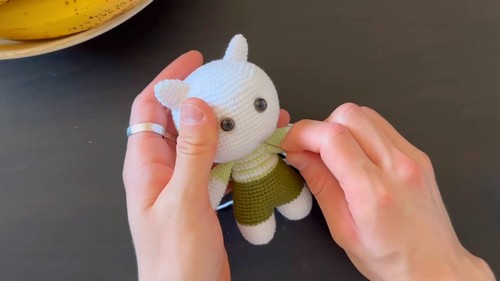
- Sew the ears symmetrically onto the head. Align and adjust as you sew to ensure they look balanced.
6. Add Final Details
- Tighten the face by threading the needle through areas around the eyes and filling them securely to create defined cheekbones.
- Use darker yarn to make the eyebrows and mustache. Create symmetrical details and adjust as needed while stitching to give the kitty personality.
Conclusion
Congratulations! You’ve completed the adorable crocheted kitty, perfect for gifting or personalizing. This project required patience and attention to detail, but the final product is rewarding and delightful. You’ve learned techniques such as working with a magic ring, increases, and decreases, as well as embroidery techniques to give personality to your creation.
Pro Tip
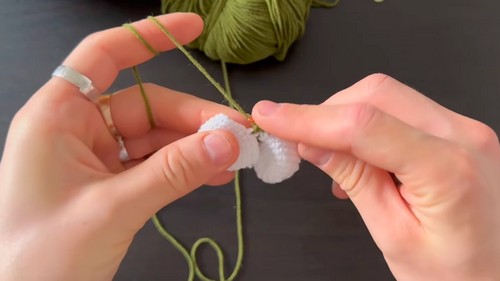
For seamless color changes, switch yarns at the last loop of the last stitch in the old color. Pull through the new color, then tighten to avoid gaps at the transition. This will keep your kitty looking neat and professional.


