
Keep little ones cozy with this Crochet Sweater For Baby Pattern for soft, comfortable knits that add warmth, charm, and playful style daily.
Designing a bespoke garment for a little one brings a unique sense of warmth and timeless charm to any nursery wardrobe. This delicate Crochet Sweater For Baby Pattern transform soft, hypoallergenic yarns into cozy masterpieces that offer far more than just a layer of protection against the chill; they represent a modern heirloom aesthetic that is both breathable and incredibly soft against sensitive skin.
Soft Crochet Sweater For Baby Pattern Made for Delicate Skin

Beyond their undeniable cuteness, this garment provide a flexible, stretchy fit that accommodates the rapid growth and constant movement of active infants. The intricate stitch work adds a sophisticated texture that store-bought items simply cannot replicate, making them perfect for milestone photoshoots or thoughtful gifts.
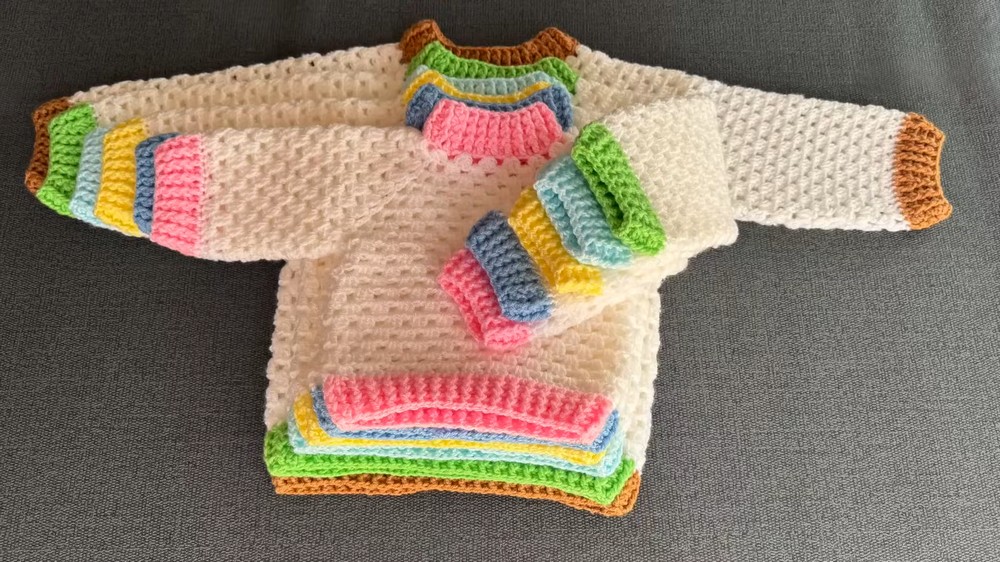
Today, makers are embracing seamless constructions and playful button accents to ensure every crochet sweater for baby pattern delivers a high-end, boutique-style finish that parents adore. By choosing to produce a custom piece, you gain the freedom to select palettes ranging from muted earth tones to vibrant pastels, ensuring the finished sweater is as visually stunning as it is functional.
Step-by-Step Guide Crochet Baby Sweater
1. Materials
- Yarn Type: Double knitting yarn, approximately 100g (330m per ball) for the main color (1.5 balls for the body, with some for the sleeves). A smaller amount is needed for the second color for finishing edges.
- Color Codes: White (Main Color, CE001) and Brown (Secondary Color, CE057).
- Hook Size: 4mm crochet hook for all sizes.
- Other Tools: Scissors, tapestry needle for sewing, and stitch markers to mark corners.
2. Steps to Make the Baby Sweater
Starting with the Foundation Chain
- Create a slip knot and crochet the foundation chain based on the size:
- Size 6 (4-5 years) begins with 74 chains. (Details for other sizes are in the video description).
- Turn the chain over so the back bump faces you.
- Skip the first 3 chains, and double crochet (DC) into the 4th chain. Continue placing 1 double crochet in each chain across. For the 4-5-year size, this first row will result in 72 double crochet stitches.
- Once completed, join the first and last double crochet with a slip stitch to create a circle, forming the sweater's yoke.
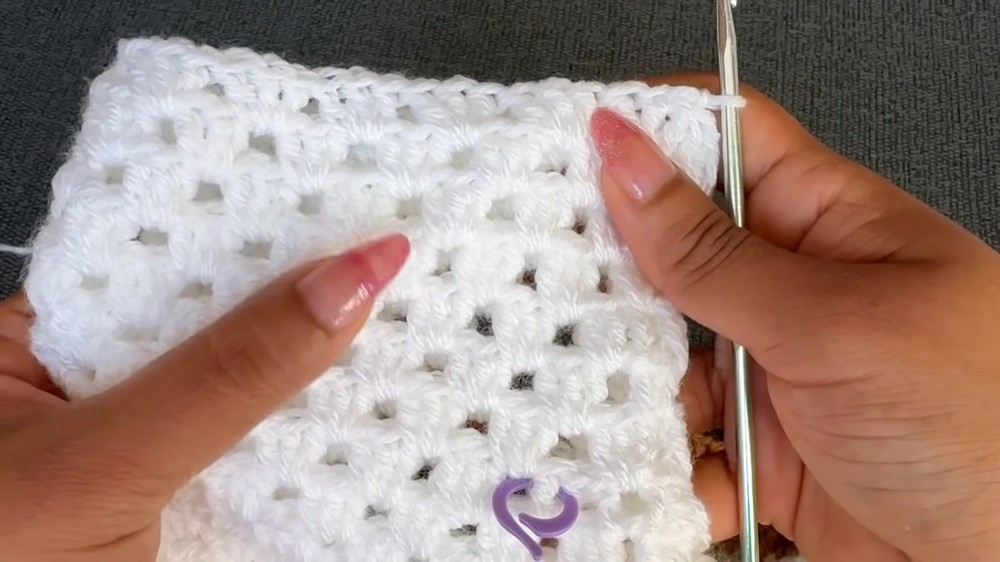
Round 2-4: Adding Texture
- After joining the first round:
- Chain 3, which serves as the first double crochet for this round.
- Begin alternating Front Post Double Crochet (FPDC) and Back Post Double Crochet (BPDC) stitches for the textured ribbing effect.
- Continue this pattern for four rounds, joining at the end of every round with a slip stitch.
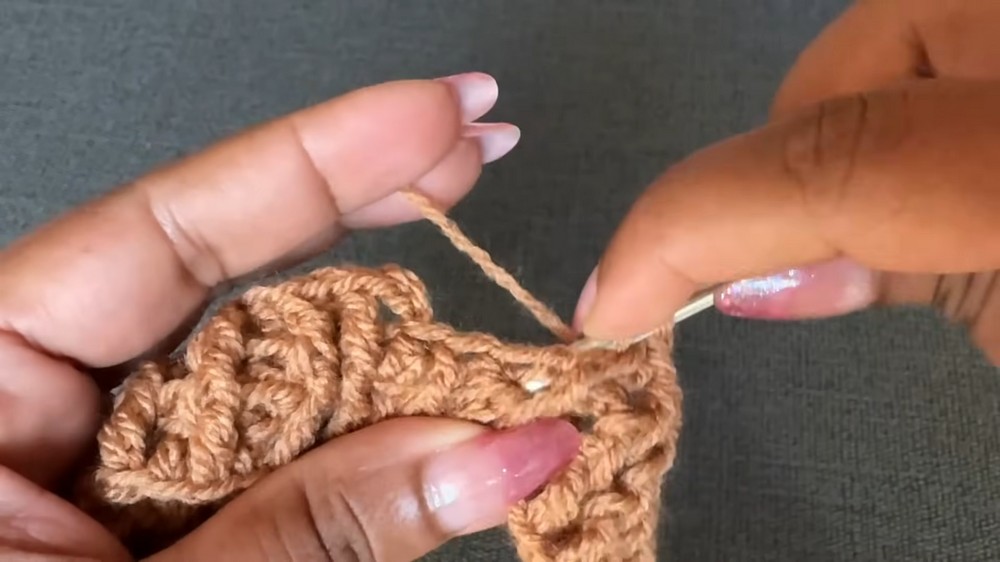
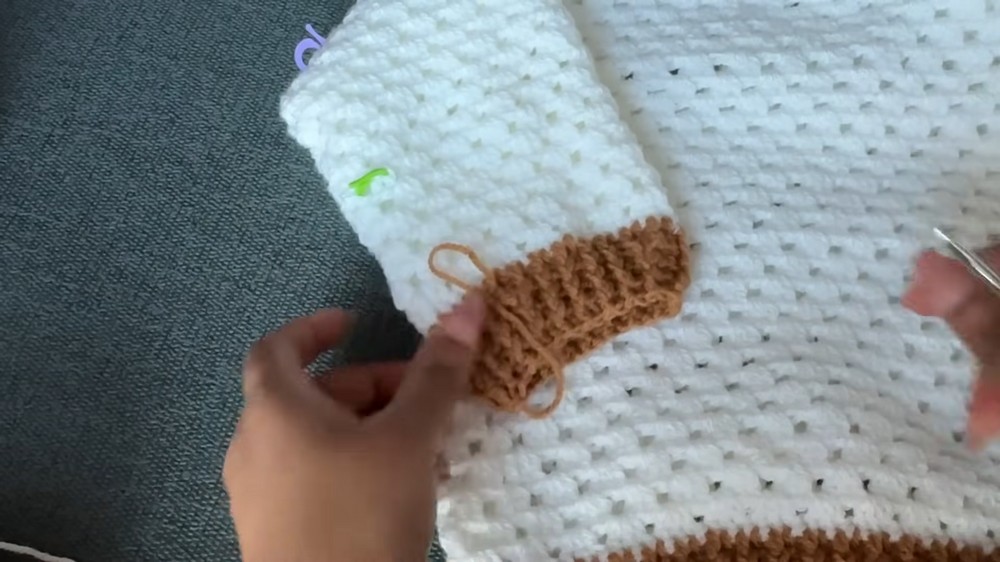
Yoke Construction
- Join the contrasting color for the yoke. Begin the first row of the yoke with blocks of 3 double crochets (3 DC):
- Start with a chain of 3 (counts as one DC) and add two more DC into the same space.
- Skip the next 2 stitches, and into the 3rd stitch, make a set of 3 DC. Repeat this pattern all the way around.
- Mark the four corners for shaping using stitch markers.
- Continue working in rounds while increasing at the corners:
- At corner spaces, make one double crochet, chain 2, and another double crochet into the same corner space to expand the yoke evenly.
- By Round 10, each side of the yoke will have 14 blocks of 3 DC each (this count ensures the proper shape).
Body Construction
- Once the yoke is complete, join the front and back pieces by connecting the corners (leaving spaces for the sleeves). Slip stitch the front and back corners together.
- Continue working the 3 DC block pattern in rows to form the sweater's body.
- For the size 4-5 sweater, crochet 20 rows for the body. After this, switch to the secondary color for the border.

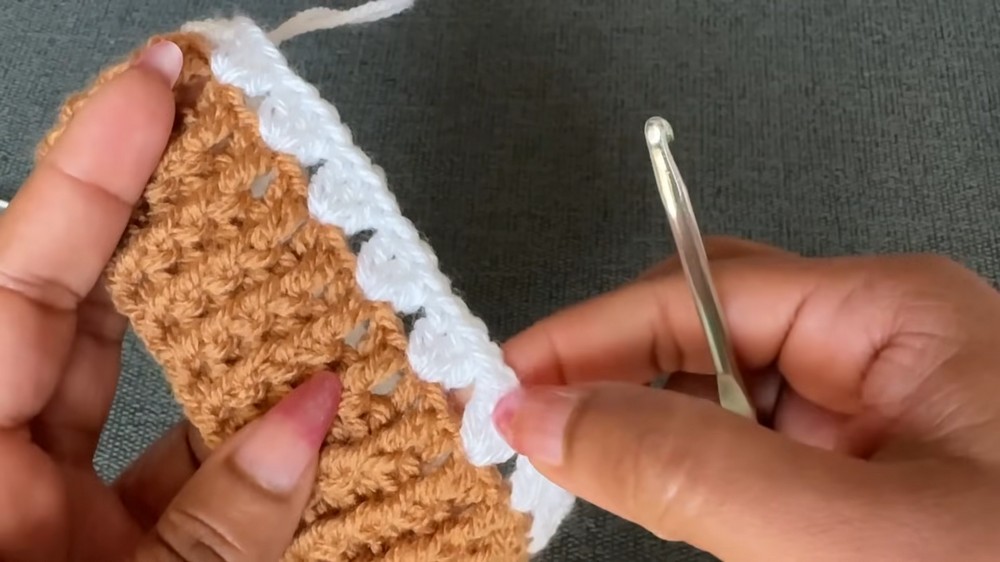
Special Finishing Rows for the Body
- To add a neat finish, work 4 rounds in the secondary color:
- First, make 1 DC into each stitch all the way around.
- For the following rounds, alternate front post and back post DC stitches to create a ribbed edging.
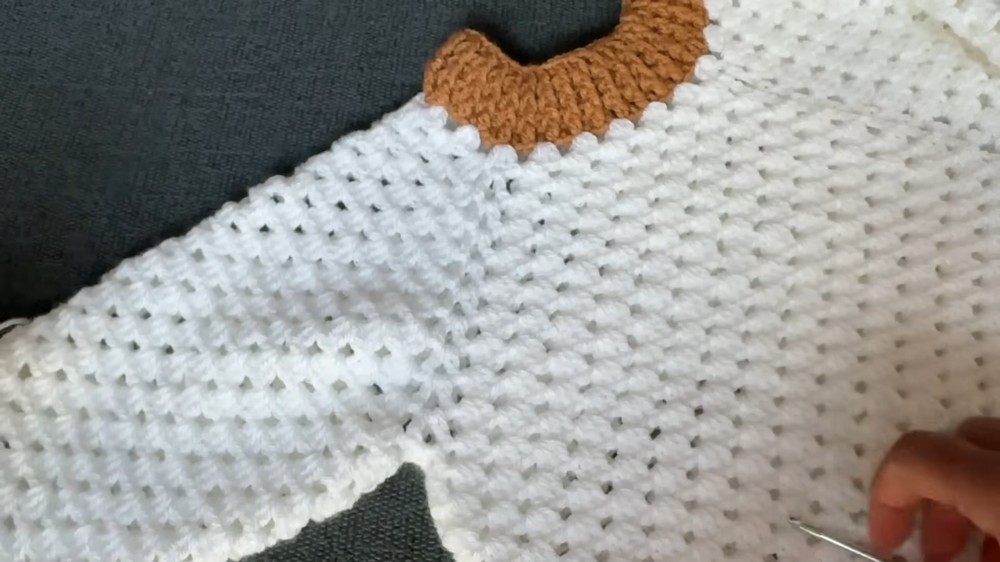
Making the Sleeves
- Attach the yarn to the armhole created from the yoke.
- Work the sleeves in the same 3 DC block pattern, placing 16 blocks around the armhole in the first round.
- Crochet up to 20 rounds, decreasing stitches in later rounds for tapering:
- For the first 6 rounds, work with 16 blocks.
- From Rounds 7-14, reduce to 15 blocks, and then to 14 blocks from Rounds 15-20.
- Finish the sleeve edges with 4 rounds of alternating front post and back post DC, creating a ribbed finish like the body.
Repeat for the Second Sleeve
- Start the second sleeve in the same way, using the same decrease and finishing techniques.
- Once both sleeves are complete, adjust the edges by hand if necessary for a clean look.
Special Features
- Versatile Sizing: The tutorial covers six different sizes for ages ranging from 0 months to 5 years, making it a go-to for baby and toddler sweaters.
- Elegant Texture: Alternating front post and back post double crochet stitches give the sweater a professionally ribbed and textured finish.
- Double Color Customization: Using two colors adds depth and character, but the sweater can also be made with a single color if preferred.
- Comfort and Fit: The crochet technique ensures the sweater is comfortable, stretchy, and easy for kids to wear.
Level of Difficulty
This project is beginner-friendly, especially for those familiar with basic stitches like double crochet (DC), front post, and back post DC. The step-by-step instructions make it accessible, even for less experienced crocheters. Advanced crocheters will enjoy the efficiency and neatness of the design.
Tutor's Suggestions
- Customizable Colors and Patterns:
- Use colors of your choice to make the sweater stand out. Pastel shades are suited for younger children, while vibrant colors can be used for older ones.
- Sizing Adjustments:
- Be careful to follow the foundation chain count and yoke row increases for each size. You can check measurements as you crochet to ensure a proper fit.
- Neat Finishing:
- The final rows in a contrasting color add a polished look, so make sure to maintain even tension while working on these rounds.
- Time Needed:
- Making the size 4-5 years sweater takes approximately 1 hour and 40 minutes, depending on skill level.
Uses of the Baby Sweater
- Everyday Wear: Lightweight but warm, it is ideal for keeping children cozy in cooler seasons.
- Gifting: A handmade sweater is a thoughtful, personalized gift for baby showers, birthdays, or holidays.
- Seasonal Fashion: The layered texture and color combinations make it great for fall and winter wardrobes.
Tip
To reduce bulk and achieve a seamless look, always carry unused yarn along the back of your work while crocheting with multiple colors. This not only hides the yarn but also keeps the inside of the sweater neat.
Conclusion
This crochet baby sweater pattern is a perfect blend of simplicity, creativity, and functionality. With the easy-to-follow steps, beautiful design, and versatile sizing, you can quickly create a stunning garment for children of various ages.


