
Super Free Crochet Cat Coaster Pattern to Make Cozy Decor
Add a playful touch to your table with this free crochet cat coaster pattern and learn how to make a cute coaster that’s perfect for coffee, tea, and thoughtful gifts.
A cozy cat shaped coaster can make your tea or coffee breaks more enjoyable and protect your table at the same time. With the help of CrochetLilWeaves, you can follow clear instructions to bring this handmade treasure to life.
This coaster is made of four parts, a circular base, two ears, and a tail, that come together to form a sweet feline inspired piece. Its eye catching shape, especially the triangular ears and curled tail, gives it a playful and functional aesthetic. The tail, with a slight curve and a touch of finishing detail, adds character to the coaster, making it stand out on any table setting.
Free Crochet Cat Coaster Pattern for Fun Crochet Days
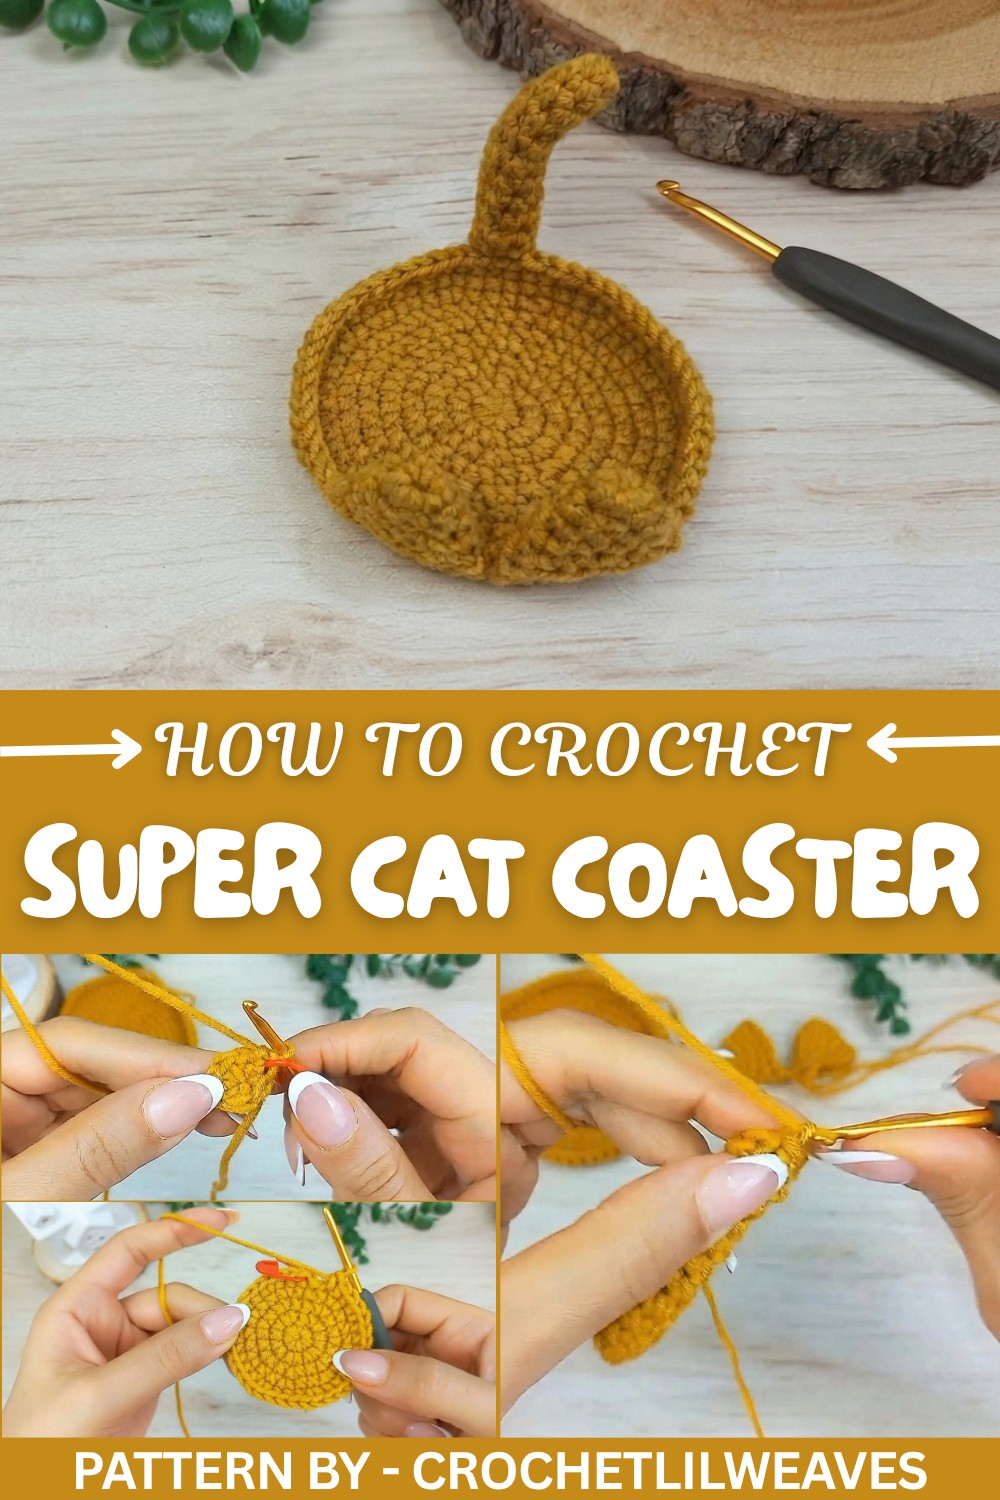
Practical yet fun, this coaster works for everything from hot drinks like coffee or tea to displaying small table items. It makes a thoughtful gift when paired with other handmade items, allowing a personal touch to shine through. The process itself is structured, starting with the magic ring and progressing through basic stitches like single crochet and increasing.
The highlight of this project is its adorable appearance, which brings charm and warmth to any room. Adding your own choice of colors can help personalize it for your home or for someone special. Complete a set in different hues, and they’ll brighten up any table while being both functional and enjoyable to make. With this project, you’ll have a beautiful piece that’s sure to draw compliments.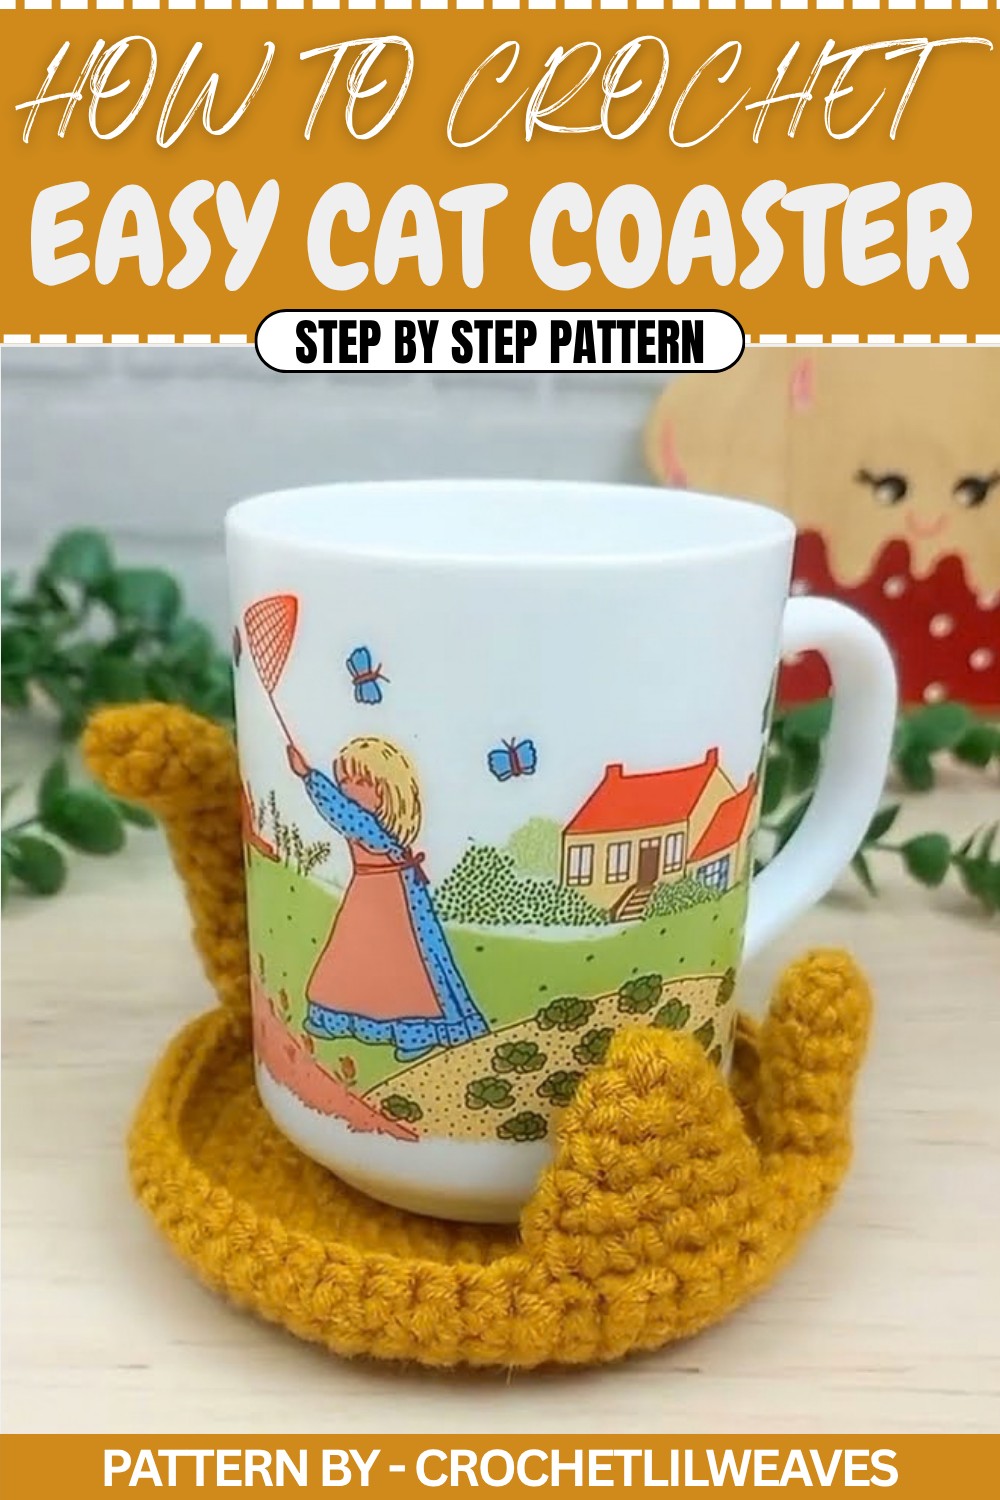
Crochet Cat Coaster Pattern
Today, we’re going to create this beautiful and cute cat coaster. This fun project is so easy to do and is designed in four parts: one base (bottom), two ears, and one tail.
Quick Overview of Pattern
- Parts:
- 1 circular base
- 2 triangular ears
- 1 stuffing friendly tail
- Techniques Used:
- Magic ring
- Single Crochet (SC)
- Increasing and working in joined & continuous rounds
- Basic sewing for assembly
- Customization: Extend tail length or add additional details for a unique and personal touch.
Notes
- Always use a stitch marker to keep track of the first stitch in each round.
- The magic ring ensures a neat and closed center for circular and tubular pieces.
- Rounds are explicitly joined using chain 1 and slip stitch (sl st) unless otherwise noted.
- Stuffing in the tail is optional but adds charm to the completed project.
Skill Level
- Beginner
This project is perfect for beginners as it uses basic stitches and techniques in a repetitive and straightforward style.
Materials
- Yarn: Medium weight (DK or Category 3)
- Hook: 3.0 mm–3.5 mm crochet hook
- Notions and Tools:
- Stitch marker
- Yarn needle
- Scissors
- Fiberfill stuffing (small amount, for the tail)
Measurements / Sizing
- Base diameter: ~12–13 cm (4.75–5 in)
- Ear height: ~3–4 cm (1.25–1.5 in)
- Tail Length: ~8–10 cm (3–4 in, can be customized)
Gauge
Gauge is not critical for this project, but ensure your stitches are tight enough to prevent gaps. Adjust hook size for a denser, sturdier fabric.
Stitch Abbreviations
- MR: Magic Ring
- ch: Chain
- sc: Single Crochet
- sc inc: Single Crochet Increase (2 sc in the same stitch)
- sl st: Slip Stitch
- st(s): Stitch(es)
Special Stitches
Magic Ring (MR)
- Place the yarn on two fingers and wrap it from back to front, forming an X in the front.
- Insert the crochet hook under the first loop of the X, grab the second thread, and pull through.
- Twist the hook and yarn over. Pull through the loop on the hook to create one chain.
- Remove your fingers from the ring, and voilà—your magic ring is ready to crochet into.
Single Crochet (sc):
- Insert your hook into the designated stitch.
- Yarn over and pull through, leaving two loops on the hook.
- Yarn over again and pull through both loops to complete one sc.
The Crochet Pattern
1. Base (Bottom Circle)
Round 1:
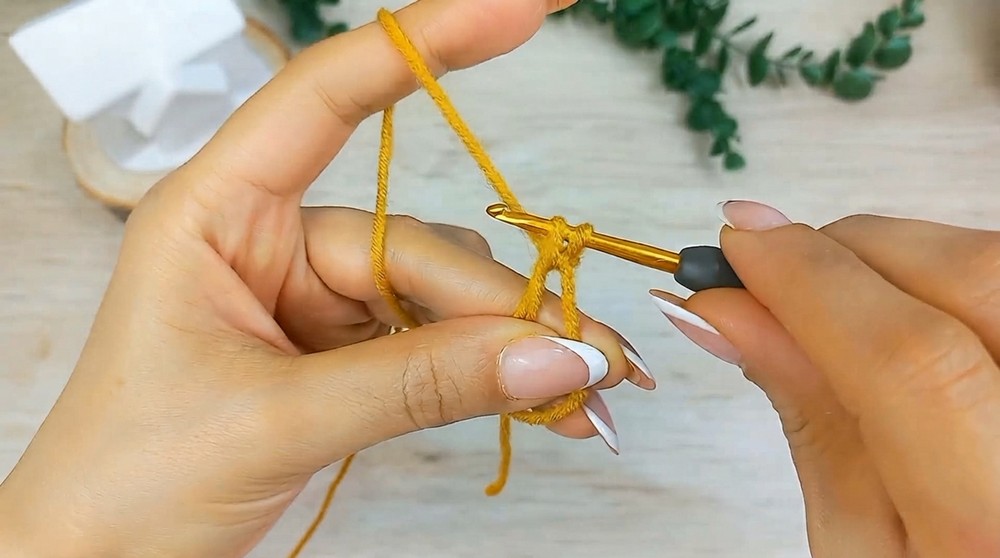
- Create a Magic Ring (MR).
- Work 7 sc into the magic ring.
- Pull the tail tightly to close the ring.
- Sl st to the first sc.
- [7 sts]
Round 2:
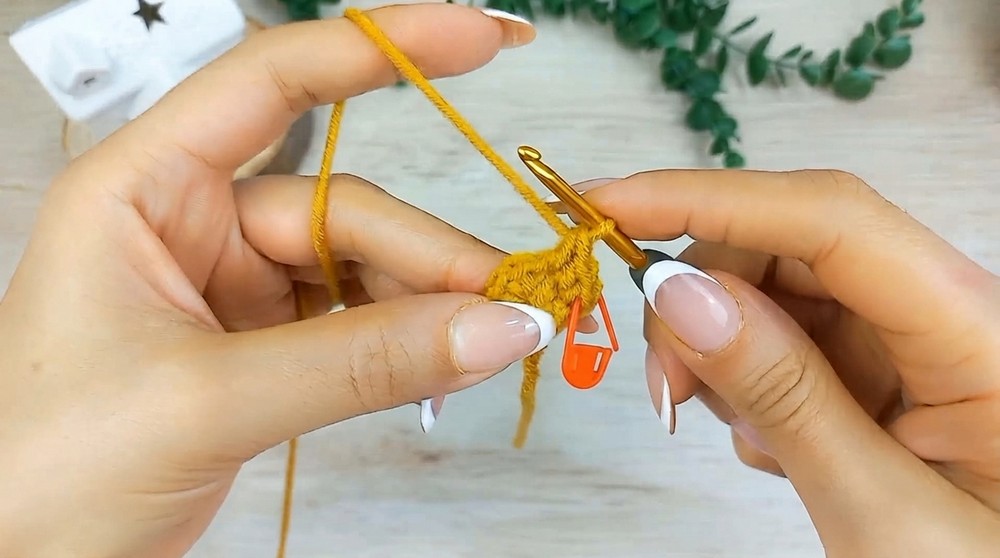
- Ch 1, then work 2 sc (1 inc) into each stitch around.
- Sl st to join.
- [14 sts]
Round 3:
- Ch 1, (1 sc, 1 inc) repeat 7 times.
- Sl st to join.
- [21 sts]
Round 4:
- Ch 1, (1 sc, 1 inc, 1 sc) repeat 7 times.
- Sl st to join.
- [28 sts]
Round 5:
- Ch 1, (3 sc, 1 inc) repeat 7 times.
- Sl st to join.
- [35 sts]
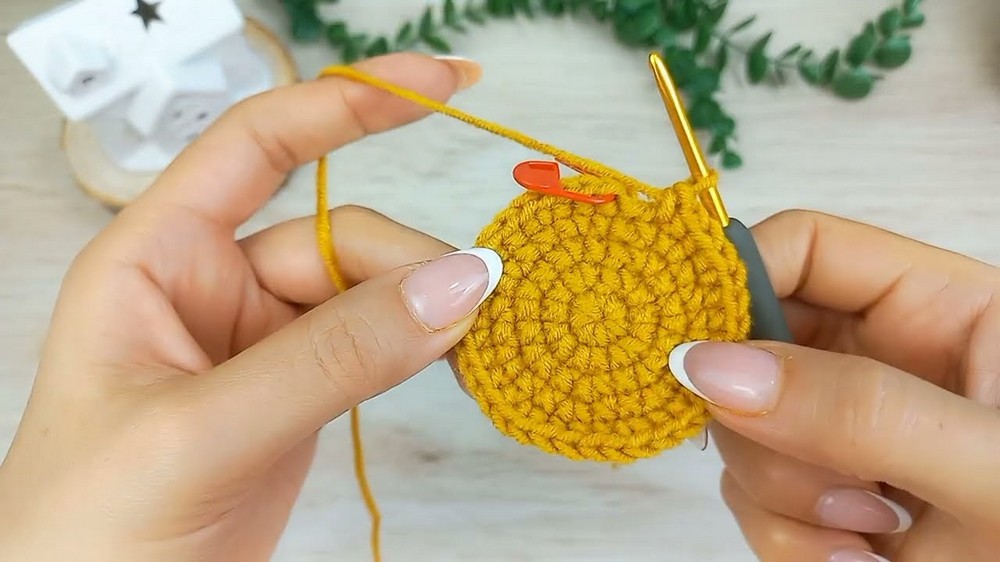
Round 6:
- Ch 1, (2 sc, 1 inc, 2 sc) repeat 7 times.
- Sl st to join.
- [42 sts]
Round 7:
- Ch 1, (5 sc, 1 inc) repeat 7 times.
- Sl st to join.
- [49 sts]
Round 8:
- Ch 1, (2 sc, 1 inc, 4 sc) repeat 7 times.
- Sl st to join.
- [56 sts]
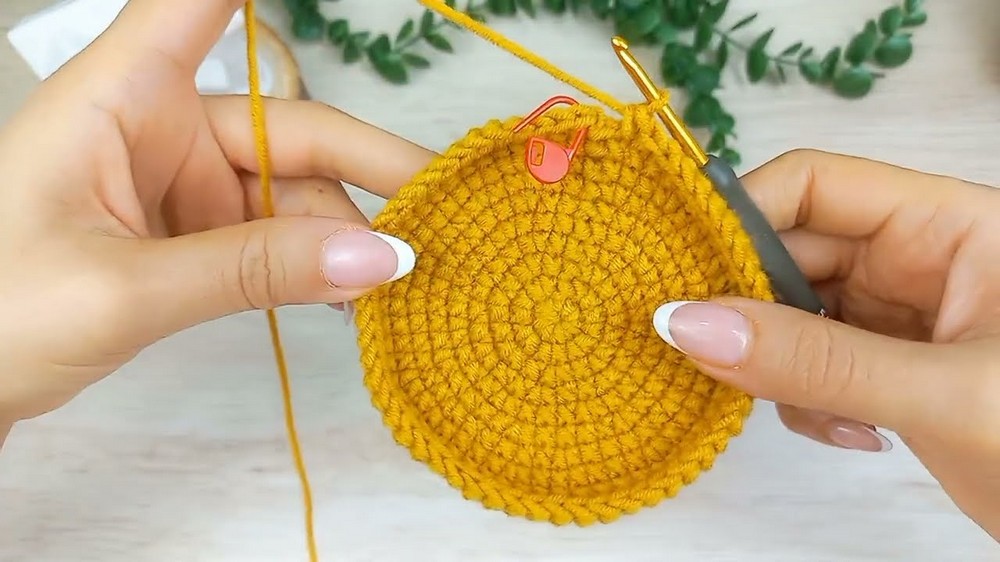
Rounds 9 to 10:
- Ch 1, work 1 sc in each stitch across (no increases).
- Sl st to join each round.
- [56 sts per round]
After Round 10, fasten off and weave in the yarn tail.
2. Ears (Make 2)
Round 1:
- Create a Magic Ring (MR).
- Work 6 sc into the magic ring.
- Pull the tail tightly to close the ring.
- Do not sl st; work in continuous rounds.
- [6 sts]
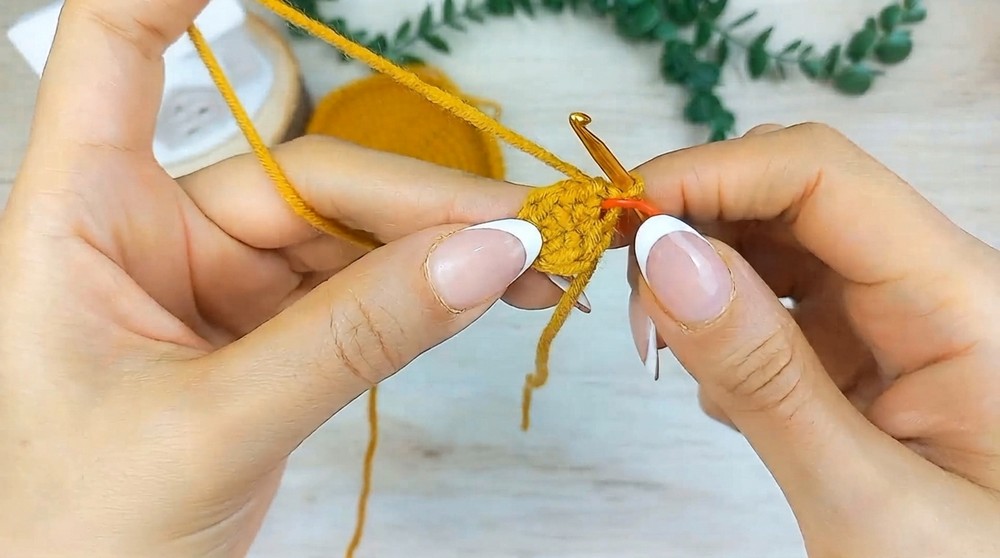
Round 2:
- (1 sc, 1 inc) repeat 3 times.
- [9 sts]
Round 3:
- Work 1 sc in each stitch around.
- [9 sts]
Round 4:
- (1 sc, 1 sc, 1 inc) repeat 3 times.
- [12 sts]
Round 5:
- Ch 1, (3 sc, 1 inc) repeat 3 times.
- [15 sts]
Fasten off, leaving a long tail for sewing. Repeat for the second ear.
3. Tail
Round 1:
- Create a Magic Ring (MR).
- Work 6 sc into the magic ring.
- Pull the tail tightly to close the ring.
- Work in continuous rounds.
- [6 sts]
Rounds 2 to 11:
- Work 1 sc in each stitch around.
- No increases. [6 sts per round]
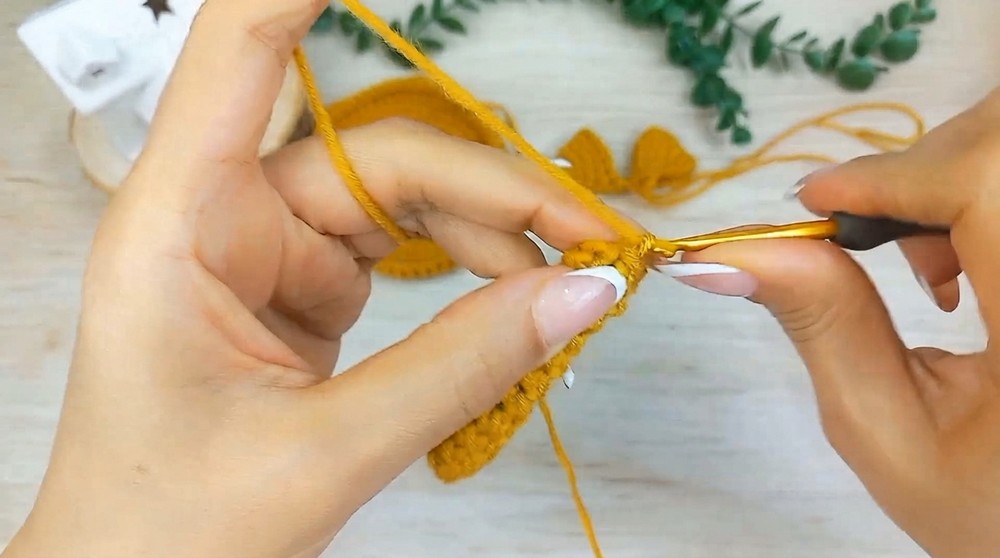
At the end of Round 11, fasten off, leaving a long tail for sewing. Stuff the tail lightly if desired.
Assembly & Finished Size
- Prepare the Base:
- Lay the base flat, ensuring it is smooth and round. This will serve as the coaster body.
- Attach the Ears:
- Position the ears symmetrically at the top (where “cat ears” would naturally go).
- Sew the ears securely to the base using the long yarn tails. Weave in ends carefully.
- Attach the Tail:
- Position the tail at the bottom or side of the coaster.
- Sew the tail securely to the base using its long yarn tail. Ensure it’s firmly attached for durability.
Conclusion
Your crochet cat coaster is complete. This charming and cute project is a delightful addition to any home or a thoughtful handmade gift. Get creative by using different colors or adding your personal touch.