
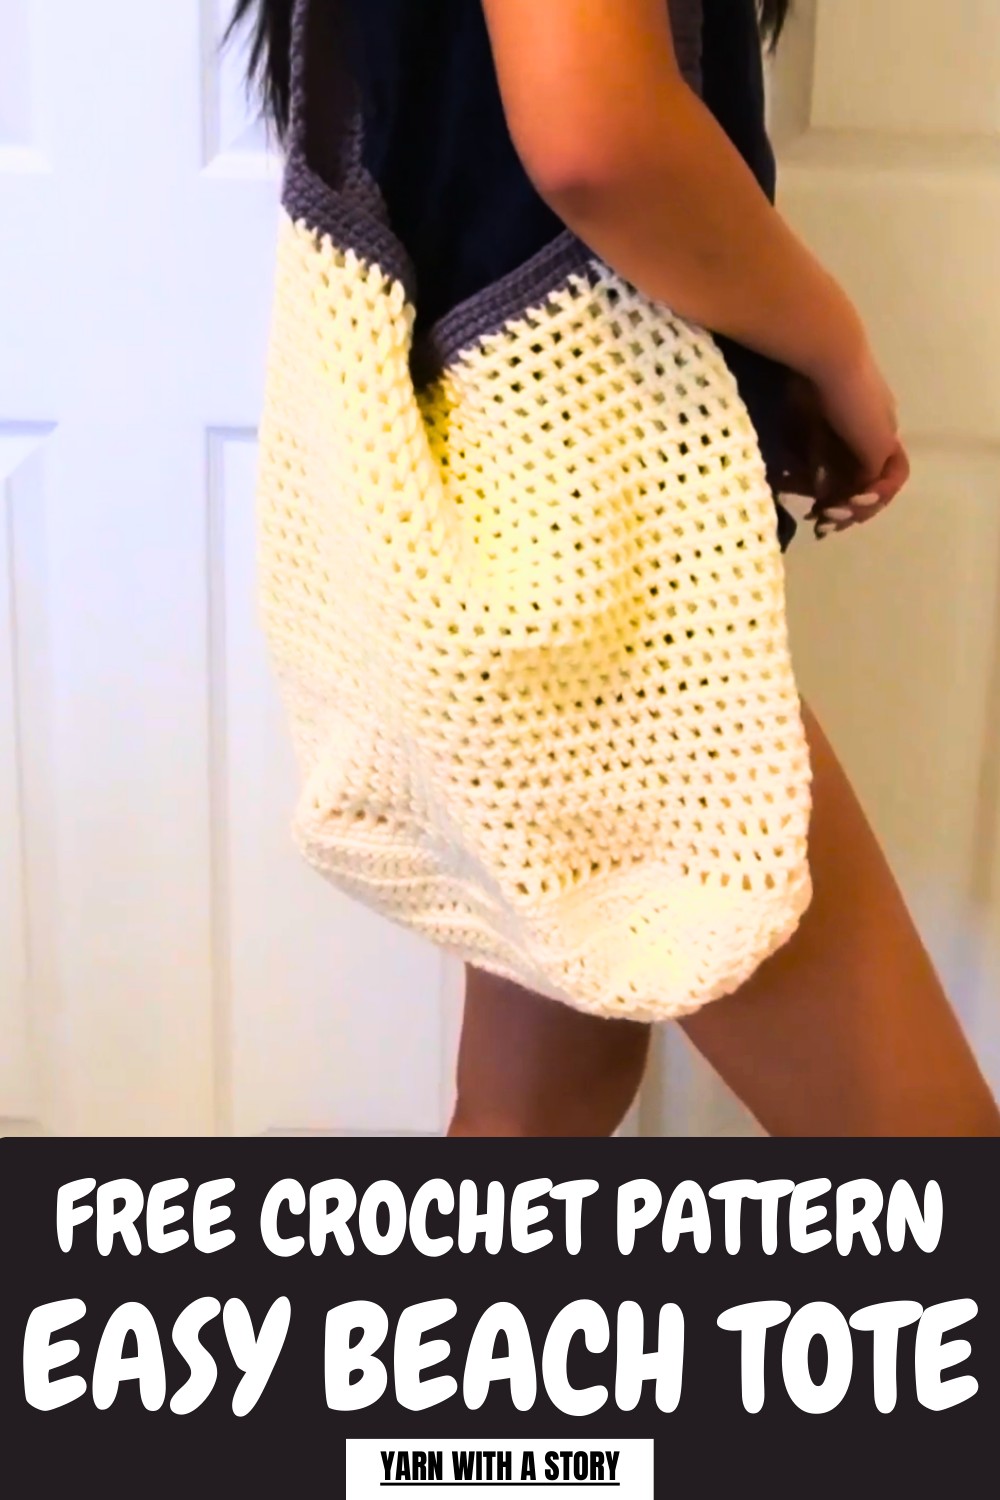
Carry your essentials in style with this Free Crochet Beach Tote Pattern, perfect for summer outings, beach trips, and casual everyday use.
A spacious and stylish bag takes shape with the Crochet Beach Tote Pattern, combining practicality and elegance. The maker through sturdy stitching, structured handles, and clean shaping, making it accessible for beginners while still engaging for experienced stitchers.
Stylish Crochet Beach Tote Pattern Perfect for Summer Fun
The finished tote is versatile and functional, perfect for carrying beach essentials, groceries, books, or picnic items. Its lightweight yet durable construction ensures easy portability, and the open design allows quick access to belongings. Working on this pattern promotes focus, patience, and hand-eye coordination, offering a rewarding sense of accomplishment along with a useful accessory.
Its specialty lies in balancing strength, elegance, and visual appeal. The result is a polished, practical bag that enhances outings, adds charm, and combines style with everyday convenience. The design allows for customization with yarn colors, textures, or decorative accents, giving each bag a unique personality.
Step-by-Step Details
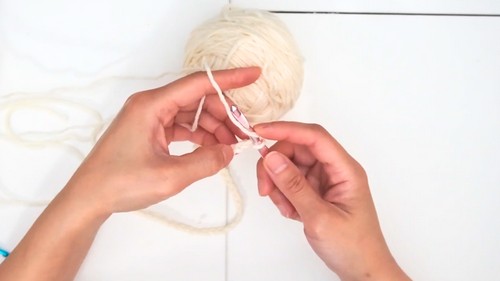
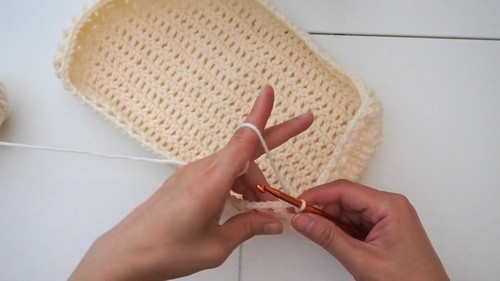
1. Creating the Base
- Start with a Slip Knot: Begin with a chain of 35 stitches, or adjust it based on how large you want the base of your tote. The tutor chained 40 stitches after realizing she wanted a slightly wider bag.
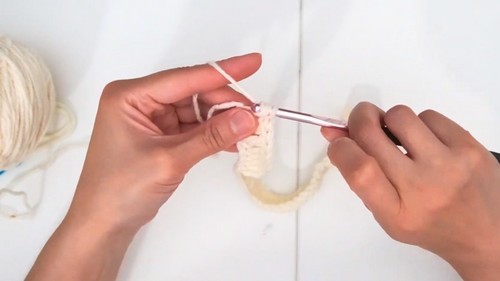
- Build the Base with Double Crochets:
- Chain 2 to count as the first double crochet.
- Start crocheting into the third stitch from the hook and work double crochets across the row.
- At the end of the row, chain 2, turn your work, and continue double crochets across the subsequent rows.
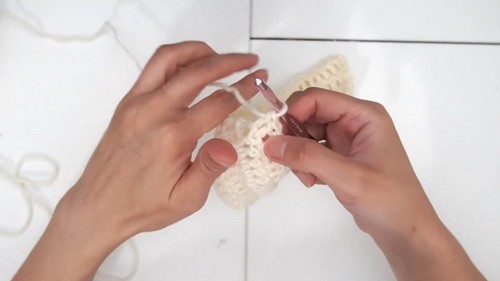
- Repeat Rows to Desired Length: Continue crocheting rows of double crochets until the base reaches the desired size. The tutor adjusts based on preference and repeats multiple rows while maintaining consistency in tension.
2. Building the Tote’s Body
- Transition with Single Crochet: To begin shaping the tote’s sides, work a round of single crochets all around the edges of the base. This includes picking up loops along the sides and corners.
- For the transition, crochet into only the inside loop at first to turn the base upward.
- On the next round, switch to working into regular stitches (both loops).
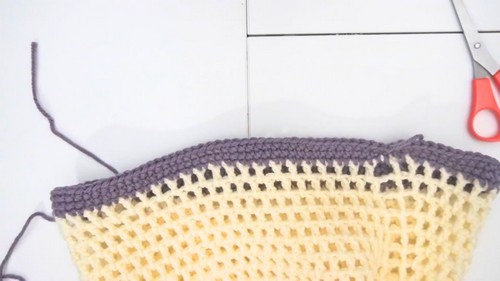
- Start the Net Pattern:
- After completing the single crochet rounds, chain 4, skip one stitch, and work a double crochet into the next stitch. Continue this pattern—chain one, skip one stitch, double crochet—to build the open mesh/net style of the bag’s body.
- For corners or tricky stitches, the tutor advises picking a nearby stitch without stress.
-
- Complete several rows of the net pattern by using spaces from the previous row as the base for new stitches.
- Stop at Desired Height: Repeat rounds of the net pattern until the tote reaches your preferred height. The tutorial features 25 rows of the net design.
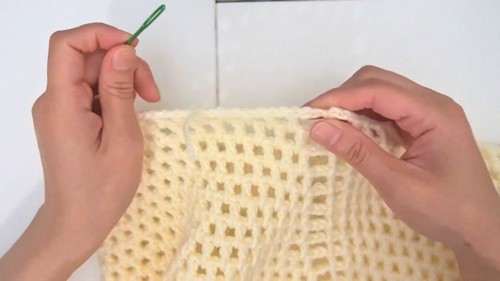
3. Hiding Tails and Finishing the Body
- Cut off the yarn after closing the last row with slip stitches.
- Use a darning needle to weave in yarn tails securely between stitches to avoid unraveling. Tie a final knot for sturdiness.
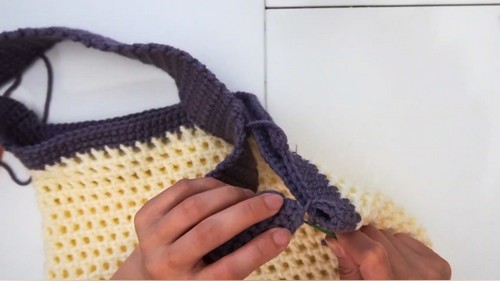
4. Adding the Strap
- Determine Strap Placement: Locate the center of the shorter side of the tote.
- Start the Strap:
- Insert your strap yarn and tie a knot to secure it.
- Begin with single crochets, working across 9 stitches.
- Build Strap Length: Work single crochet rows, chaining one at the end of each row and turning to ensure clean stitching. Continue until the strap reaches your desired length. The tutorial strap contains 110 rows, but this can be adjusted based on personal preference.
- Attach the Strap:
- Measure the opposite side of the tote for alignment and sew the strap securely using a darning needle.
- Secure the stitches by making a series of knots and weaving in the tail ends thoroughly for durability.
Special Features
- Beginner-Friendly Design: This project uses basic crochet techniques, such as single and double crochets, chain stitches, and slip knots.
- Customizable Size and Color: You can easily adjust the size of the tote base, height of the bag, and length of the strap. Use different yarn colors to suit your personal style.
- Lightweight and Durable: The breathable net design makes this tote ideal for carrying beach towels, sunscreen, or other summer items without adding weight.
Level of Difficulty
This project is classified as beginner-friendly, thanks to the straightforward methods and detailed guidance from the tutor. The techniques include basic stitches such as double crochets and single crochets. However, beginners may need patience when working on curved edges and aligning straps.
Tutor’s Suggestions
- The tutor emphasizes maintaining consistent tension throughout the project, particularly on the base so it remains sturdy and evenly shaped.
- She advises adjusting rows and stitch counts based on your desired size—there’s no strict rule to follow.
- For corners and tricky stitches during the body and single crochet steps, she recommends finding nearby stitches that work visually rather than worrying too much about precision.
Materials Needed
- White yarn for the base and tote body
- Purple yarn for the strap
- 5.5 mm crochet hook
- Darning needle
- Scissors
Tip
When sewing straps, make sure to carefully measure the placement on both sides to ensure symmetry. Poor alignment may cause the tote to hang unevenly when in use.
Conclusion
This Beach Tote Bag is a practical, stylish crochet project that’s perfect for summer adventures. Its lightweight net pattern and durable strap design make it an essential accessory for carrying belongings to the beach or poolside. Whether you’re new to crocheting or looking to practice basic stitches, this pattern offers an enjoyable and customizable experience.


