
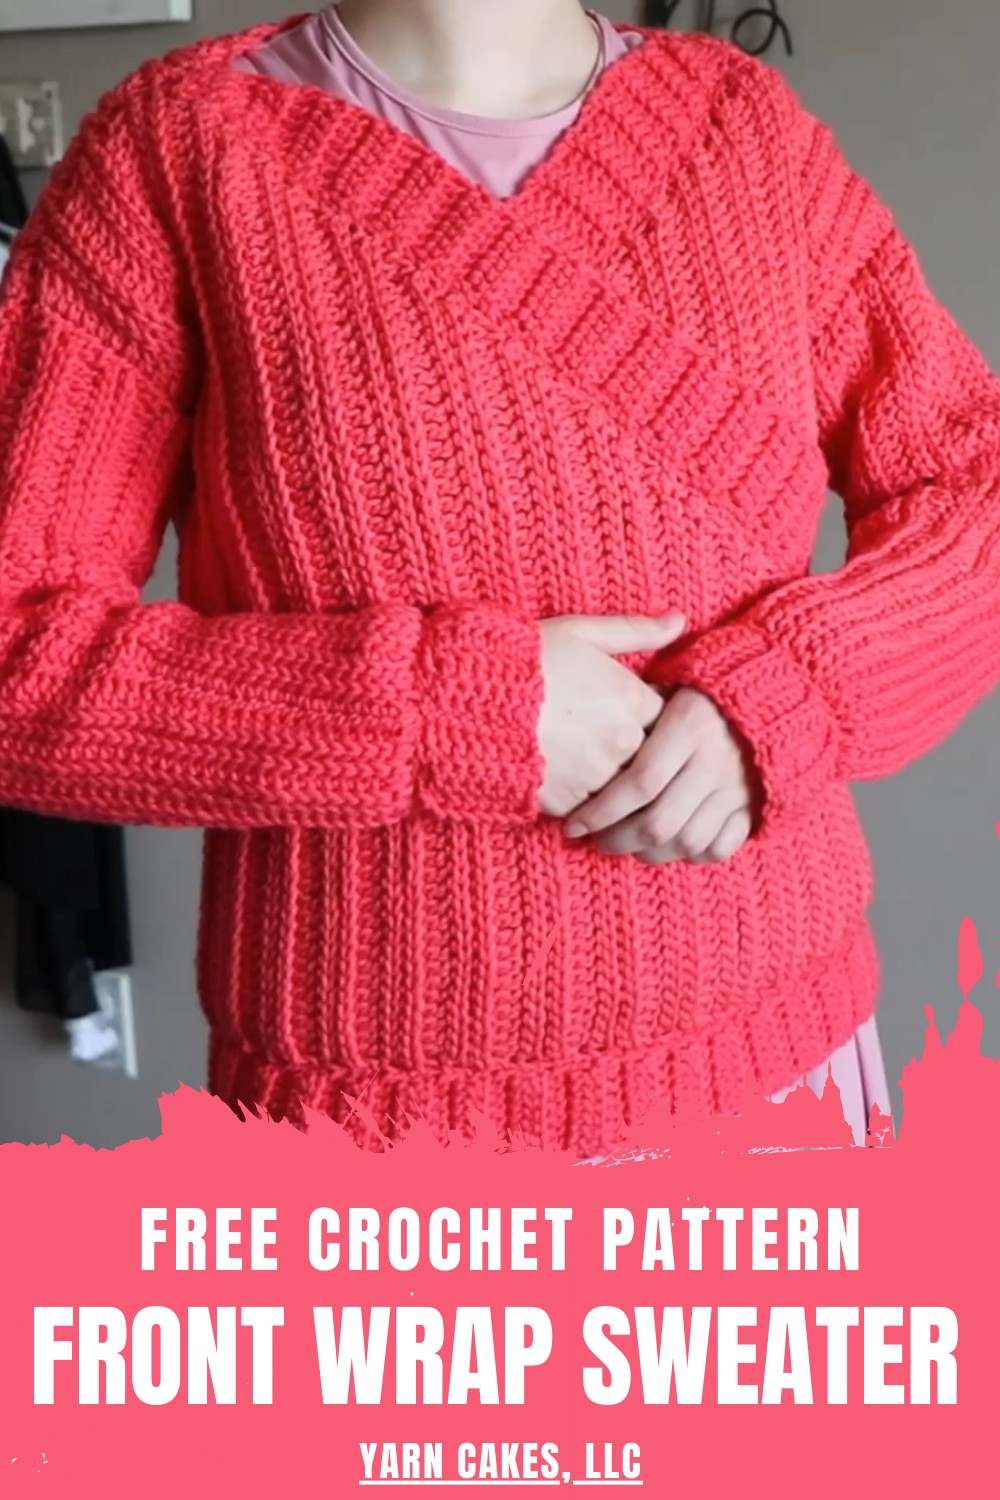
Get cozy and chic with the Crochet Front Sweater Pattern that's sure to turn heads and keep you stylishly comfortable all season long.
Wrap yourself in elegance and comfort with a sweater design that combines functionality and style effortlessly. The Crochet Front Wrap Sweater Pattern features a chic wrap-around design that flatters the waistline while offering a customizable fit for every body type.
Simple Crochet Front Wrap Sweater Pattern for Quick Results
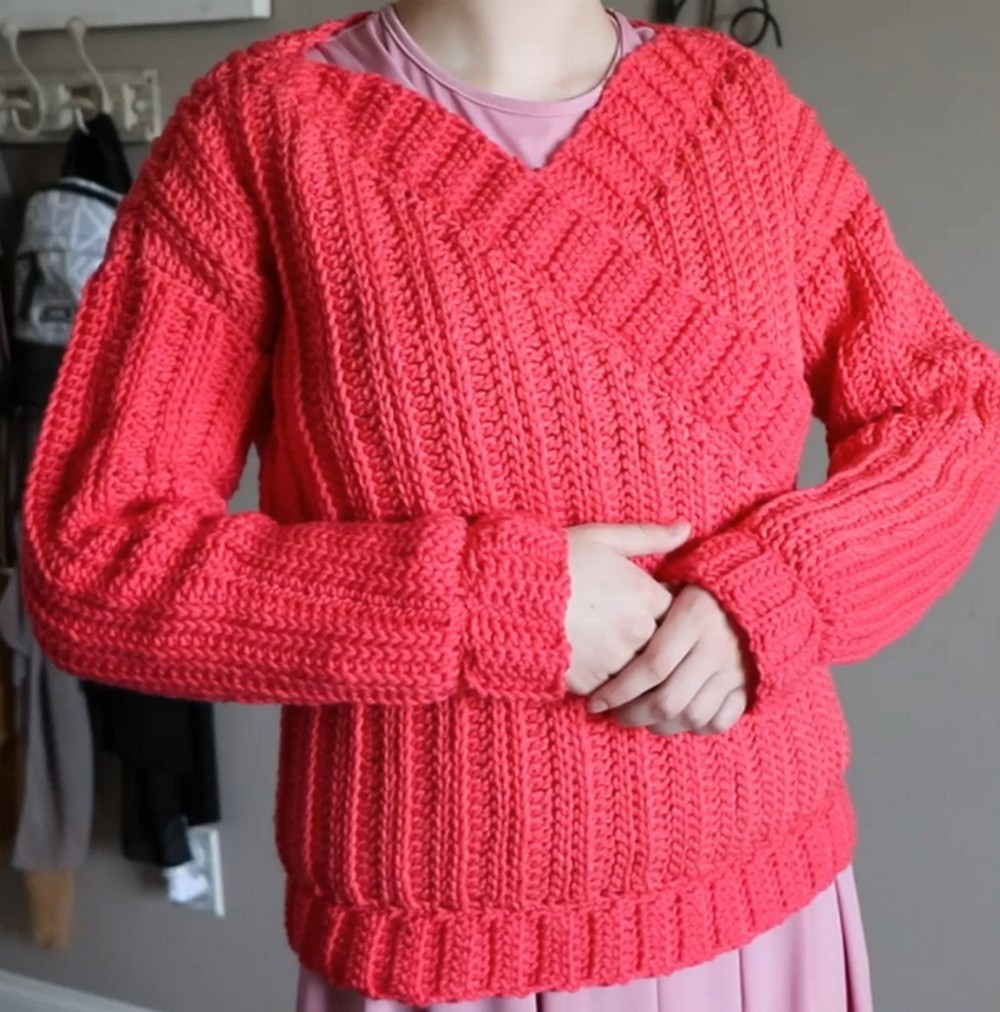
Perfect for transitional weather, this sweater adds a touch of sophistication to casual outfits and elevates evening attire as a lightweight layer. Its unique wrap construction provides a tailored look and gives you the versatility to adjust the fit, making it ideal for various occasions. Crocheted with soft, medium-weight yarn, these sweaters are breathable, cozy, and perfect for layering without feeling bulky.
The graceful front wrap design adds texture, elegance, and charm, making it suitable for workplaces, dinner dates, or cozy weekends. With this pattern, you can express your craftsmanship while creating a wardrobe staple that blends comfort, practicality, and timeless beauty.
Crocheting a Knit-Look Sweater with a Twist: Step-by-Step Guide
Special Features of the Sweater
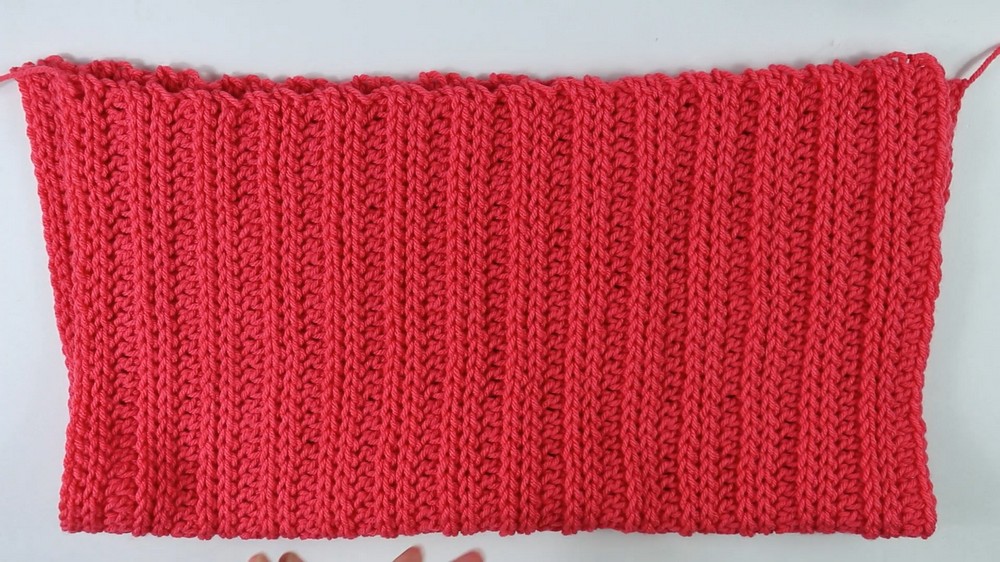
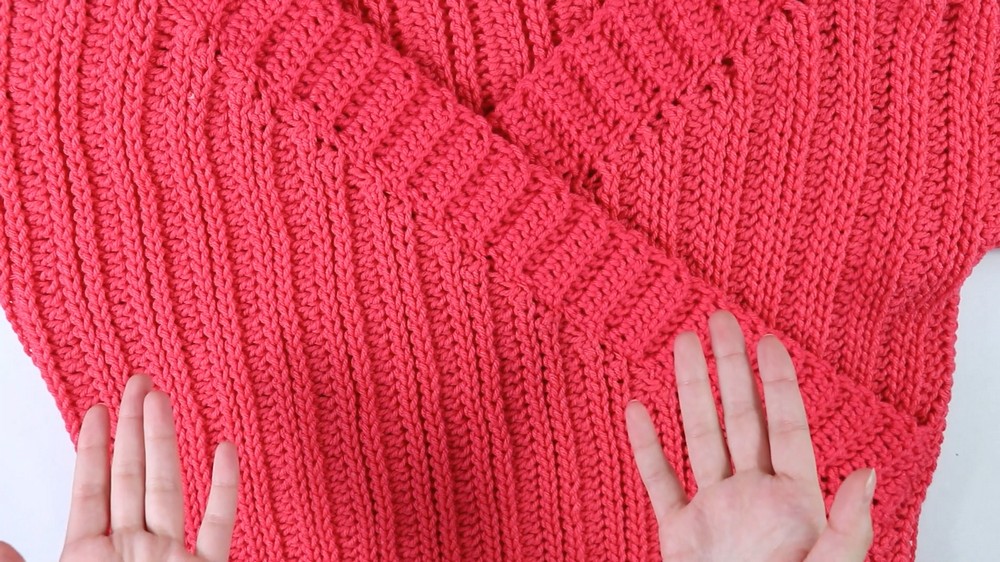
- Knit-Look Texture: The pattern mimics a knit texture while being 100% crocheted, creating a cozy and visually appealing finish.
- Front Twist Design: The front twist adds a trendy focal point, making this sweater perfect for casual outings or stylish layering.
- Size Inclusivity: The video caters to multiple sizes (XS-3XL), showing precisely how to adjust the pattern to fit.
- Straightforward Construction: The sweater is constructed in panels (back, front panels, and sleeves), keeping the process manageable.
Step-by-Step Details Described in the Video
1. Materials You'll Need:
- Yarn: Crafter’s Secret Big Idea yarn (Category 4 medium-weight yarn) – approximately two skeins for size small.
- Crochet hooks: 5.5mm and 4.5mm.
- Scissors.
- Large tapestry needle (for seaming and weaving in loose ends).
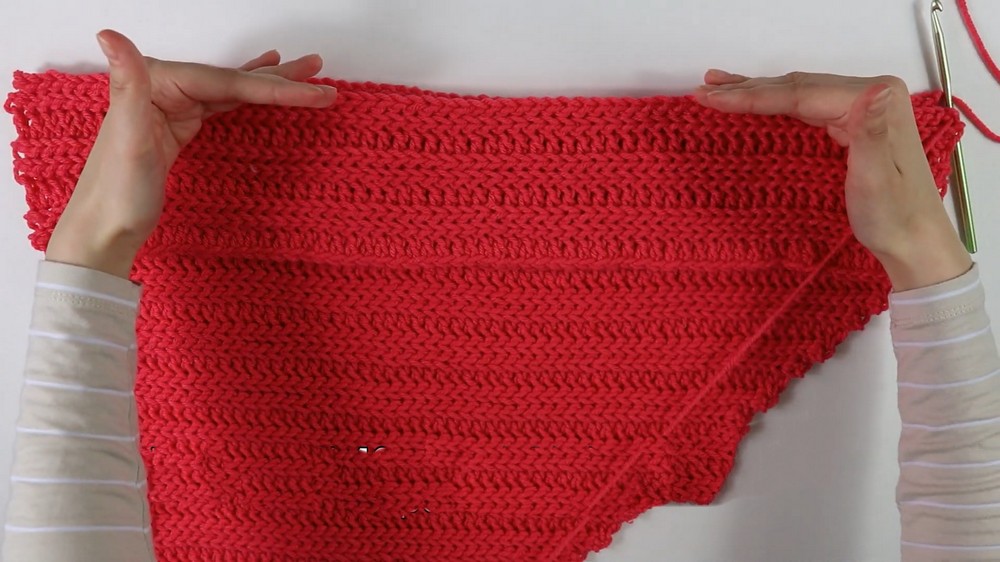
2. Constructing the Sweater Panels:
Back Panel:
- Begin with a chain of 65 (this sets the sweater’s length and can be adjusted).
- Row 1: Work double crochets (DC) across the chain, skipping the first two loops.
- Rows 2–4: Use back-loop slip stitches to create the knit-look texture.
- Row 5 and beyond: Alternate three rows of back-loop slip stitches with one row of back-loop double crochets until completing 56 rows.
- Fasten off and set the back panel aside for assembly.
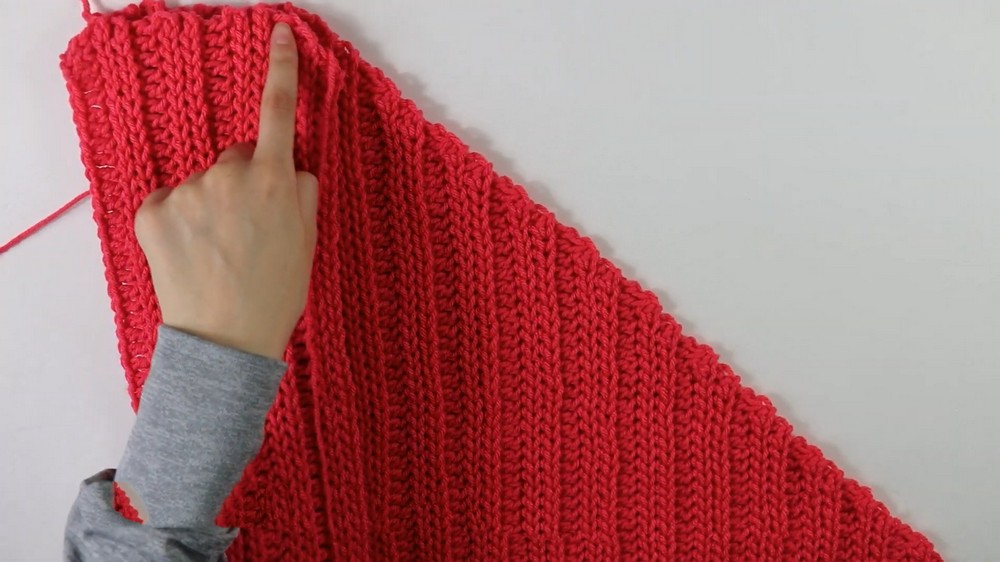
First Front Panel:
- Chain 65 and follow the same process as the back panel for the first 12 rows (alternating slip stitch and double crochet rows).
- After row 12, begin decreasing for a tapered neckline:
- Work regular rows but decrease stitches at the edges as demonstrated in the video.
- Complete 56 rows in total.
- Fasten off and set aside.
Second Front Panel:
- Start with a shorter initial chain (21 chains).
- Work in reverse compared to the first front panel. Begin with increases to taper upward instead of decreasing.
- After 44 rows of gradual increases, work the next 12 rows straight for equal shoulder width (total: 56 rows).
- Fasten off.
3. Sleeves:
- Begin with a chain of 58 and work 19 single crochets, 19 half-double crochets, and 19 double crochets in progression for the first row.
- Rows 2–4: Use back-loop slip stitches for the knit texture.
- Row 5: Repeat the stitch progression (SC, HDC, DC) for shaping.
- Alternate these rows for 41 total rows to create a sleeve that’s wider at the shoulder and gently tapered toward the wrist.
- Repeat for the second sleeve.
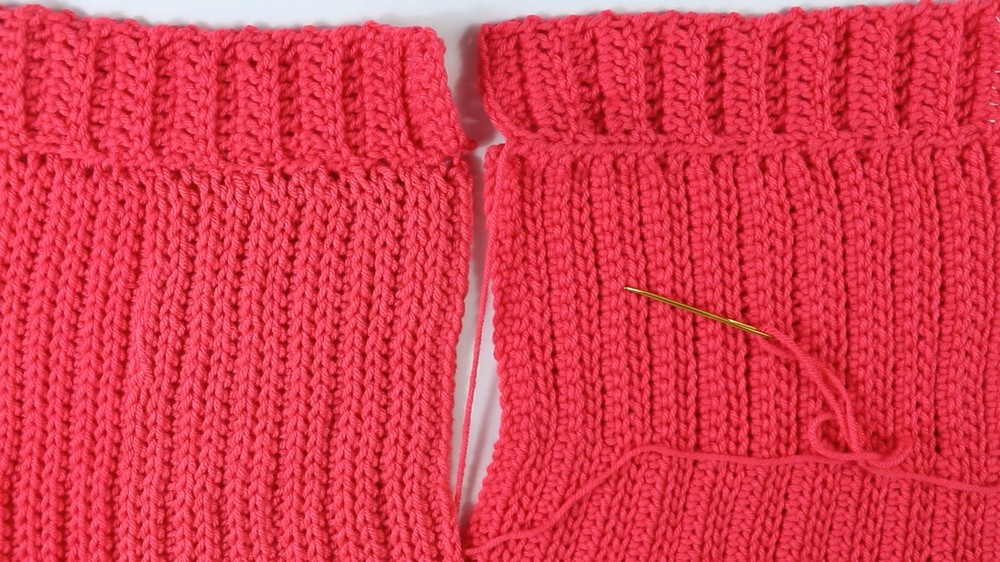
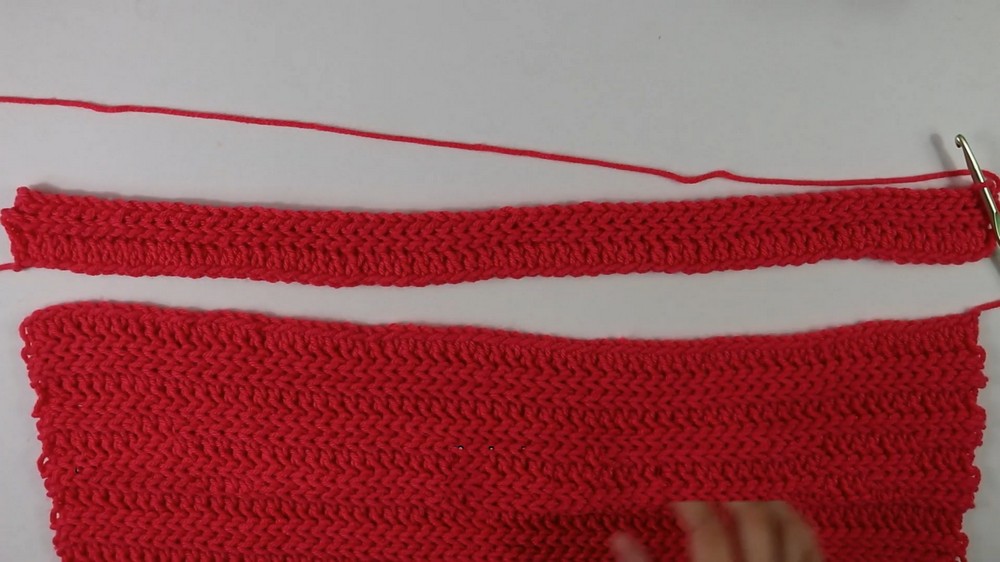
4. Borders and Finishing Touches:
Cuff Borders:
- Create smaller cuffs with a chain of 9 and work back-bar double crochets (total 16 rows).
- Attach cuffs to the tapered ends of each sleeve.
Bottom Border:
- Crochet a wider border by creating a chain of 9 and working back-loop double crochets for 68 rows.
- Whip stitch it around the bottom hem of the sweater after final assembly.
Front Panel Borders:
- Add tapered borders to each front panel. Begin with a chain of 3 and gradually increase until stitching stabilizes (final size: 38 rows per panel).
- Whip stitch the borders to the panel edges.

5. Assembly:
- Lay the back panel flat (wrong side facing you) and layer the front panels crossed over.
- Seam the sides together using a tapestry needle, leaving a gap (6.5 inches) at the top for armholes.
- Attach sleeves to the armholes using whip stitch.
- Finally, whip stitch the bottom border around the sweater for polish.
Difficulty Level
- Skill Level: Easy to Intermediate.
The tutorial simplifies challenging concepts like shaping (increasing and decreasing) and uses basic crochet stitches (double crochets, half-double crochets, slip stitches). If you're a beginner, patience is key to mastering the shaping details.
Tutor's Suggestions
- Customization: Adjust chain lengths and row counts to make the sweater longer, shorter, or more fitted.
- Keep it Loose: Maintain looser tension for the slip stitch rows to avoid distorting the knit-look texture.
- Follow Written Pattern: The video links a written pattern to help with sizing and row tracking.
Uses and Style
- Ideal for casual layering on chilly days, styled with jeans, or paired with skirts for an elevated look.
- Its knit texture and trendy front twist make it versatile for both daily wear and special occasions.
Pro Tip:
When working on slip stitches, keep your tension lighter. Tight stitches can make the fabric stiff, reducing the sweater’s flexibility and comfort.
Conclusion
This knit-look crochet sweater tutorial transforms simple crochet techniques into a fashionable statement piece. With its comfortable fit, stylish front twist design, and cozy texture, it’s a must-try for crochet enthusiasts of all levels. Grab your hooks and yarn, and enjoy the process of creating a sweater to wear for years to come!


