
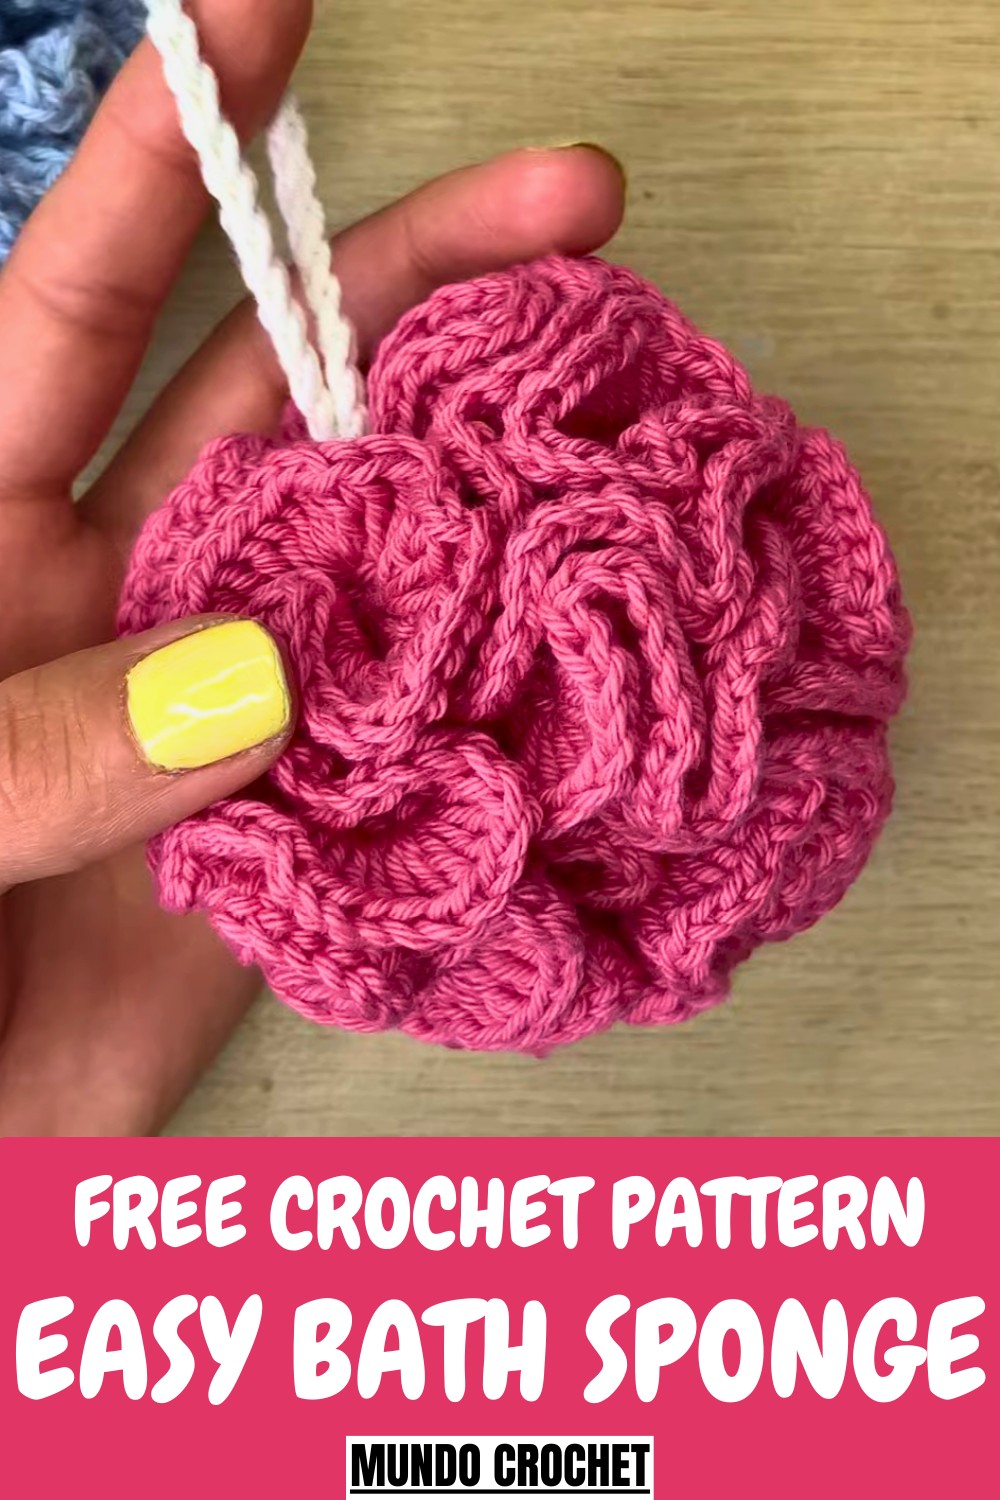
Refresh your routine with this Free crochet Bath Sponge Pattern, making soft, durable sponges that bring charm, comfort, and a handmade touch to everyday self-care.
Perfect for adding a touch of charm to your bath routine, this project effortlessly blends functionality with creativity. A crochet bath sponge pattern allows you to crochet a reusable, eco-friendly alternative to store-bought sponges while customizing its color and size to your preference.
Fun & Easy Crochet Bath Sponge Pattern For Relaxing Time
These handmade sponges are gentle on the skin, exfoliating lightly while lathering beautifully with soap. Not only do they enhance any bathroom aesthetic with their textured and elegant look, but they’re also simple to maintain and long-lasting. Whether as a personal project or a thoughtful gift, creating one offers both practicality and an opportunity to showcase your crochet skills.
Tip
When you work the cluster rounds, always turn the work at the beginning of each round. Turning ensures that the stitches layer correctly, preventing the sponge from curling and allowing it to achieve its full, open, and ruffled volume.
Uses
-
Personal Care: Use the sponge as a gentle and effective bath accessory.
-
Gifting: Create quick, handmade gifts for friends or family.
-
Sales Item: Produce this easy and practical item for craft fairs or market sales.
Materials
-
Yarn: Use cotton yarn similar soft, absorbent material.
-
Crochet Hook: A 3.5 mm hook is recommended for the main sponge.
-
Notions: Scissors and a tapestry needle for weaving in ends.
Special Features
-
Voluminous Texture: The pattern uses clusters of Double Crochet stitches that increase with each round. This creates a dense, ruffly effect, giving the sponge its full, voluminous texture.
-
Integrated Hanging Loop: You create a sturdy hanging loop right at the beginning of the project. This loop uses slip stitches to reinforce the chain, making it durable for hanging in the shower.
-
Easy Construction: The design consists of a simple base ring followed by three quick rounds, making the entire project fast and beginner-friendly.
Level of Difficulty
This project is rated as Easy and is very fast to complete. It primarily uses chain, slip stitch, and double crochet stitches.
Tutor's Suggestions
-
Adjust the Size: Change the size of the sponge by using a different size crochet hook (a smaller hook creates a smaller sponge).
-
Weave in Ends: You should weave the yarn ends into the base as you crochet the foundation stitches to hide them securely from the start.
-
Color Variety: Experiment with different colors to create various matching sets for gifting or inventory.
Step-by-Step Details
1. Create the Hanging Loop
-
Use the accent color yarn (e.g., white) and make a slip knot.
-
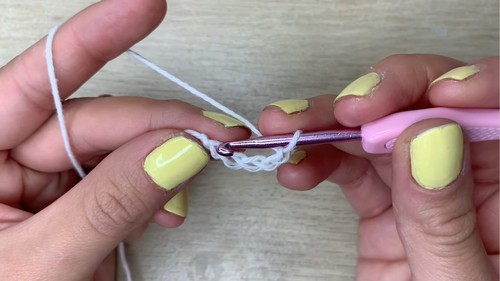 Chain 5, then slip stitch into the first chain to form a small ring.
 -
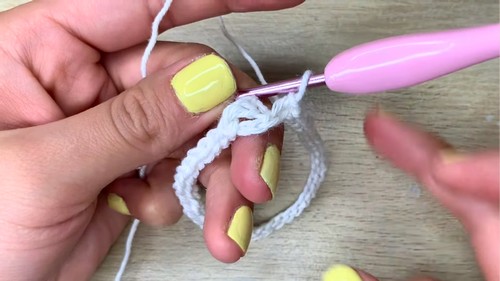
Chain 40 to create the hanging loop length.
-
Slip stitch into the center of the small ring you formed in step 2.
-
Turn the work. Work 40 slip stitches back down the length of the chain, crocheting one slip stitch into each chain you made.
-
Secure the end and weave it in or carry it along the base.
2. Crochet the Base Ring
-
Work 10 Single Crochet (SC) stitches directly into the small ring, hiding the yarn tail as you go.
-
Cut the yarn and pull through to secure the stitches.
-
Turn the work and work 10 SC stitches into the other side of the small ring, placing one stitch in the base of each SC you just worked.
-
Cut the yarn and secure the ends. Use a tapestry needle to seamlessly join the first and last SC stitch of the base ring and hide the yarn tails.
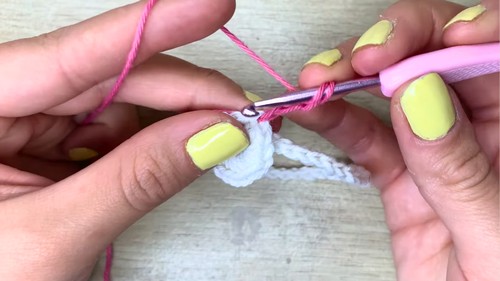
3. Crochet the Sponge Body
Join the main sponge color yarn into any SC stitch on the base ring.
Round 1: Increase to 30 Stitches
-
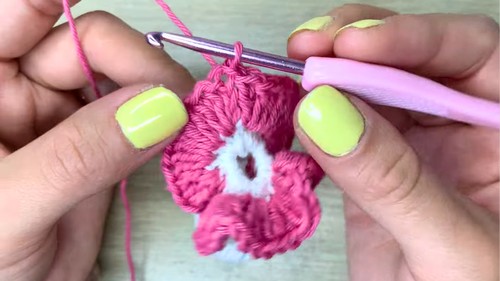
Chain 3 (this counts as your first Double Crochet or DC). Work 2 DC into the same stitch where you joined the yarn. (You now have a cluster of 3 DC).
-
Work 3 DC into the next SC stitch.
-
Repeat this sequence of 3 DC in every SC stitch around the base ring. You will have a total of 10 clusters of 3 DC (30 stitches).
-
Slip stitch into the third chain of your starting chain to close the round.
Round 2: Increase to 4-DC Clusters
-
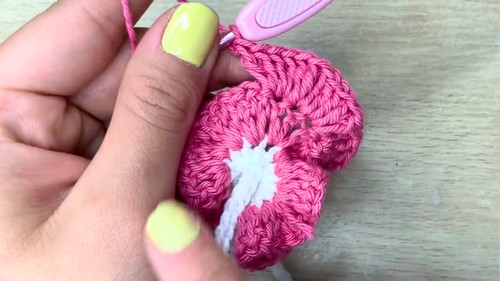
Turn the work to start the new round in the opposite direction.
-
Chain 3 (counts as 1 DC). Work 3 DC into the same stitch. (This forms your first cluster of 4 DC).
-
Work 4 DC into the next stitch (the top of the next cluster from Round 1).
-
Repeat the sequence of 4 DC in every available stitch around the entire round.
-
Slip stitch into the third chain of your starting chain to close the round.
Round 3: Continue 4-DC Clusters
-
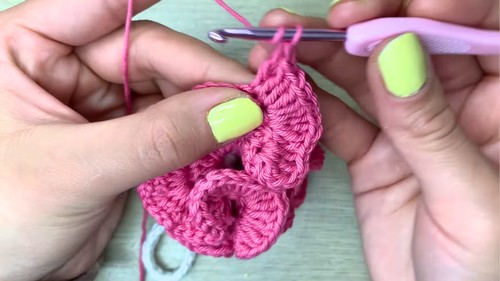
Turn the work again.
-
Chain 3 (counts as 1 DC). Work 3 DC into the same stitch.
-
Work 4 DC into the next stitch.
-
Repeat the sequence of 4 DC in every available stitch around the entire round. You will notice the sponge gaining its signature ruffly volume.
-
Slip stitch into the third chain of your starting chain to close the round.
4. Finishing
-
Chain 1 to secure the final stitch, then cut the yarn, leaving a short tail.
-
Use a tapestry needle to weave the remaining yarn tail into the back of the crochet work to hide it completely.
-
Fluff the sponge to enhance its volume.
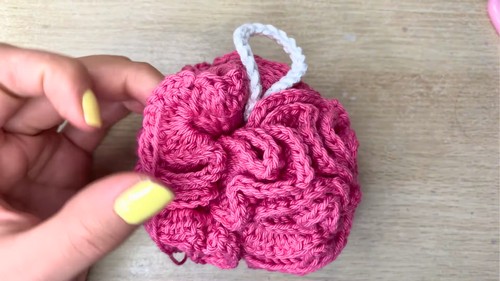
Conclusion
You have now successfully crocheted a dense, beautiful bath sponge! This easy and fast project results in a durable and practical accessory, perfectly suited for a relaxing bath or shower.


