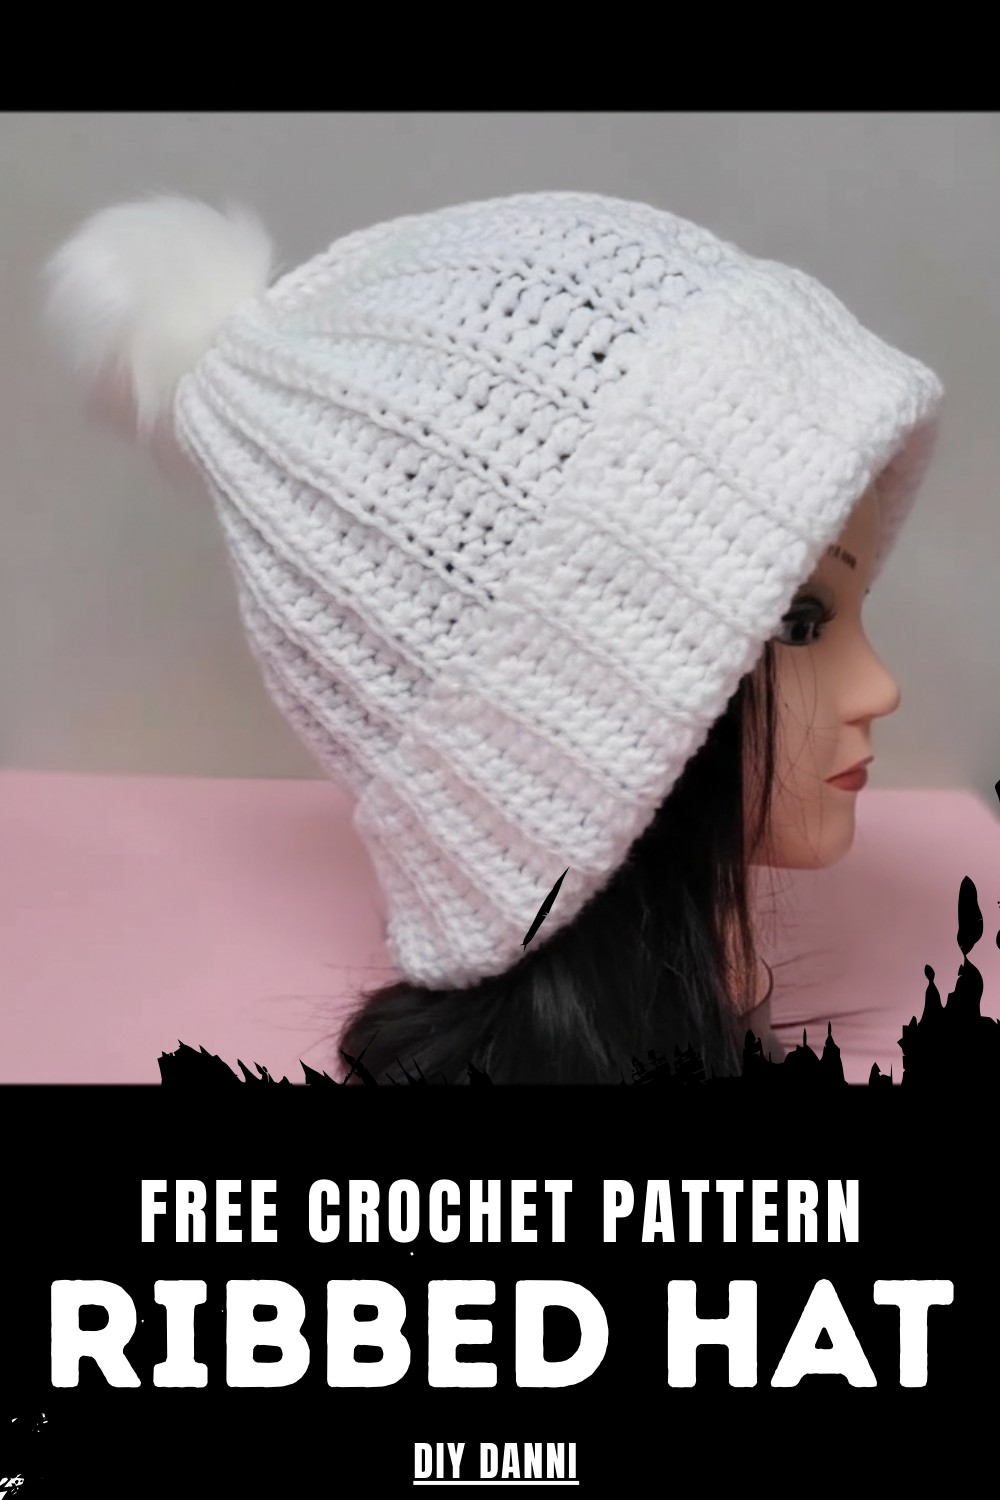
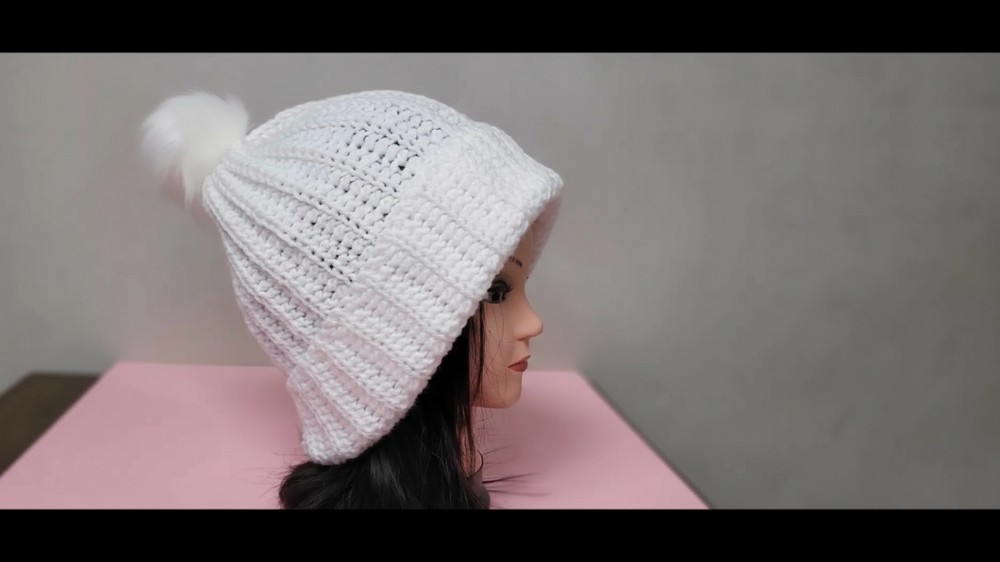
Soft ribbed textures meet effortless chic—try this free crochet ribbed hat pattern and crochet a cozy, stylish accessory for any season.
Durable style and practicality come together in this beautiful ribbed hat pattern, perfect for keeping you cozy while elevating your look. The understated yet classy ribbed texture offers a snug fit, making this pattern ideal for chilly days or as a go-to fashion accessory. Its versatility ensures it suits everyone—from casual walks on crisp mornings to gifting loved ones a handmade token of warmth. This pattern is quick to make and tailored to all skill levels, blending simplicity with elegance.
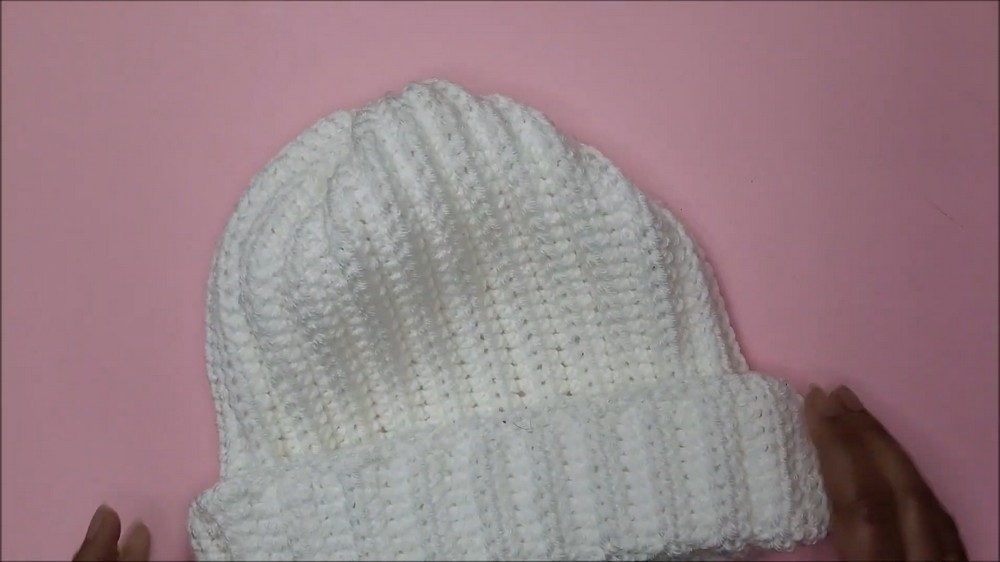
Relaxed and Stylish Ribbed Hat Crochet Steps to Impress Effortlessly
Highly customizable, this project allows you to experiment with various colors and yarn types to match your personality or wardrobe. Add a pom-pom for a playful touch, or keep it minimalist with a plain finish. Its stretchable pattern ensures a comfortable fit, while the ribbed stitching adds flexibility and structure.
Engaging for beginners and satisfying for seasoned crocheters, this pattern converts a few basic stitches into a cozy, stylish accessory you'll love. Whether for yourself or as a gift, this pattern is proof that simple design can leave a lasting impression.
Materials Needed
- Yarn: 4-ply medium-weight yarn in your desired color.
- Crochet Hook: 5mm hook.
- Tapestry Needle: For sewing the top of the beanie and weaving in ends.
- Scissors: To cut yarn ends.
- Optional: Stitch marker and pom-pom maker.
Special Features
- Classic Ribbed Texture: The back-loop crochet technique creates a flexible, textured ribbed effect that stretches for a perfect fit.
- Versatile Design: Works well as a simple beanie or can be modified into designs like a mini skirt, as suggested by the tutor.
- Comfort and Style: The snug fit makes it ideal for cold weather, offering a stylish yet practical winter accessory.
- Customizable: Adjust the size, color, and yarn type to suit your preferences. You can even add a pom-pom for a fun touch.
Skill Level
Easy to intermediate. This project is suitable for beginners who are comfortable with basic stitches like half-double crochet and single crochet.
Step-by-Step Instructions
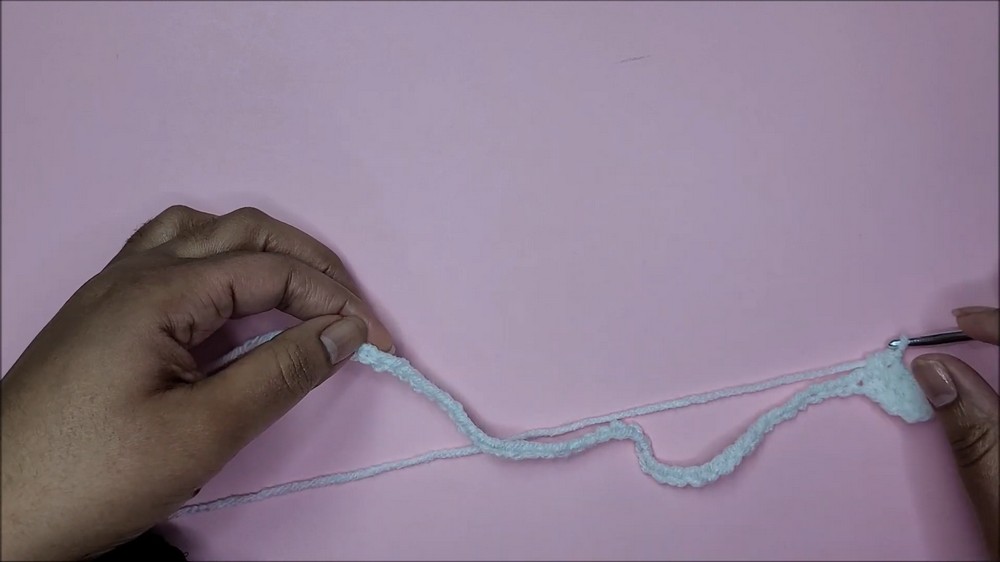
1. Starting the Foundation Chain
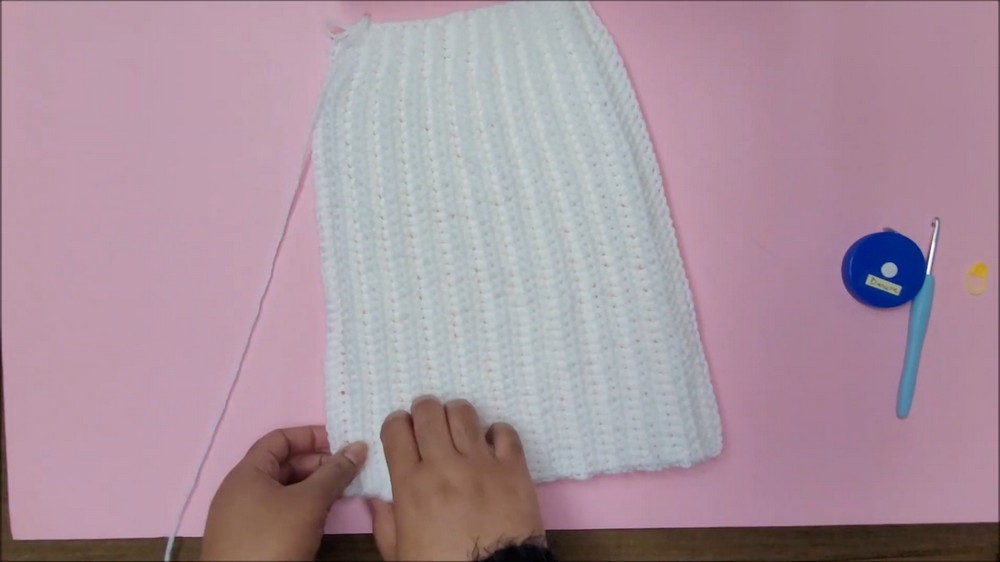
- Begin by making a chain that measures the length of the hat, including the folded brim and the full body of the beanie. For the tutorial, this was 13 inches—a chain of 47 stitches.
- Chain 47 or adjust the number of chains based on the size you want.
2. Row 1: Half Double Crochet and Single Crochet Combination
- Work half double crochet (HDC) into the second chain from the hook, skipping the first stitch.
- Continue working one HDC into each of the next 39 stitches.
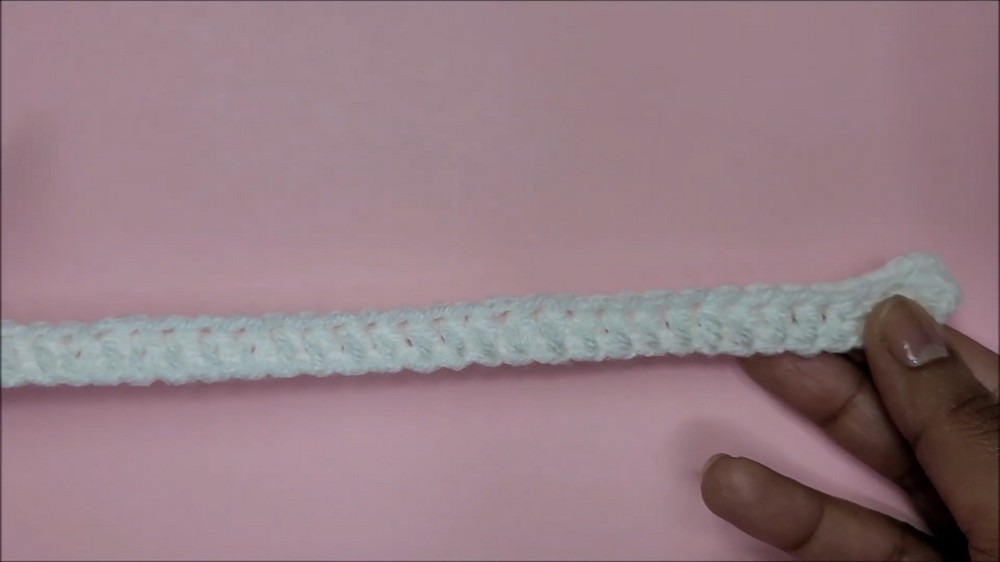
- Once you have 6 stitches remaining, switch to single crochet (SC) and make one SC into each of these last 6 stitches.
- Tip: Use a stitch marker in the 6th stitch from the end to avoid counting every time.
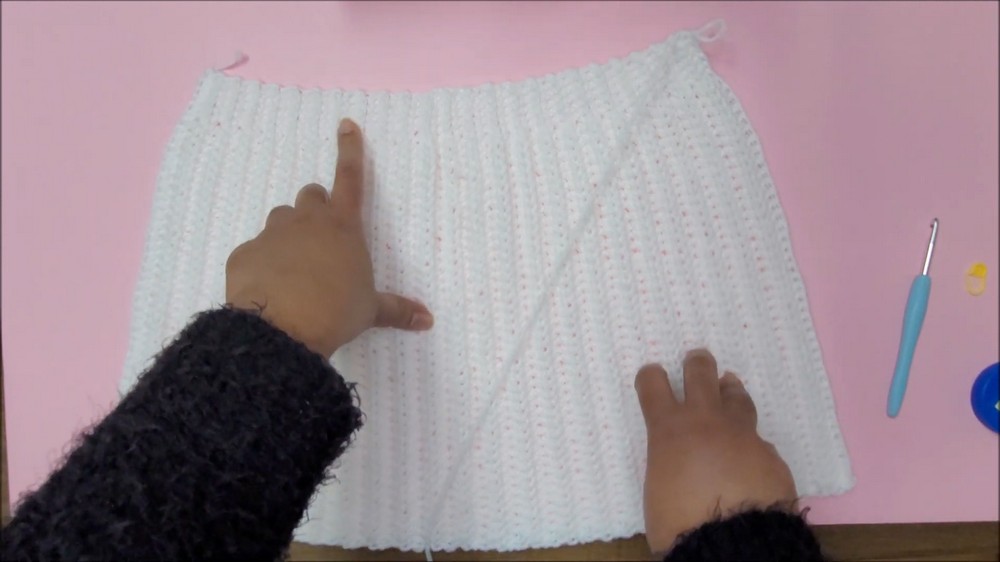
3. Row 2: Introducing the Ribbed Texture
- Chain 1, turn your work.
- To create the ribbed texture, use back-loop-only (BLO) stitches throughout this row and the rest of the project.
- SC into the back loops only of the first 6 stitches.
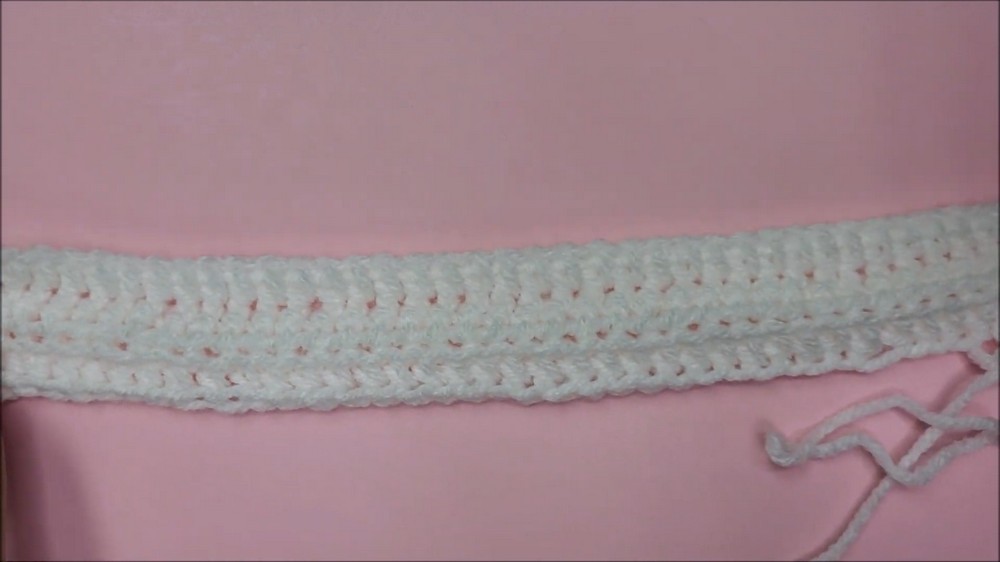
- Switch to HDC in the BLO for the remaining 40 stitches. Don’t forget to crochet into the very last stitch at the end of the row to keep the edges even.
4. Repeating the Pattern
- Each row will repeat the same pattern:
- Work SC in BLO for the first 6 stitches.
- Work HDC in BLO for the remaining stitches across the row.
- Repeat this pattern until the piece is wide enough to wrap comfortably around your head. For most adult sizes, this is approximately 8–10 inches wide when folded.
5. Shaping the Beanie
- Once your panel is complete, fold the piece in half with the right sides together.
- Start by chaining 1 and slip stitch, the two edges together to create a seamless tube. To ensure a cleaner seam:
- Go through the back loop of the stitch on the near side.
- Go through one loop only from the opposite side.
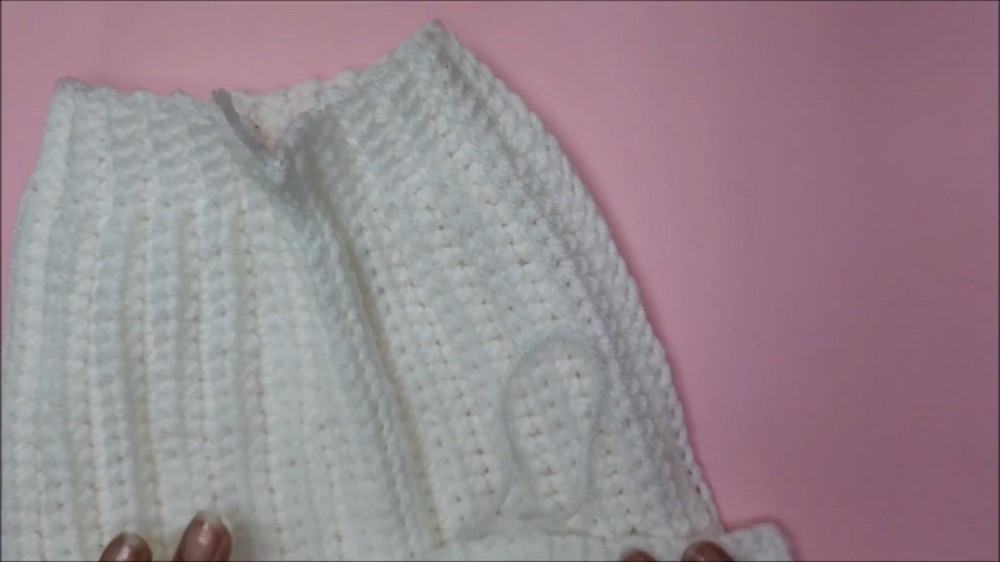
- Slip stitch all the way down and fasten off the seam.
6. Finishing the Bottom Edge (Optional)
- To give the hat a polished look, add a round of single crochet along the brim:
- Attach a new strand of yarn at the seam.
- Work one SC into each stitch around the brim.
- Slip stitch into the starting chain to close the round.
7. Closing the Top of the Hat
- Flip the hat inside out (optional) and thread a long strand of yarn onto a tapestry needle.
- Weave through the top edge of the hat, picking up random loops as you go around the circumference.
- Once finished, pull the yarn tightly to cinch the opening closed.
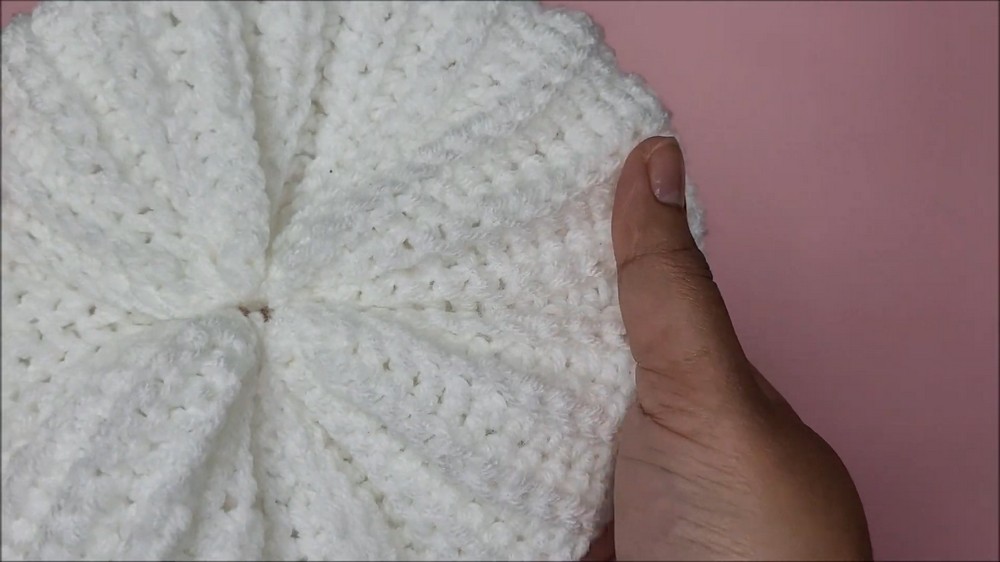
- Tie a secure knot, then weave in all loose ends to prevent fraying.
8. Optional Pom-Pom
- Attach a pom-pom to the top of your beanie for a fun and stylish finish.

Tutor’s Suggestions
- The six single crochet stitches create the top section of the hat, which is meant to gather at the top for a secure closure.
- Ensure that your rows are consistent in size by always crocheting into the final stitch of each row. Missing the last stitch can make the hat lopsided.
- If you want to modify this pattern into a mini skirt, widen the rows of single crochet at the top and adjust the length as needed.
Uses
- Winter Accessory: Keep warm during chilly days with a snug, stylish hat.
- Gift Option: Handmade hats make thoughtful, personalized gifts for loved ones.
- Versatility: Adjust the width and length for different sizes, or use vibrant colors for a bold, trendy statement.
- Fashionable Finishing Touch: Pair it with a matching scarf or mittens for a complete winter look.
Pro Tip
To achieve the perfect fit, measure the circumference of your head or the recipient’s head before starting. Keep the beanie panel stretchy enough to fit comfortably but snug enough to stay in place.
Conclusion
The crochet ribbed beanie is an ideal project for anyone seeking a quick, beginner-friendly, and highly customizable pattern. With its lasting ribbed texture and snug pattern, this hat combines functionality with effortless style. Whether you keep it simple or add a pom-pom for flair, the result is a cozy, handmade accessory perfect for the winter season.