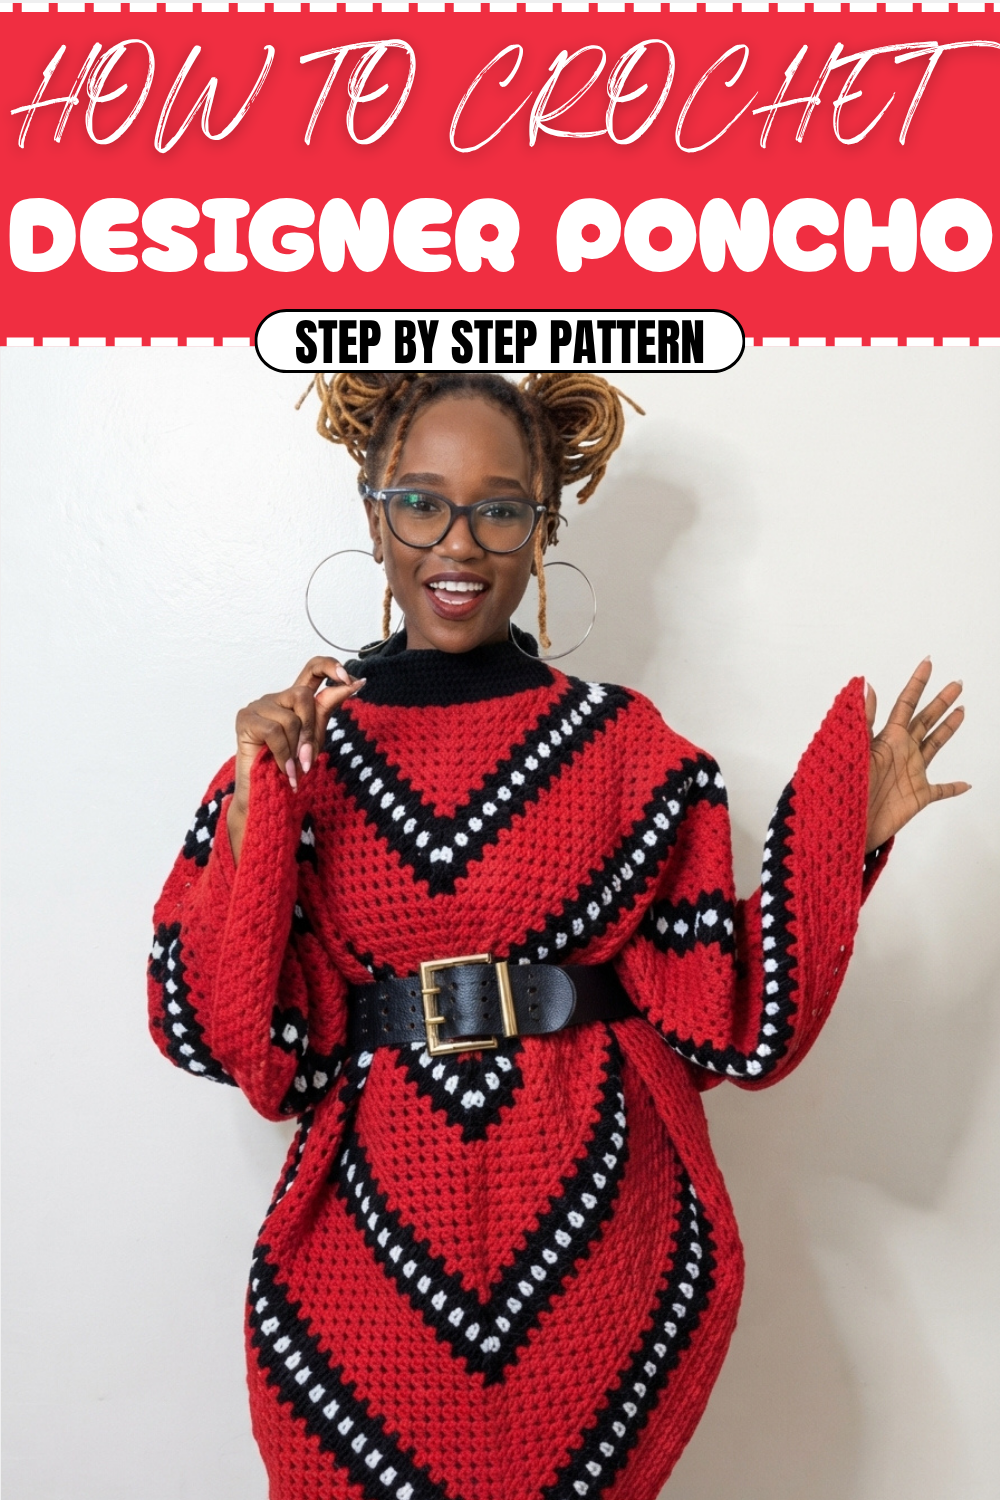
Rock Crochet Designer Poncho Pattern Perfect for Chilly Days
Step up your style with the Crochet Designer Poncho Pattern, a cozy and elegant piece that adds warmth, charm, and flair to any outfit.
A crochet poncho is like the ultimate fashion hug—cozy, stylish, and oh-so-versatile! Whether you’re throwing it on for a breezy brunch, a cozy coffee date, or just to amp up your everyday outfit, this handmade beauty does it all. The real magic lies in its design: bold colors, intricate stitches, and flowy elegance make every poncho a total show-off (in the best way).
Shine Crochet Designer Poncho Pattern Perfect for Coffee Runs
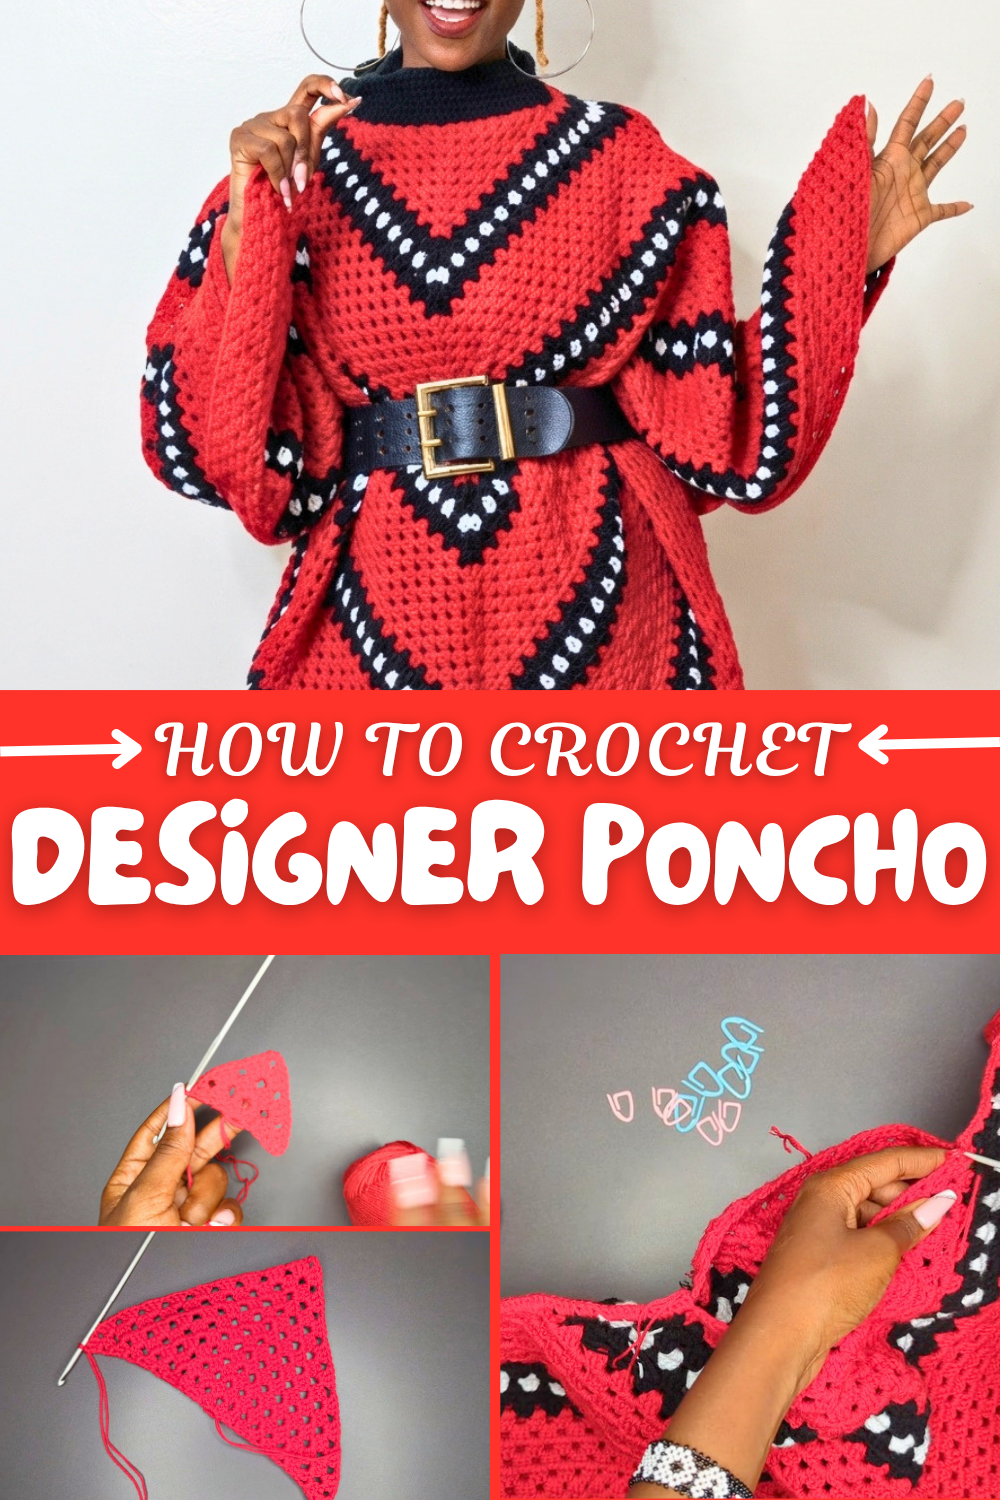
Why settle for boring layers when you can wrap yourself in something unique and eye-catching? A crochet designer poncho isn’t just clothing—it’s a vibe. Perfect for every season, it’s lightweight enough to pair with jeans and boots in spring or thick enough to become your cozy best friend in winter.
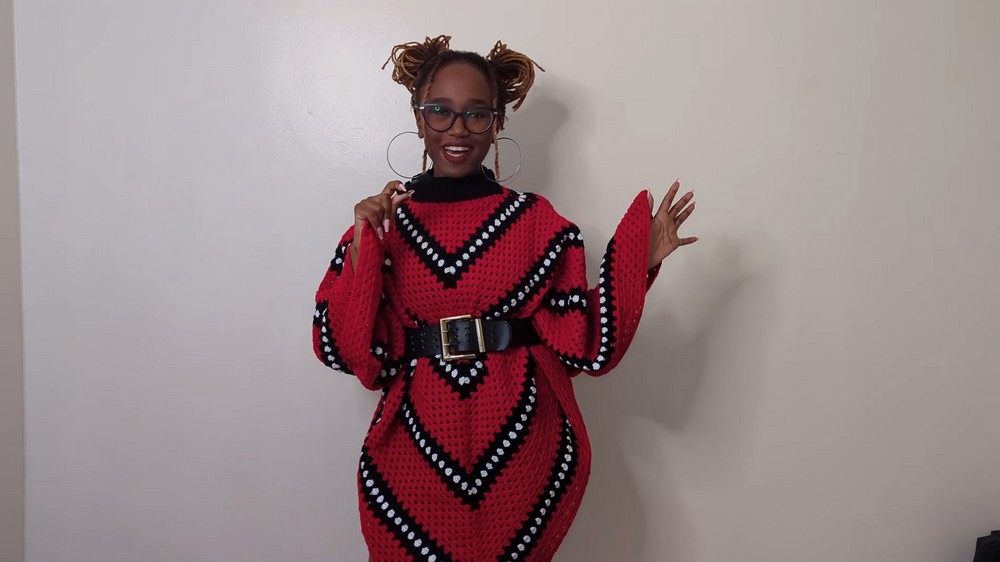
Crochet Poncho-Inspired Top: Step-by-Step Guide
Materials Needed
To begin, gather the following materials as shown in the tutorial:
- Yarn: Butterfly Zuri yarn (4-ply, thin-stranded). If using thin yarn, you’ll need to double-strand your yarn. Alternatively, medium-weight yarn can be used directly.
- Color palette in the tutorial: Wine red, rich black, and pure white.
- Total recommended quantity: Depending on size, ensure you have sufficient yarn for both panels and detailing (~2 skeins per color).
- Crochet Hook: 3.25 mm (or 3.5 mm/4.0 mm if preferred).
- Scissors: To trim loose ends.
- Stitch Markers: For assembling and joining panels.
- Tapestry Needle: For sewing and weaving in stitches.
Step-by-Step Instructions
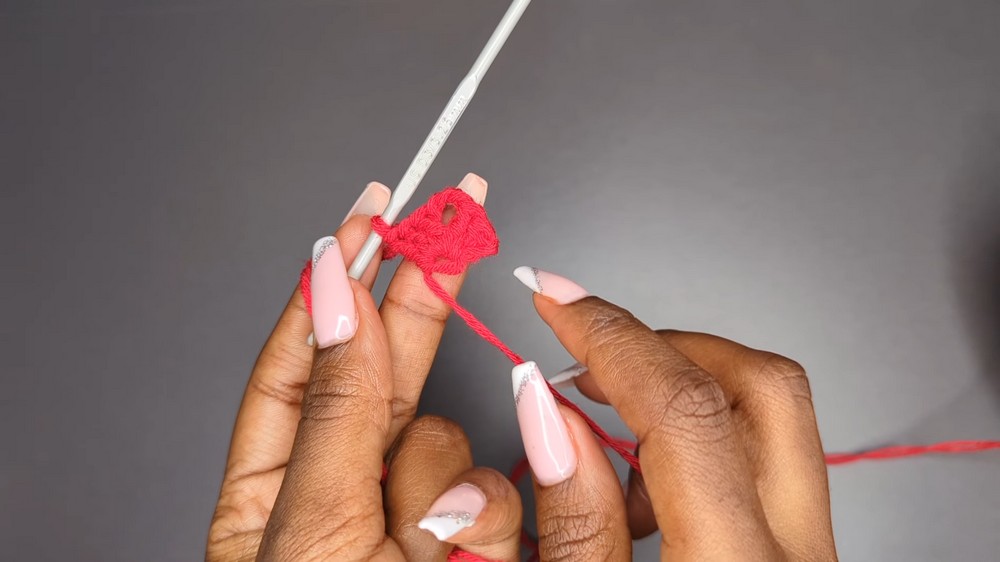
Step 1: Create the Foundation (Magic Circle)
- Start with a Magic Circle:
- Leave a long loose end and wrap the working yarn around your fingers to form an "X".
- Insert your hook into the first loop, grab the working yarn through the loop, and secure it by forming a slip knot.
- Practice this technique separately if you're unfamiliar with magic circles.
- Chain 3:
- Work three chains to form your first double crochet.
- Work Double Crochet Clusters:
- Crochet 3 double crochets in the magic circle, chain 3, then make 3 more double crochets.
- Pull the loose end of the magic circle tightly to close. This forms the first triangular "row."
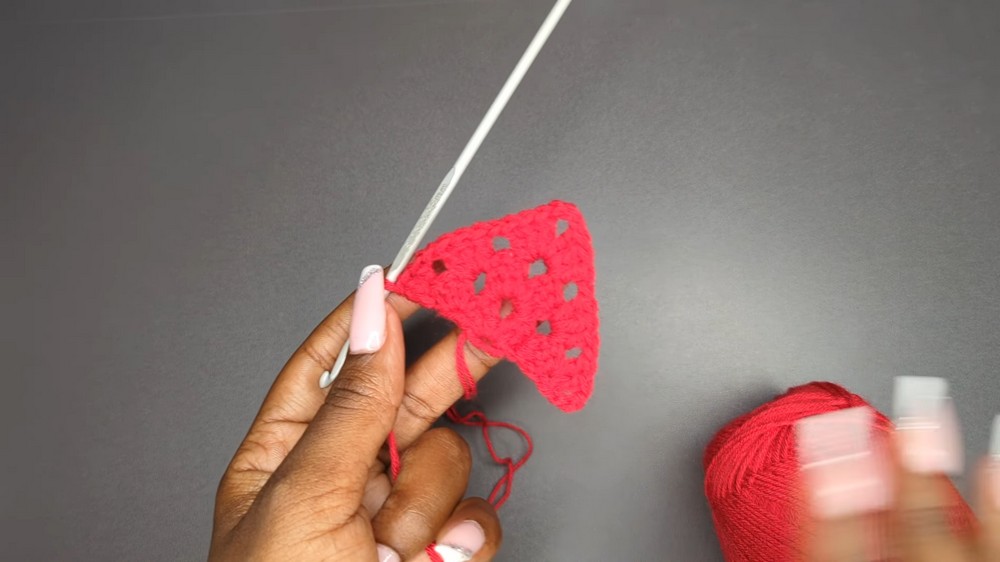
Step 2: Build the Panel Using the Granny Stitch
- Start the Next Row:
- Chain 3 (counts as the first double crochet), then turn your work.
- Add 2 double crochets in the first stitch to create a cluster of 3.
- Chain 1 and proceed to the next space.
- Work in Corner Spaces:
- In corner spaces, always crochet 3 double crochets, chain 3, and 3 more double crochets to form the triangular edges.
- Continue across the row, chaining 1 between clusters.
- End the row with 3 double crochets on the last stitch.
- Repeat the Pattern:
- For each row, chain 3 and turn. Add double crochet clusters separated by chain 1 for spaces and create corners with the same granny stitch increase as above.
- Repeat this process until the desired size of the panel is reached.
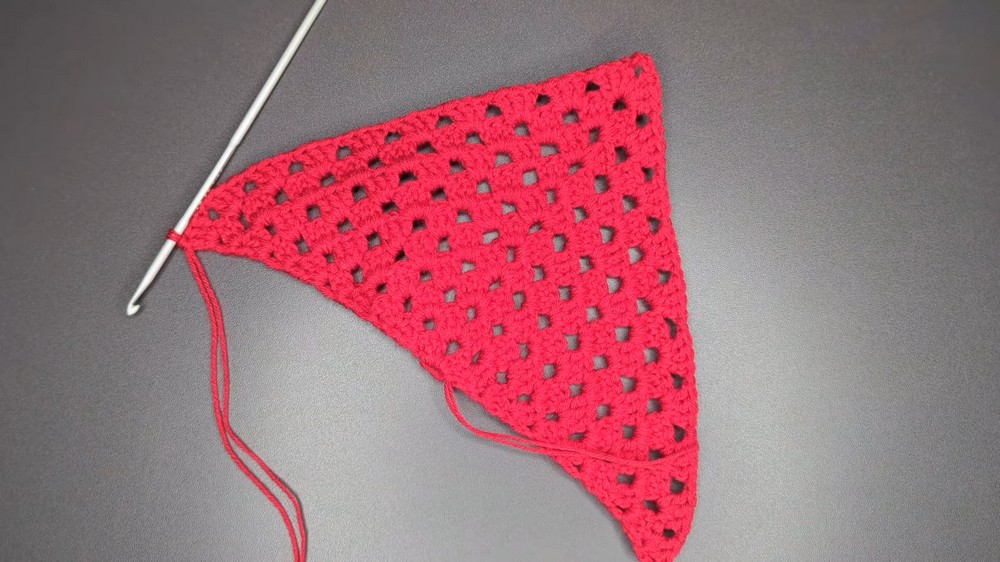
Step 3: Customize Panels and Change Colors
- Switch Colors for Styling:
- When switching colors, cut the current yarn and secure the new color by pulling it through the last loop. Tighten both strands and continue with the same granny stitch pattern.
- Alternate colors based on personal preference (e.g., red and black as used in the tutorial).
- Make Two Panels:
- Crochet two identical panels: one for the back and one for the front.
- Customize the size by following the same stitches to create a medium, small, or larger fit.
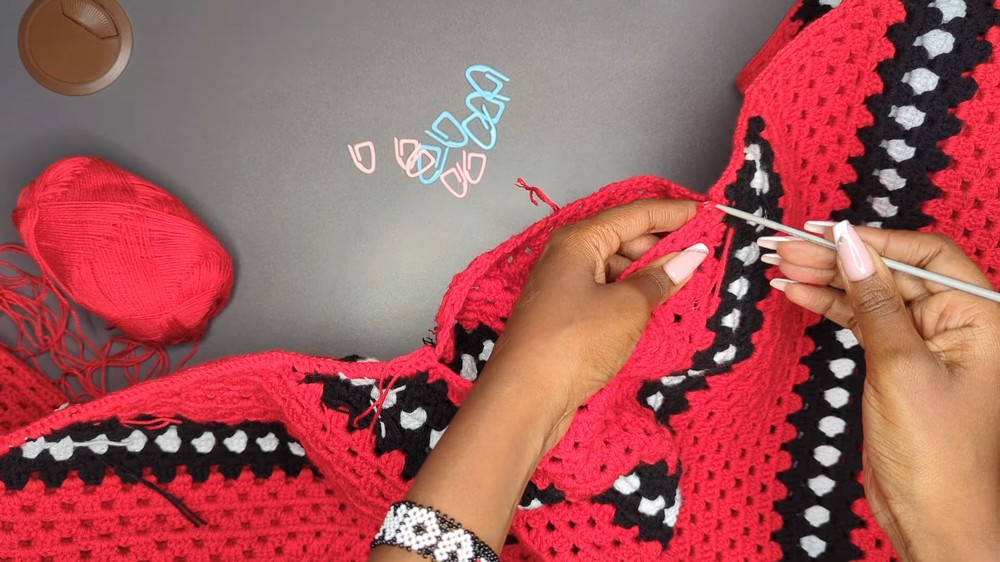
Step 4: Assemble the Panels
- Align the Panels:
- Lay the panels flat, wrong side out. Use stitch markers to secure the edges and leave an opening for the neck at the top and sleeves on the sides.
- Ensure proper alignment for a clean finish.
- Join with Single Crochets:
- Secure the front and back panels by crocheting single crochets along the seams.
- Leave the neck and sleeve spaces unjoined.
- Turn the piece inside out to hide the seams. Ensure the right side faces outward.
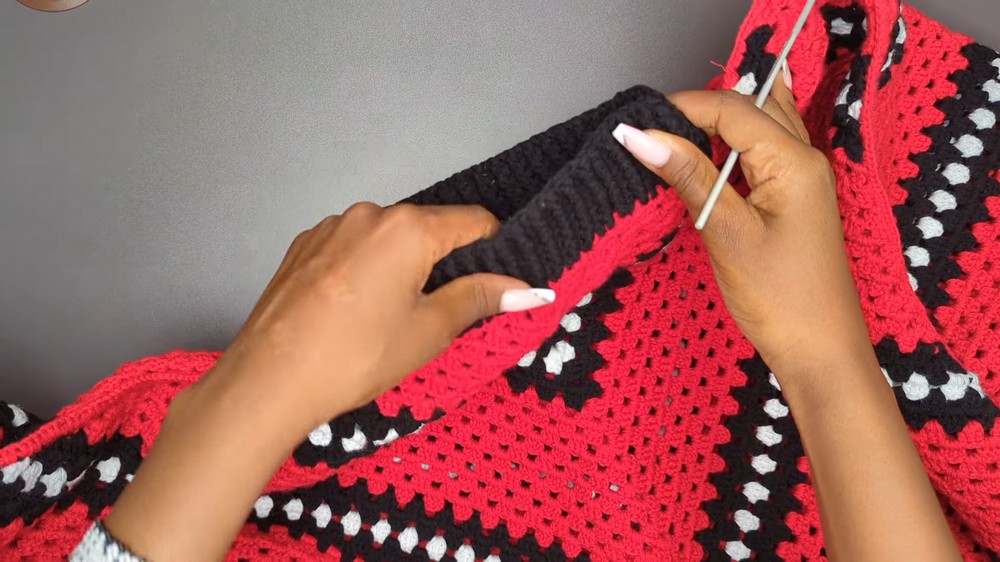
Step 5: Add Ribbing for the Neckline
- Foundation Row:
- Crochet double crochets evenly around the neck opening and close with a slip stitch.
- Front and Back Post Double Crochets:
- Alternate between front post double crochets and back post double crochets in subsequent rows to create a ribbed texture for the neckline.
- Repeat for 4–7 rows or until your desired ribbed height is reached.
Step 6: Finish and Style Your Poncho
- Weave in Loose Ends:
- Use a tapestry needle to tidy up any yarn ends.
- Add Style Elements (Optional):
- Use a belt to accentuate the waistline or leave it as a relaxed, flowy design.
Special Features
- Simplified Poncho Design: Though not a traditional poncho, this project achieves the same flowy and elegant look with a simpler construction.
- Granny Stitch Pattern: The repeating clusters and corner increases create a timeless crochet texture.
- Ribbed Neckline: The ribbed neck adds charm and structure.
- Customizable: You can easily adapt the size and colors to your taste.
Level of Difficulty
- Beginner to Intermediate:
The repetitive pattern makes this project beginner-friendly, but handling double strands, working a magic circle, and adding ribbing may require some practice.
Tutor's Suggestions
- Double-Strand Thin Yarn if Necessary: Use two strands of yarn to achieve medium weight if your yarn is thin like Butterfly Zuri.
- Ensure Proper Gauge: If using a different hook size, ensure your tension remains consistent.
- Practice Assembly with Stitch Markers: Mark your neck opening and seams carefully for clean edges.
Uses of the Poncho-Inspired Top
- Everyday Wear: A versatile piece that pairs well with jeans, leggings, or skirts.
- Layering Piece: Perfect for fall or transitional weather.
- Gifting: A unique handmade gift for friends or family.
- Customizable Projects: Great for experimenting with various color palettes and yarn textures.
Pro Tip
When working the neckline ribbing, alternate your stitches consistently (front post, back post) to avoid an irregular pattern, and ensure an even tension for a polished look.
Conclusion
The poncho-inspired crochet top is a simple yet stylish project that highlights basic crochet techniques and allows creative customization. From the vibrant color scheme to the clean ribbed neckline, this piece offers both beauty and practicality. Whether you're a beginner or a seasoned crocheter, this project is satisfying and versatile. Follow the steps above and enjoy the process of creating a timeless wardrobe staple.