
Quick Free Crochet Santa Claus Pattern That Feels So Festive
Enjoy crocheting this lovely Santa Claus ornament with our free crochet pattern, perfect for decorating your Christmas tree or gifting to friends and family.
Creating festive decorations is one of the best ways to get into the holiday spirit, and nothing is more special than making your own Christmas ornaments. This cheerful Santa Claus crochet design is a fun and heartwarming project that helps you bring the magic of the season into your home. Whether you’re creating for your tree, your wall, or as a gift, this handmade piece will stand out with its charm and personality.
The channel Crochet con Yamileth provides an easy to follow tutorial for this delightful Santa Claus ornament. With clear instructions and thoughtful tips, the video guides you through each step, starting from the circular base to creating the intricate details that form Santa’s face and hat. The design is simple enough for beginners but equally enjoyable for experienced crocheters.
Free Crochet Santa Claus Pattern With a Merry Twist
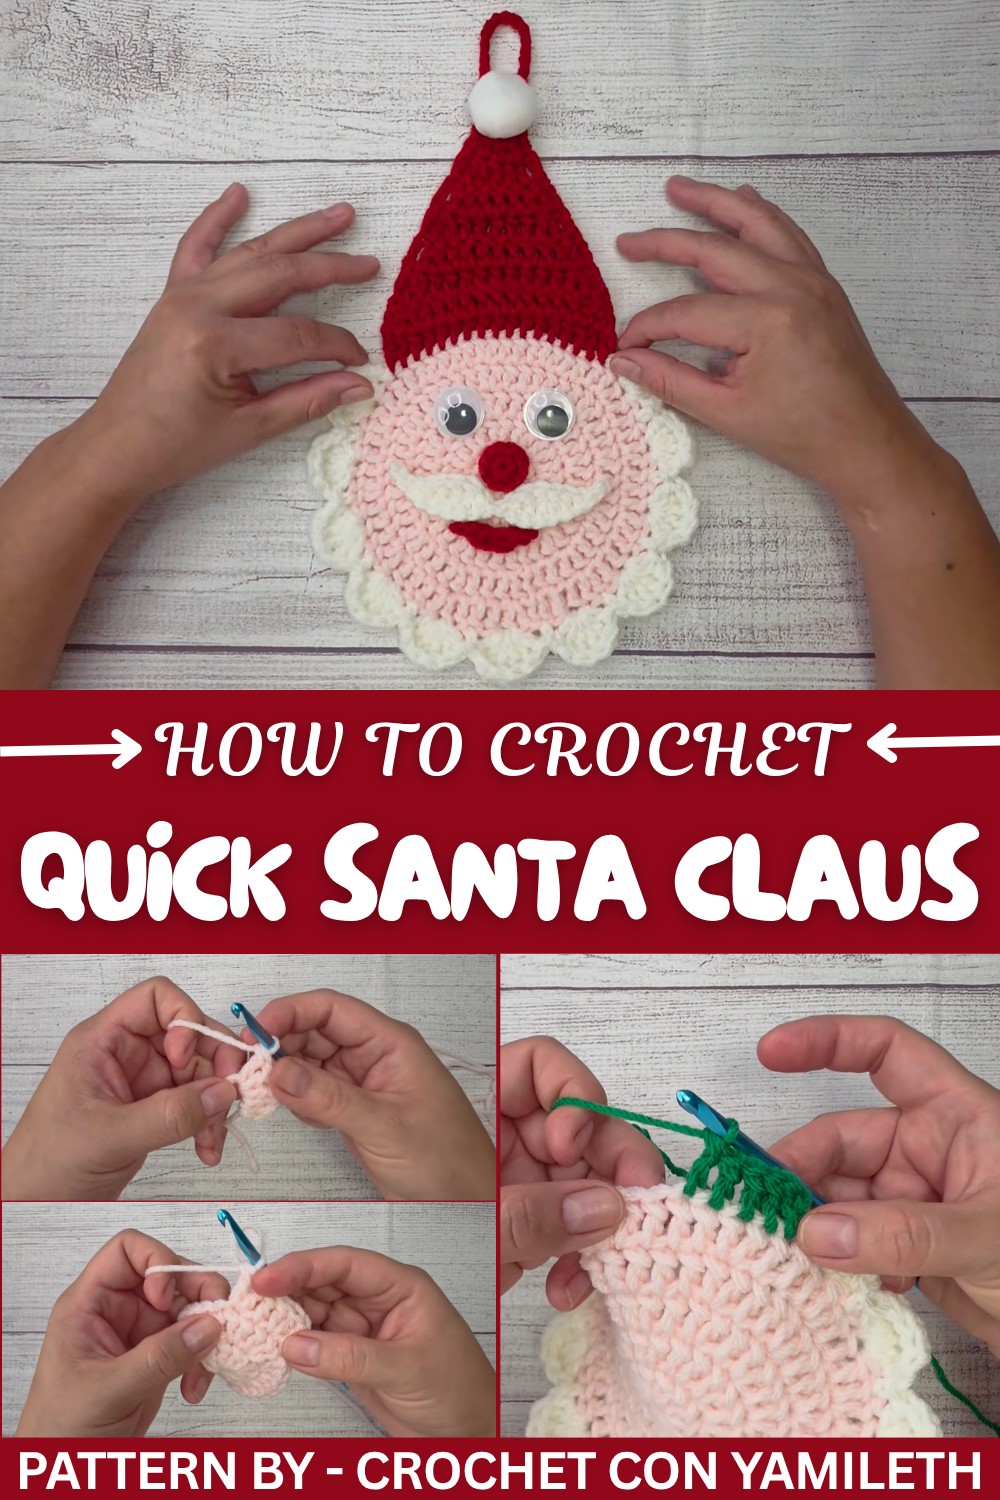
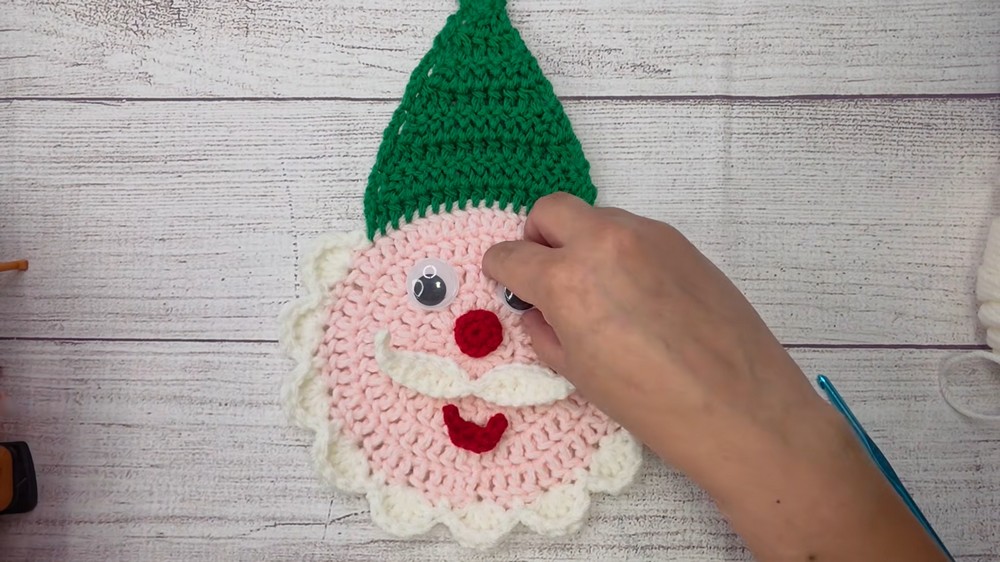
This Santa ornament features a round base, a cozy red hat outlined with fluffy white edges, a bright red nose, and a neat white mustache. His cheerful expression is completed with googly eyes or simple black yarn stitches, depending on what you prefer. The combination of red, white, and green yarn makes it a classic and festive addition to any holiday decor.
Working on this project is deeply satisfying, as the design is built up layer by layer, starting with the central magic ring foundation. The vibrant yarn colors and attention to detail give this ornament an extra special touch. It’s perfect for brightening your Christmas tree, adorning your fireplace, or even gifting to loved ones. This Santa Claus crochet design is not just a decoration, it's a handmade treasure filled with warmth and joy. Make your holidays even more magical with this charming project.

Santa Claus Crochet Ornament Pattern
Introduction
Hello, hello, how are you? Welcome to the tutorial for this beautiful Christmas ornament featuring the image of Santa Claus. This project is perfect for decorating your home, whether it's on the Christmas tree or even on the wall. If you want to learn how to create this design from start to finish, make sure to stay with me until the end of the tutorial.
Quick Overview of Pattern
- Type: Christmas decor ornament featuring Santa Claus
- Difficulty Level: Intermediate
- Key Features: Santa’s head with detailed facial features (eyes, lips, mustache, and nose), pompom, and a hanging loop
- Uses: Home decoration, Christmas tree ornament
Notes
- This pattern uses multiple yarn colors, so ensure you have all necessary shades available beforehand.
- When crocheting detailed parts (e.g., lips, nose, mustache), keep a yarn needle handy to secure and finish edges neatly.
- Be mindful of stitch counts to maintain proportion throughout the design.
Skill Level
Intermediate – Familiarity with magic rings, working double crochets, decreases, slip stitches, and basic shaping techniques is essential.
Materials
- Yarn: Multiple colors (red, white, green, black) – Cotton yarn, size 4, 100% cotton
- Hook: 5 mm crochet hook
- Other Tools: Scissors, yarn needle
- Accessories: Decorative eyes, pompom, glue
Measurements / Sizing
This ornament is small and perfect as a hanging decoration for a Christmas tree or wall. Size varies slightly depending on yarn and tension, but approximate dimensions are:
- Diameter: ~12 cm
- Hanging loop length: ~20 chains
Gauge
Gauge is not critical for this design. Ensure that your finished crochet piece has uniform stitch tension for consistent shaping.
Stitch Abbreviations
- CH: Chain
- SC: Single Crochet
- DC: Double Crochet
- SL ST: Slip Stitch
- INC: Increase (two stitches in the same space)
- DEC: Decrease
Special Stitches
Magic Ring: Wrap yarn around fingers, create a loop, crochet into the center to begin the project. This technique helps achieve a seamless round design.
The Crochet Pattern
Main Head/Face (Red Yarn)
Round 1:
- Create a magic ring.
- Crochet 12 DC stitches inside the ring.
- Close the ring tightly and join with a SL ST.
Round 2:
- CH 2 (does not count as DC).
- Work 2 DC in each stitch around to increase (24 total stitches).
- Join with a SL ST into the first DC.

Round 3:
- CH 2 (does not count as DC).
- Alternate: 1 DC, then INC (2 DC in the same stitch).
- Repeat around for a total of 36 stitches.
- Join with a SL ST.
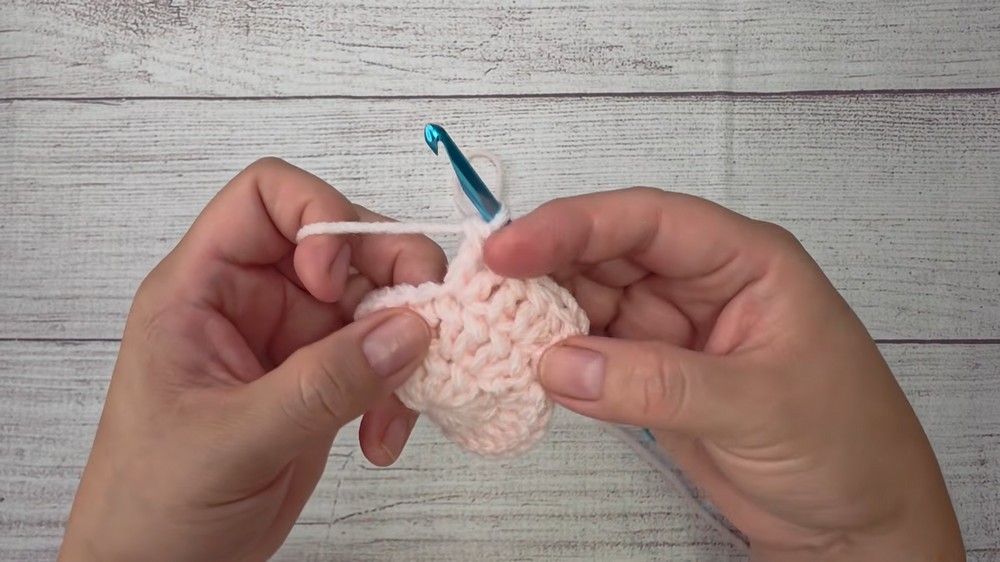
Round 4:
- CH 2 (does not count as DC).
- Alternate: 2 DC, then INC.
- Repeat around for a total of 48 stitches.
- Join with a SL ST.
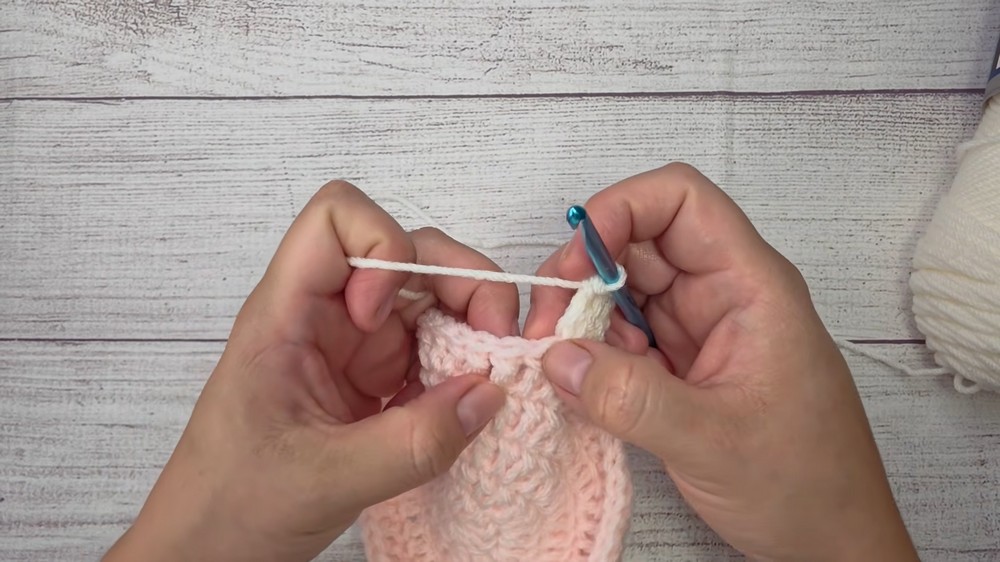
Round 5:
- CH 2 (does not count as DC).
- Alternate: 3 DC, then INC.
- Repeat across the round for a total of 60 stitches.
- Join with a SL ST. Cut red yarn.
White Border (Beard/Trim)
- Attach white yarn to the back of the red piece.
- CH 1, SC in the first space.
- Skip one space, in the next space: crochet 1 DC, 4 DTR, and 1 DC.
- In the next space: crochet 1 SC.
- Repeat this border pattern (Skip one space → DC, DTR*, SC) around the edge until complete.
Hat Top (Green Yarn)
Row 1:
- Join green yarn to the top section of the white trim.
- Crochet a row of DC.
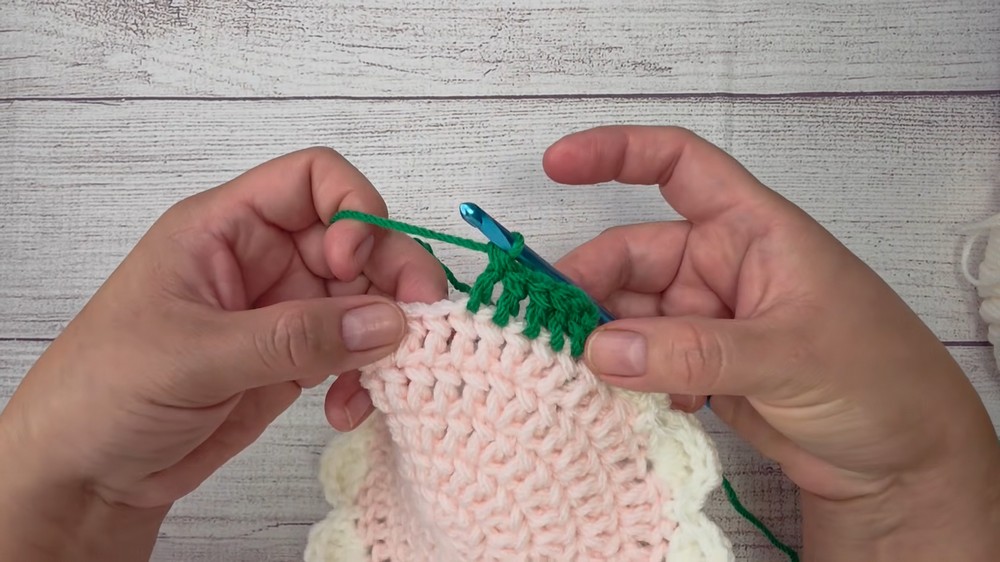
Rows 2–End:
- At the beginning and end of each row, decrease using the DC2tog method.
- Continue reducing stitches row by row until only 3 stitches remain.

Final Row:
- Work 3 SC across the remaining stitches and chain 20 for the hanging loop.
- Secure the loop with a SL ST, fasten off.
Facial Features
Lips:
- CH 8.
- Skip first 2 chains from the hook.
- Work a slip stitch in the 3rd chain, SC in the next two chains, pulling loops through and closing them together.
- Complete the row with a slip stitch. Fasten off.
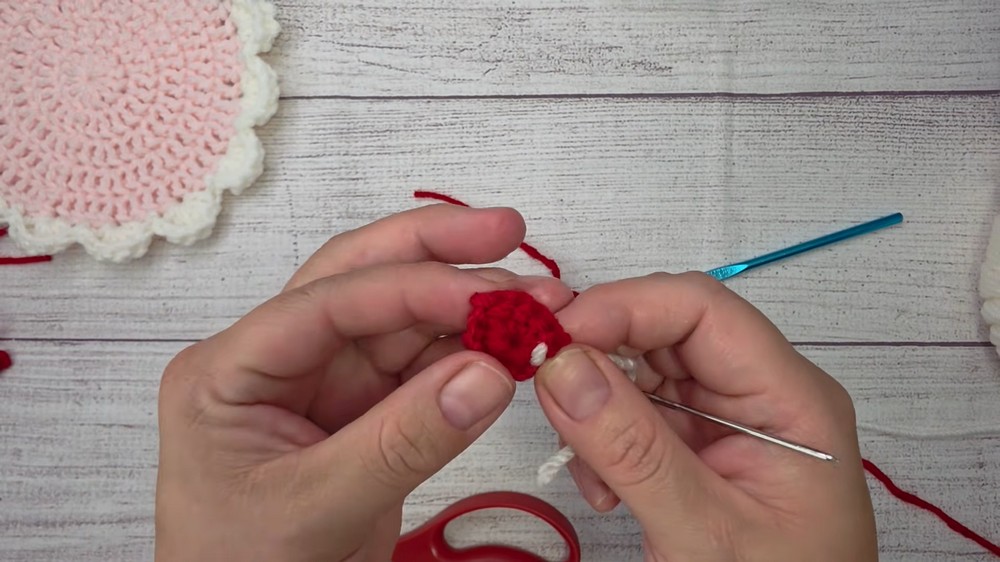
Nose:
- Create a magic ring with red yarn.
- Crochet 11 SCs into the ring.
- Close with a SL ST, fasten off.
Mustache:
- CH 19 using white yarn.
- Work slip stitches, SCs, DCs, and DTRs across both sides of the chain to create a 3D mustache shape.
Assembly
- Use glue to attach the nose centrally to the red face.
- Position and glue the mustache at the base of the nose.
- Attach the lips below the mustache.
- Secure pre made eyes (or crochet them as an alternative).
- Add the pompom to the top point of the green hat.
Conclusion
Your Santa Claus ornament is now ready to shine! This festive crochet creation is perfect for gifting or decorating your home during the holiday season. Each detail—from Santa’s beard to his cheerful facial features—makes this project a charming addition to your Christmas collection. If you enjoyed this tutorial, don’t forget to share your finished project and spread holiday cheer.