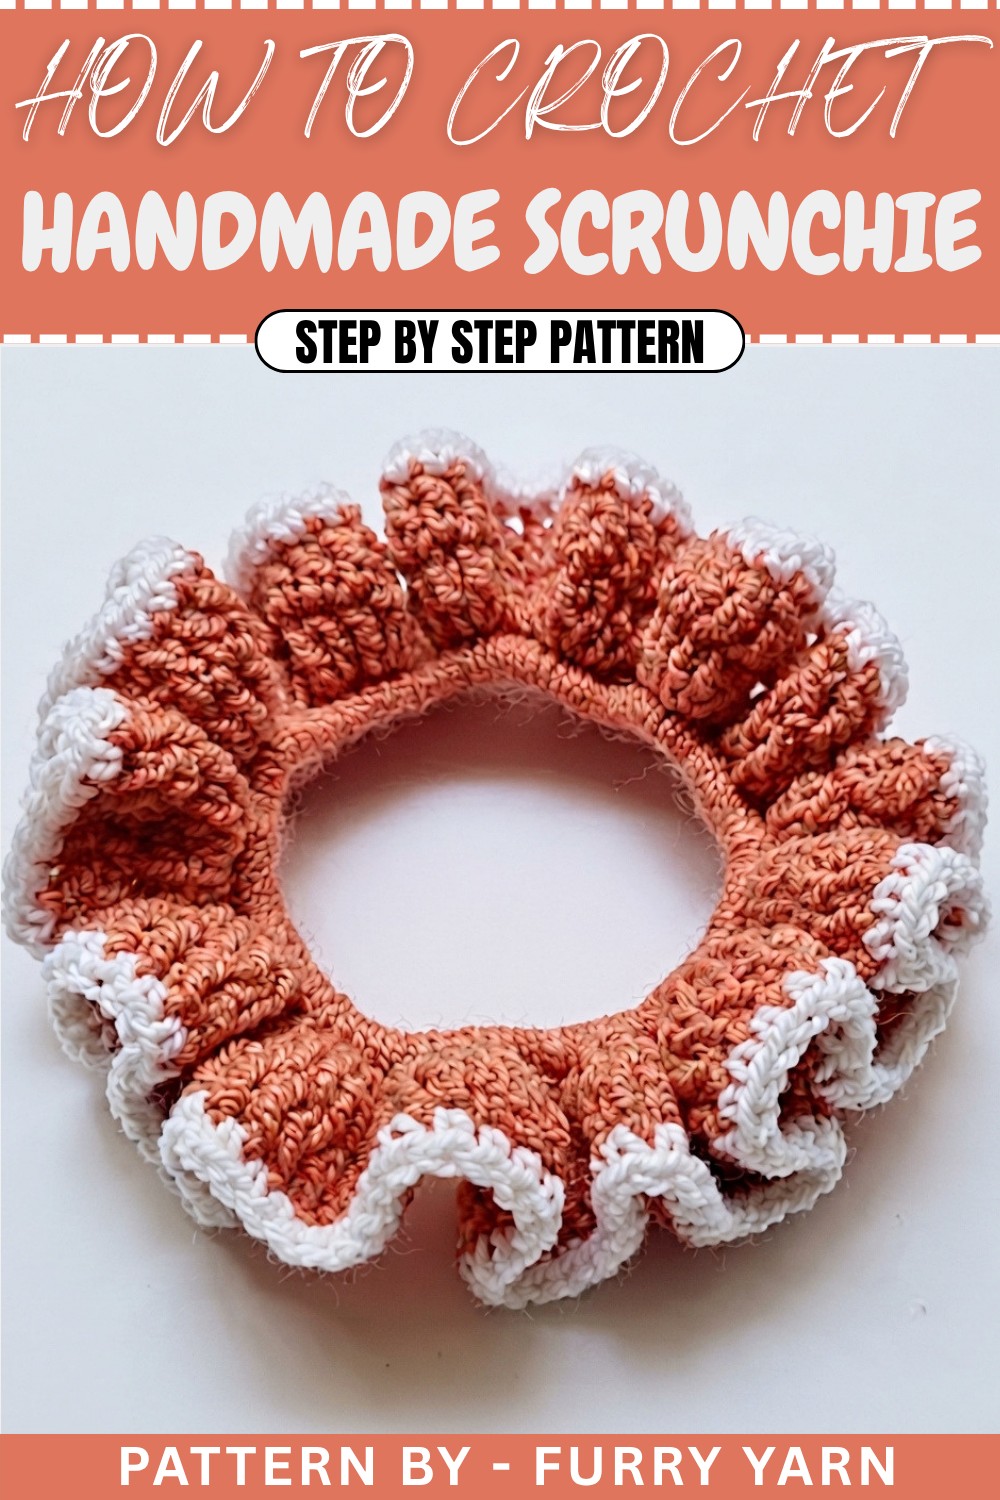
Quick Crochet Scrunchie Free Pattern For Everyday Hairstyles
Refresh your style effortlessly with this crochet scrunchie pattern that provides easy instructions for handmade hair accessories.
I recently fell upon a delightful way to spruce up my hair accessories collection through a simple yet charming project. This isn’t just any ordinary hair tie – it’s a cozy, handmade item that instantly adds a touch of style and vintage flair to any look. Inspired by a tutorial from the Furry Yarn channel, I decided to try out their Crochet Scrunchie Free Pattern, and it quickly became one of my favorite go-to accessories.
Fun Crochet Scrunchie Free Pattern With Pretty Texture
A scrunchie, for those who might not know, is a soft fabric-covered elastic hair tie that’s gentle on the hair and adds a playful element to hairstyles. The Crochet Scrunchie Free Pattern gives you an easy-to-follow guide on making one with yarn, perfect for those who enjoy working with their hands and want a personal touch in their accessories. Beyond just being practical, these scrunchies are excellent as thoughtful, handmade gifts that friends and family will appreciate. Their decorative value is undeniable — they're both useful and stylish.

What makes this pattern so attractive is its beautiful, textured appearance. The scrunchie features neat rows of single and double crochet stitches that create a soft, stretchy fabric hugging the elastic core. Its round, ruffled shape feels both classic and whimsical, making it an eye-catching piece to complement casual or dressy outfits. The texture is plush, giving it a comfortable feel against the wrist or in the hair, avoiding the irritation that some hair ties cause.
This pattern’s standout design lies in its layering of stitches that add volume and character, creating a full-bodied scrunchie with subtle ridges and a charming handmade aesthetic. The ability to customize the yarn color enhances its versatility, letting you create seasonal or matching sets that brighten up any day. Whether worn on the wrist or tucked into a ponytail, this crochet scrunchie style simple hairdos with a warm, inviting style that’s both practical and pretty.
Simple Crochet Scrunchie Free Pattern With Full Guide
This project guides you through building a stylish hair accessory right over a standard elastic band. Working directly onto a stretchy loop allows your yarn stitches to expand naturally, producing soft folds that stay secure in your hair. Using basic crochet methods, you will construct a sturdy base, build up full ruffle layers, and add a crisp accent border to complete the piece. The straightforward instructions help you construct a clean, practical piece while building your core stitching skills. Grab your yarn, hook, and elastic tie to construct your own custom hair accessory today.
Quick Overview Of Pattern
-
Base: Cover the hair elastic entirely with single crochets.
-
Ruffles: Triplicate the stitch count by placing 3 double crochets into every stitch.
-
Body: Work 1 double crochet into every stitch to add depth.
-
Edging: Switch to an accent color and work single crochets around the border.
-
Finishing: Fasten off, pull tight, and weave in all loose ends.
Notes
-
Ensure your hair elastic stays flat and untwisted as you work the base round.
-
Keep your tension smooth so the ruffles spread out evenly around the core band.
-
Fasten off your main color completely before joining the accent color for the final border.
Skill Level
-
Beginner: Requires knowledge of slip knots, chains, single crochets, double crochets, and slip stitches.
Materials
-
Main Color Yarn: Desired shade for the scrunchie body.
-
Accent Color Yarn: White or contrasting color for the outer trim.
-
Crochet Hook: Sized appropriately for your yarn thickness.
-
Hair Elastic: Standard elastic hair band.
-
Scissors & Tapestry Needle: For trimming and weaving in loose ends.
Measurements / Sizing
-
Inner Diameter: ~1.5 to 2 inches (stretches with elastic).
-
Outer Diameter: ~4 to 5 inches when fully ruffled out.
Gauge
-
Gauge: Not critical for this project. The piece naturally expands and stretches with the hair elastic core.
Stitch Abbreviations
-
ch: Chain
-
sc: Single Crochet
-
dc: Double Crochet
-
sl st: Slip Stitch
-
st(s): Stitch(es)
-
MC: Main Color
-
AC: Accent Color (e.g., White)
Special Stitches
-
Single Crochet (sc): Insert hook, yarn over, pull up a loop (2 loops on hook), yarn over, pull through both loops.
-
Double Crochet (dc): Yarn over, insert hook, yarn over, pull up a loop (3 loops on hook), yarn over, pull through 2 loops, yarn over, pull through remaining 2 loops.
-
Slip Stitch (sl st): Insert hook, yarn over, pull directly through stitch and loop on hook.
The Crochet Pattern
Base Preparation
- Setup: Start by placing a slip knot on your hook.
- Secure: Tie or hold your MC yarn firmly onto the hair elastic.

Foundation Single Crochet (Round 1):
- Step 1: Insert hook directly under the elastic band.
- Step 2: Yarn over and pull up a loop, leaving 2 loops on your hook.
- Step 3: Yarn over again and pull through both loops to complete one single crochet.
- Step 4: Repeat this single crochet technique continuously around the hair elastic until the entire band is fully covered.
- Step 5: Complete the foundation by making a slip stitch into the top of your very first single crochet.
Ruffle Foundation (Round 2):
-
Step 1: chain 2 to gain height.
-
Step 2: Work 3 double crochets into the exact same stitch as your joining chain.

-
Step 3: Work 3 double crochets into every single stitch across the entire round to form full ruffles.
-
Step 4: End the round by working a slip stitch into the first stitch of the round.

Body Round (Round 3):
-
Step 1: chain 2 to begin.
-
Step 2: Work 1 double crochet into the same starting stitch.
-
Step 3: Work 1 double crochet into every stitch around without making any increases.
-
Step 4: Secure the round with a slip stitch into the first stitch.
Edging & Color Change (Round 4):
-
Step 1: Cut the MC yarn with scissors and join your AC (white yarn) cleanly.

-
Step 2: Work 1 single crochet directly into the same starting stitch.
-
Step 3: Work 1 single crochet into each stitch across the entire outer edge.
-
Step 4: Trim any loose tails as you go to maintain neatness.
-
Step 5: Join the border with a slip stitch into the initial single crochet.
Finishing Touches
-
Step 1: chain 1, pull the loop tight, and snip with scissors to fasten off.
-
Step 2: Pull the tail firmly to secure it, then weave and hide all remaining yarn ends inside the stitches.
-
Step 3: Trim off any remaining thread ends cleanly.
Assembly & Finished Size
-
Assembly: The piece is crocheted directly onto the elastic core, so no seaming is required.
-
Finished Size: ~4.5 inches in total diameter across the fully opened ruffles.