
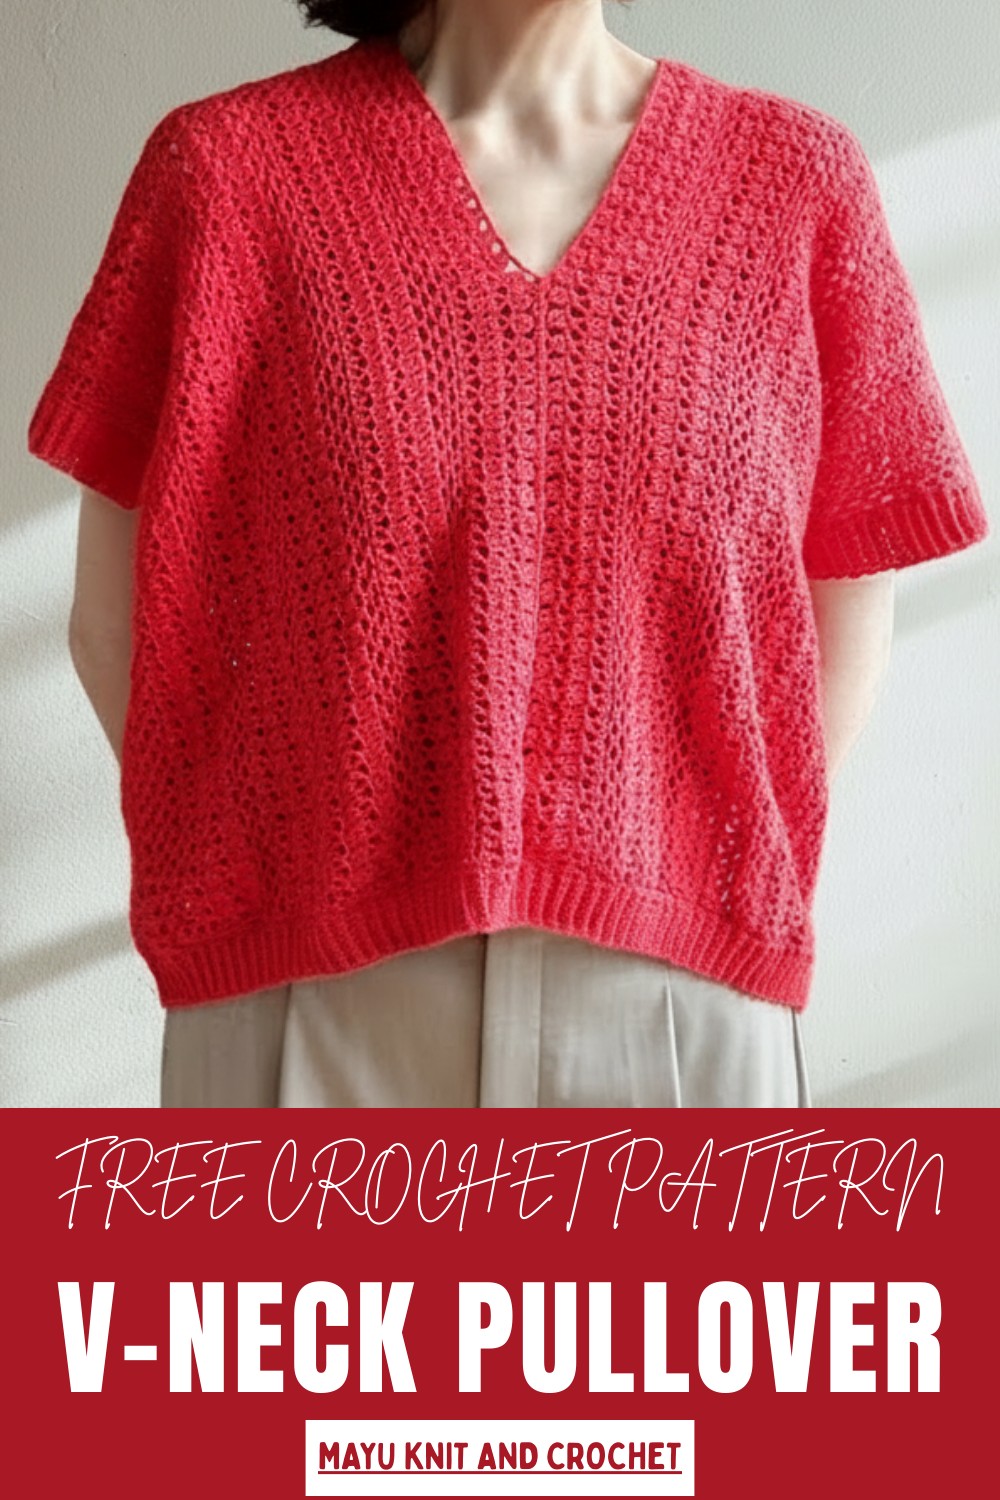
Show off a Free crochet V-neck Pullover Pattern with lightweight, airy stitches that offer a comfortable, stylish fit perfect for casual or warm days.
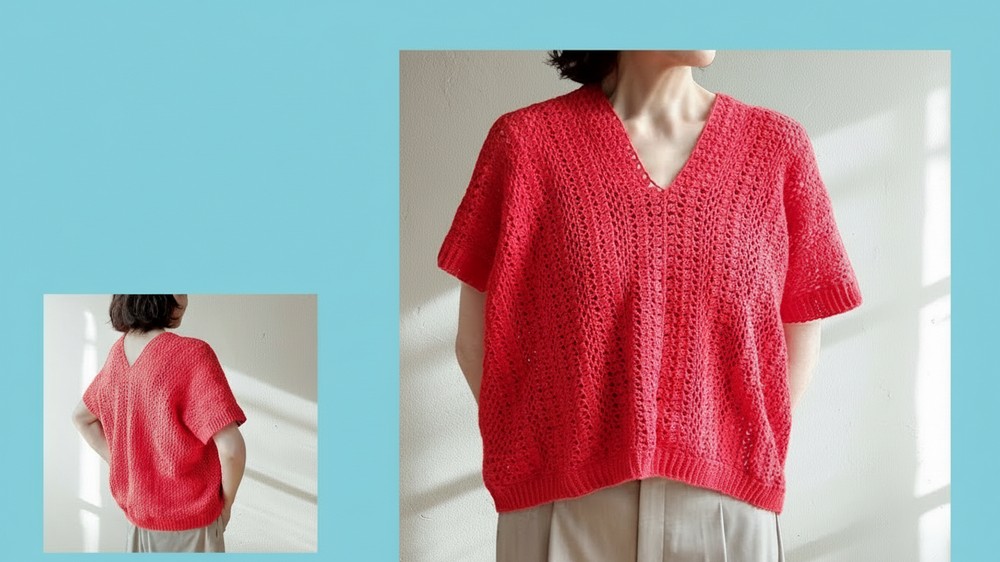
A chic, handmade top with a flattering neckline can instantly elevate any outfit, offering both style and comfort. The V-shaped design adds a touch of sophistication, while the soft crochet texture brings warmth and a delicate, handmade charm. Lightweight and breathable, it pairs effortlessly with jeans, skirts, or layered over dresses, making it versatile for casual outings or relaxed gatherings.
Soft Crochet V-Neck Pullover Pattern for Relaxed Summer Style
Creating one allows for personalization in color, stitch pattern, and fit, turning a simple garment into a statement piece. This pullover combines elegance and practicality, providing a cozy, stylish option that highlights craftsmanship and adds timeless appeal to your wardrobe.
How to Crochet a V-Neck Pullover Using Thin Yarn – Step-by-Step Guide
Materials Needed
To successfully crochet the V-neck pullover, you’ll need the following tools and materials:
- Yarn: Use Piero Yarn’s "Sabrina," which is a blend of 60% linen and 40% cotton. Each ball is 111 meters long and weighs 40 grams. Approximately 8.5–9 balls are required for this project.
- Crochet Hooks:
- Hook Size 4/0 for the body of the pullover.
- Hook Sizes 2/0–3/0 for ribbing details.
- Other Tools:
- Scissors.
- Yarn needle.
- Removable stitch markers.
- Tape measure.
Uses
- Perfect for breathable, lightweight wear during summer.
- Ideal for those looking to refine their crochet techniques with fine yarn and clean patterns.
Special Features
- Uses thin yarn that is suitable for warm-weather garments. The linen in the yarn provides a cool, refreshing feel, while the cotton adds a soft texture.
- Simple construction: Made with two rectangular panels, avoiding complex shaping (no increase or decrease stitches).
- Minimal joining makes assembly easy, with a seamless finish for cuffs and hem.
- The combination of textured stitching and net stitch patterns adds elegance and style to the pullover.
Level of Difficulty
- Skill Level: Intermediate.
- MAYU notes that while the overall structure is simple (straight rectangles), working with fine yarn may be challenging for beginners.
- The stitch patterns, particularly transitioning between textured and net stitches, require attention to detail.
- Single crochet ribbing for cuffs and hem takes time and patience, making this a more advanced task compared to beginners' projects.
Tutor’s Suggestions
- Beginners: Beginners may find the delicate yarn and ribbing at cuffs and hem a little challenging but can opt for simpler edges if preferred.
- Neck Opening: Adjust the depth of the V-neck opening to fit comfortably over your head after finishing the body. Ensure the neckline is not too tight.
- Stitch Consistency: When creating rows of net stitches or ribbing, maintain consistent tension to produce smooth results. Avoid overstretching stitches.
- Swatches: Crochet sample swatches before starting to confirm gauge and avoid sizing issues.
Step-by-Step Instructions
Step 1: Prepare Materials
Start by gathering your yarn, crochet hooks, and tools, including scissors, stitch markers, and a tape measure.
Step 2: Crochet the Body Panels
The pullover consists of two identical rectangular panels (front and back), which are joined later.
Panel Size
- Each panel measures 52 cm in length, 55 cm in width, creating a chest circumference of 110 cm.
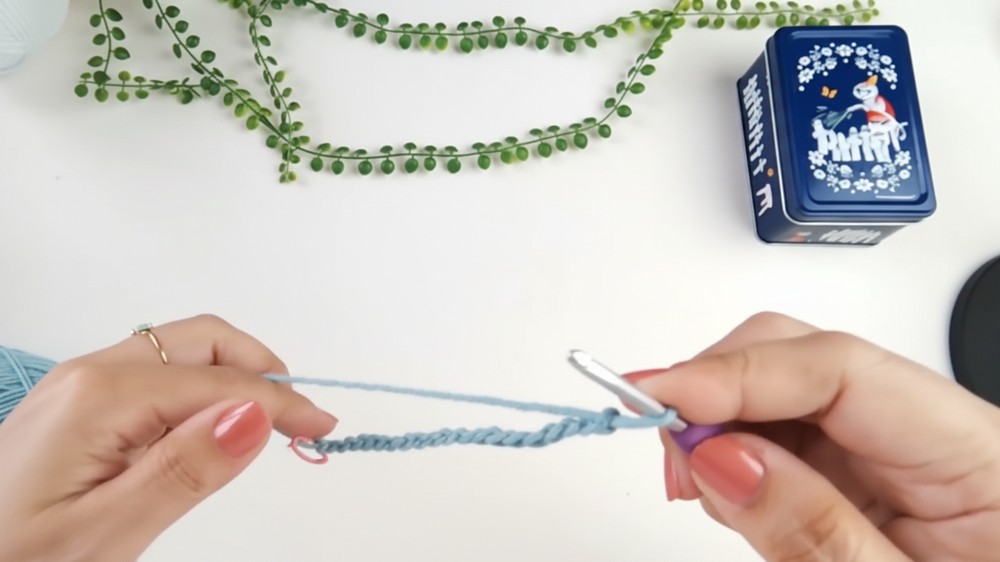
Foundation Chain (Cast On)
- Chain a multiple of 3 stitches + 1 (required for back-and-forth crocheting). The total number of stitches for this project is 241 chains to achieve the appropriate panel size.
- Mark every 20 chains with stitch markers to avoid errors while crocheting.
Crocheting Pattern
Repeat two stitch sequences to alternate between textured stitching and net stitching for the body panels.
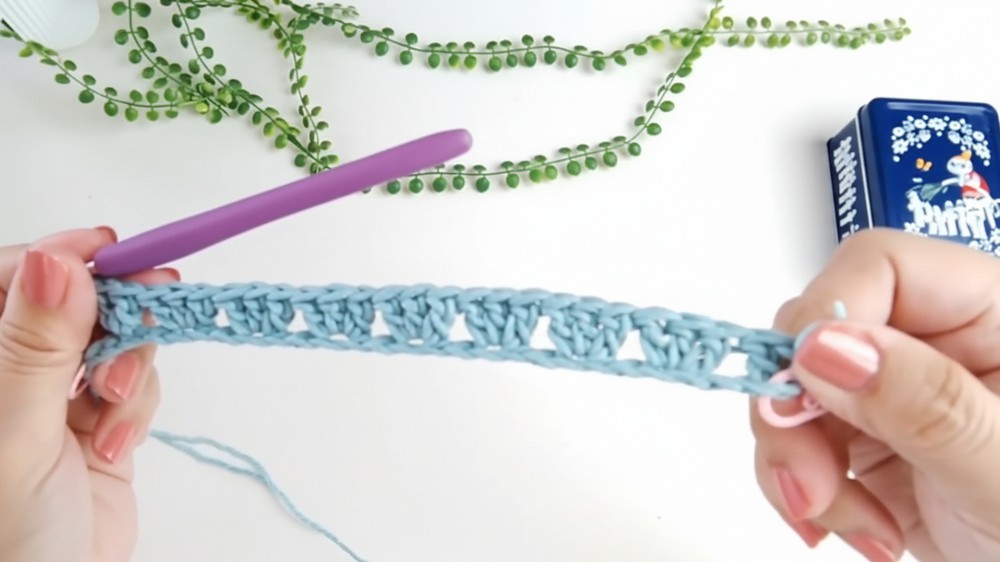
- Rows 1–4 (Textured Stitch):
- Stand up with 3 chain stitches at the start.
- Crochet 3 double crochets (DC) into the same chain stitch (skip 2 chains before repeating).
- Create a textured triangle shape by combining clusters of 3 DC stitches across the row.
- Rows 5–8 (Net Stitch):
- To begin, make 1 chain for turning.
- Crochet single crochet (SC) stitches into spaces formed by the previous rows. Alternate between 3 chain stitches + SC.
Continue following this 8-row sequence, repeatedly combining textured clustering (Rows 1–4) and net stitching (Rows 5–8). Crochet until the panel measures approximately 100 cm in height (80 patterns total). Fasten off the yarn and repeat the process to create a second panel.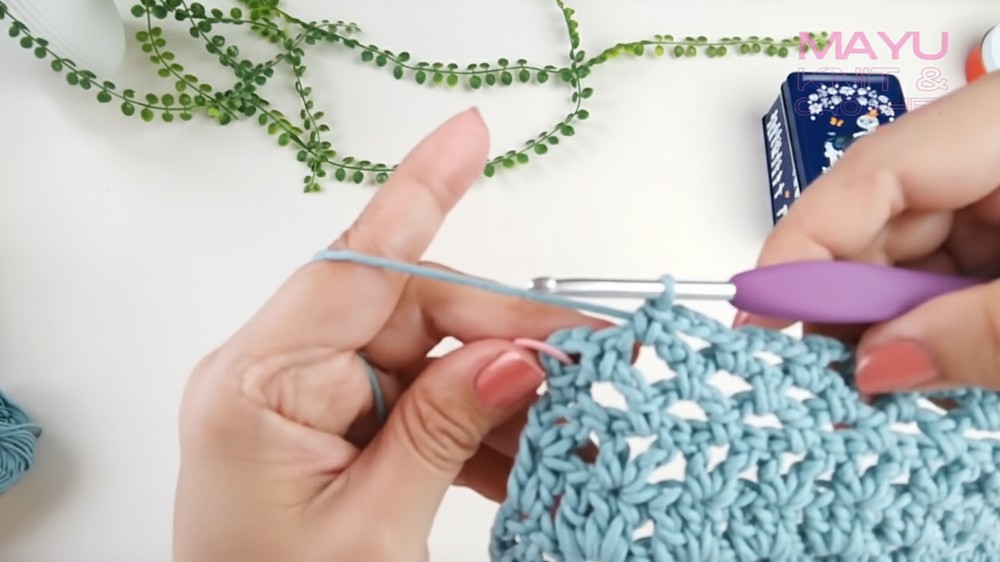
Step 3: Join the Panels
Once the two rectangular panels are complete, fold each in half and align them.
Joining the Panels
- Mark the Neck Opening:
- Use markers at the center top of the panels to designate the V-neck opening. The depth of the neckline is adjustable and should be measured after the body assembly to ensure comfort.
- Seam the Shoulders:
- Join the panels along the shoulders using slip stitches or whip stitching, leaving a V-neck gap.
- Work single crochet joins (or sewing with a yarn needle) for clean shoulder lines.
- Side Seam Assembly:
- Sew the panels’ side seams together, leaving 30 cm unsewn from the bottom for armholes.
- Sew the panels’ side seams together, leaving 30 cm unsewn from the bottom for armholes.
Step 4: Add Ribbing to the Neckline, Cuffs, and Hem
Ribbing adds structure and refinement to the edges of the garment.
Neckline Ribbing (Optional)
You can leave the neckline as is for a simple finish or add edging:
- Crochet single crochet along the neckline edges.
- Adjust the stitch count or depth for a cleaner style.
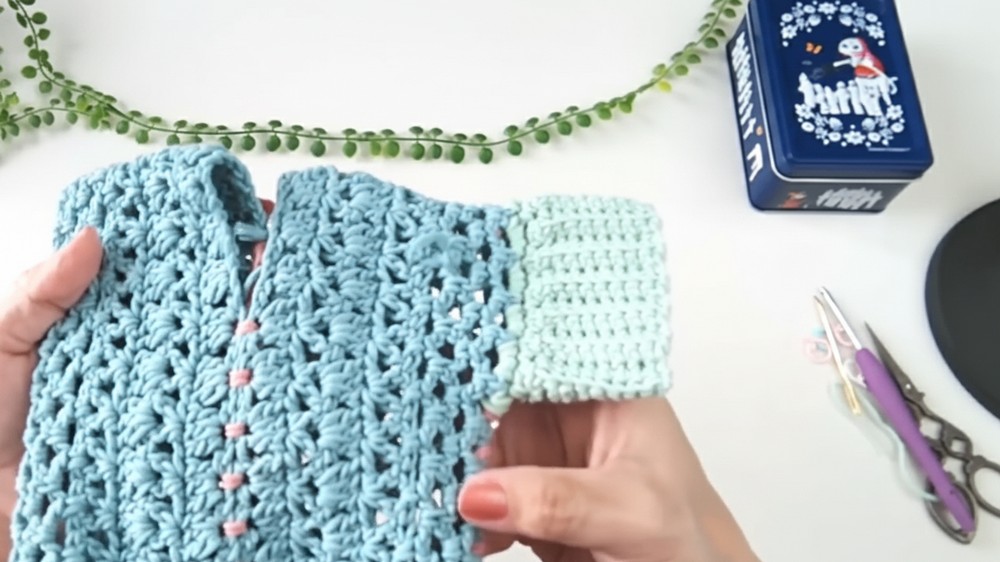
Cuff Ribbing (Sleeves)
- Attach Yarn at the Sleeve Openings:
- Start crocheting single crochet stitches around the edges of the armhole.
- Mark the beginning stitch for reference.
- Single Crochet Ribbing:
- Chain 8 stitches from the edge.
- Work single crochet into the back loop only for ribbed texture.
- Reconnect the edge of each ribbed row to the sleeve at regular intervals.
Hem Ribbing (Bottom Edge)
- Attach Yarn at the hem using the same method as the cuffs.
- Work single crochet stitches evenly along the edge (mark stitches every 12 rows, ensuring an even count).
- Repeat the ribbing process from cuffs, ensuring the same depth (3 cm).
Step 5: Finalize and Finish
- Use a yarn needle to weave in any loose ends.
- Turn the pullover inside out to hide seams.
Conclusion
Crocheting a V-neck pullover with thin linen-and-cotton yarn presents both a creative and technical challenge. While its construction is simple—based on straight rectangular panels—the finer techniques like ribbing, net stitching, and textured stitches elevate it to an intermediate-level project. The final result is a breathable, stylish garment perfect for summer wear, showcasing your skills and creativity.
Tip
To avoid errors, use removable stitch markers to track progress in long chains, edges, or ribbing sections. This ensures alignment and prevents mistakes as the project grows larger.


