
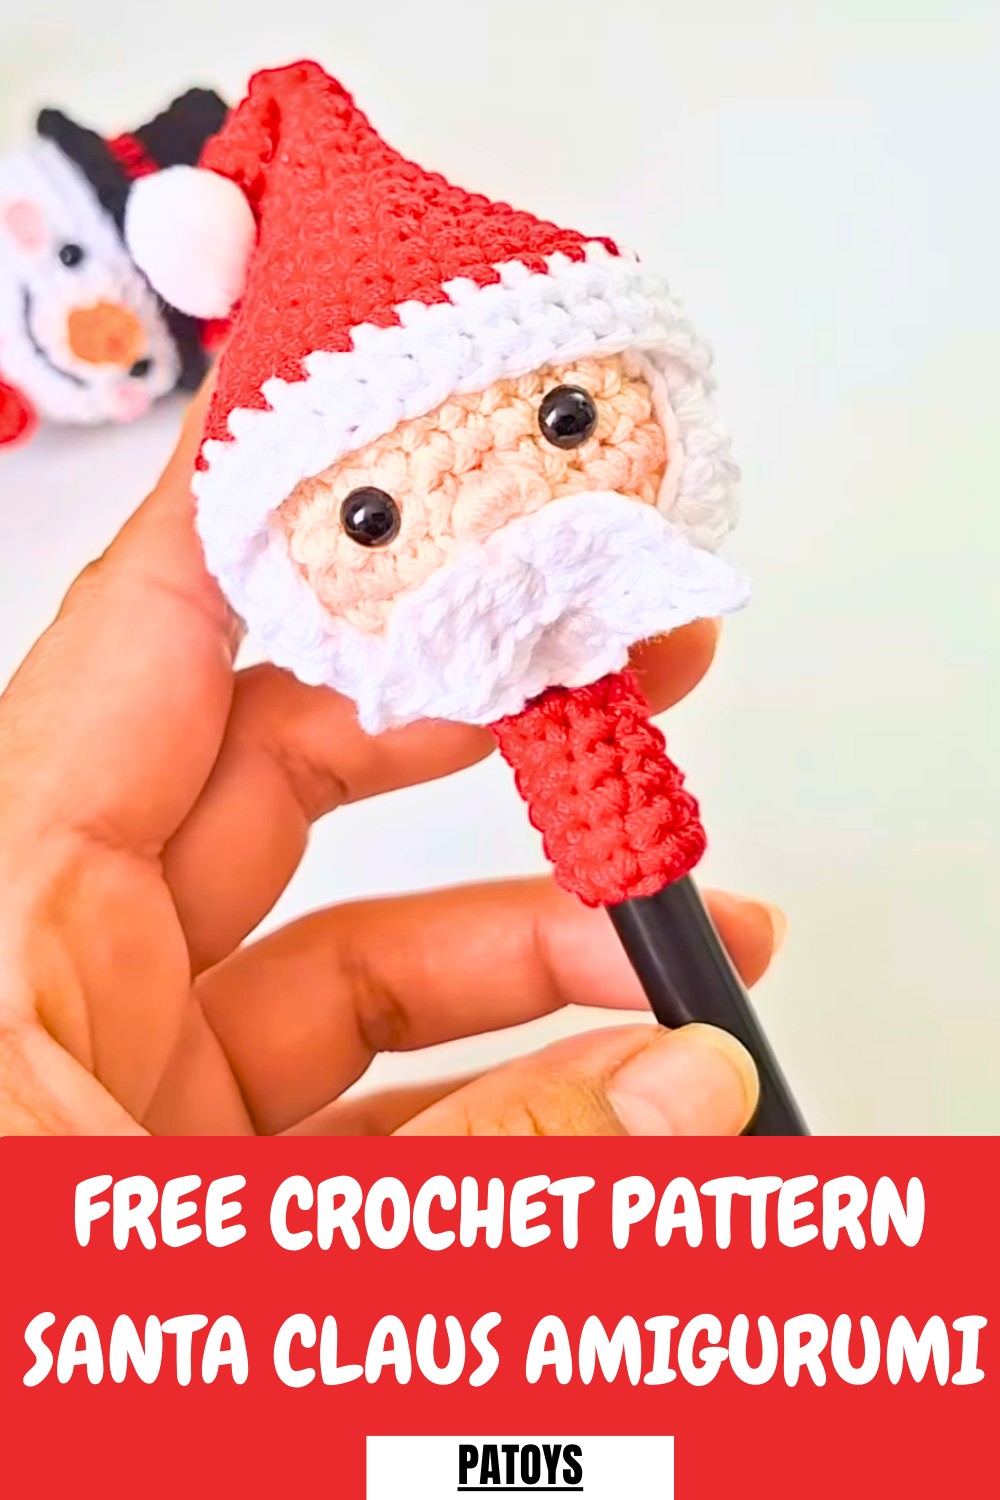
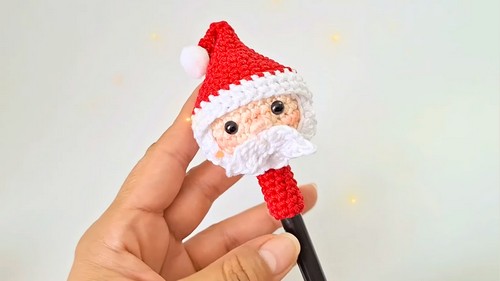
Celebrate the season with this Free crochet Santa Claus Amigurumi Pattern, featuring a cheerful, cuddly design that brings classic holiday magic to your handmade gifts.
Creating festive decorations with a personal touch brings warmth and uniqueness to the holiday season. A Crochet Santa Claus Amigurumi Pattern is the perfect project to craft an adorable Santa figure, embodying the joy and charm of Christmas in a handmade keepsake. This pattern allows crocheters to create a detailed and cheerful Santa, complete with his iconic red suit, fluffy beard, and signature hat.
Crochet Santa Claus Amigurumi Pattern for Holiday Gifts
This project is not only fun but also versatile. The finished Santa amigurumi can be used as a festive ornament, displayed on shelves, or gifted as a thoughtful handmade present. Beyond its aesthetic value, it offers a chance to practice and improve your crochet skills while creating a lasting piece that spreads holiday cheer.
Tip
Customize the Hat Tip: Instead of immediately gluing the hat tip down, leave the pom-pom off until you place the hat. If you want a more natural, floppy look, skip the stuffing in the tip of the hat (R16-R19) and only secure the pom-pom to the un-stuffed end. This allows the tip to flop over more softly.
Uses
-
Decorate a pen or pencil for the Christmas season.
-
Make a thoughtful, personalized gift for holiday exchanges.
-
Sell as a unique handmade item.
-
Adorn a desk or office space.
Materials
-
Yarn: 100% cotton yarn with a thickness of 2 mm in:
-
Red: For the main body (assuming the base is pre-made) and the hat.
-
Skin Tone (Piel): For the head (assuming the base is pre-made) and nose embroidery.
-
White (Blanco): For the beard, mustache, and hat trim.
-
-
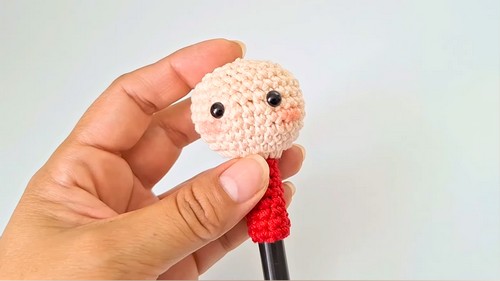
Base: A pre-crocheted basic amigurumi body (head in skin tone, body in red) sized to fit a pen (instructions for the base are in a separate video).
-
Crochet Hook: A metal hook, size 2 (typically 2.0 mm).
-
Notions:
-
Safety Eyes: One pair of 5 mm safety eyes with washers.
-
Pom-Pom: A small white pom-pom, approximately 1 cm wide (or a small bell/cascabel).
-
Stuffing: A small amount of synthetic fiberfill.
-
Glue: Liquid cold silicone glue (or hot glue).
-
Tools: Scissors, tapestry/canvas needle (blunt tip), stitch marker, small brush/pincel, and eye shadow or blush for the cheeks.
-
Special Features
-
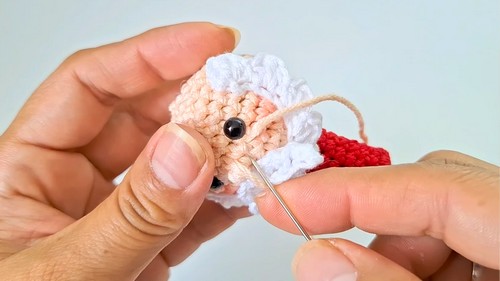
Textured Beard: The beard is created using a sequence of specialized stitches (SC, HDC, DC, HDC, Sl St) across a foundation chain to form multiple distinct, scalloped points that provide a realistic, full, and textured look.
-
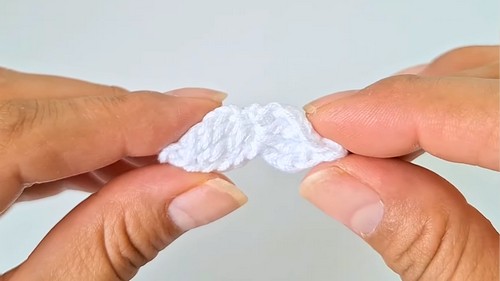
Free-Standing Mustache: The mustache is crocheted as a separate, small, symmetrical piece using Double Treble Crochet (DTR) clusters and a slip stitch in a Magic Ring, which gives it a slight curl and allows it to sit cleanly above the beard.
-
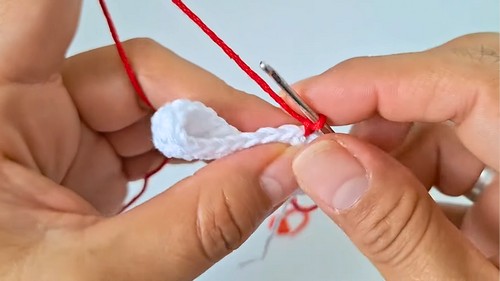
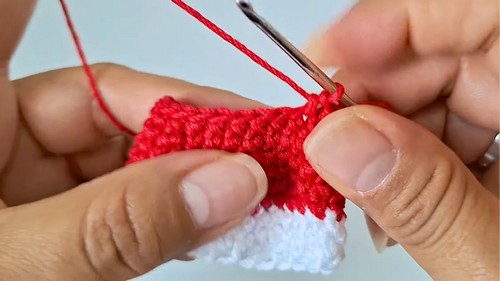
Seamless Hat Construction: The hat is crocheted in a continuous spiral in red, attached directly to a white base rim, which is joined with a smooth color change, ensuring a clean transition and structure for the hat.
-
Embroidered Nose: The nose is created using the needle sculpting/embroidery technique, where yarn is wrapped around a central stitch multiple times to create a small, three-dimensional, protruding feature.
Level of Difficulty
The tutor suggests this is a Super Cute project [00:08]. Given the small size, required shaping, detailed pieces, and assembly, you should consider this an Intermediate project.
Tutor's Suggestions
-
Pre-made Base: Note that the basic head and body structure is pre-made and the tutorial focuses on the facial features and hat. Refer to the linked video for the base instructions.
-
Cheek Placement: Apply the blush or eye shadow to the cheeks roughly underneath the eyes and sweep outward for a natural look.
-
Beard Placement: Position the beard two rows down and two stitches to the side from the corner of each eye, centering it four rows down from the line connecting the eyes.
-
Nose Volume: To create a prominent nose, wrap the skin-tone yarn around the central base stitch multiple times until you achieve the desired three-dimensional look.


The process typically involves crocheting separate components like the head, body, arms, and legs, then stitching them together to form the finished piece.
Attention to detail is key, as features like Santa’s belt, boots, and hat add character and charm.
Adding embellishments such as safety eyes or embroidered details further enhances the playful and festive feel.
Step-by-Step Details
Create this adorable Santa Claus Amigurumi to decorate a pen, making a super cute and festive handmade gift! This project is perfect for selling, gifting at exchanges, or adding a personal touch to your own desk this Christmas season. You will learn how to create the distinctive beard, the fluffy hat, and assemble the facial features in detail.
Conclusion
Your adorable Santa Claus pen topper is now complete! This is a charming and detailed decoration, perfect for gifting or adding a whimsical holiday detail to your everyday stationery. Collect the whole set with the Snowman and Reindeer!


