
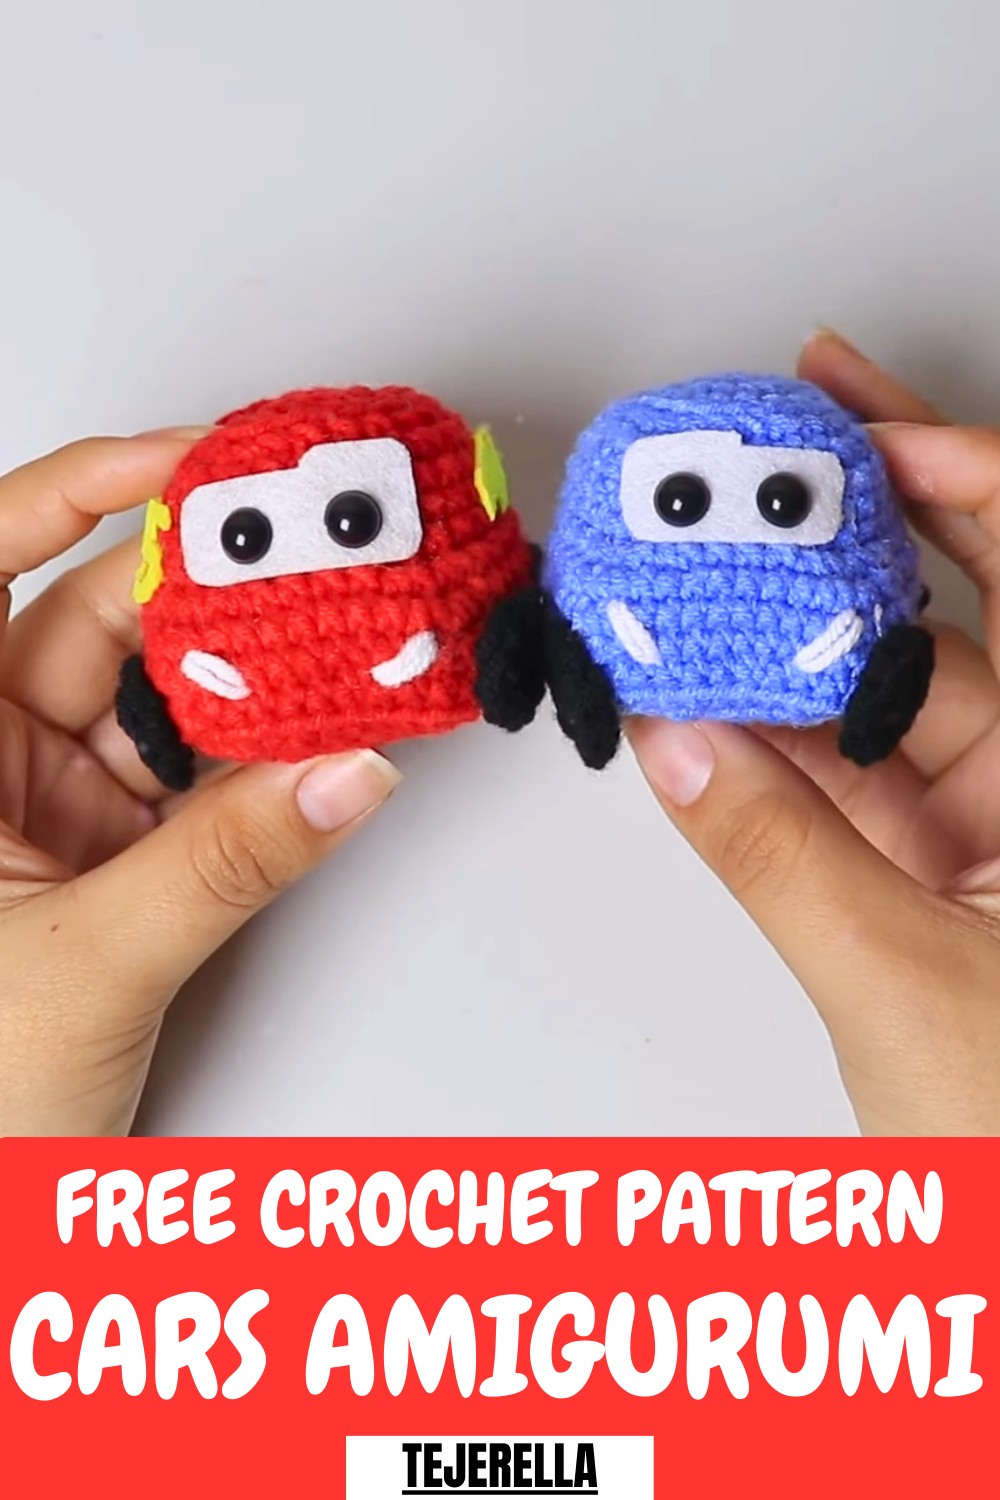
Bring a playful touch to your crochet cars amigurumi with these irresistibly charming designs that instantly capture attention.
If you’re looking for a unique project that combines creativity with practicality, these crochet cars are the perfect choice for adding a whimsical flair to your craft collection. Whether you create them as toys for kids, collectibles for enthusiasts, or decorative pieces for nurseries, they never fail to impress with their adorable detailing and soft texture.
Stitch By Stitch Cute Crochet Cars Amigurumi that's Full of Charm
Introducing the Car Amigurumi
Tools and Raw Materials
Use this guide to craft a unique decorative toy, a fun collectible for a child's room, or an automotive accent for your desk.
-
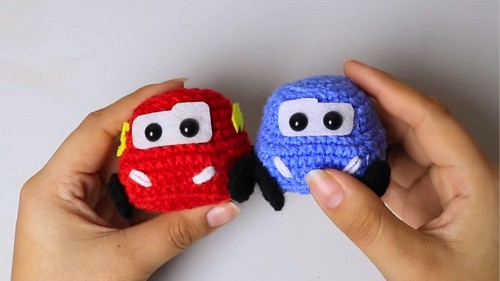
Primary Yarns: Gather your main color (Red for McQueen or Blue for Sally), along with Black, White, and Yellow accent colors. The tutor recommends Milk Cotton or a similar DK/Worsted weight yarn.
-
Hook: Use a 2.5 mm crochet hook for this project.
-
Stuffing: Use plenty of soft synthetic fiberfill to achieve the car's firm, desired shape.
-
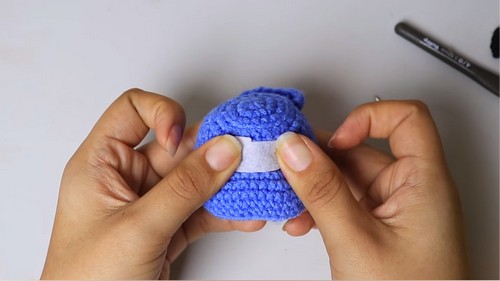
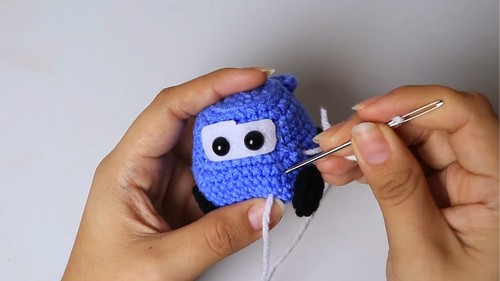
Details: Secure 8 mm safety eyes, and obtain felt in white and yellow to cut out the side decals and windshield details.
-
Tools: Prepare a tapestry needle for assembly, a stitch marker, and scissors.
Custom Car Special Features
This pattern relies on clever stitch placement to emulate a hard-shelled car body:
-
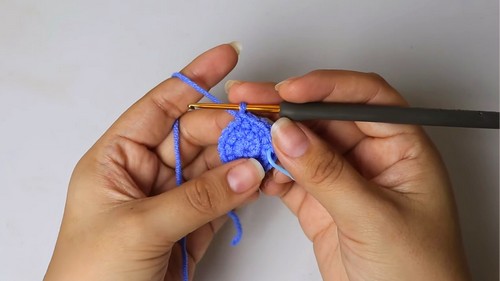
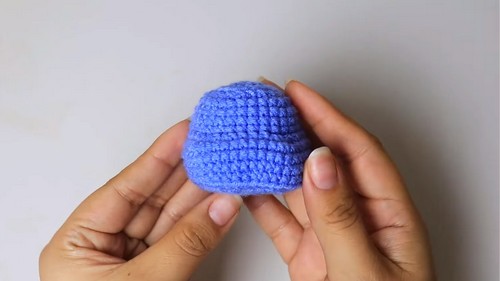
Defining the Wheel Wells: You use a strategic Back Loop Only (BLO) round to create a sharp, 90-degree corner at the bottom of the piece. This establishes a clean dividing line between the underside and the sides of the car.
-
Molding the Fenders: You employ a Front Loop Only (FLO) round using specific increases to create the protruding edge and gentle curve of the front fenders and hood. This technique is essential for giving the toy a true automotive profile.
-
Detailed Finishing Touches: You rely on gluing or sewing separate crocheted pieces (the four flat wheels and the rear bumper) to complete the vehicle, ensuring stability and a smooth body finish.
Skill Level
Intermediate. While the stitches are basic (single crochet, increase, decrease, half-double crochet), the project requires accuracy when executing increases and decreases across the rounds to achieve the specific car shape. Crucially, you must maintain correct tension when switching between Back Loop Only (BLO) and Front Loop Only (FLO) rounds, which define the car's body structure.
Tutor's Suggestions
Follow these expert tips to achieve a professional finish on your racing duo:
-
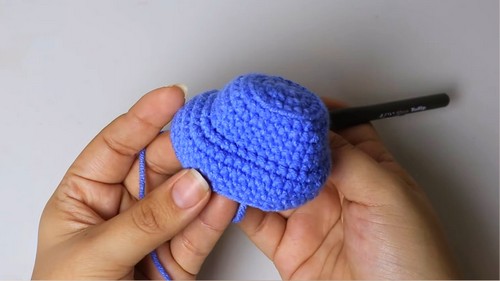
Stuff as You Go: Begin adding fiberfill before the hole gets too small. Continually stuff and push the filling into the front and back corners as you work the decreasing rounds to ensure the car's shape is firm and well-defined.
-
The Power of Felt: Use the felt to create detailed and sharp features like the 95 racing number, the lightning bolt, and the eyes/windshield. This gives the finished product a clean, animated look that crochet alone cannot provide.
-
Tight Closures: When working the final decrease rounds, ensure your decreases are very tight. This prevents any stuffing from peeking out and gives the finished car body a clean, professional finish.
These colorful, realistic cars provide a fun challenge for crocheters, offering an engaging experience for both beginners and advanced crafters.
Their versatility makes them ideal gifts for birthdays, baby showers, or any occasion, while also allowing you to repurpose them into creative items like keychains, ornaments, or desk accents.
The designs are small yet captivating, making them a joy to craft while showcasing your crochet skills beautifully.
Crocheting amigurumi cars is also a sustainable way to use scrap yarn, ensuring an eco-friendly approach to crafting.
This pattern unlocks your imagination, encouraging you to bring these playful vehicles to life with your personal touch. Stitch by stitch, these charming cars will become delightful creations that are sure to make anyone smile!
You're Ready to Race!
You have successfully completed your detailed amigurumi car! This pattern challenged you to master the intricate shaping required to replicate a vehicle's design using simple crochet stitches. Display your vibrant, handmade racer with pride, a unique and lasting homage to the beloved character.
The Creative Journey: Complete Step-by-Step Guide
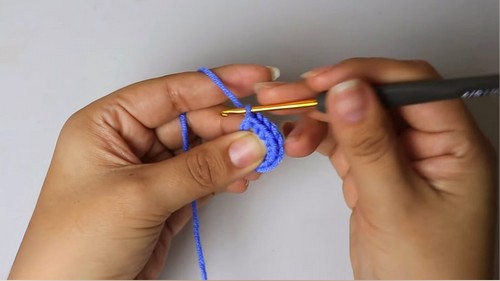
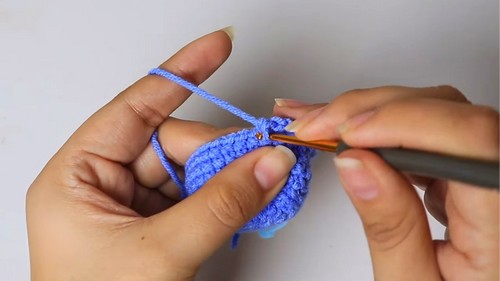
This pattern focuses on dynamic shaping techniques, allowing you to quickly create the recognizable contours of these animated vehicles. You will learn how to shift between normal, back loop, and front loop stitches to mold your yarn into a fast-looking, fun-sized car amigurumi. Get ready to put the pedal to the metal and bring these sweet rides to life!
Tip
Use Glue for Felt Details: Instead of struggling to sew on the tiny felt shapes (like the eyes or the 95 number), use cold silicone glue (or similar craft adhesive) for a smooth, flat finish. This provides a clean, professional edge that eliminates the bulkiness of sewing small appliqués.


