
Ledger Dog Sweater: Easy Crochet Pattern + Tutorial for Pet Lovers
Keep your furry friend cozy with this Free Crochet Ledger Dog Sweater Pattern that’s easy to follow and perfect for dogs of all sizes.
Every dog deserves to stay warm and cozy, especially during chilly days. This beautiful crochet dog sweater pattern is designed to be the perfect blend of comfort and style for small to medium-sized dogs. It’s incredibly functional while also adding a touch of charm to your furry friend’s wardrobe. Whether your pup needs a warm layer for outdoor walks or just a snug sweater for lounging indoors, this pattern has got you covered.
Free Crochet Ledger Dog Sweater Pattern for Cozy Pups
About the Channel!
Tammy, the talented creator behind Cozy Pup Crochet, provides excellent instructions through her step-by-step video tutorial. Her channel is loved for its clear and easy teaching style, making crocheting enjoyable for beginners while still engaging for experienced crafters. The sweater is built using simple single crochet and double crochet stitches, making the pattern accessible to all skill levels.
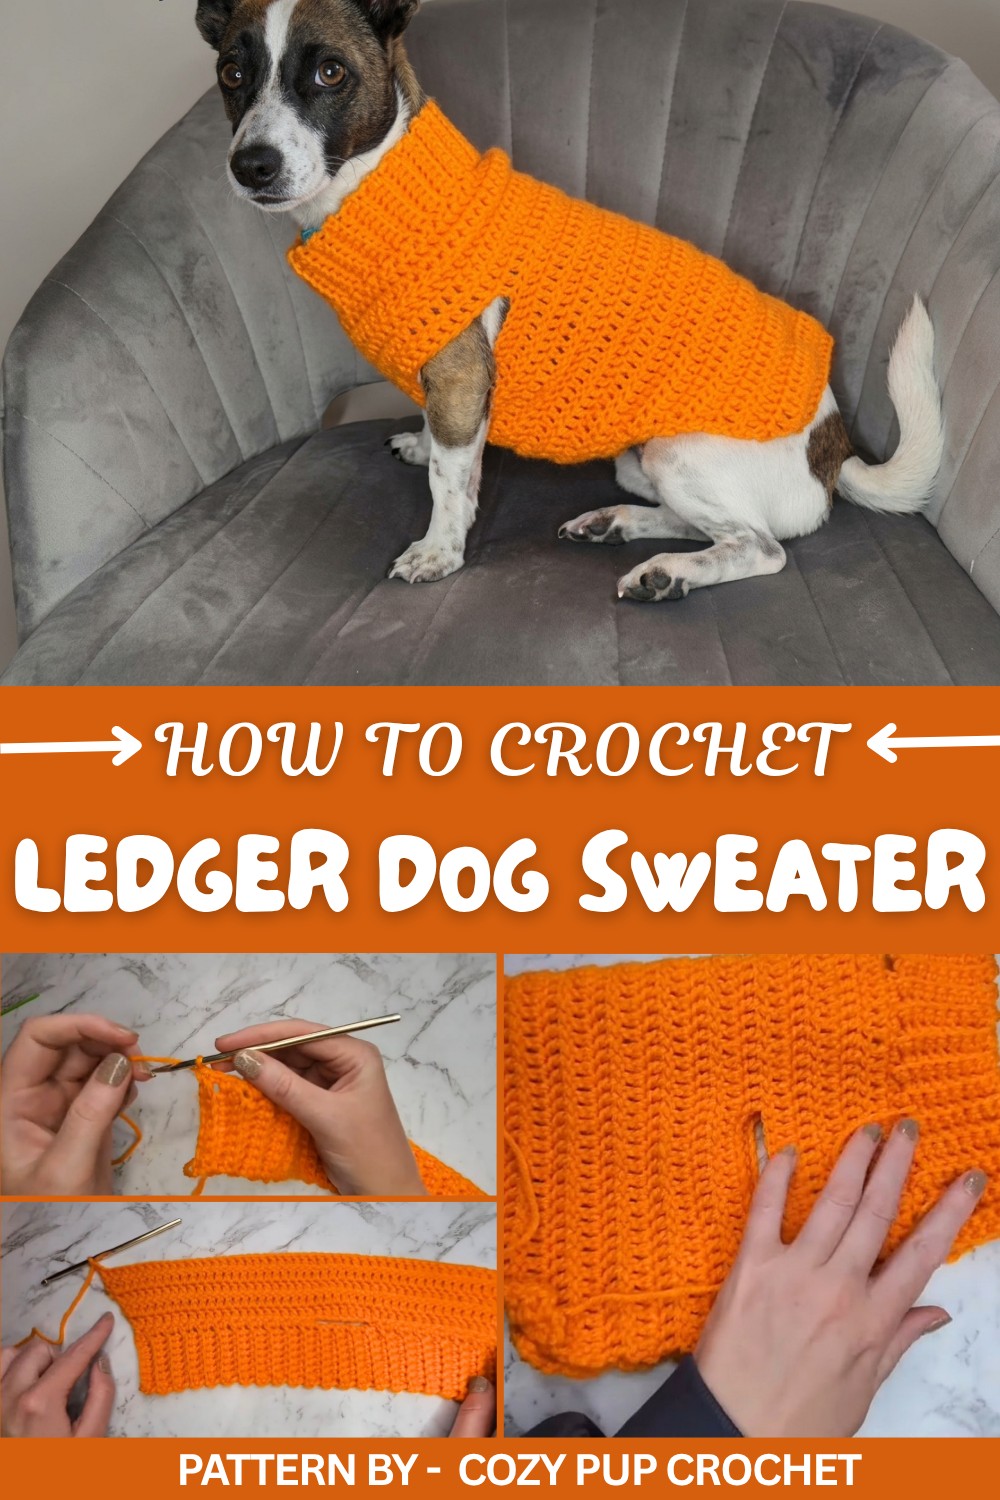
The sweater stands out because of its thoughtful design. It features a stretchy ribbed collar for added comfort and a handy leash hole near the neck, making it convenient to pair with their favorite leash. With its sleek body and carefully crocheted leg holes, your dog can move freely and comfortably.
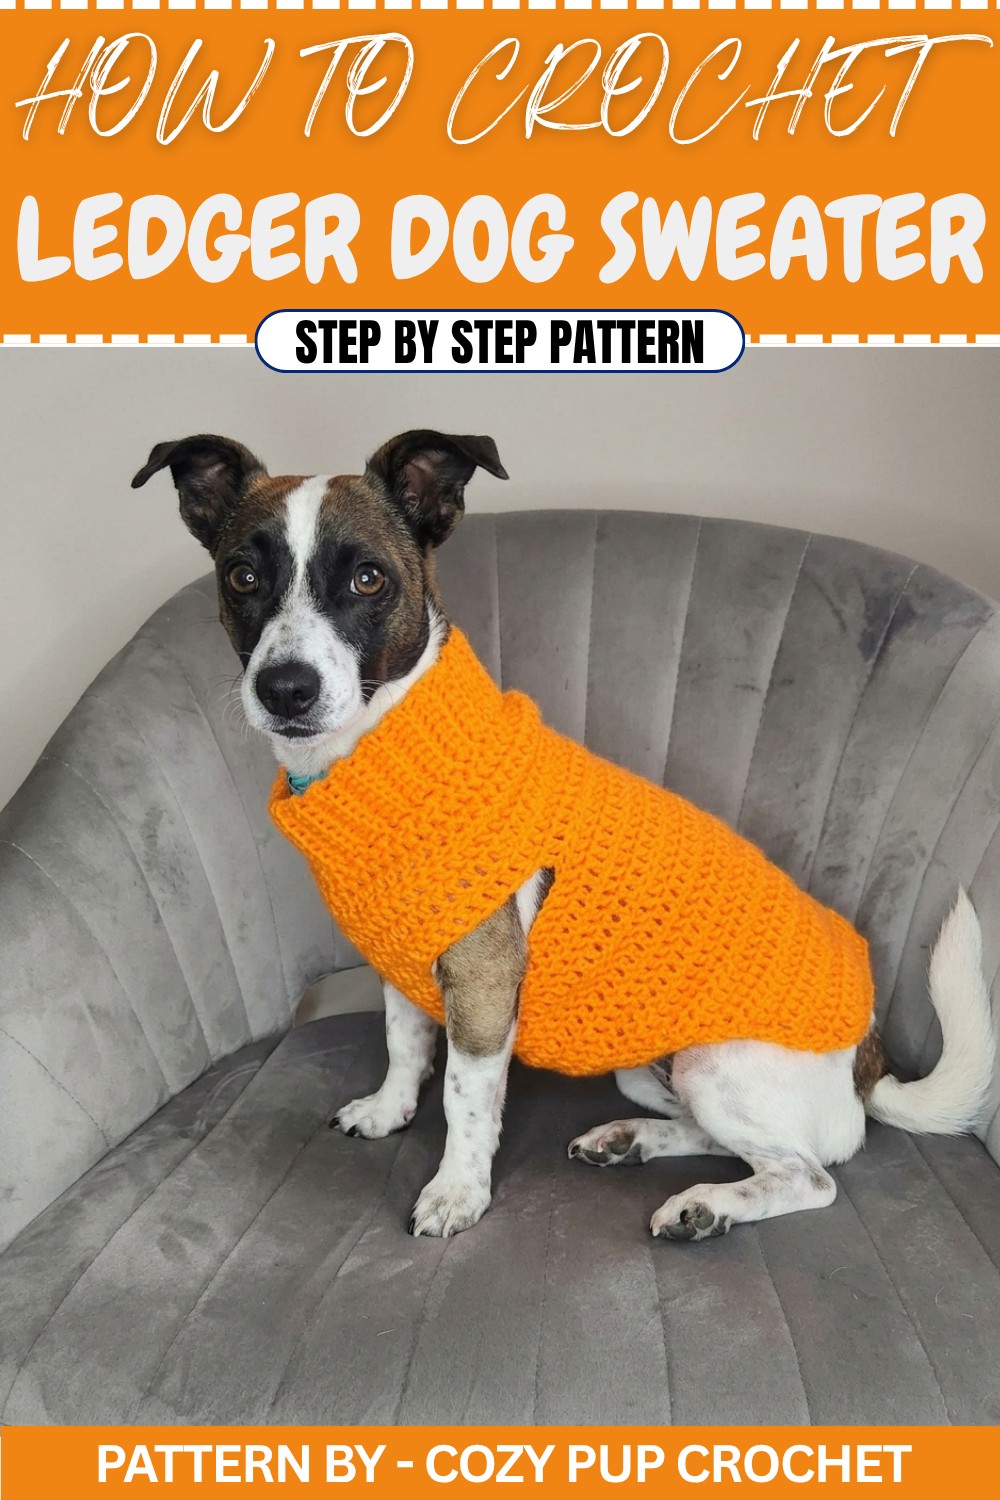
A key highlight is its flexibility, it can be customized with any color to match your dog’s personality or even create fun color patterns like stripes or blocks. The lightweight fabric ensures your pup feels cozy without overheating, making it suitable for both winter outings and indoor relaxation.
The result is truly rewarding—a tailored sweater that combines practicality and beauty, crafted with love for your four-legged friend. It’s not just a sweater; it’s a handmade gift that keeps your pup comfortable while looking extra adorable.

Crochet Ledger Dog Sweater Pattern
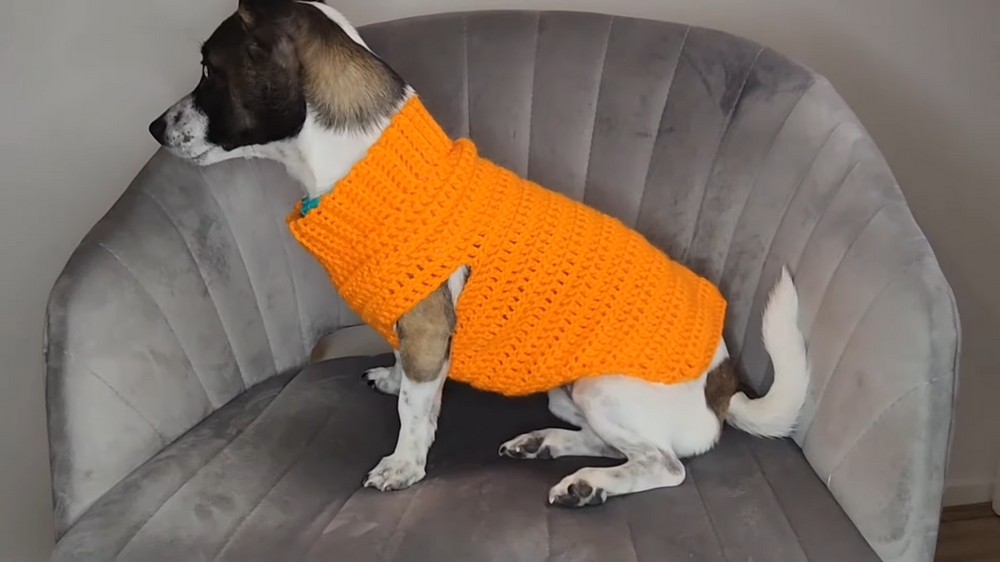
The Ledger Dog Sweater is a charming and practical crochet piece designed to keep your small dog warm and comfortable. Its snug fit and stylish design make it a great project for pet owners who love to crochet. This sweater features a ribbed collar, leash opening, perfectly placed sleeve holes, and a tapered back flap for a cozy, functional fit.
Skill Level
Intermediate
This pattern involves working back loops, single and double crochets, increasing, decreasing, and creating openings for sleeves. It’s suitable for crocheters with a basic knowledge of garment construction and shaping stitches.
Materials
- Yarn:
- 100g of 10-ply or worsted-weight yarn (category 4). Choose a soft, comfortable yarn suitable for pets.
- Hook:
- 5 mm crochet hook.
- Additional Tools and Supplies:
- Scissors.
- Yarn needle (for weaving in ends and assembling the sweater).
Special Stitches
1. Back Loop Only Single Crochet (BLO SC):
Instead of inserting the hook under both loops, insert the hook only under the back loop of the stitch (the loop furthest from you). Work a single crochet as usual. This creates a ridged texture, ideal for ribbing.
2. Double Crochet (DC):
Yarn over, insert the hook into the stitch, yarn over and pull up a loop (3 loops on the hook). Yarn over, pull through two loops, yarn over again, and pull through the last two loops.
3. Double Crochet 2 Together (DC2Tog):
Yarn over, insert the hook into the next stitch, yarn over and pull up a loop (3 loops on the hook). Yarn over, pull through two loops (2 loops remain). Yarn over, insert the hook into the next stitch, yarn over and pull up a loop (4 loops on the hook). Yarn over, pull through two loops (3 loops remain). Yarn over and pull through the last three loops to complete the decrease.
Stitch Abbreviations
- SC: Single Crochet
- DC: Double Crochet
- SL ST: Slip Stitch
- BLO: Back Loop Only
- CH: Chain
- SC2Tog: Single Crochet Two Stitches Together (Single Crochet Decrease)
- DC2Tog: Double Crochet Two Stitches Together (Double Crochet Decrease)
Useful Tips
- Tension and Fit: It’s crucial to maintain even tension throughout the project and adjust the hook size if needed to achieve the correct fit for your dog.
- Leash Opening: Be sure to leave the correct number of stitches for the leash opening in Row 49 to fit your dog’s collar or harness.
- Ribbed Collar Technique: Use the back loop only (BLO) technique consistently in the collar for a stretchy and textured ribbed effect that fits snugly yet comfortably around your dog’s neck.
- Measure As You Crochet: Depending on the size and shape of your pet, you may wish to modify the number of rows slightly for a more custom fit.
- Assembly: Use a yarn needle and ensure your stitches are secure, particularly when joining the sides below the sleeves to handle wear and tear from regular use.
Pattern Instructions
1. Collar
Foundation:
- Begin with a CH 9.
Rows:
- Rows 1-48:
- Work SC in the 2nd chain from the hook and in each remaining chain (8 SC).
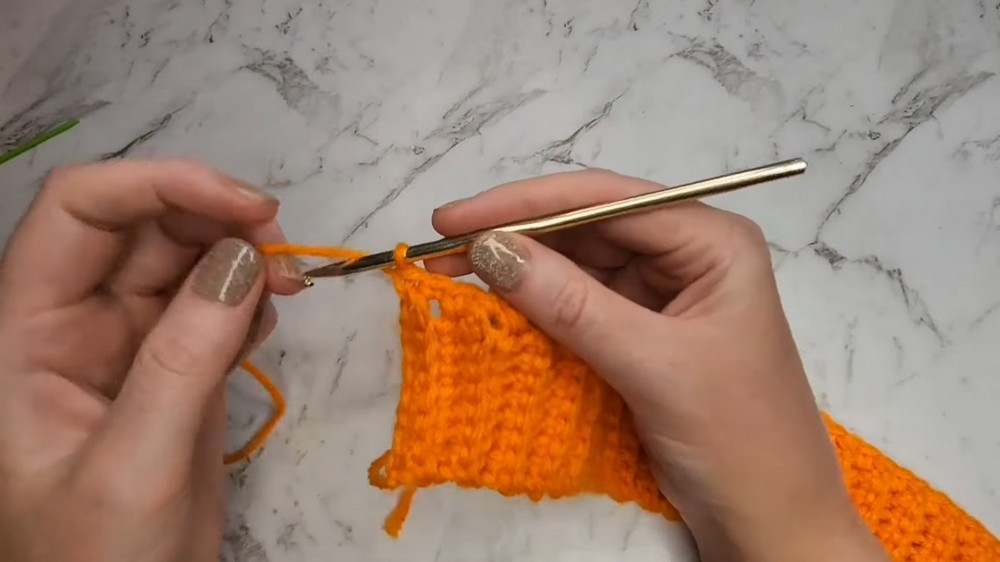
- CH 1, turn, and work 8 SC in the BLO of each stitch across.
Repeat this process for a total of 48 rows. This will create a stretchy ribbed texture for the collar, which can comfortably fit around your dog’s neck.
2. Neck/Leash Opening
Row 49:
- After completing the 48th row of the collar, CH 1, turn the work to its side, and work 20 SC evenly along the long edge of the ribbing.
- Chain an additional CH 8, skip 8 SC rows, and SC into the 9th stitch.
- Work 19 more SC into the remaining rows of the collar edge. This will create a total of 48 stitches along the row, including the chained section for the leash opening.

3. Body Expansion
Rows 2-6:
- Row 2: CH 2 (does not count as a stitch), work 2 DC in the first stitch, 1 DC in each stitch across, and 2 DC in the last stitch (50 sts).
- Row 3: CH 2, 2 DC in the first stitch, 1 DC in each stitch, and 2 DC in the last stitch (52 sts).
- Continue increasing in the first and last stitches of each row until you complete Row 6 with 58 total stitches.
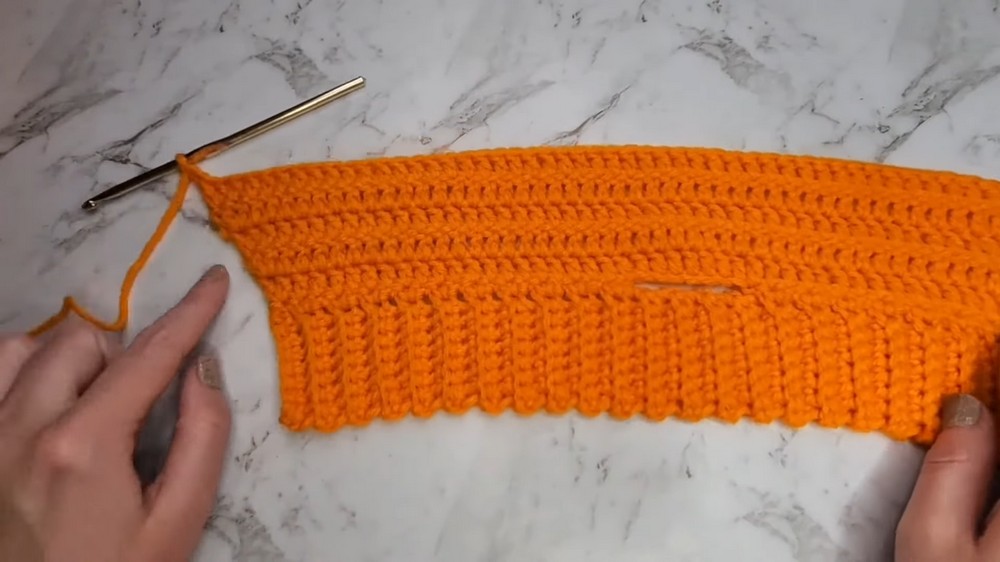
4. Sleeve Holes
Row 7:
- CH 2, work 6 DC, then CH 10 and skip the next 10 stitches.
- Work 26 DC, then CH 10 and skip the next 10 stitches.
- Finish by working 6 DC to complete the row.

5. Body Length
Rows 8–17:
- Work 1 DC in each stitch across (58 DC total) for each row. Repeat this for 9 more rows (until Row 17).
6. Tapered Flap
Row 18:
- Skip the first 7 stitches, SL ST into the 8th stitch.
- CH 2, and work a DC2Tog in the next two stitches. Then, work 1 DC in each stitch, stopping before the last 2 stitches. Work a DC2Tog in the final 2 stitches.

Rows 19–24:
- Repeat the process of working CH 2, DC2Tog at the beginning and end of each row.
- After completing Row 24, the flap should end with 30 DC stitches total.
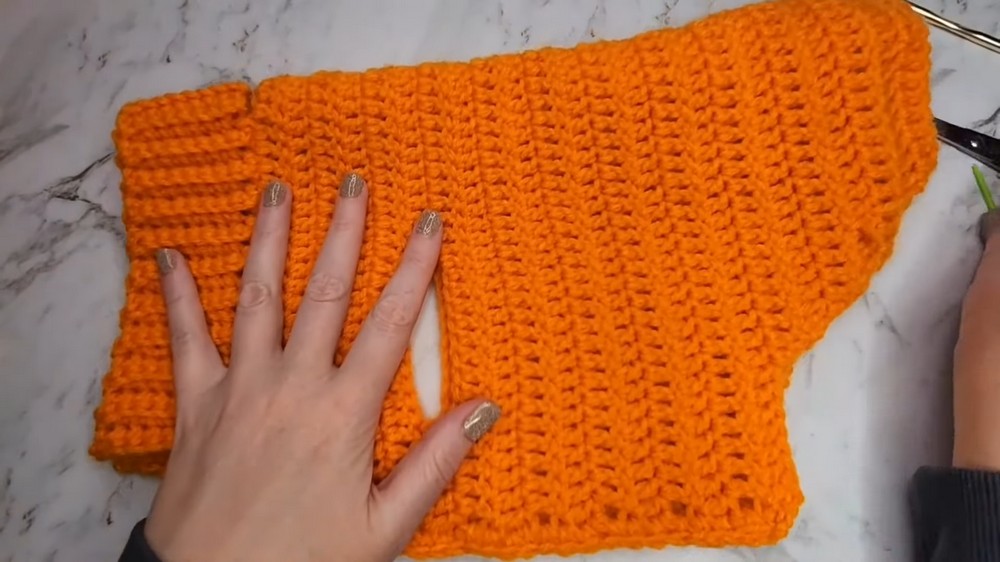
7. Assembly
- Fold and Join: Fold the piece in half, aligning the two sides so the ribbed collar edges meet evenly.
- Join the Sides Below the Sleeves: Using SC stitches and a yarn needle, sew the sides together, starting from the bottom up to the sleeve openings.
- Weave in Ends: Use the yarn needle to weave in and secure all loose ends.
- Turn Right Side Out: Once the assembly is complete, turn the sweater so the seams are on the inside.
Sizing and Fit
The finished sweater measures approximately 18cm (length) x 12cm (width at the widest part). It has been designed for a small dog, but you can adjust by adding or subtracting rows and stitches as needed for your pet’s comfort. Adjustments should be made carefully, particularly to the collar and leash opening placement, to ensure a proper fit.
Conclusion
This dog sweater combines both comfort and style, making it an excellent handmade item for your furry companion. The ribbed collar ensures a snug yet flexible fit, while the inclusion of the leash opening adds functionality. The project allows for creative color choices and modifications to suit your pet’s unique size and personality. This sweater is a thoughtful addition to any dog’s wardrobe, whether for walks, outings, or simply keeping cozy during colder months. Enjoy the process of creating this lovely garment and the joy it brings to you and your pet.