
How to Unique Crochet Tea Cup Bookmark Pattern for Readers
Lighten up your bookshelf instantly using the Free Crochet Tea Cup Bookmark Pattern for an adorable and functional reading companion.
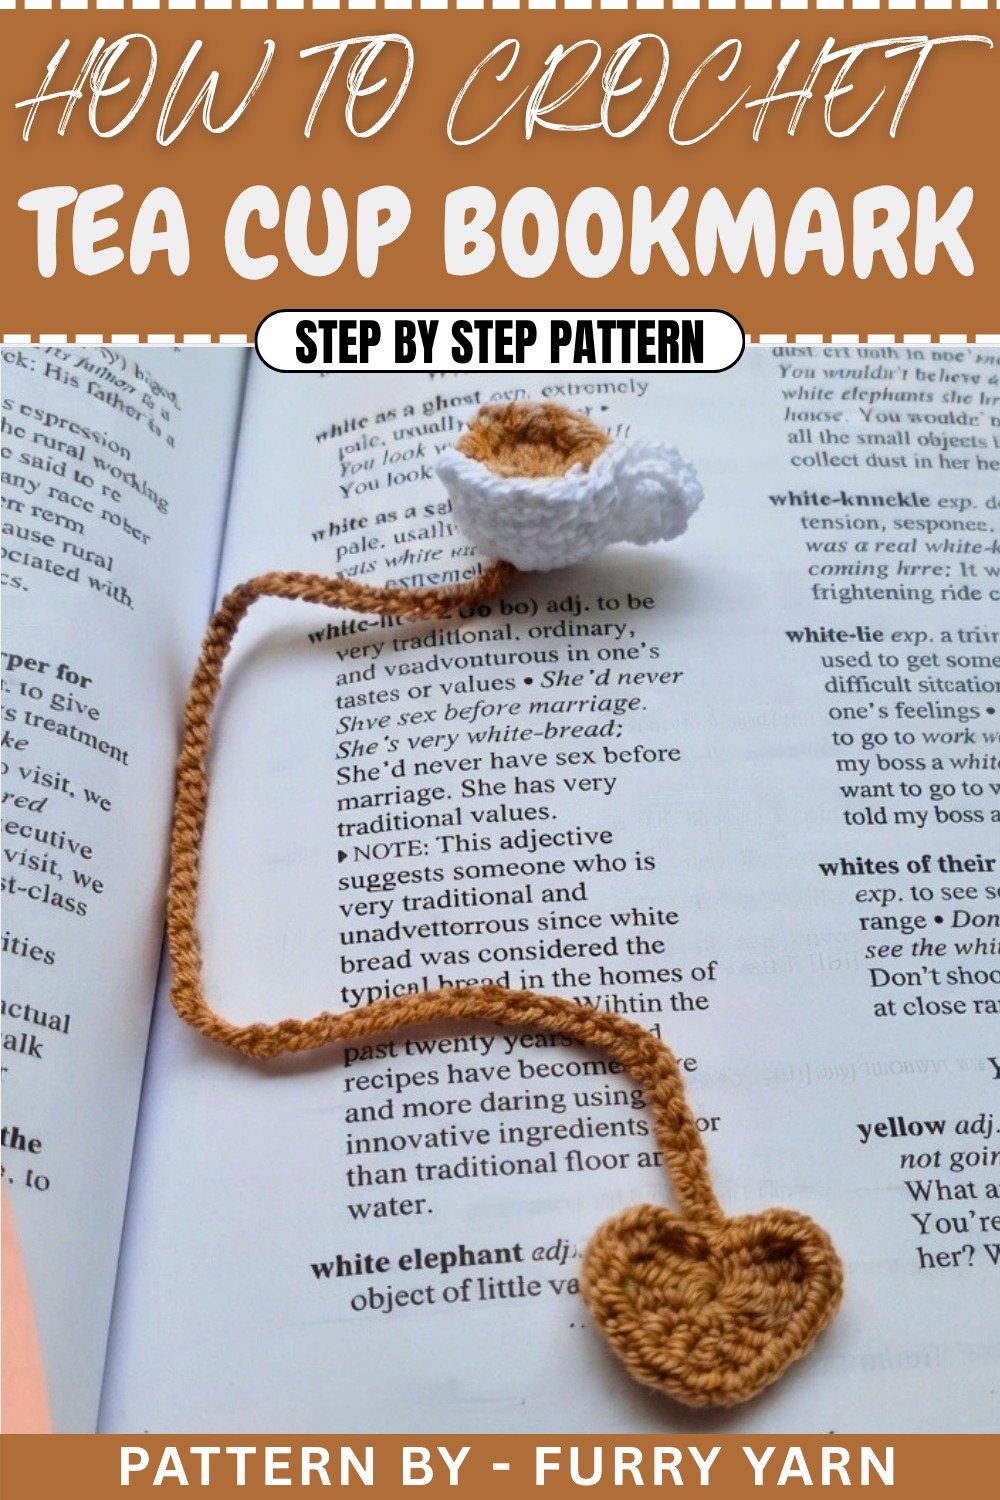
Holding a warm cup of coffee is one of life’s simple pleasures, and having a little handmade coffee cup bookmark adds a cozy touch to your reading moments. This sweet crochet Tea Cup Bookmark pattern captures the look of a tiny coffee cup with a handle and even a cute little heart to decorate it. The bookmark’s charm comes from its round shape, neat stitches, and delicate details, all made with easy-to-learn crochet techniques. The main stitch used is the single crochet, which is perfect for beginners because it’s straightforward and creates a firm fabric that holds the shape well.
Lovely Crochet Tea Cup Bookmark Pattern Free to Try
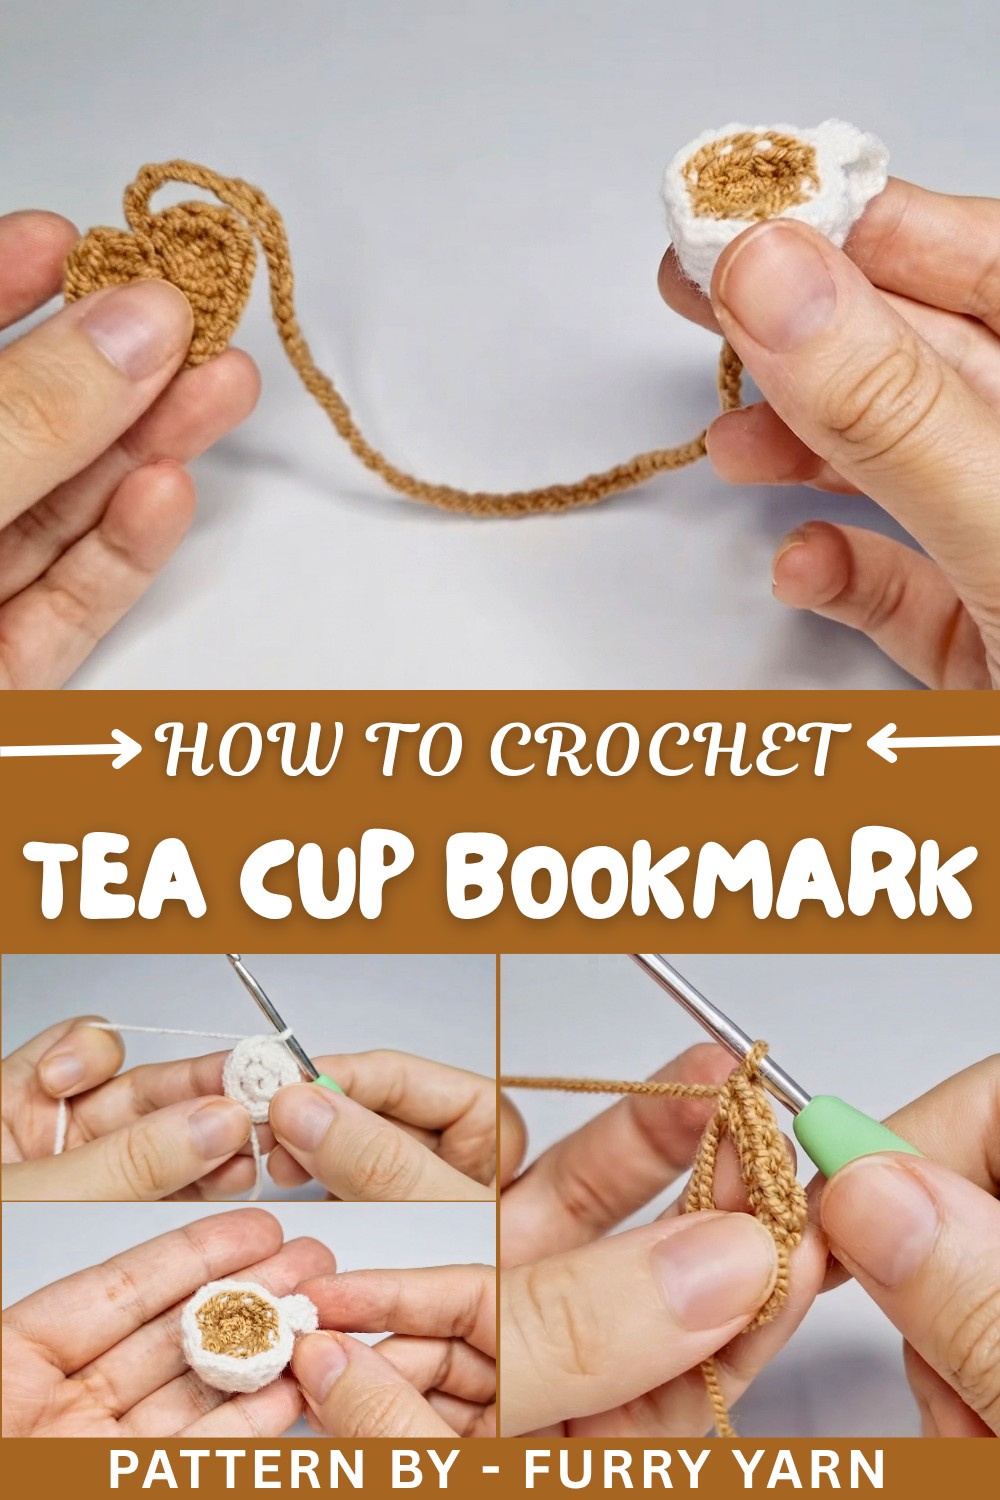
The pattern starts with a magic ring to form the base of the cup, and rounds build up using increases to give it a nice circular shape. Working in the back loops adds a subtle texture for a unique effect. The handle is made separately with chains and single crochets, then sewn onto the cup carefully. To add a sweet touch, a small heart is created using treble and double crochet stitches, giving the bookmark a charming finish. All parts are joined together with yarn and a needle, resulting in a neat, playful accessory that’s easy to slip between book pages without damage.
Creative Ideas to Try with This Pattern
Using the same stitches and shaping ideas, you can make cute coasters, small appliqués for bags or clothes, or even tiny gifts like keychains. Changing colors or adding different motifs can personalize your projects for various occasions. This pattern is also a great way to practice basic crochet techniques while making something both beautiful and useful.
Crochet Pattern: Coffee Cup
This crochet coffee cup pattern is a charming and creative project for coffee lovers or anyone who enjoys handmade crochets. The adorable pattern consists of a cup, coffee lid, handle, and a decorative heart – perfect for gifting, or as a cute addition to your home décor, keychains, or bags! This beginner-friendly pattern combines several easy crochet techniques such as the magic ring, single crochet, treble crochet, and back-loop stitching, making it an excellent project for practicing your skills.
Skill Level & Terminology
- Skill Level: Beginner
- Terminology: Pattern uses US crochet terms.
Materials & Tools
- Yarn:
- Beige (for the cup body)
- Brown (for the coffee lid)
- White or contrasting color (for the handle and Heart)
- Crochet Hook: 3.00 mm crochet hook or as recommended for your yarn
- Tapestry Needle: For assembling pieces and weaving in ends
- Fiberfill Stuffing: For giving shape to the coffee cup and handle
- Scissors
Gauge
Gauge is not necessary for this project, but ensure your stitches are consistent and tight enough to prevent stuffing from showing.
Abbreviations
Here are the crochet abbreviations used in this pattern:
- ch: Chain
- sc: Single Crochet
- sl st: Slip Stitch
- Inc: Increase (2 single crochets in one stitch)
- tr: Treble Crochet
- yo: Yarn Over
Special Stitch Instructions
Magic Ring
The magic ring creates a tight and seamless center when working in the round.
- Wrap yarn around your fingers to create a loop.
- Insert your hook, yarn over, pull through the loop, and begin crocheting stitches into the ring.
Treble Crochet (tr)
- Yarn over twice, insert hook into the stitch, yarn over, pull up a loop (4 loops on hook).
- Yarn over, pull through 2 loops (3 loops remain).
- Yarn over, pull through 2 loops (2 loops remain).
- Yarn over, pull through the last 2 loops.
Finished Size
The completed coffee cup measures approximately 3-4 inches tall, depending on your yarn weight and tension. The handle and heart are proportionally scaled to fit the cup.
The Pattern
Step 1: Cup Base (Beige Yarn)
- Create a magic ring.
- Wrap the yarn around your fingers, insert your hook, yarn over, pull through, and create the ring by tying it securely.
- Round 1:
- Ch 1, work 6 sc into the magic ring. Pull tight and secure with a sl st into the first sc.
- Round 2:
- Ch 1, then work 2 sc into each stitch from the previous row (Inc). By the end of the round, you should have 12 sc.
- Secure with a sl st into the first sc.
- Round 3 (Back Loops Only):
- Ch 1, work 1 sc into the back loop of each stitch across the row.
- Join the round with a sl st into the first sc.
- Rounds 4-8 (Body of the Cup):
- Ch 1, work 1 sc in each stitch for a total of 6 rounds.
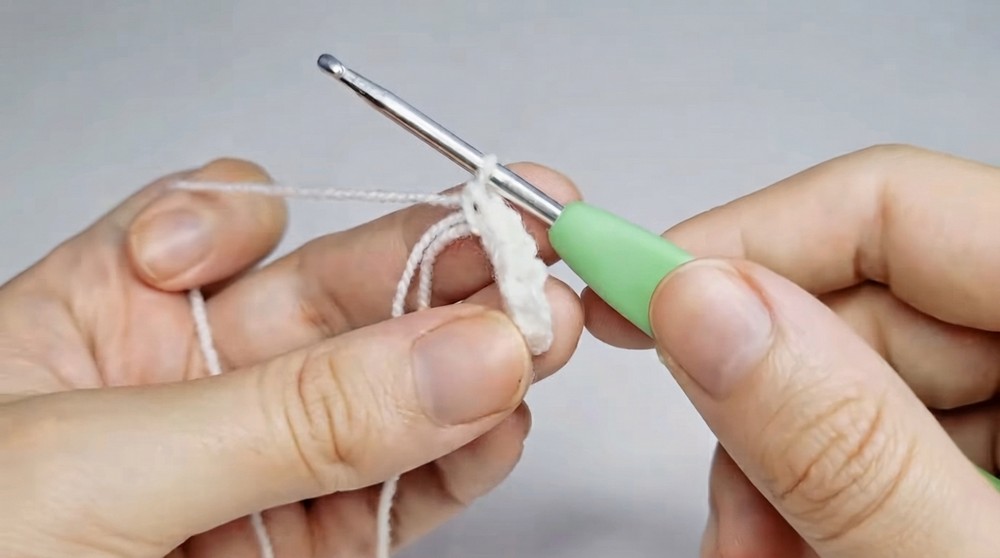
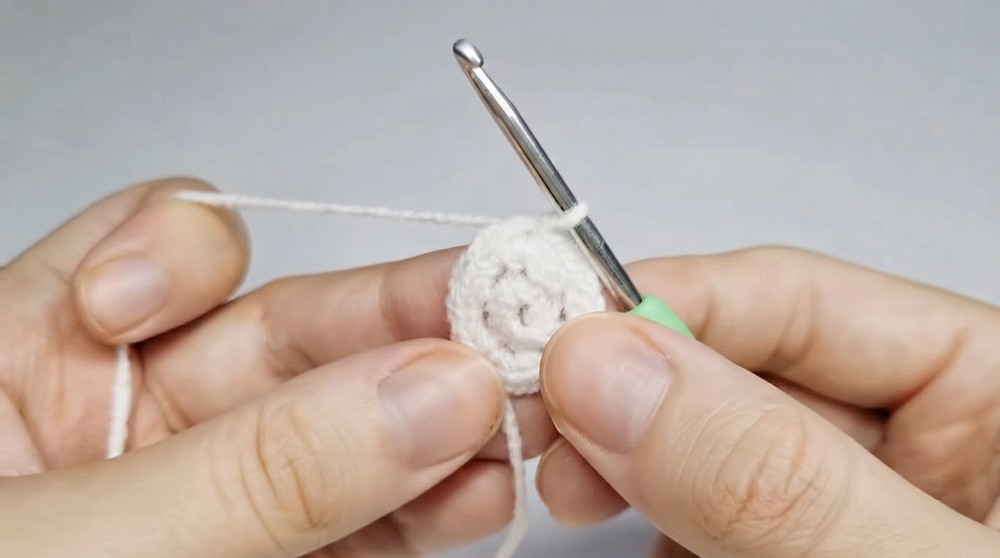
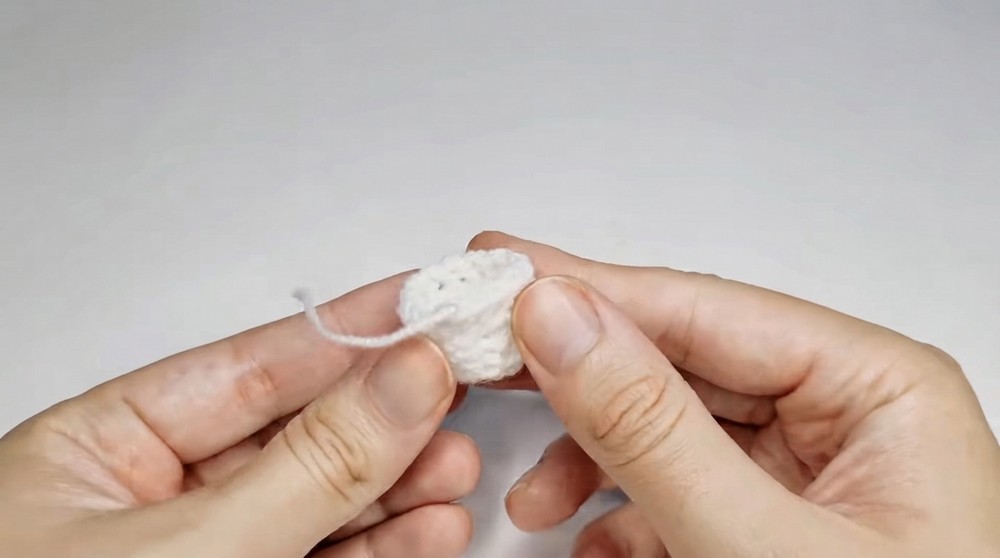
The back-loop row (Round 3) adds structure to the base, while the following rounds create the vertical sides of the cup. Each round consists of single crochets.
Step 2: Coffee Lid (Brown Yarn)
- Create a magic ring and attach the brown yarn.
- Round 1:
- Ch 1, work 6 sc into the magic ring. Pull the yarn tightly and close with a sl st into the first sc.
- Round 2:
- Work 2 sc into each stitch (Increase). You should have 12 sc by the end.
- Join with a sl st, then ch 1, tie off, and cut the yarn.
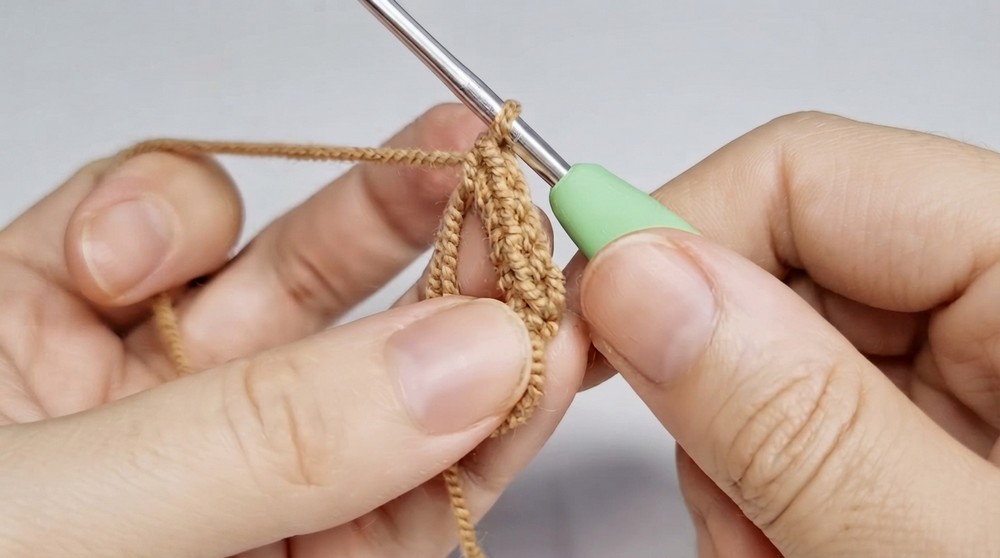
For Beginners: The coffee lid is simple, with only two rounds. The first round forms the base, and the second round expands it.
Step 3: Handle (Beige or White Yarn)
- Start with a slip knot and ch 6.
- Row 1: Skip the first chain, and work 1 sc into each of the remaining 5 chains.
- Finish:
- Ch 1, cut yarn, tie it off, and use the tapestry needle to securely attach the handle to the side of the coffee cup.
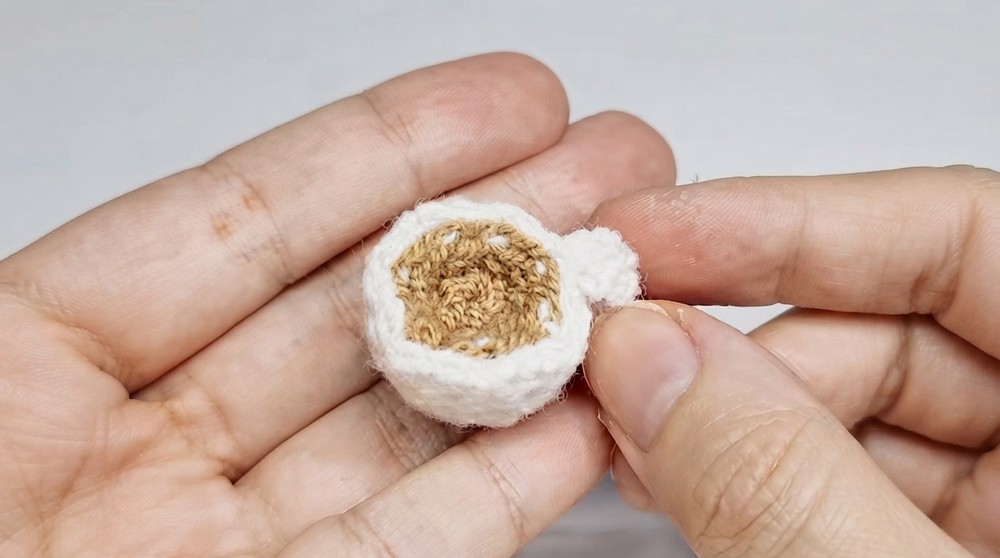
For Beginners: The handle is a simple rectangular strip made of a small chain row and single crochet stitches. Stuff it lightly for a sturdier handle to connect to the cup.
Step 4: Heart Decoration (White or Contrasting Color)
- Create a magic ring with a contrasting color.
- Work the following stitches into the magic ring:
- Ch 2
- 3 tr
- 3 dc
- Ch 1, then 3 tr
- 3 dc
- Finish the Heart:
- Ch 2, then sl st into the magic ring. Pull the yarn tight to close the ring completely and tie it off.
- Attach the Heart:
- Use your tapestry needle to sew the heart onto the coffee cup. Carefully center it to add the finishing decorative touch.
The heart shape is formed directly inside the magic ring using a combination of treble crochets and double crochets. Practice the treble crochet stitch slowly to ensure even loops.
Step 5: Assembly
- Connect Coffee Lid and Cup Base:
- Use a tapestry needle to securely sew the coffee lid to the top of the cup body. Overlap slightly to give a polished look.
- Attach Handle:
- Position the handle on the side of the cup and secure it using your tapestry needle. Stuff the handle lightly with fiberfill before sewing for a sturdy structure.
- Attach Heart Decoration:
- Sew the heart onto the front of the cup, ensuring symmetry and positioning it correctly.
- Final Finish:
- Weave in all remaining ends and trim excess yarn.
Troubleshooting & Solutions
Problem 1: Magic Ring Won’t Close
If the magic ring is loose or uneven, check for proper thread tension when creating the loop. Alternatively, use a chain-4 loop and join to form a circle as an easier option.
Problem 2: Uneven Stitch Tension
Uneven stitches can make the cup wonky. Try placing a stitch marker at the start of rounds and count stitches before moving to the next round.
Problem 3: Handle Is Floppy
If the handle is soft or collapses, add more stuffing to firm it up before you sew it on securely.
What You'll Learn
- Magic Ring Technique: A foundational skill for circular crochet projects.
- Single and Treble Crochet Stitches: Practice key beginner techniques.
- Shaping with Increases and Decreases: Learn how to create 3D objects through careful shaping.
- Assembling Pieces: Master attaching crochet components securely and finishing projects professionally.
Why You'll Love This Pattern:
This crochet coffee cup is adorable and functional, perfect as a quirky gift, fridge magnet, or hanging ornament. It's quick to make, and offers opportunities to creatively customize colors, designs, or additional features.