
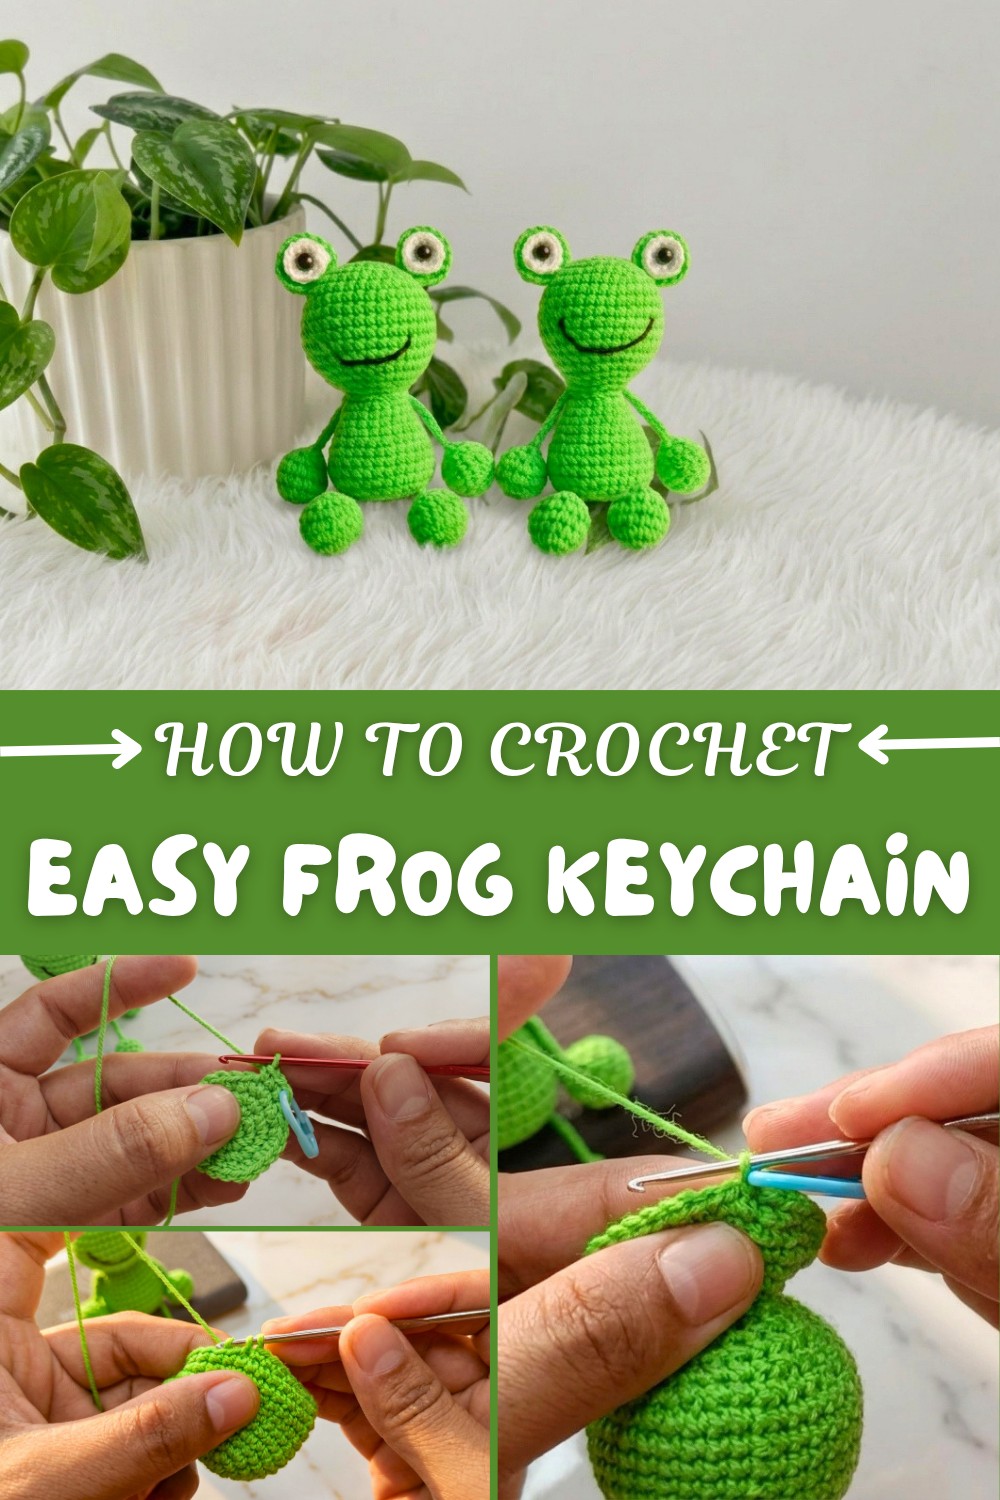
How to Crochet Frog Keychain (Free Pattern + Tips)
A peaceful afternoon spent crocheting a tiny, cheerful frog that becomes part of your everyday life. The Free Crochet Frog Keychain Pattern is perfect for anyone looking to dip their toes into amigurumi or start a creative project that’s both simple and heartwarming. Whether you’re a beginner or have some experience, this pattern offers a friendly challenge and a satisfying, quick result. Making your own keychain not only helps you practice basic crochet techniques but also gives you a unique accessory or a delightful handmade gift.
What Makes the Frog Keychain Special?
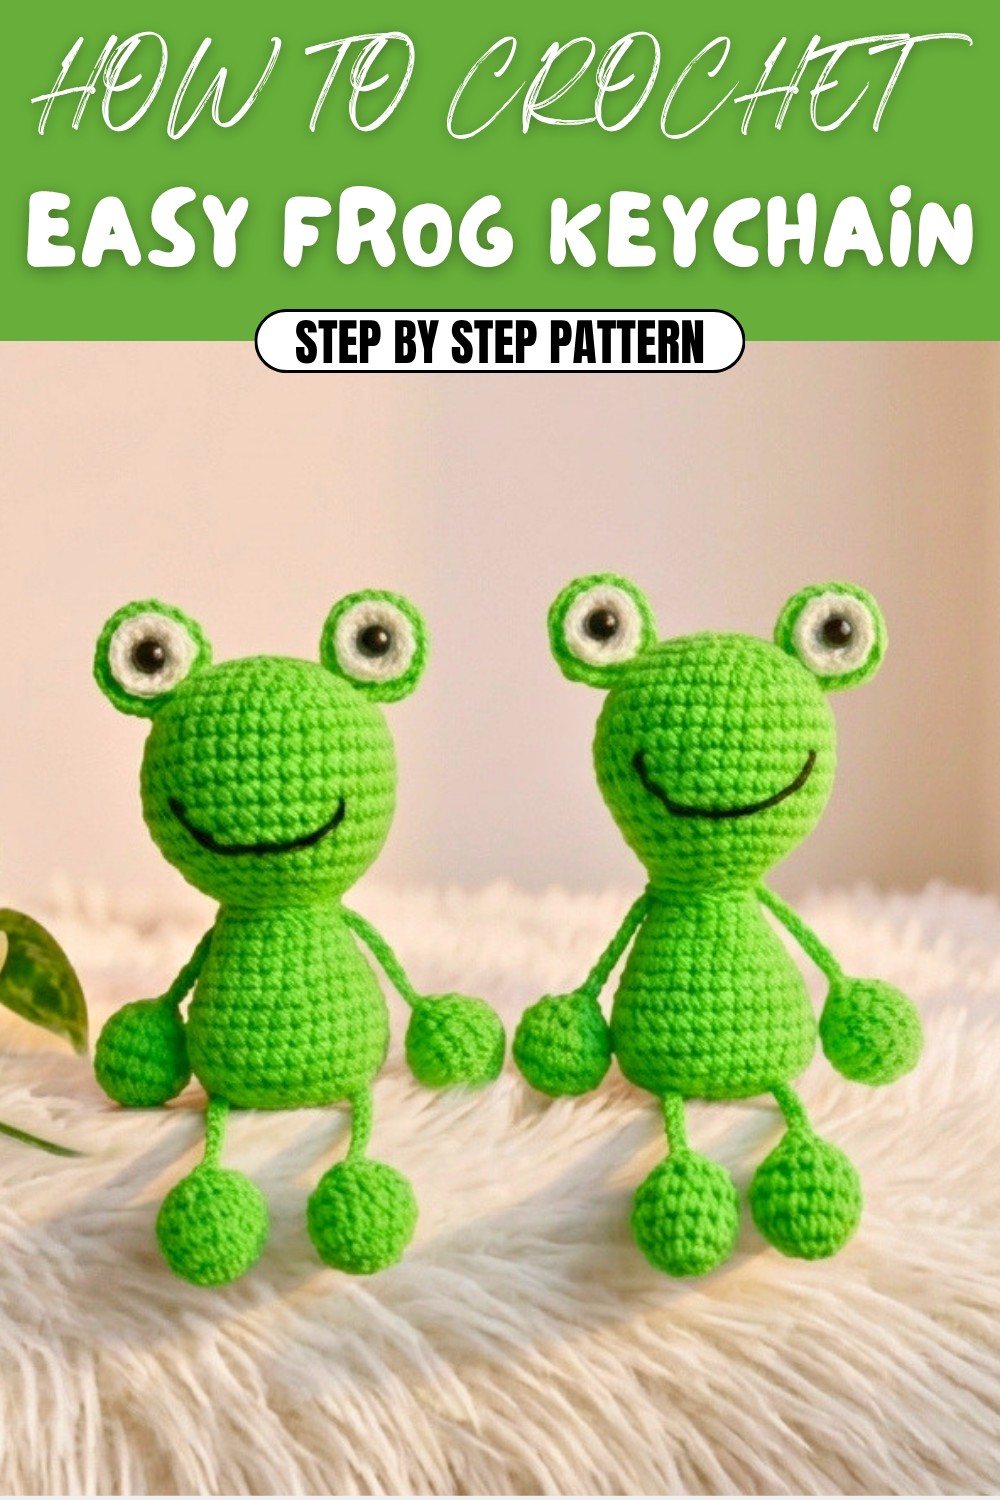
- Charming Features: The pattern creates an irresistibly cute frog with a rounded body, big eyes, and a gentle smile.
- Color Choices: Most crocheters use bright green yarn for the frog’s skin, white for the eye details, and black for the pupils, but you can experiment with any colors you like.
- Simple Stitches: It mainly uses the single crochet stitch, which is great for beginners and keeps the project easy to follow.
- Versatility: With a few minor changes—like adjusting the ears, adding whiskers, or swapping colors—you can use this pattern to make other animals such as bears, cats, or pigs. This unlocks lots of creative possibilities and helps you build a collection of tiny keychain friends!
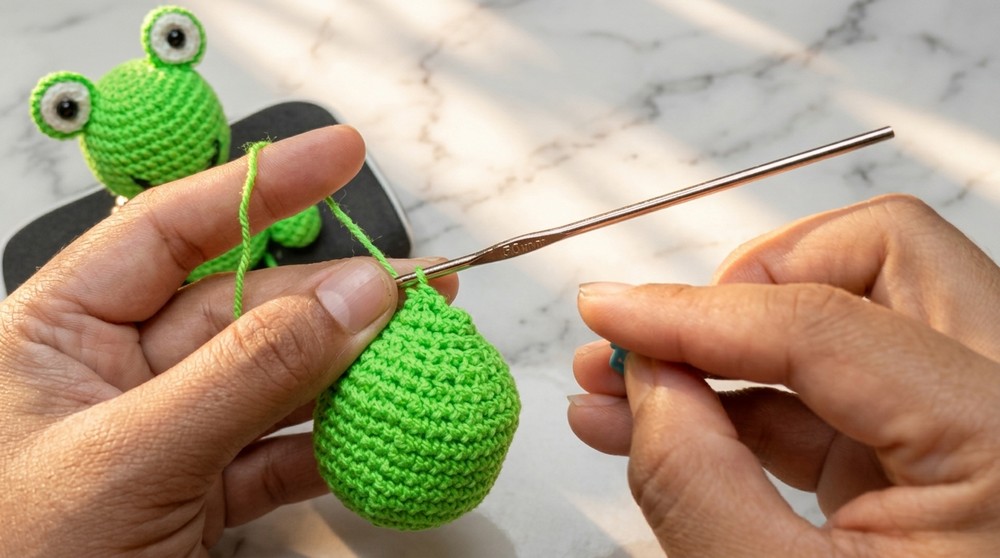
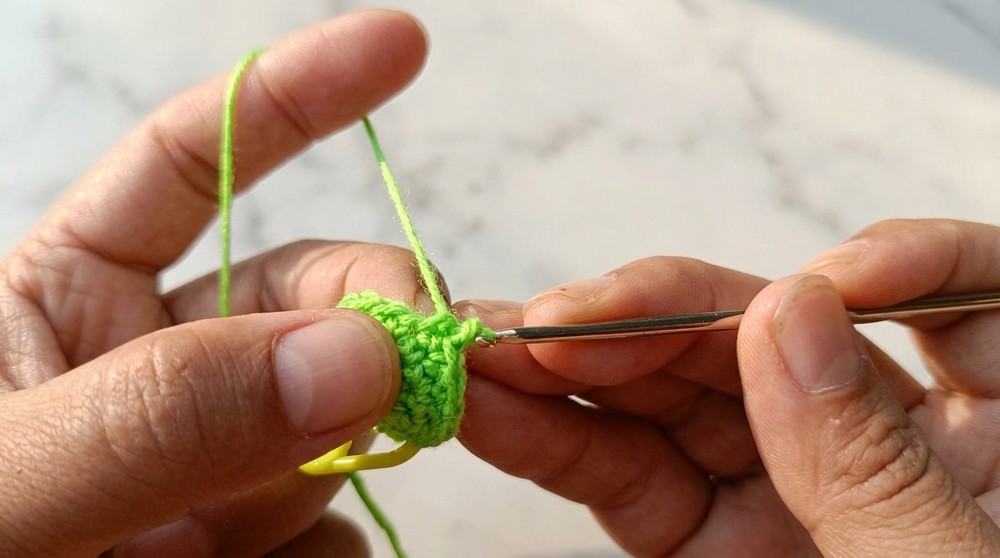
As you work through the pattern, pay close attention to certain steps that ensure your frog comes out perfectly. Start with a magic ring to make a neat, secure foundation for the body. Carefully count every stitch so your frog forms the right shape, and stuff it evenly to avoid lumps. Attach the keychain ring firmly to make sure it stays put.
Amigurumi Frog Keychain – Free Crochet Pattern for All Levels
You might face some common issues, like loose stitches leaving gaps, or oddly-shaped bodies if the stitch count isn’t precise. The best fixes are tightening your grip on the yarn or switching to a smaller hook, and double-checking your rounds for accuracy. If the eyes are asymmetrical or the stuffing bulges, simply reposition them or adjust the filling until you’re happy with the look.
Crochet Frog Gummy Amigurumi – Step by Step Pattern
Materials
- 3-ply thin crochet yarn (green for body, white for eye highlights, and assorted colors for scarf/bow)
- 3mm crochet hook
- Small amount of polyester fiberfill stuffing
- Small sewing needle and yarn needle
- Stitch marker (optional but recommended)
- Scissors
- Craft glue (for eyes, if not sewing)
- Black beads or seed beads for pupil (optional; can also embroider)
- (Optional) Thin wire or keychain/bag ring for attaching
Skill Level
Intermediate (Confident beginners can follow with patience and attention to shaping, increases, and decreases.)
Key Abbreviations (US Terminology)
- MR: Magic Ring
- ch: Chain
- sc: Single Crochet
- inc: Increase (2 sc in same stitch)
- dec: Decrease (sc two stitches together)
- slst: Slip Stitch
- hdc: Half Double Crochet
- dc: Double Crochet
- st(s): Stitch(es)
Pattern
Head and Body (worked in one piece)
With green yarn:
Round 1:
Make a magic ring, ch 1, work 6 sc in MR. Pull tight. (6 stitches)
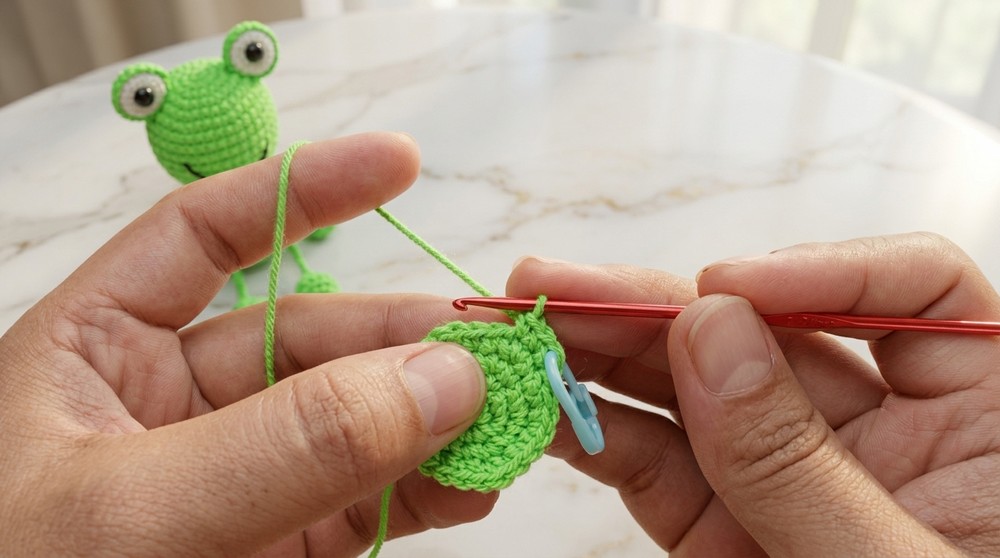
At the end of each section:
You started with a small base for the head, which will expand as we increase the rounds. Use a stitch marker to help track your rounds.
Round 2:
2 sc in each st around (inc in every stitch). (12 sts)
The circle will start to grow. Every stitch is doubled, making a total of 12 stitches.
Round 3:
(sc in next st, inc in next st) repeat around. (18 sts)
You are now making an increase every other stitch. Your round should be laying flat and getting bigger.
Round 4:
(sc in next st, inc in next st, sc in next st) repeat around. (24 sts)
With this round, you alternate single crochet and increases, and the shape will slowly begin to curve up a little.
Round 5:
(sc in next 3 sts, inc in next st) repeat around. (30 sts)
Expanding the head further—each increase is spaced by 3 single crochets for a gentle curve.
Round 6:
(sc in next 2 sts, inc in next st, sc in next 2 sts) repeat around. (36 sts)
Round 6 is the last increasing round. You now have a rounded "cap" forming the frog’s head.
Rounds 7-12:
sc in each st around (36 sts per round), for 6 rounds.
These rounds build the height of the frog head. No increases means the sides will turn straight and head will take a spherical form. Your piece should be looking like a ball now.
Round 13:
(sc in next 2 sts, dec over next 2 sts, sc in next 2 sts) repeat around. (30 sts)
You now begin shaping the neck and dividing head from body with decreases. Remember to do the decrease by crocheting 2 stitches together.
Round 14:
(sc in next 3 sts, dec over next 2 sts) repeat around. (24 sts)
The decreases continue, making a clear ‘break’ between head and mouth/neck of the frog.
Round 15:
(sc in next st, dec over next 2 sts, sc in next st) repeat around. (18 sts)
This round makes the head nice and round at the bottom. Stuff the head portion firmly before fully closing.
Round 16:
(sc in next st, dec over next 2 sts) repeat around. (12 sts)
This creates the tightest part of the neck. Add extra stuffing before finishing if needed.
Rounds 17-18:
sc in each st around (12 sts per round).
Small straight neck section before widening to make the body.
Round 19:
(sc in next st, inc in next st) repeat around. (18 sts)
Now you are increasing again to begin body rounds. The piece will start getting wider.
Round 20:
sc in each st around (18 sts)
A straight round for shaping body height.
Round 21:
(sc in next st, inc in next st, sc in next st) repeat around. (24 sts)
The frog body is expanding and will soon reach its widest point.
Round 22:
sc in each st around (24 sts)
A round to add height and fullness to the body.
Round 23:
(sc in next 3 sts, inc in next st) repeat around. (30 sts)
Widest round for the body. The body should be noticeably "fat" now!
Rounds 24-27:
sc in each st around (30 sts per round), 4 rounds.
Rounds for belly fullness and to keep the body round. Stuff the body as you go, especially after Round 26.
Round 28:
(sc in next 3 sts, dec over next 2 sts) repeat around. (24 sts)
Belly starts narrowing. Add more stuffing as you close the body.
Round 29:
(sc in next st, dec over next 2 sts, sc in next st) repeat around. (18 sts)
More shaping for the bottom of the body. Begin stuffing firmly to fill out the frog.
Round 30:
(sc in next st, dec over next 2 sts) repeat around. (12 sts)
Small opening left for final stuffing. Fill firmly before closing.
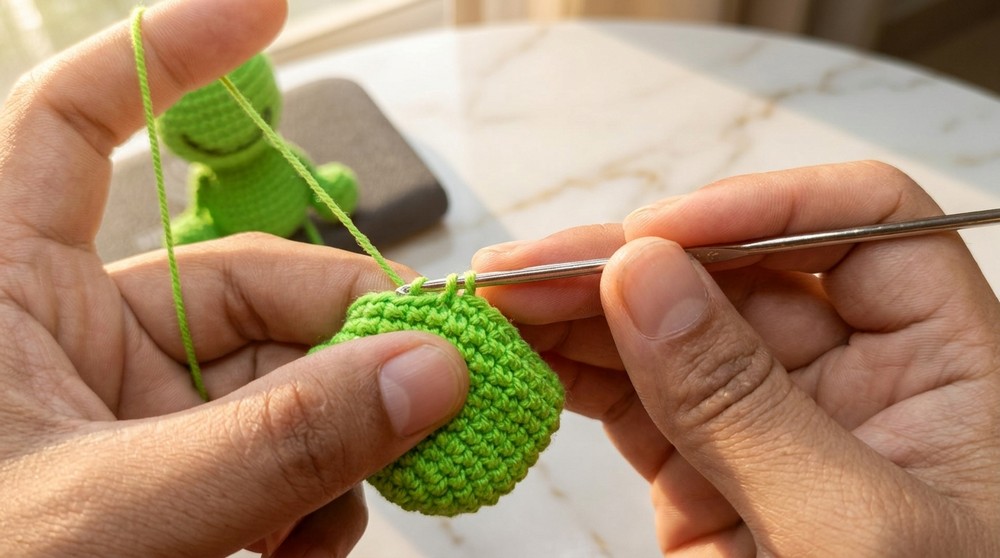
Round 31 (Last)
dec in every 2 sts around (6 sts)
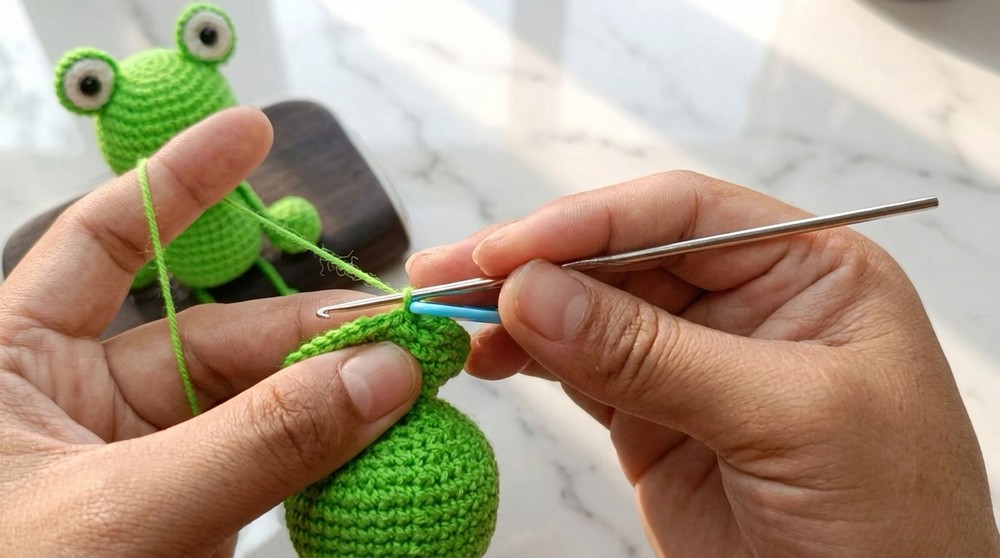
Close the body. Fasten off, leaving a yarn tail. Use your needle to weave the yarn tail through remaining stitches and pull tight to close.
At this point, the main frog shape is complete! You now have a nice, rounded head and body as one piece.
Arms and Legs (Make 4 – 2 for arms, 2 for legs; same pattern)
With green yarn:
Round 1:
Magic ring, ch 1, 6 sc into MR. Pull tight. (6 sts)
You’ll first form a small circle for each appendage.
Round 2:
2 sc in each st around (inc in every stitch). (12 sts)
After this, small round paddles are formed. This shape works for both arms and legs.
Round 3:
(sc in next 3 sts, inc in next st) repeat around. (15 sts)
Shape starts to look like a rounded oval. This size is perfect for frog hands and feet.
Round 4:
sc in each st around (15 sts)
Creates the palm/pad of the limb.
Round 5:
(sc in next 3 sts, dec over next 2 sts) repeat around. (12 sts)
Begin shaping and narrowing the limb.
Round 6:
dec in every 2 sts around (6 sts)
Close the limb, stuff lightly before closing. Cut yarn leaving a long tail for sewing.
Eyes (Make 2 – Green Outer, 2 – White Inner)
Green Eye Base
With green:
Round 1:
Magic ring, 6 sc into MR. Pull tight.
Round 2:
2 sc in each st around (12 sts)
Round 3:
(sc in next st, inc in next st) repeat around. (18 sts)
Fasten off, leave a tail for sewing.
White Eye Highlight
With white:
Round 1:
Magic ring, 6 sc into MR.
Round 2:
2 sc in each stitch around (12 sts)
Fasten off, leave a tail for sewing.
Eye Assembly
- Place the white piece on top of the green base, center it, and attach with glue or a few securing stitches.
- Glue/sew a small black bead or embroider a small dot in the center for the 'pupil'.
- Sew or glue completed eyes to the top of the frog head, starting between the 5th and 6th rounds.
Assembly and Features
- Sew or glue eyes to the top-between 5th and 6th rounds of the head.
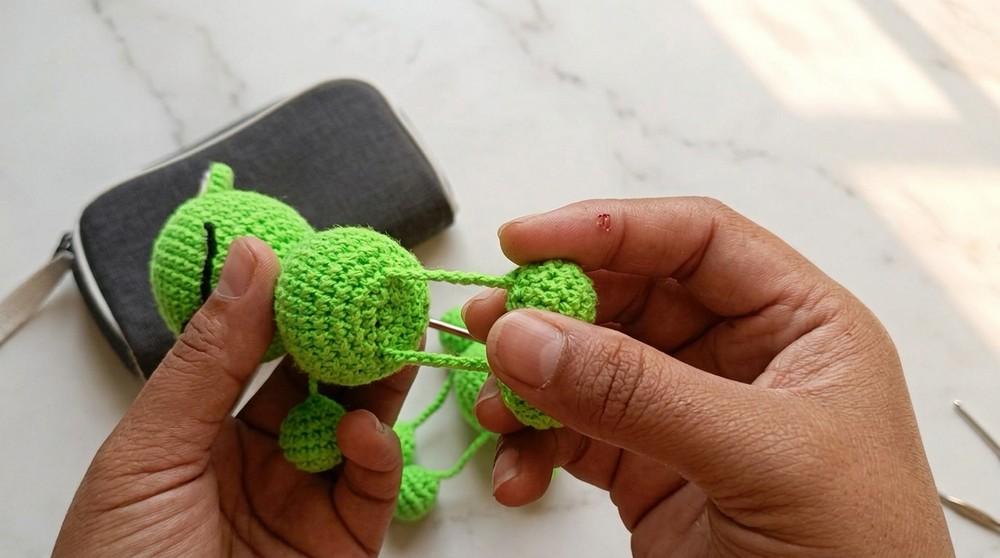
- Use matching thread or leftover yarn to sew/secure arms to the sides just below the head, and legs at the bottom sides of the body.
- Use black yarn or embroidery thread to stitch a smile, starting between rounds 9 and 10 of the head. Mark the start and end points at equal distance from the center and stitch a gentle curve.
- Add beads or sew small stitches for nostrils if desired.
Scarf (Muffler) – Optional Accessory
With your color choice:
- Ch 20.
- Skip the first chain, sc in each ch across (19 sc).
- Fasten off; knot ends securely. Attach to frog as shown.
The scarf adds a splash of color and warmth! It's a quick accessory for extra charm.
Bow – Optional Accessory
With yarn color of choice:
- Magic ring, ch 1.
- [hdc, dc, hdc, slst], repeat for the 2nd half: [hdc, dc, hdc, slst] all into ring.
- Pull tight and fasten off. Wrap a few strands at the center and tie to form bow shape.
- Attach to frog as shown.
The bow is adorable and easy – you can attach it to the head or neck for a playful look.
Conclusion
You have now created a charming frog gummy — perfect as a toy, bag accessory, or keychain! This pattern covered seamless increases, neat decreases, safe assembly, and simple embroidery for features. Customizing your frog with a bow, scarf, or accessories will make every creation unique. Remember: tight stitches and careful placement create the best finished results.