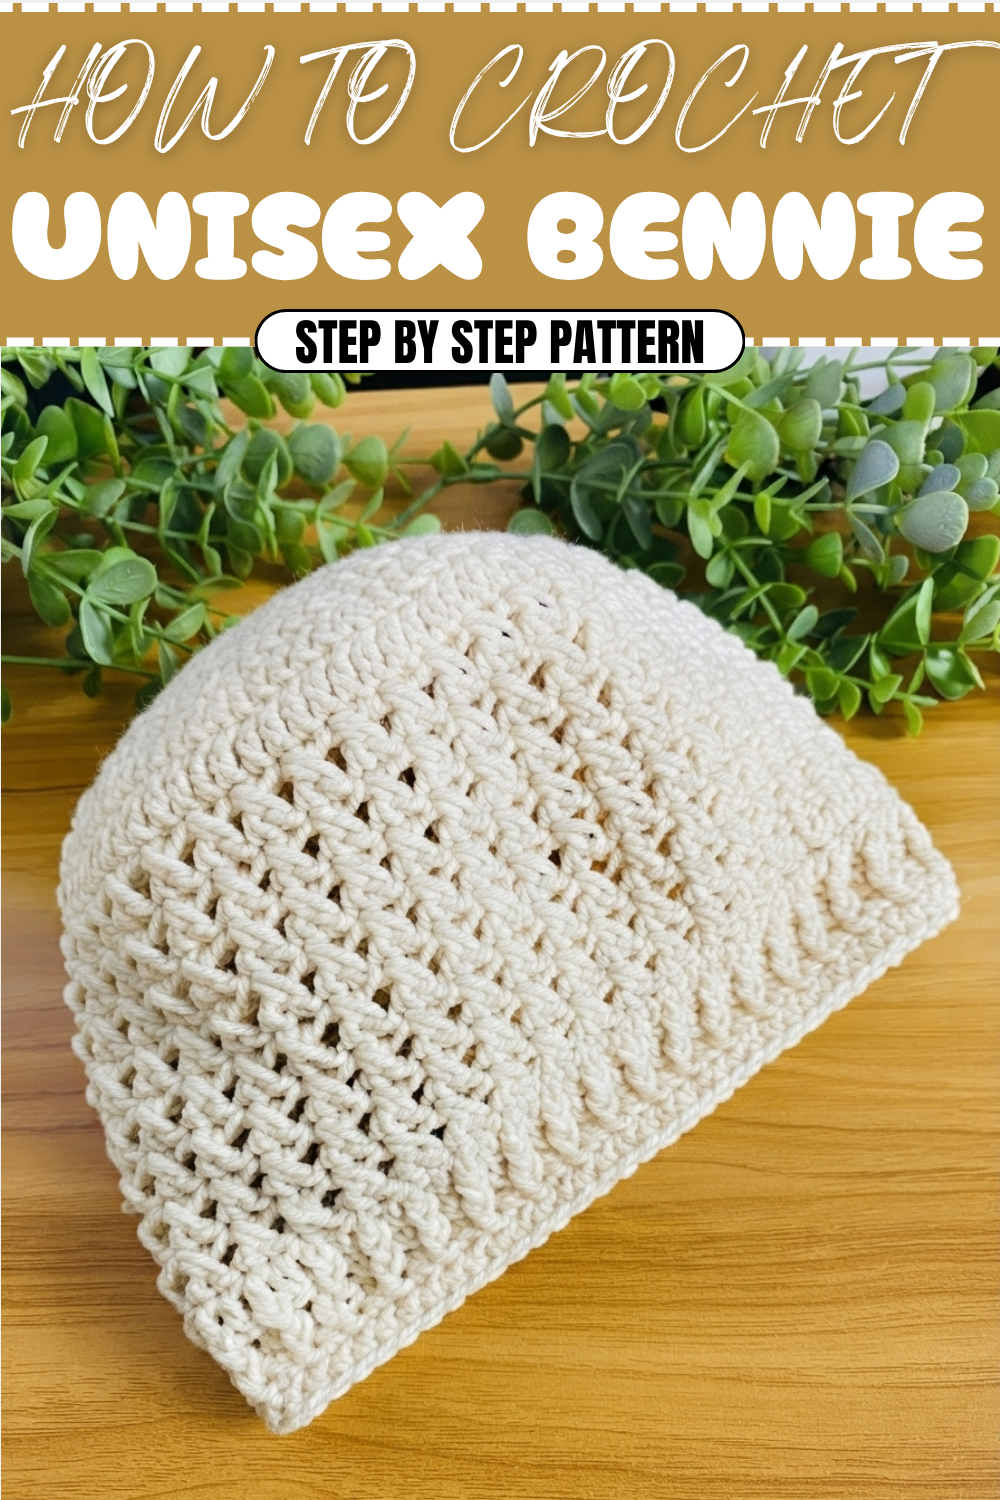
How To Crochet A Unisex Bennie Pattern For Everyday Cool
Use a free crochet unisex beanie pattern for soft, cozy hats anyone can wear, adding a cheerful touch to your outfit and keeping heads warm.
Crocheting a cozy and stylish cap that anyone can wear is truly satisfying. This unisex beanie pattern offers a wonderful blend of simplicity and versatility, crocheted mainly with double crochet stitches that give it a nice texture and stretch. From the very top, this pattern grows in perfect circles, making it easy to follow along even if you’re new to crochet. The smooth rounds and rhythmic increases shape the pattern beautifully, fitting comfortably on heads of various sizes whether for ladies or gents.
Crochet Your Own Unisex Bennie Free Pattern For Cozy Comfort
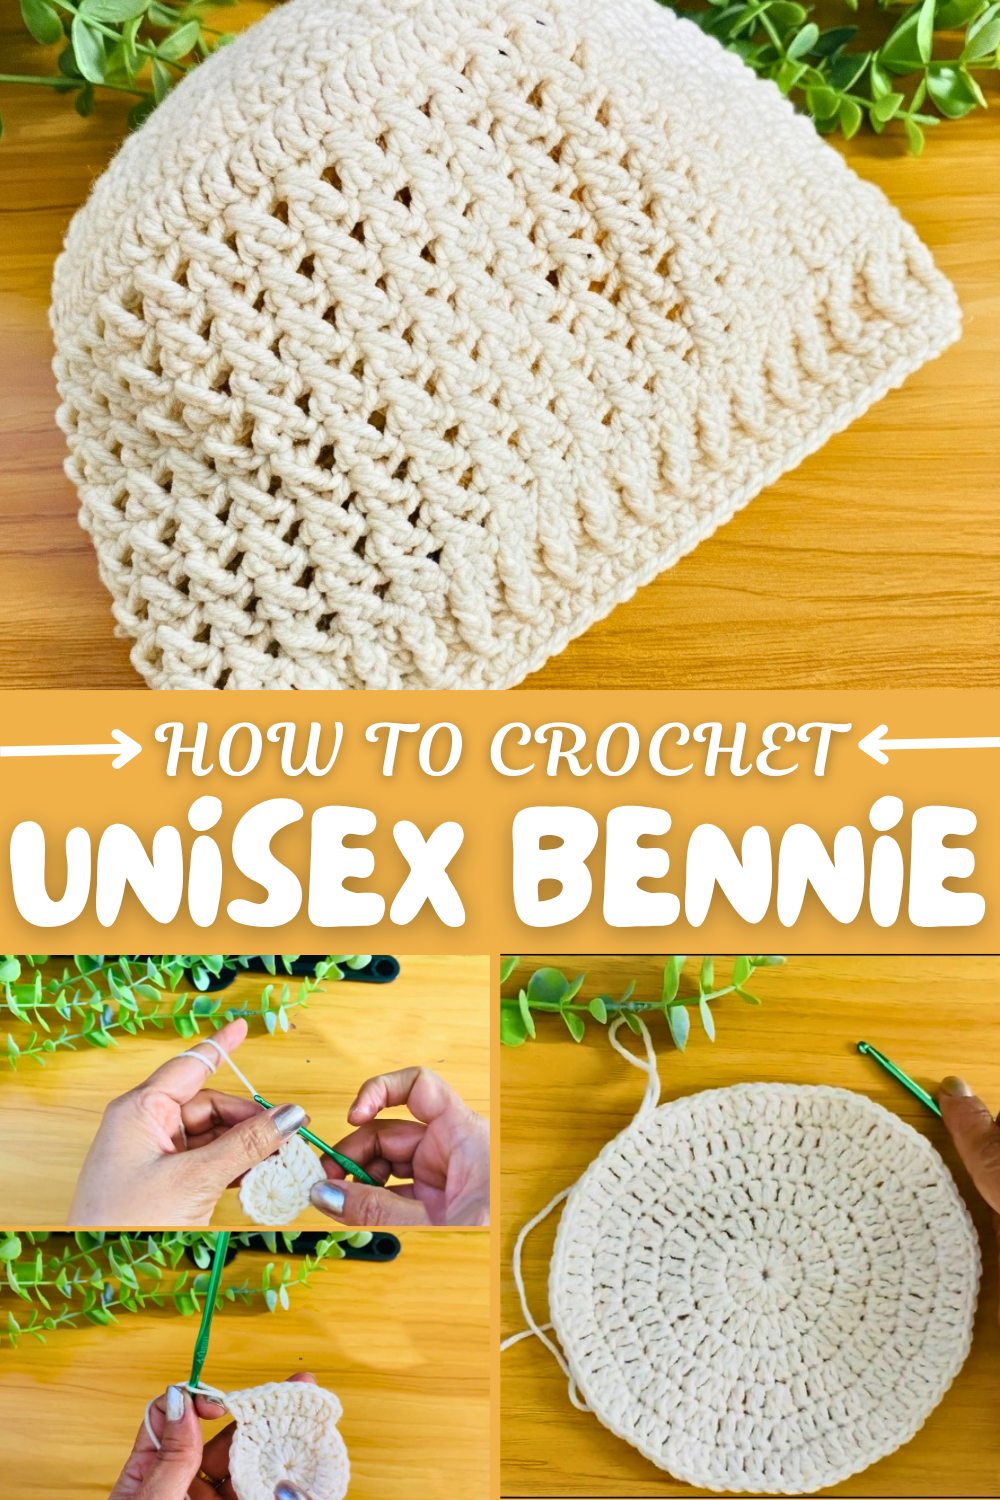
What makes this project even more enjoyable is how quickly you can see progress. Starting with a simple slip knot and chain, you build up rows of double crochets with increases spaced evenly to keep the cap flat and round. As the rounds expand, the beanie takes form, and then transitions into rows worked evenly to create the right length. The pattern finishes with half double crochet stitches that add a lovely tight border, giving the cap a neat, polished edge that holds its shape well.
Other Projects Using This Pattern Technique
The round crochet and use of double crochet stitches in this beanie pattern can easily inspire many other wearable or home accessories. By adjusting stitch counts or yarn types, you could create slouchy hats, cowls, or simple scarves following similar principles. The circular rising method also works beautifully for making round placemats or coasters, pot holders, or even cushions with texture and stretch. This versatile approach gives beginners a solid base to explore multiple cozy and stylish crochet designs.
Beginner-Friendly Crochet Hat Pattern
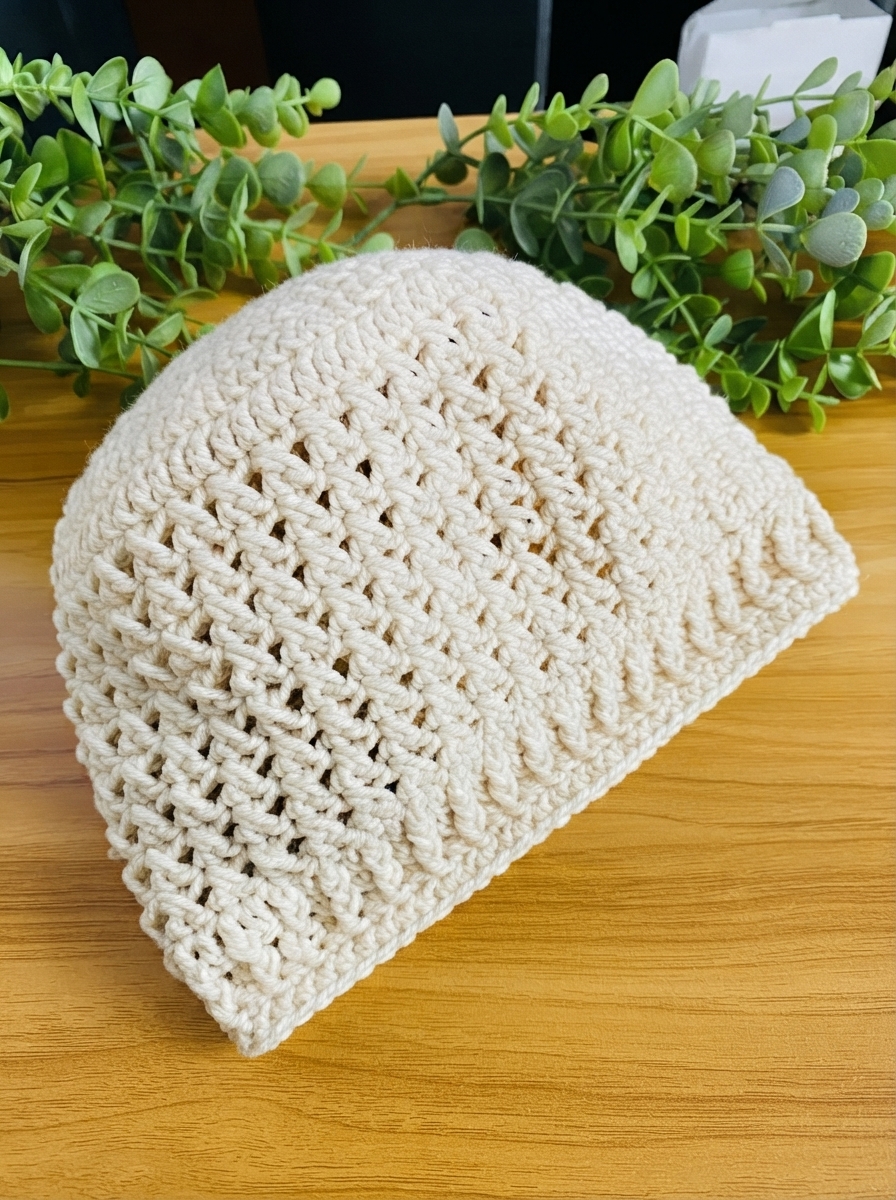
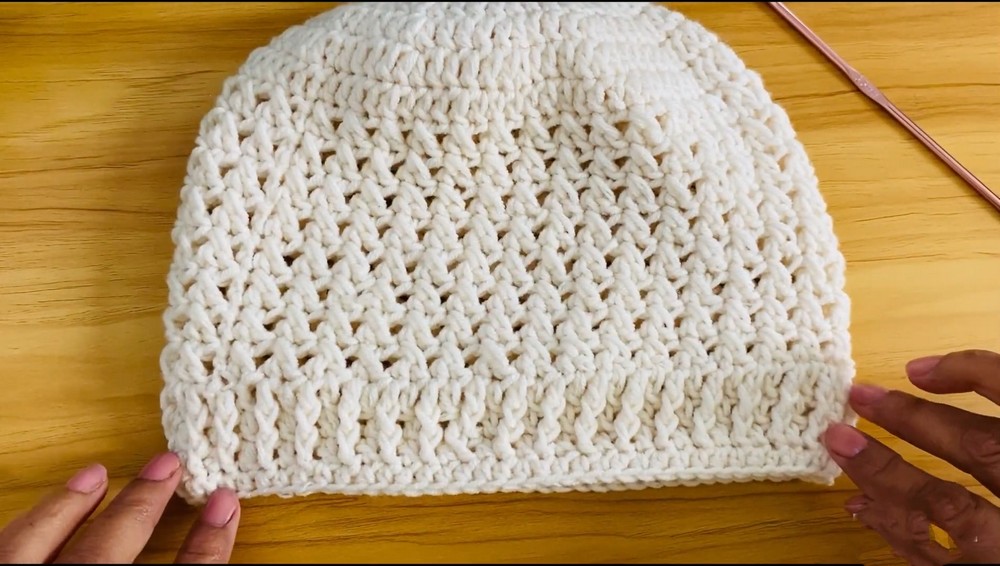
This versatile crochet hat pattern is perfect for anyone — ladies, gents, and all genders! With a simple design and a beginner-friendly crochet, this unisex hat pattern is both stylish and practical. The pattern starts from the top and works its way down, featuring a combination of double crochet (dc), front post double crochets (fpdc), simple double crochets, and half-double crochets (hdc) for a subtly textured finish. It's easy to customize for different sizes and can be made within just a few hours!
Uses of This Pattern
- Unisex Hat: Stylish and warm, perfect for anyone in various sizes.
- Skill-Building: A great way to learn increasing in the round, textured stitches, and simple borders.
- Gift-Worthy: Quick and beginner-friendly, ideal for gifting during colder months.
Skill Level & Terminology
- Skill Level: Beginner to Intermediate
- Terminology: US Crochet Terms
Materials & Tools
- Yarn: Medium weight yarn (Category 4) - any soft yarn of your choice.
- Hook Size:
- 4 mm crochet hook for the body.
- 3.5 mm crochet hook for the last row to tighten the border.
- Scissors: For cutting yarn.
- Tapestry Needle: For weaving in ends.
Gauge
Gauge is not critical for this pattern. However, for reference, 12 double crochet stitches in the round create approximately 2 inches in diameter.
Finished Size
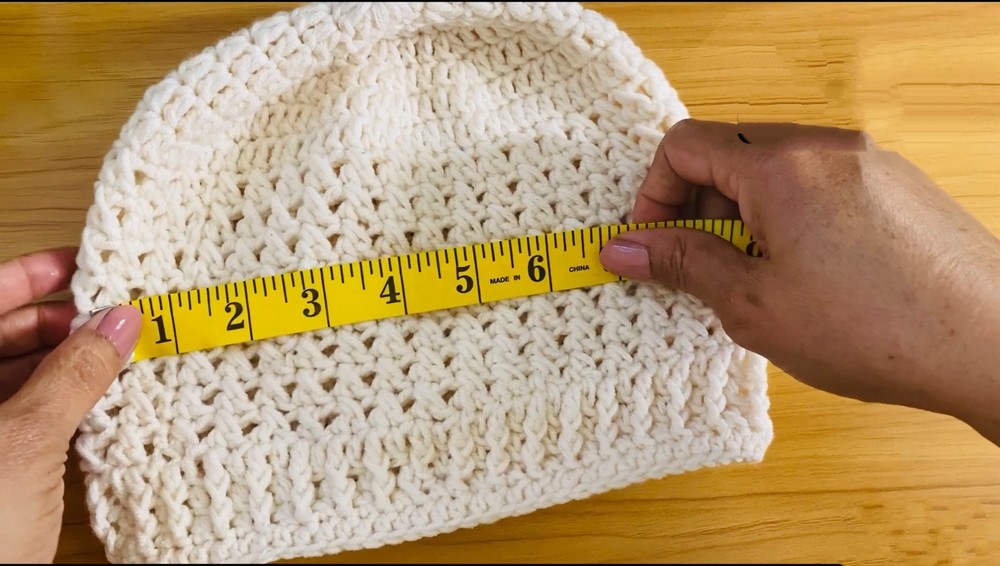
- Diameter of Crown: ~9 inches
- Length of Hat: ~8 inches
This pattern creates a one-size-fits-all hat but can easily be customized by adding or removing rows.
Abbreviations List
| Abbreviation | Description |
|---|---|
| ch | Chain |
| dc | Double Crochet |
| sl st | Slip Stitch |
| fpdc | Front Post Double Crochet |
| hdc | Half Double Crochet |
| inc | Increase (work 2 dc in one stitch) |
Special Stitch Instructions
Double Crochet (dc):
- Yarn over, insert the hook into the stitch.
- Yarn over and pull up a loop (3 loops on the hook).
- Yarn over, pull through the first 2 loops.
- Yarn over, pull through the remaining 2 loops on the hook.
Front Post Double Crochet (fpdc):
- Yarn over, insert the hook around the post of the designated dc from the front of the work.
- Yarn over and pull up a loop, bringing it around the post (3 loops on hook).
- Yarn over, pull through the first 2 loops.
- Yarn over, pull through the remaining 2 loops.
What You’ll Learn from this Pattern
- Work in the round, beginning from the top of the hat.
- Learn how to increase evenly for a perfect crown shape.
- Create textured rows using front post stitches and borders.
The Pattern
Part 1: Crown Increases
Step 1: Start with a Magic Loop or Ring
- Begin with a slip knot, leaving a short tail.
- Ch 4 and sl st into the first chain to create a ring.
Step 2: Foundation Round
- Ch 2 (does not count as a stitch).
- Work 12 dc into the ring.
- Sl st into the first dc to close the round. (12 dc total)
This begins the foundation of the crown section. Pull the ring tight to close the center hole completely.
Step 3: Round 2 (First Increase Round)
- Ch 2 (does not count as a stitch).
- Work 2 dc in each stitch around.
- Sl st into the first dc to close the round. (24 dc total)
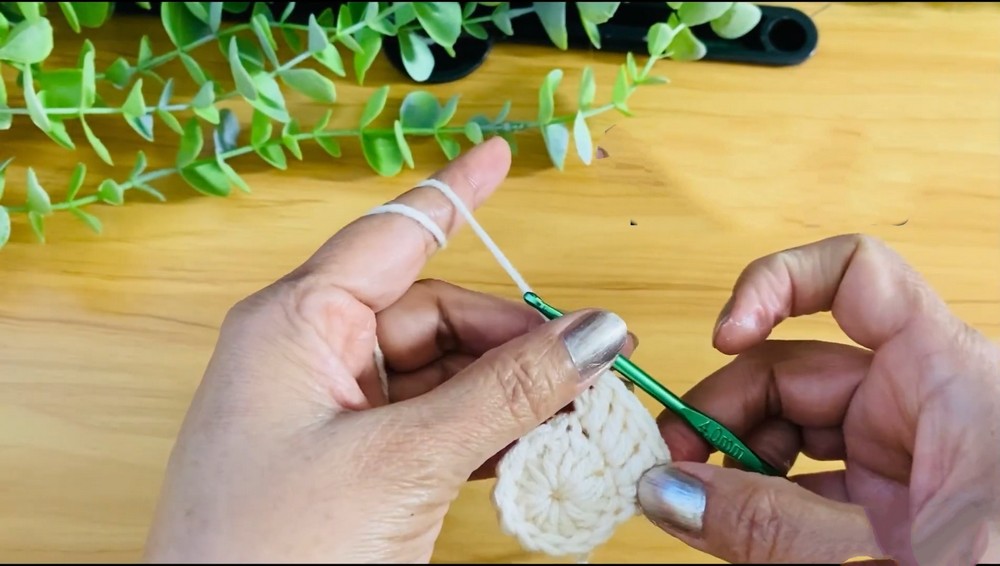
You’ve now doubled the stitch count to shape the hat crown.
Step 4: Round 3 (Second Increase Round)
- Ch 2.
- [1 dc in the first stitch, 2 dc in the next] — repeat around. (36 dc total)
- Sl st into the first dc to close the round.
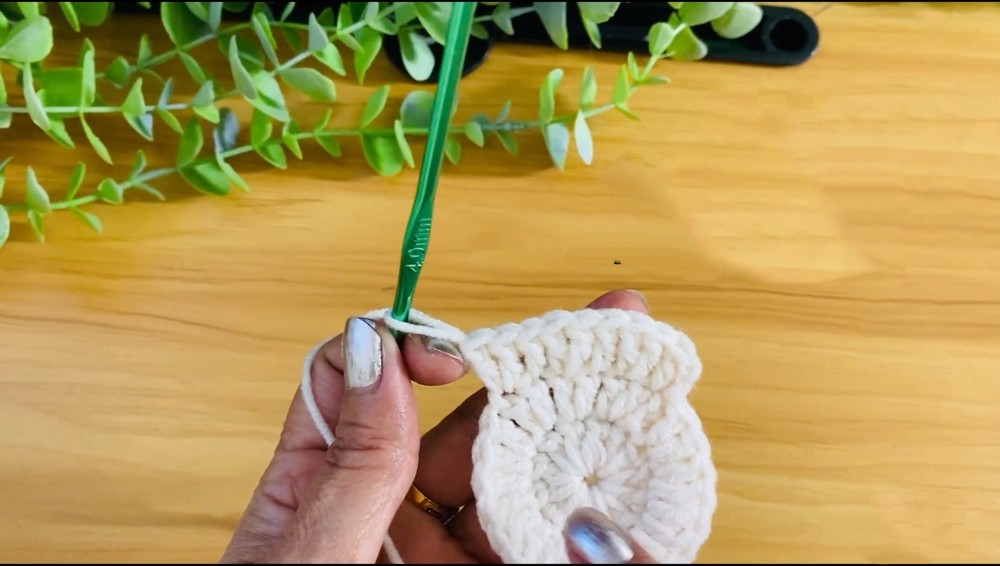
Repeat this method of increasing for consistent growth in the crown.
Step 5: Rounds 4–6: Ongoing Increases
- Round 4: [1 dc in each of the next 2 stitches, 2 dc in the next] (48 dc total)
- Round 5: [1 dc in each of the next 3 stitches, 2 dc in the next] (60 dc total)
- Round 6: [1 dc in each of the next 4 stitches, 2 dc in the next] (72 dc total)
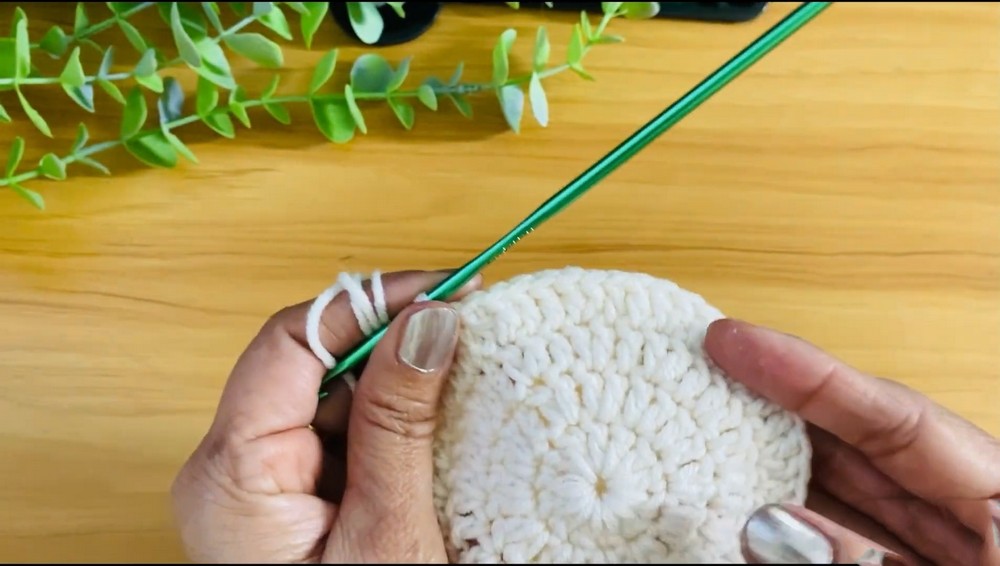
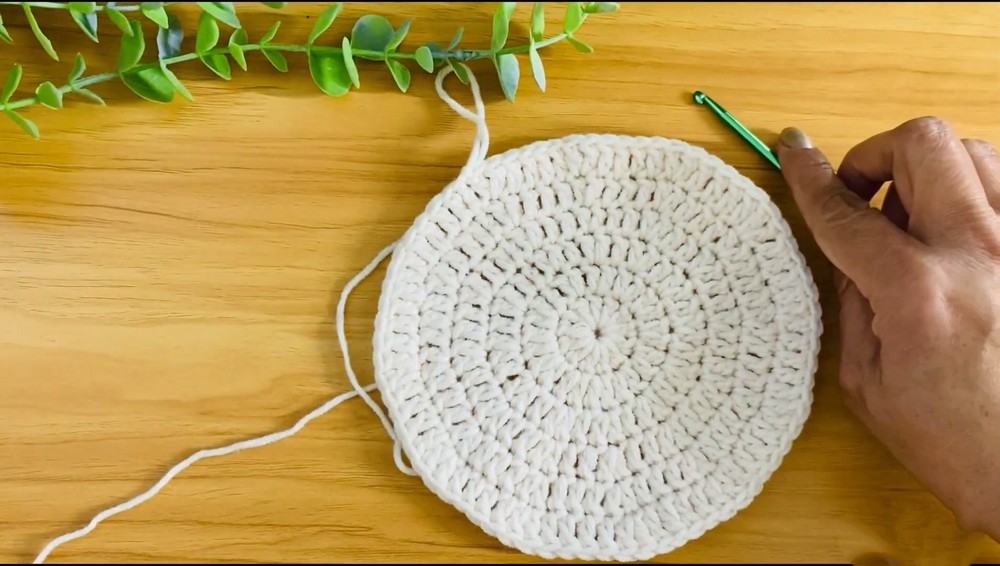
Each round adds 12 more stitches as the hat grows. End Round 6 with 72 dc total stitches.
Part 2: Hat Body
Step 1: Work Even Rows
- Ch 2.
- Work 1 dc in each stitch around, skipping no stitches (72 dc per round).
- Repeat this for 2 plain rows.
You are building the hat’s height now. Maintain the stitch count to keep an even structure.
Step 2: Patterned Rows
- After the plain rows, begin patterned rows with ch 2.
- [Skip 1 stitch, dc in the next stitch] — repeat this pattern, alternating open spaces and double crochet stitches. (72 dc total)
- Complete 9 rows of this pattern, or until the hat reaches your desired height.
The pattern gives a decorative texture while maintaining the structure of the hat.
Part 3: Adding Finishing Details
Step 1: Simple Double Crochet Row
- After finishing the patterned rows, work one more plain row of dc in each stitch (72 dc total).
- This creates a smooth base for the finishing border.
Step 2: Border Rows: Front Post and Regular Double Crochet
- Ch 2 and alternate 1 fpdc and 1 dc around the round. (72 stitches total)
- Repeat another row of the same alternation: fpdc in the front post stitch and dc in the regular stitch.
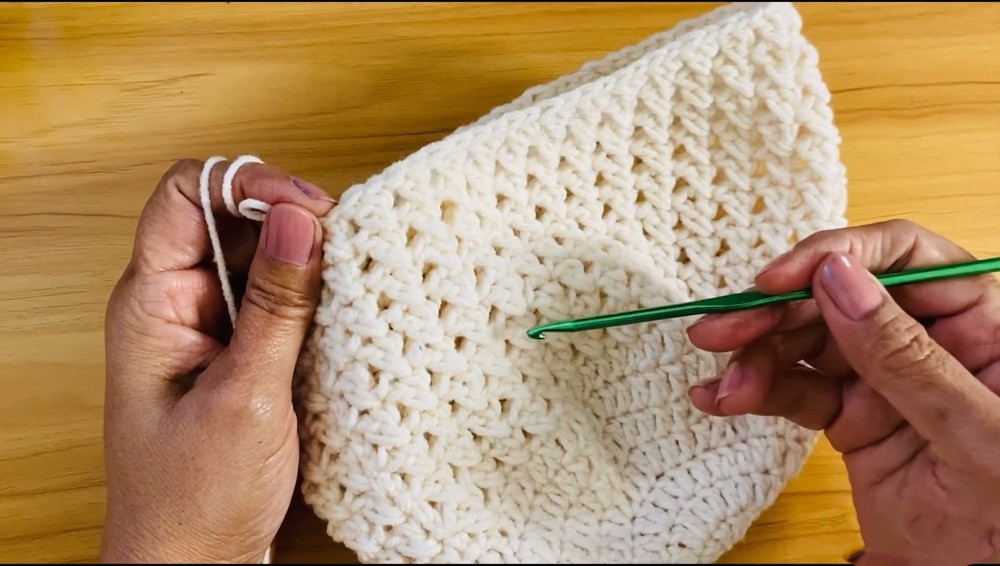
Step 3: Final Tight Border with Half Double Crochet (HDC):
- Switch to a smaller hook (3.5 mm).
- Work a row of hdc in each stitch around to tighten the edge for a snug fit.
The border rows add decorative texture and a secure finish to your hat.
Assembly & Finishing
- Weave in the ends securely on the wrong side of the hat using a tapestry needle.
- Carefully trim any excess yarn to clean up your hat.
- Measure the final dimensions and try it on!
- Final Dimensions:
- Diameter (Crown): ~9 inches.
- Length (Height): ~8–9.5 inches.
Why You’ll Love This Pattern
This unisex crochet hat pattern is versatile, easy to make, and perfect for beginners learning how to work in the round. The soft textured rows and snug border add a professional touch, making it suitable for gifting or personal use. Easily customizable, you can play with colors, yarn types, or additional embellishments to create a unique look for each hat you make.