
Crochet Beach Mesh Skirt Pattern Perfect for Summer Outings
How to Crochet a Beach Mesh Skirt Pattern for Ultimate Style Goals
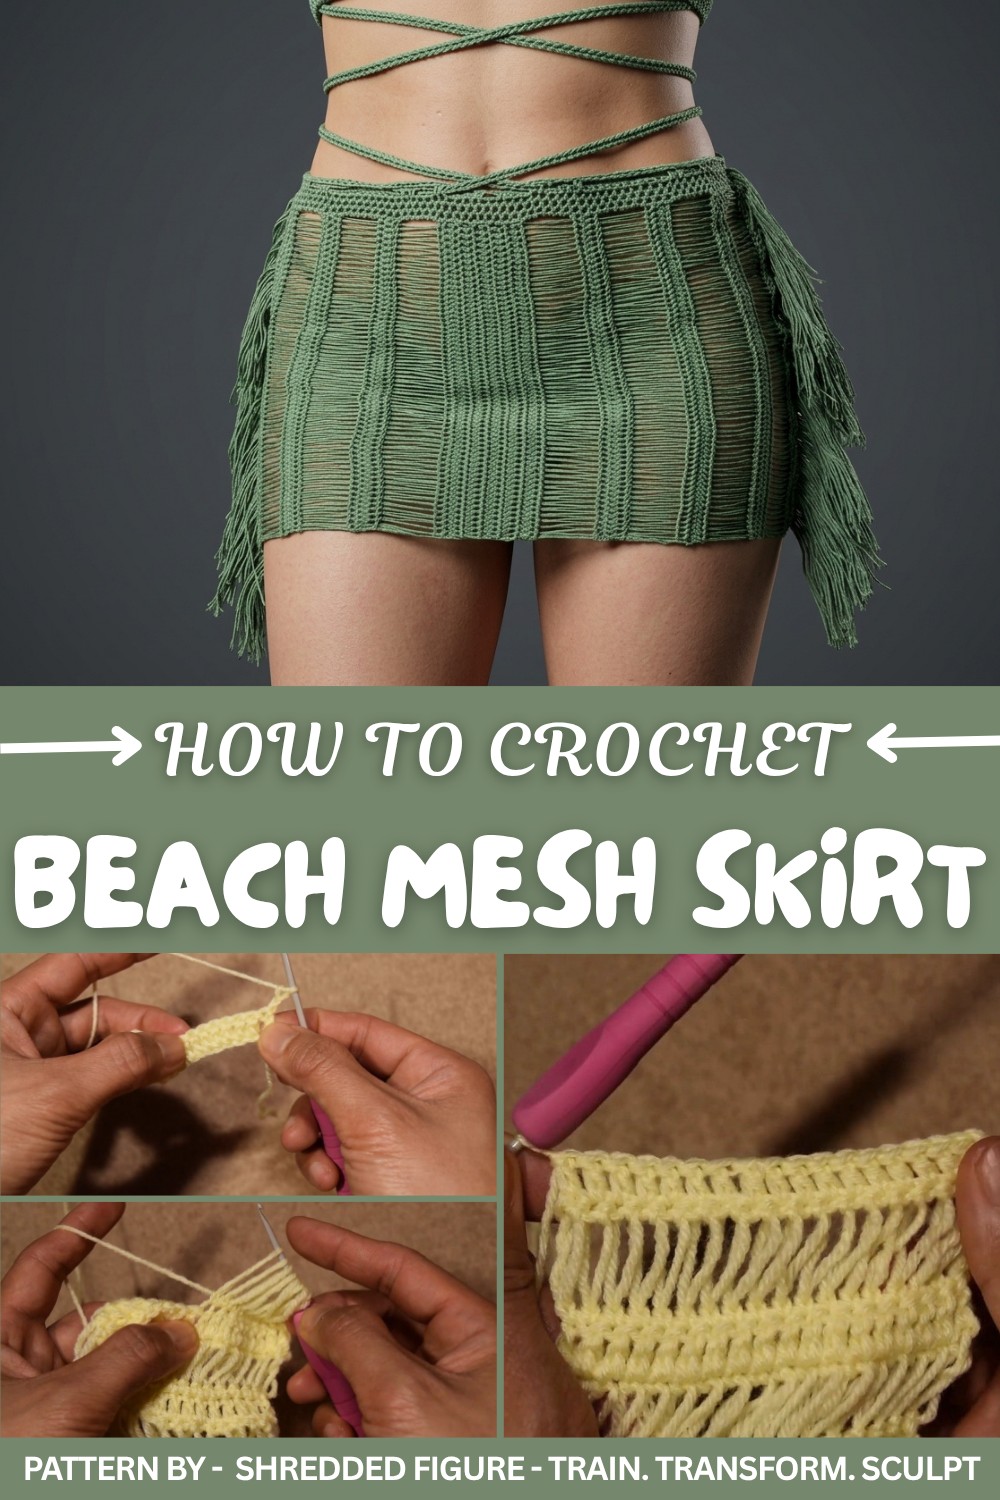
Beyond its stylish appeal, the process of crocheting this skirt offers a rewarding creative outlet. The easy-to-follow pattern makes it beginner-friendly, yet highly customizable to fit your unique size and style preferences, from mini to maxi length. Plus, it’s an economical and sustainable alternative to store-bought fashion, using only a small amount of yarn to whip up a functional, statement piece.
Once complete, this pattern will not only showcase your skills but also become a staple in your summer wardrobe. Versatile, practical, and oh-so-stylish, this project is truly the perfect way to add a personal touch to your warm-weather fashion lineup.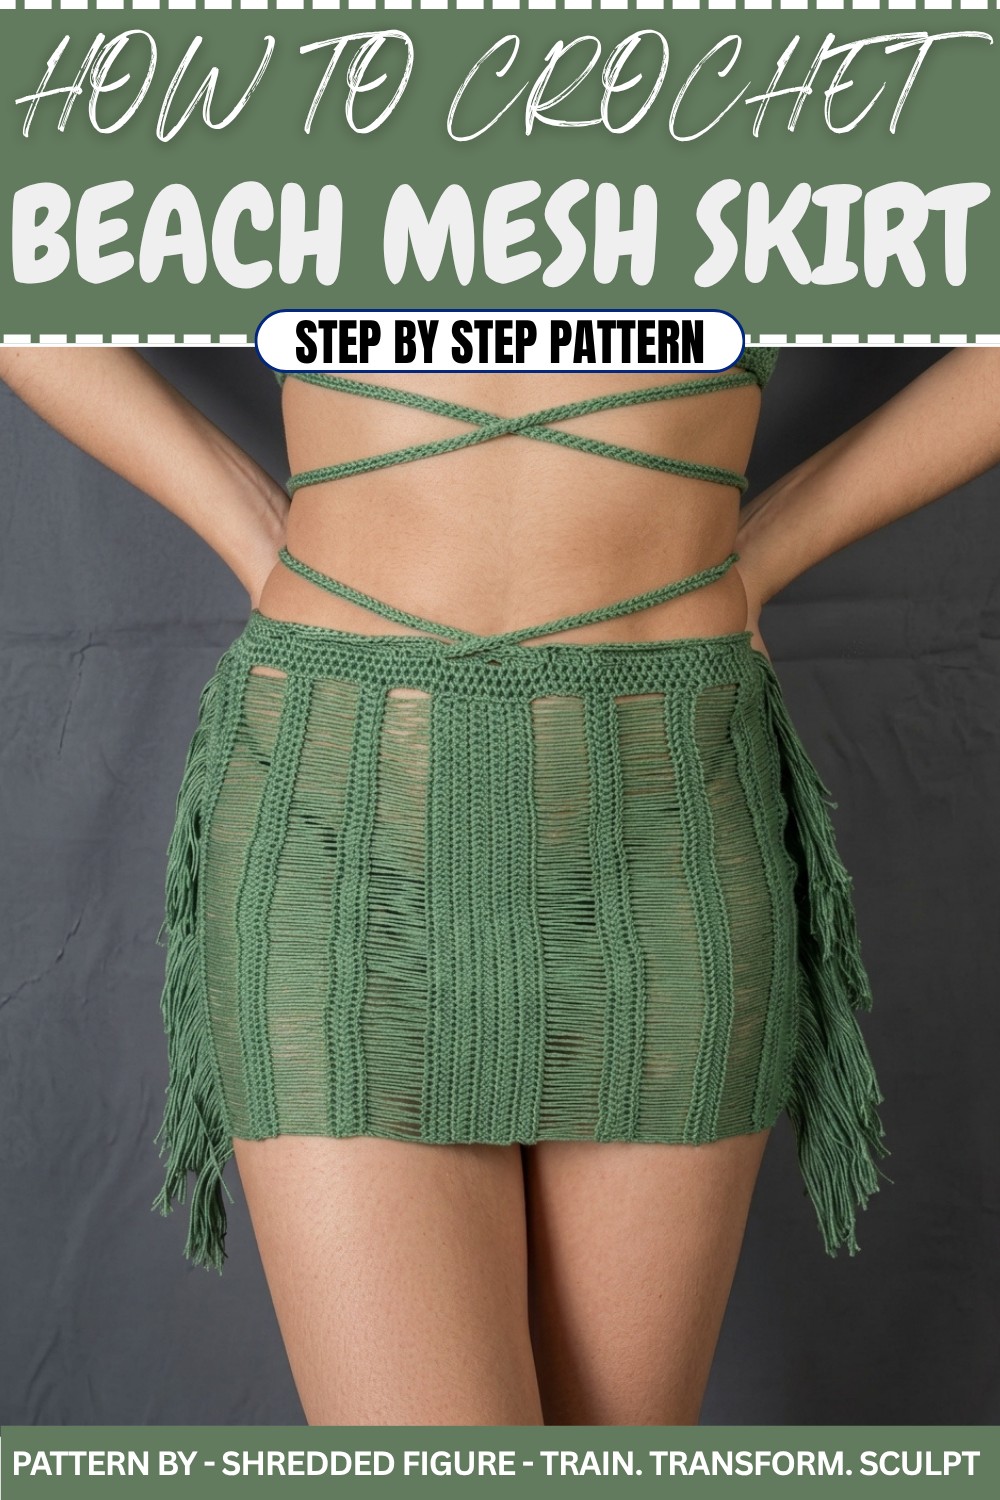
Mesh Mini Skirt Pattern
This mesh mini skirt is created with a delicate combination of stitches and a stylish fringe. Designed for versatility, this project is lightweight and perfect for summer wear or layering over other outfits. It uses mercerized cotton for its lovely drape and texture, ensuring comfort and durability.
Skill Level
This pattern is an Intermediate project, requiring knowledge of double crochet, single crochet, loop stitch, and seaming techniques.
Materials
- Yarn: Approximately 340–360 meters of mercerized cotton 8x4 for size XS (more yarn is needed for larger sizes). If available, choose twisted or untwisted yarn for added texture.
- Hook: 2mm crochet hook (use a 2.5mm hook if preferred).
- Additional Tools:
- Tapestry needle
- Thread cutter or scissors
- Measuring tape
Special Stitches
Double Crochet (DC):
- Yarn over, insert hook into the stitch.
- Yarn over and pull through (3 loops on the hook).
- Yarn over and pull through the first two loops (2 loops remain).
- Yarn over and pull through the last two loops on the hook.
Single Crochet (SC):
- Insert hook into the stitch.
- Yarn over and pull through (2 loops on the hook).
- Yarn over and pull through both loops.
Loop Stitch:
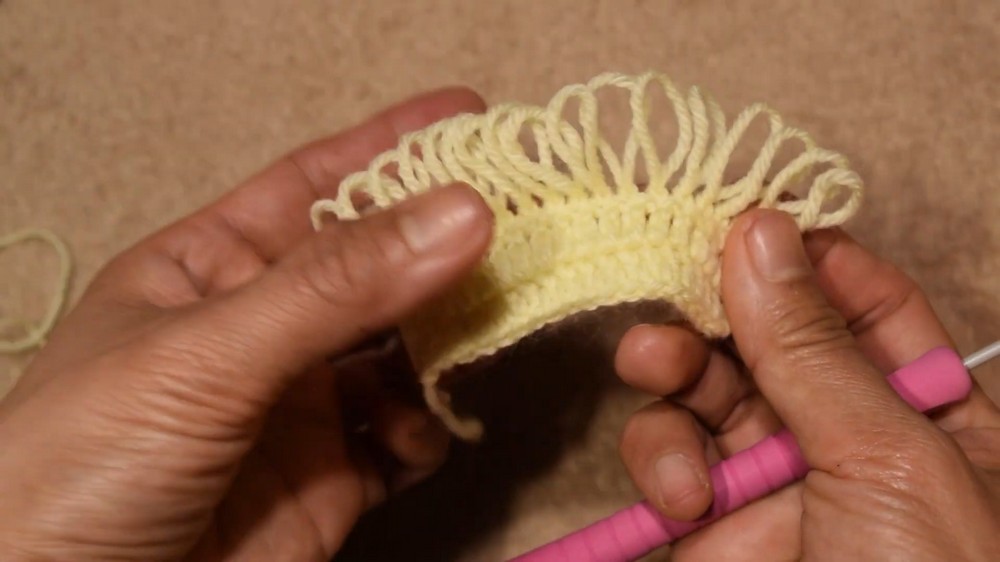
- CH 1, pull the working yarn to create a loop (hold the loop down with your index finger).
- Insert hook into the next stitch, yarn over and pull through (creating 2 loops).
- CH 1 to secure the loop.
- Continue making loop stitches in sequence.
Slip Stitch (SL ST):
- Insert hook into the stitch or space.
- Yarn over and pull through both the stitch and the loop on the hook.
Stitch Abbreviations
- CH = Chain
- SC = Single Crochet
- DC = Double Crochet
- SL ST = Slip Stitch
Useful Tips
- Customization: Modify the length of the foundation chain or the number of rows worked to suit your desired skirt length and waistband width.
- Loops Consistency: Keep pressure on the loops while working loop stitches to ensure their size remains uniform.
- Fringe: Use thicker groups of yarn for a more prominent fringe or fewer yarn strands for a subtle effect.
- Seaming: The slip stitch seaming creates an invisible join; for larger sizes, ensure the panels align evenly.
Materials Needed
To complete this project, the following materials are required:
- Mercerized Cotton Yarn (8x4)
- Approximately 340 to 360 meters for size XS (more yarn needed for larger sizes).
- Suggested option: Yarn with minimal twist.
- Crochet Hook
- 2 mm or 2.5 mm if you prefer working with a slightly larger hook.
- Tapestry Needle
- Thread Cutter
Step-by-Step Instructions
1. Create the Waistband String
- Make a slip knot and a long chain (350 chains for about 72 inches; each 8 chains equals 1 inch).
- Use half double crochet in each chain across.
- Fasten off the yarn, leaving a tail. Use the tapestry needle to weave and hide the tail.
2. Start the Skirt Panel
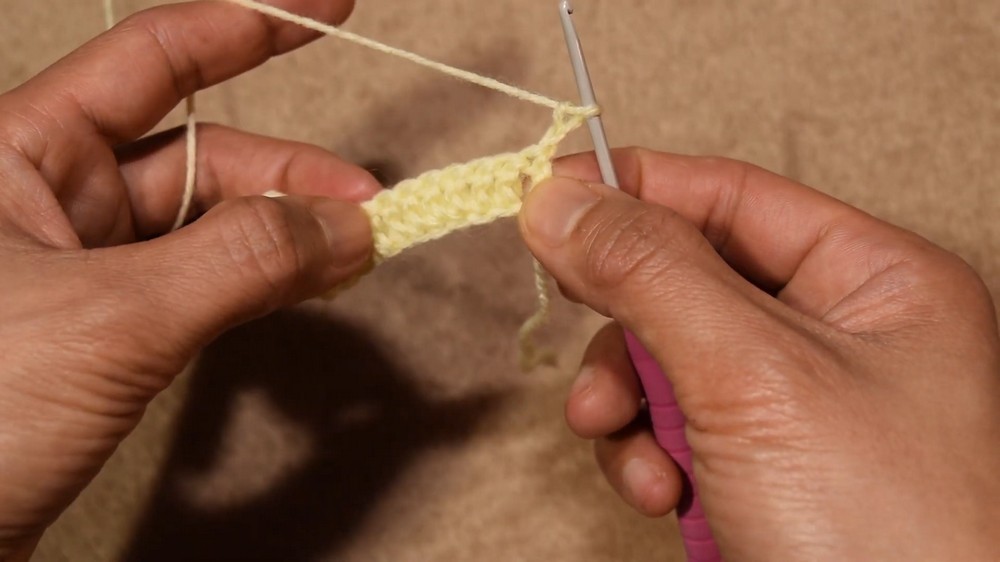
- Create a foundation chain for the skirt’s length (e.g., 67 chains for a length of 10 inches without the waistband). Adjust chains depending on the desired length.
- Work double crochet rows:
- Work into the back bumps of the foundation chain.
- Chain 2 at the start of each row (counts as the first double crochet).
- Add more rows for larger sizes.
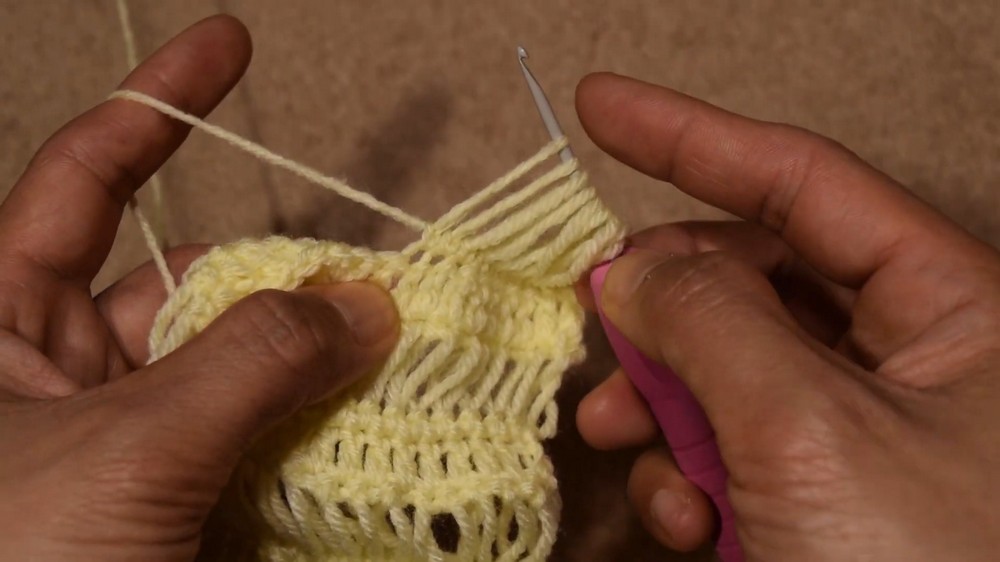
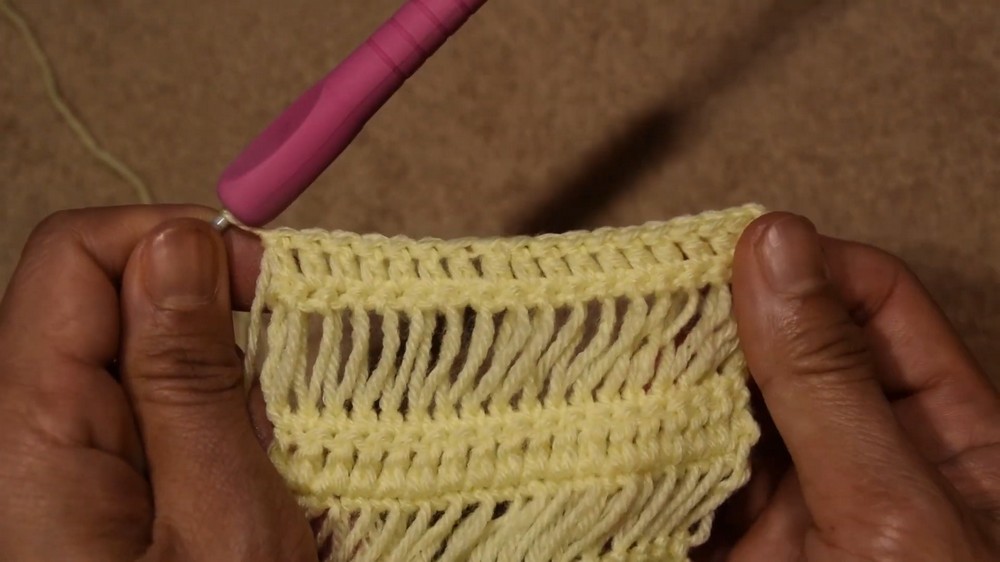
3. Create Loop Stitch Rows
- Work a loop stitch row: Chain 1 and pull up the loop to the desired length, using your index finger to adjust and hold the loops tight.
- Continue loops across.
4. Alternate Single Crochet Rows
- Single crochet into each loop stitch to secure the loops.
5. Repeat the Stitch Pattern
- Alternate double crochet rows, loop rows, and single crochet rows to achieve the skirt texture and mesh design.
- After completing the first panel, repeat the pattern for the second panel.
6. Join the Panels
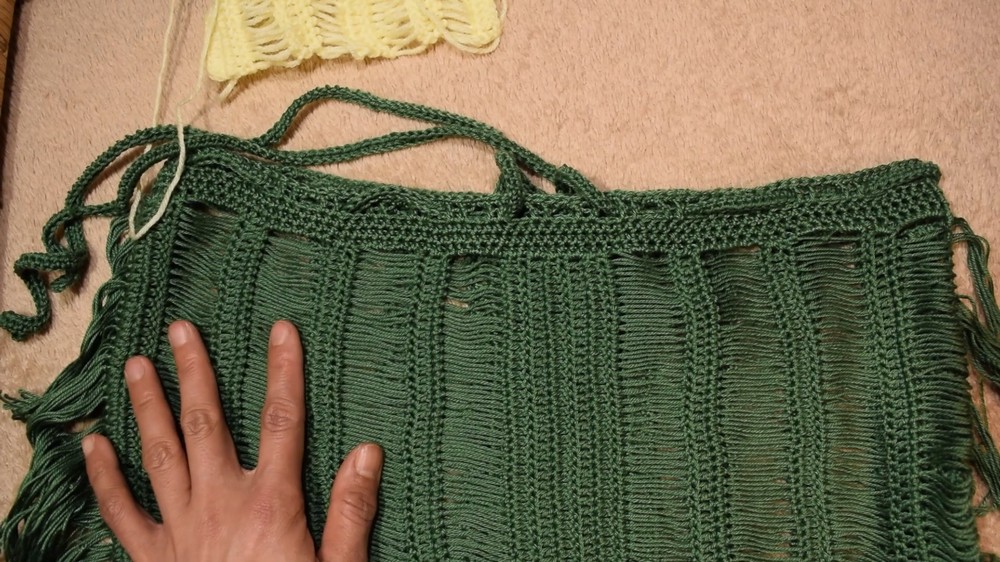
- Use the slip stitch seam method or your preferred seam method to connect the panels. Ensure the corners line up.
- Fasten off one side, but leave the yarn attached on the second panel.
7. Make the Waistband
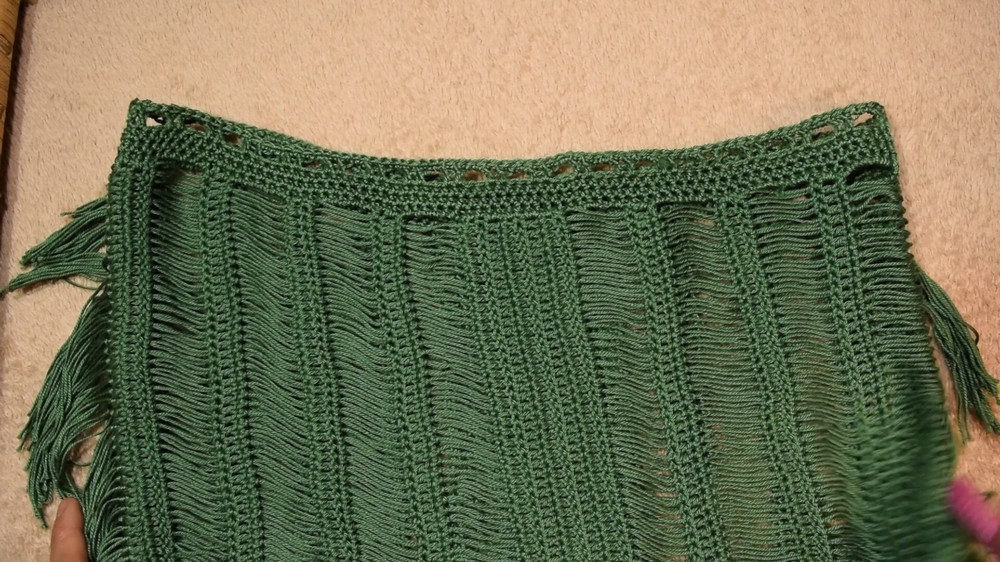
- Once the panels are joined, crochet 3 rounds of half-double crochet stitches around the waistband area. This adds stability and a neat finish.
- Finalize with a decorative chain 2 - skip 2 stitches loop pattern in the waistband area. Add one round of single crochet for extra durability.
8. Add Fringe
- Cut yarn into strips (about 8 inches for a 3.5-inch finished fringe) and group them in twos.
- Fold each group in half and attach to the skirt’s seam line using a crochet hook, creating fringe.
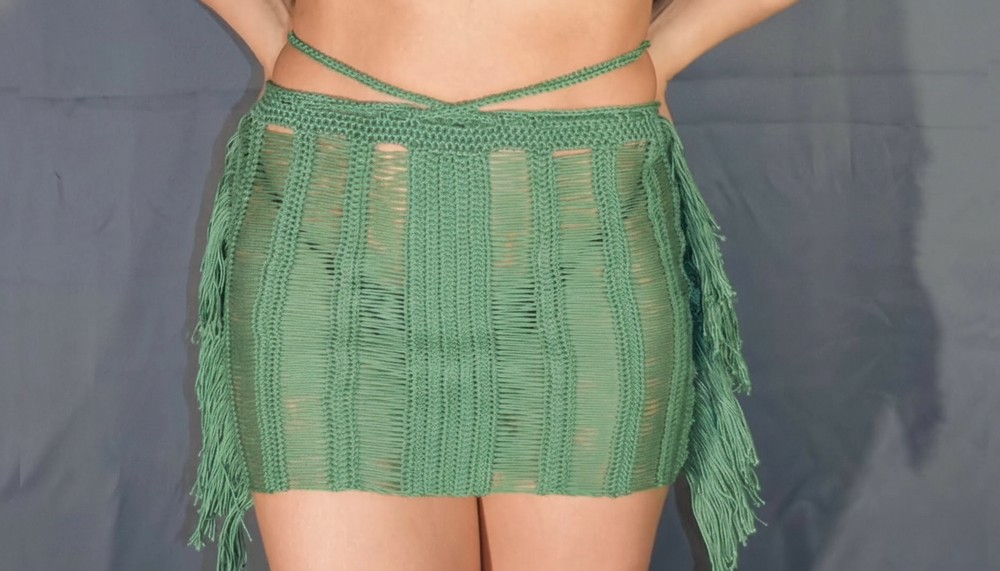
9. Insert the Waistband String
- Use the string made in Step 1 and thread it in and out of the waistband loops.
Special Features
- Customizable: Adjust skirt length, waistband size, and overall fit to match any body type.
- Elegance and Texture: The loop stitch rows create a unique mesh pattern, perfect for summer wear.
- Lightweight: Used yarn types and open stitch patterns make the skirt light and breathable.
Level of Difficulty
The Crochet Mesh Mini Skirt is beginner-friendly, though the loop stitch and seam methods may require practice for those new to crochet.
Tutor’s Suggestions
The tutor emphasizes these points:
- Use yarn options with minimal twist for easier handling.
- Customize size and length based on your preferences. Longer lengths require additional rows and materials.
- Adjust the stitch tightness if the loop stitch feels challenging.
- Choose crochet hooks that are comfortable to work with (2 mm or 2.5 mm for variation).
Uses
- Beachwear: Pair with swimwear for a breezy, stylish cover-up.
- Casual Outfits: Combine with tank tops and sandals for a summer outing.
- Customization: Option to add fringe, embellishments, or colored yarn for a unique look.
Tips for Success
- Practice the Loop Stitch: Mastering consistent loop length ensures a polished result.
- Hide Tails Neatly: Use a tapestry needle or your preferred method to ensure clean, durable finishes.
- Seam With Precision: When joining panels, line up stitches carefully to avoid uneven seams.
Conclusion
The Crochet Mesh Mini Skirt is a delightful crochet project that combines style, comfort, and creativity. Whether you're lounging on the beach or enjoying a summer party, this versatile pattern is sure to turn heads. By following the detailed steps and applying the tips provided, you can crochet a stunning piece with ease.