
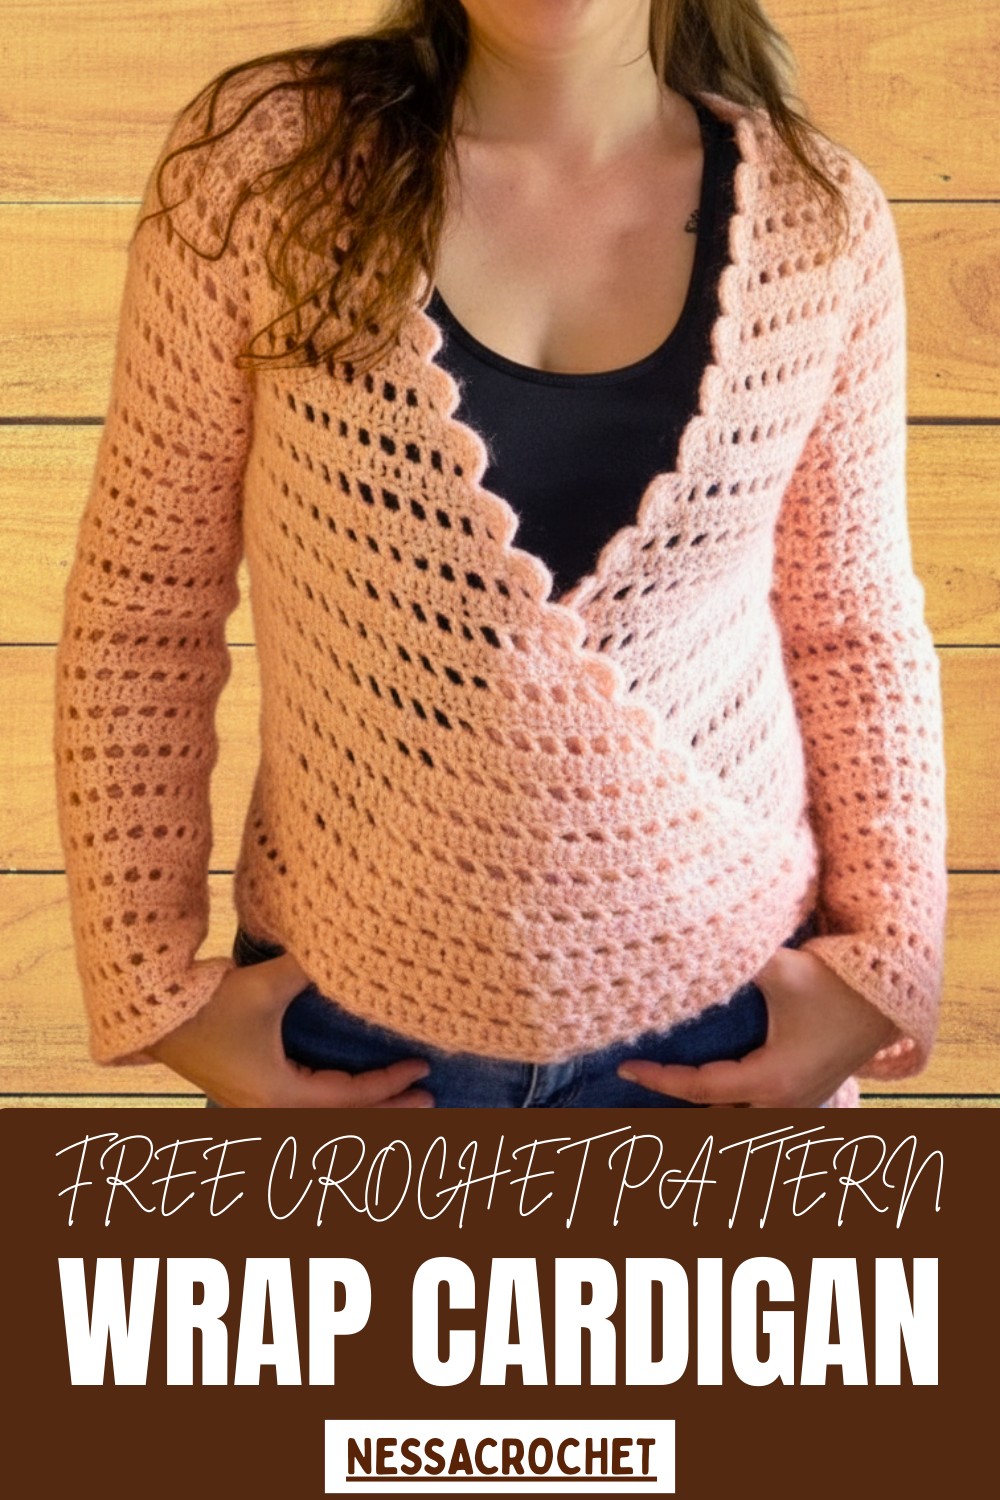
Cozy up with a handmade crochet Wrap Cardigan using this free pattern, perfect for adding style and charm to your wardrobe effortlessly.
This design offers a cozy, stylish layer that flatters almost any outfit. The crochet wrap cardigan pattern lets you fashion a versatile garment that drapes beautifully — it can be worn tied in front for a clean fitted look, or left open for a loose, flowy vibe.
Trendy Crochet Wrap Cardigan Pattern for Everyday Wear
Using a wrap cardigan pattern gives you flexibility: you can customize sizing easily, choose yarn and color to suit your style, and create a piece that feels handmade and unique.
Tip
To prevent the sleeve cuff from stretching out over time, switch to a hook size that is half a millimeter smaller (e.g., 4 mm) for the last five to ten rounds of the sleeve. This simple change creates a more cinched, tailored cuff that holds its shape better and provides a clean, professional finish.
Special Features
-
Top-Down Construction: You begin at the neckline and work the entire body in one piece, allowing for easy size adjustments as you work.
-
Simple Alternating Stitch: You alternate a solid Double Crochet (DC) row with a Mesh row (DC, Chain 1, Skip 1), creating a light texture that drapes well.
-
Integrated Tie System: You create two tie cords directly onto the finished front panels. Weave the longer cord through the fabric on the back panel to cinch the top and secure it effortlessly.
-
Customizable Fit: You can easily adjust the neckline's "scoop" (how low-cut the front is) by modifying the chain count at the start and end of the mesh rows.
Level of Difficulty
-
Overall Level: Easy to Intermediate.
-
Required Skills: You must master the basic stitches, including Chain (Ch), Slip Stitch (SS), Single Crochet (SC), and Double Crochet (DC).
-
Complexities: You must carefully follow the increase patterns at the four raglan corners of the yoke and correctly transition to working the body and sleeves in the round.
Tutor's Suggestions
-
Swatch and Size Chart: Before starting, consult the size chart (available in the video) to determine your starting chain length and the number of stitches needed for the arms and back sections.
-
Mark Your Corners: Place a stitch marker in the chain-2 space of all four raglan corners (increases) in the yoke. This prevents counting errors on every row.
-
Try It On Often: Because the top is worked top-down, frequently try on the yoke as you work to ensure the armholes are the correct size and fit comfortably under your arms before you separate the sleeves.
-
Adjust Hook Size for Sleeves: Consider switching to a smaller hook (e.g., 4 mm) for the sleeves starting around round 27 or halfway through the length, or for the final cuff rows. This slightly tightens the fabric for a better fit around the wrist.
Uses
-
Layering Piece: Wear it over a simple tank top, long-sleeved shirt, or dress.
-
Transitional Weather: Use the lightweight fabric as a comfortable layer during spring or fall.
-
Handmade Gift: Create a beautiful, tailored garment as a thoughtful handmade gift.
Materials
-
Yarn: Maya acrylic yarn or a soft worsted/sport-weight acrylic (100% acrylic, approx. 320m/100g).
-
Hook (Main): 4.5 mm crochet hook.
-
Hook (Cuff/Border): 4 mm crochet hook (optional, for tightening).
-
Accessories:
-
Tapestry needle (for weaving in ends).
-
Scissors.
-
4 Stitch markers (optional, for the corners).
-
For Your Help
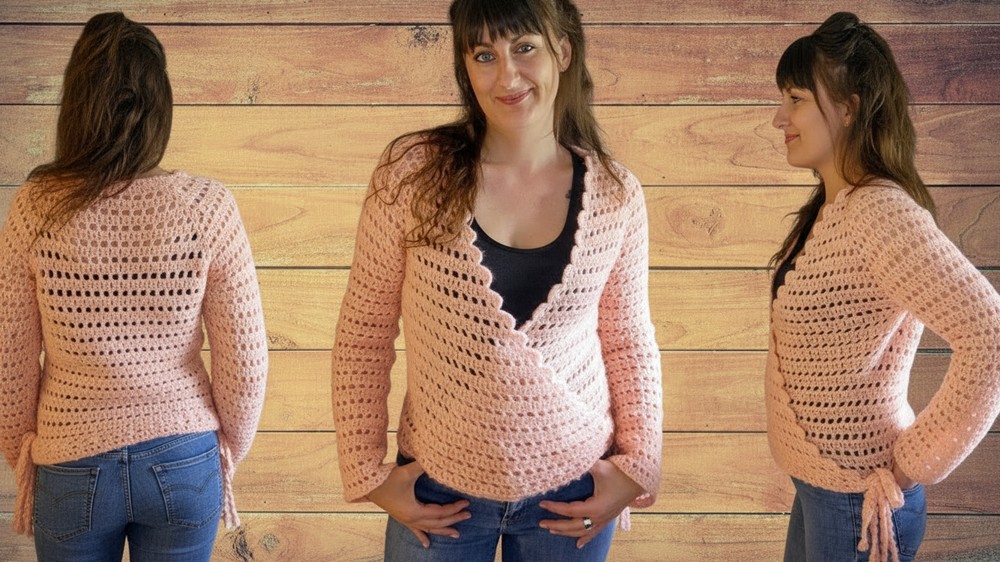
The overall look tends to be soft, textured and somewhat bohemian — elegant enough for casual wear, yet refined enough for layering over dresses or tops.
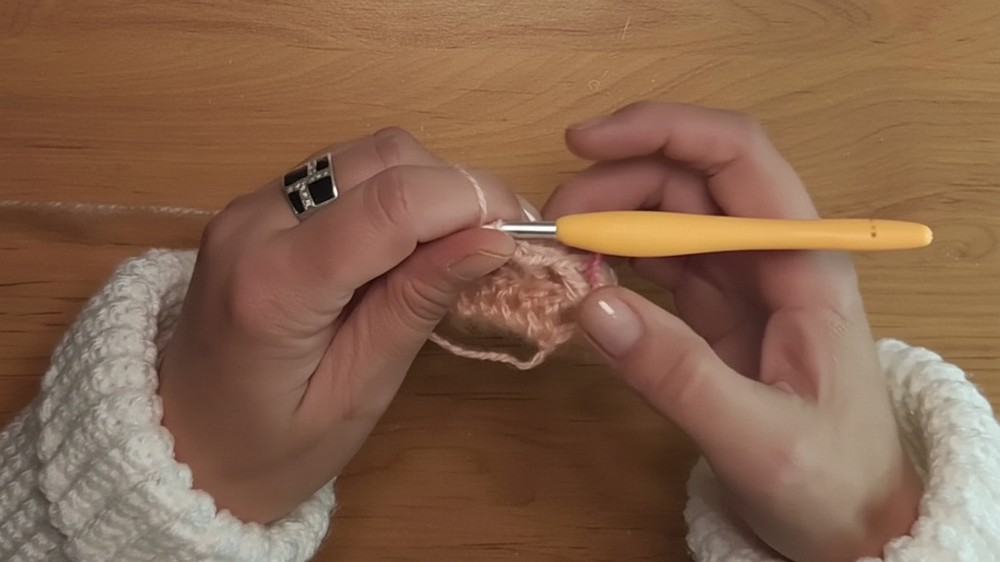
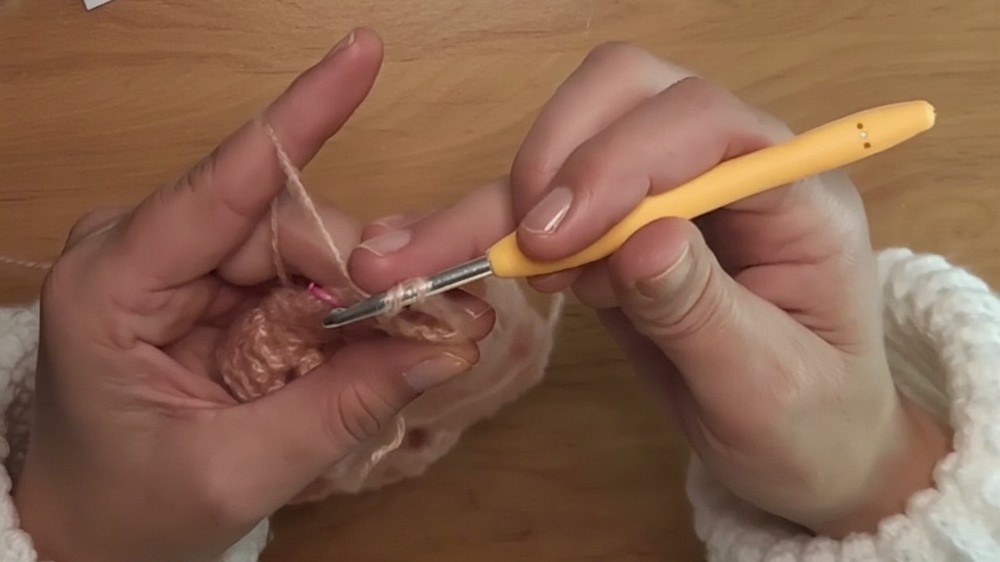
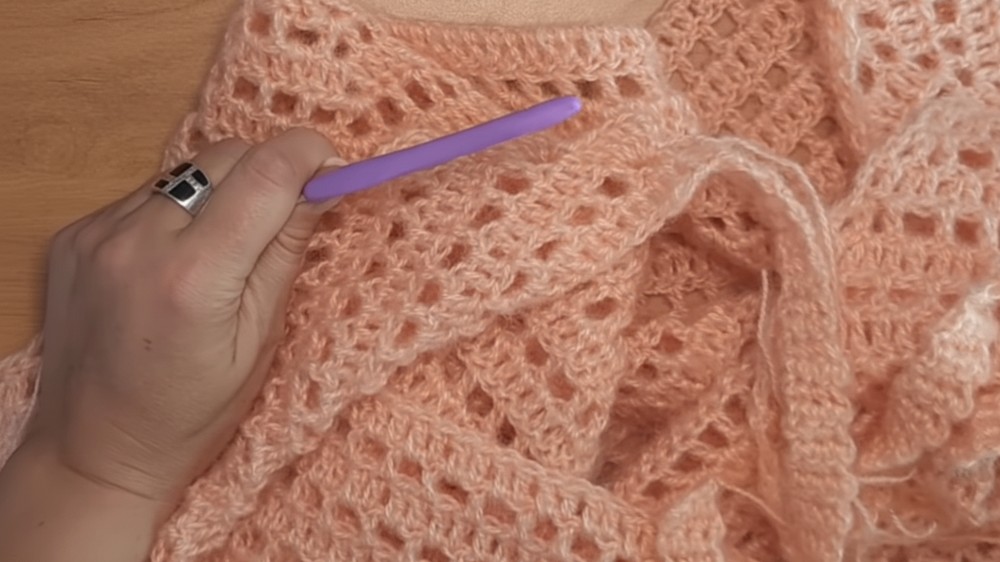
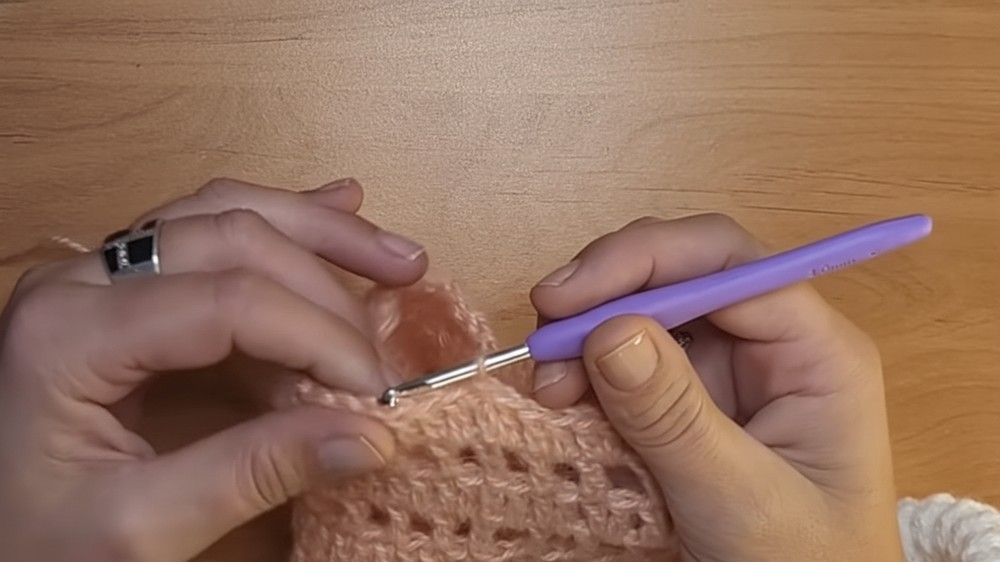
As shown in the referenced tutorial video, you begin by learning basic stitches — usually double crochet (dc) and single crochet (sc) — to build the back and front panels in one piece.
After the body is done, you work the sleeves separately and then seam them to the main body.
Once the pieces are joined, you add edging or ties, then block the finished garment (wet‑ or steam‑block) so the stitches settle beautifully. Finally, wear it by crossing the front panels and tying the strings at the back — or let it hang open for a relaxed drape.
Step-by-Step Details
Create a flattering and comfortable crochet wrap top. You construct this stylish garment from the top down, meaning you begin at the neckline and increase outward until you reach the armholes. You then join the yoke to form the body and continue working rows to the desired length. The top features an integrated tie system and a simple, textured stitch pattern, resulting in a beautiful, everyday layer.
Conclusion
You have successfully crocheted a stylish cardigan. By following the top-down construction, you created a garment with a seamless yoke and an adjustable wrap front. The simple stitch texture and integrated tie cord make this a comfortable and versatile piece for your wardrobe.


